Stream Music with the Raspberry Pi 4
Set up Spotify Connect or VLC Radio for your Raspberry Pi 4
Written By: Cherie Tan

Difficulty
Easy
Steps
11
There are plenty of options to turn your Raspberry Pi 4 into a portable music playing device. There's Kodi, Volumio, Plex, Spotify and VLC Radio to name a few examples. Want to turn your Raspberry Pi into a portable music streaming device in a jiffy? Just add a pHAT Beat and a set of 5W speakers.
In this guide, we'll show you how to set up VLC Radio on the Raspberry Pi 4 with a bit of tweaking of its setup.sh file. Then we'll show you how to use it as a Spotify streaming device with Spotify Connect.
Complete this guide to start streaming music on the Raspberry Pi 4!
In this guide, we'll show you how to set up VLC Radio on the Raspberry Pi 4 with a bit of tweaking of its setup.sh file. Then we'll show you how to use it as a Spotify streaming device with Spotify Connect.
Complete this guide to start streaming music on the Raspberry Pi 4!
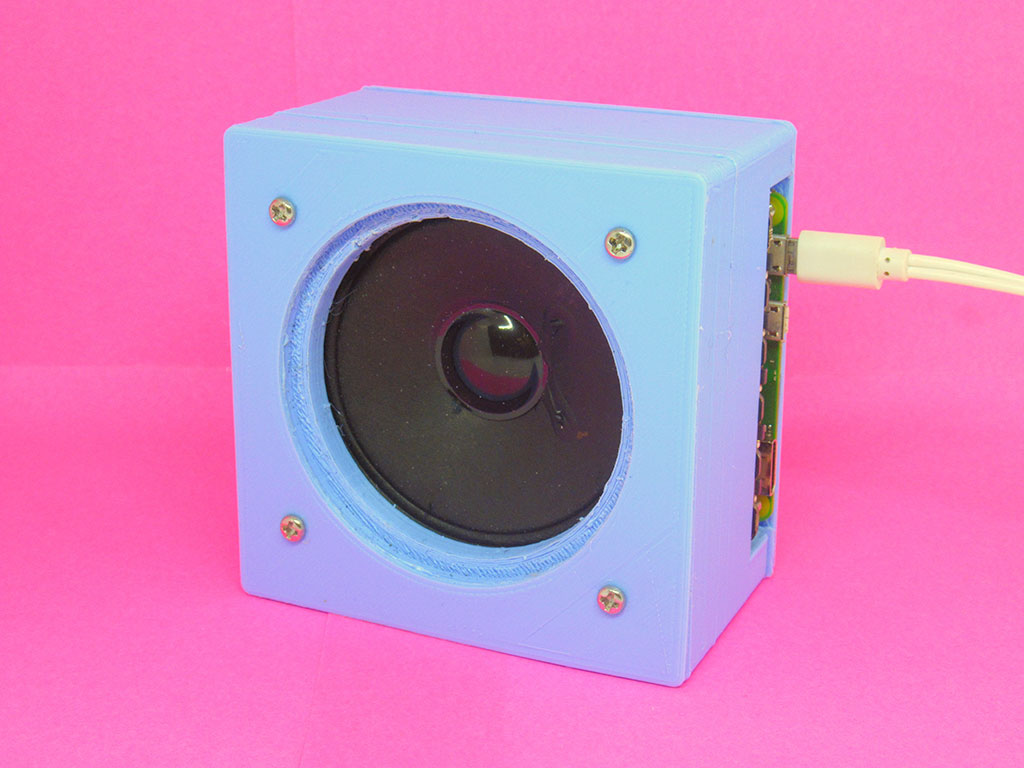
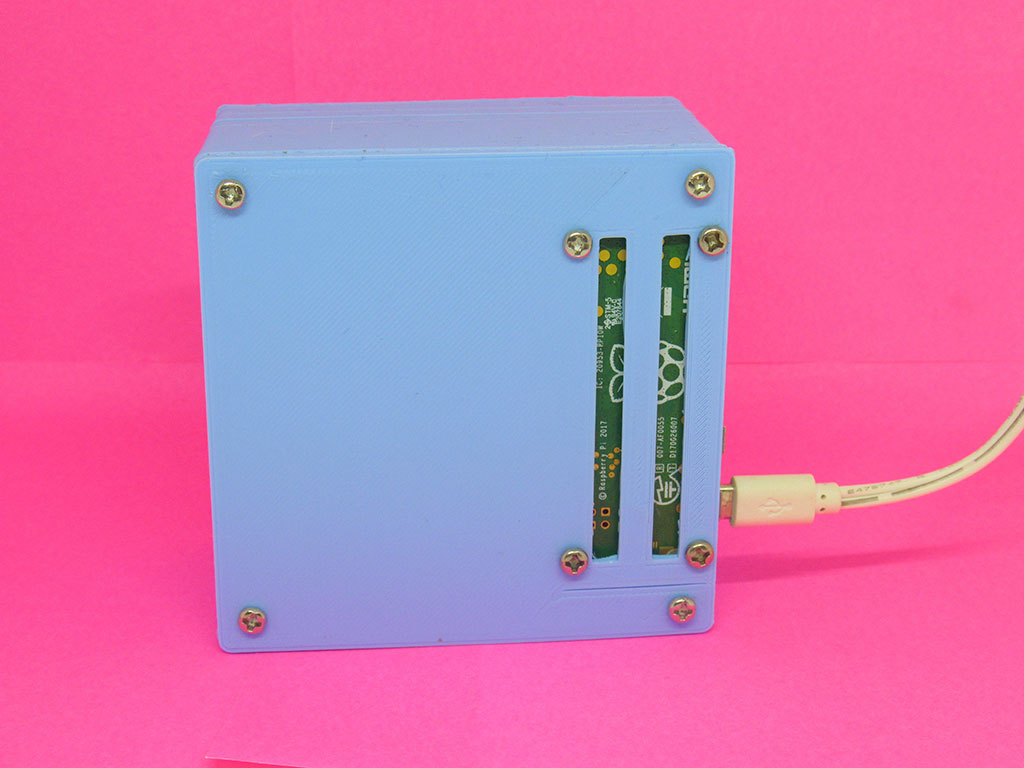
There are plenty of options to turn your Raspberry Pi 4 into a portable music streaming device. You could use Kodi, Volumio, Plex, Spotify or VLC Radio. In this guide, we'll show you two ways: The first by turning your Raspberry Pi into a radio and the second by using it as a Spotify streaming device with Raspotify and a pHAT Beat.
Please note that if you are interested in using Volumio, not all buttons on the pHAT Beat will work in Volumio even though there is a GPIO Buttons plugin.
GPIO Pins have internal pull-up and pull-down resistors. The default pull being HIGH for only these two pins (and so they would work on button press):
Pin 29 (GPIO5) - Fast Forward
Pin 31 (GPIO6) - Play/Pause
The rest of the buttons are set to LOW by default, and won't work with the plugin:
Pin 33 (GPIO13) - Rewind
Pin 37 (GPIO26) - Volume Down
Pin 32 (GPIO12) - On/Off
Pin 36 (GPIO16) - Volume Up
The plugin does not allow the control of the pull in the configuration just yet.
Want to 3D print your own enclosure? You can get the STL files here.
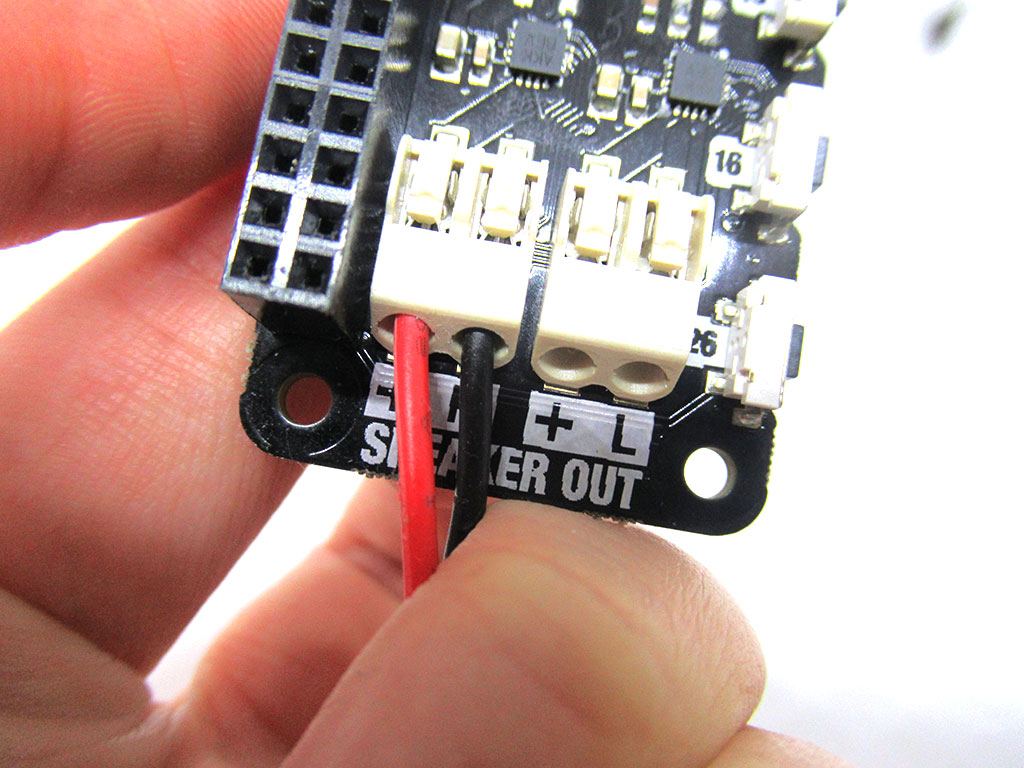
First, connect the 5W speaker wires to the pHAT Beat as shown. Simply push them into the terminals. Make sure that the red wire is connected to the positive terminal and the black one in the ground terminal.
Please also make sure that the wires have been firmly pushed in. Once done so, they will lock into the terminal and won't be able to be pulled out easily.
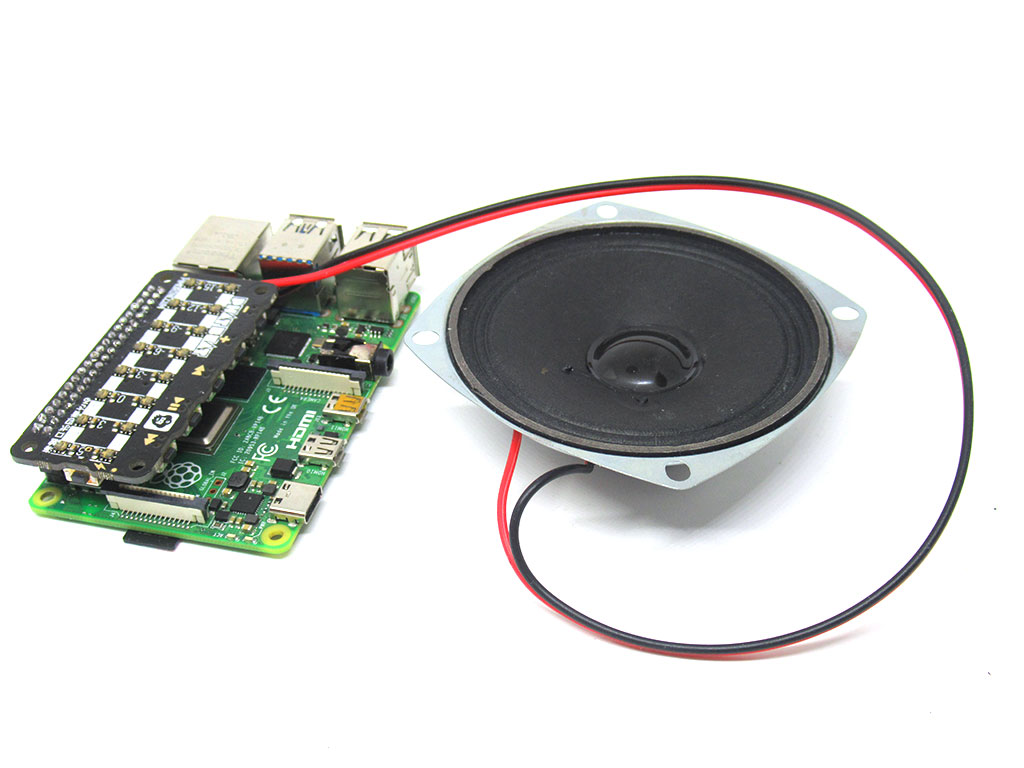
Next, simply plug the pHAT Beat onto the Raspberry Pi 4. Just make sure that the pins are aligned to the 40-pin header on the Pi.
Once you have powered up the Raspberry Pi, make sure it is connected to the internet via WiFi or Ethernet connection, and also that SSH is enabled. For more information, view our Getting Started with Raspberry Pi 4 guide and Enabling SSH guide.
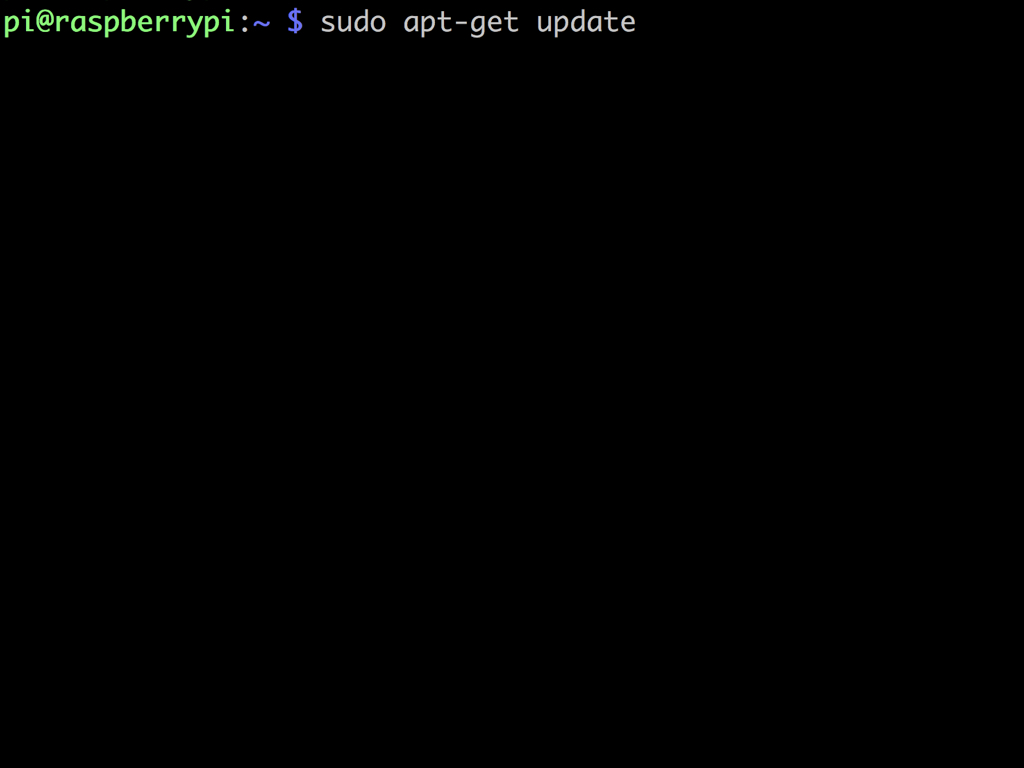
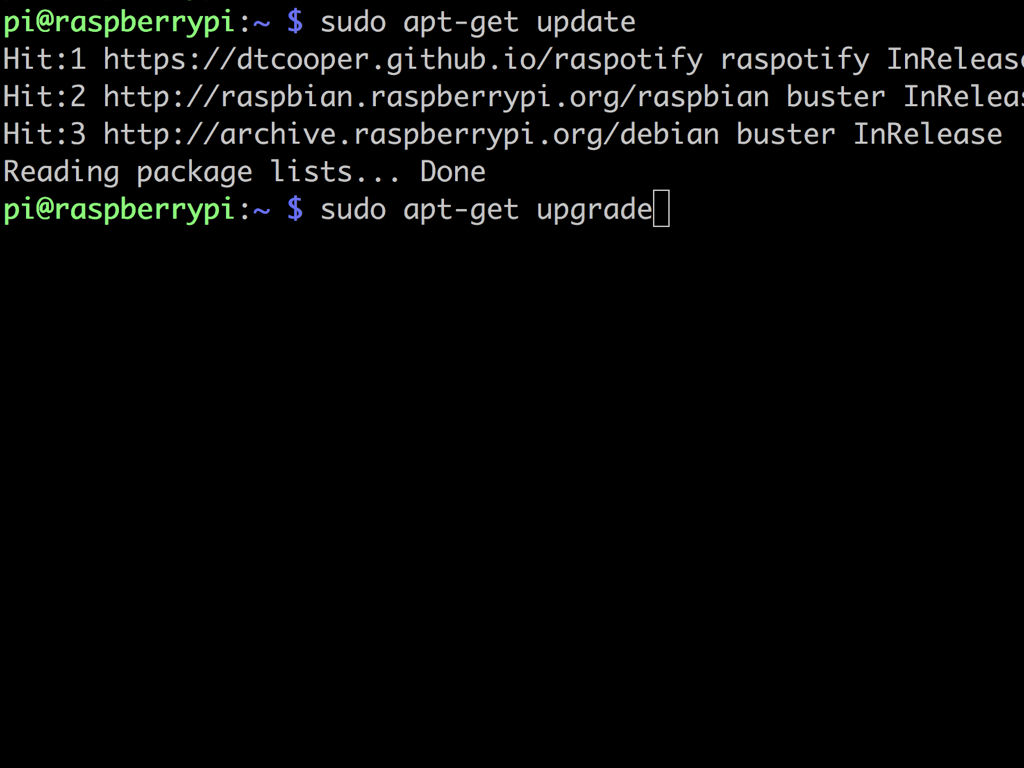
Then, run sudo apt-get update
Then, run sudo apt-get update
Next, run sudo apt-get upgrade
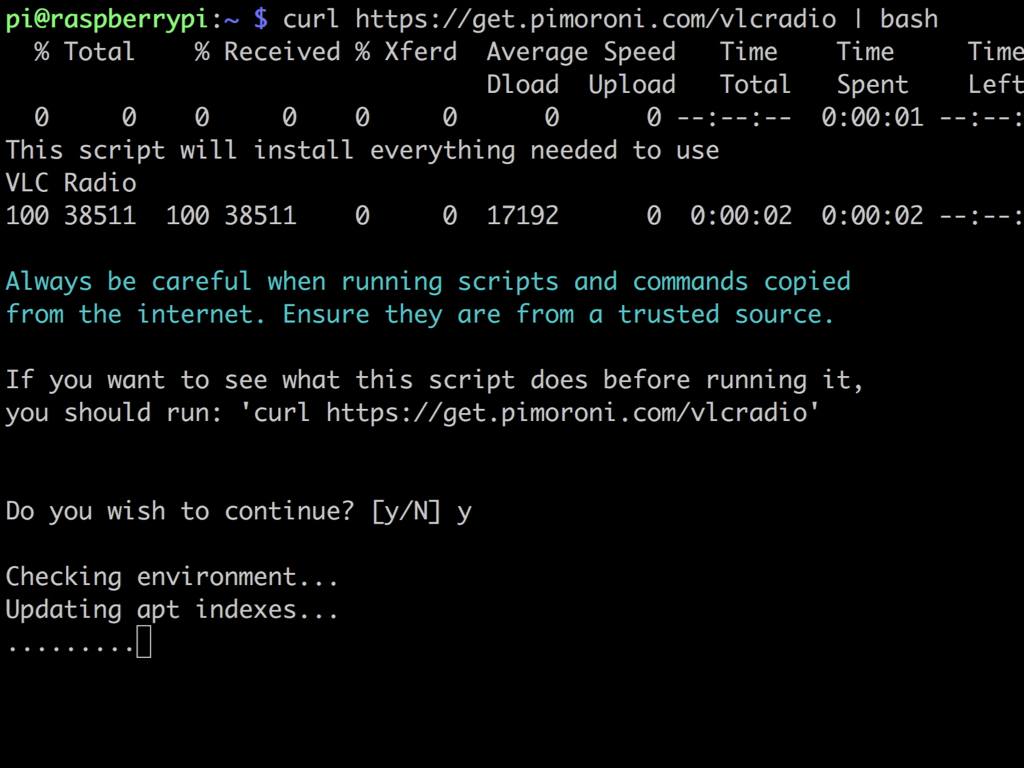
We'll first show you how to turn your Raspberry Pi 4 into an internet radio. To do so we'll be using VLC Radio. So run the installer, enter the following: curl https://get.pimoroni.com/vlcradio | bash
This installs and configures the pHAT Beat software, and it also installs VLC, a cross-platform media playback and streaming program that also works with the command line. The VLC Radio like its name suggests, uses VLC to stream and play internet radio stations. By default, it has been pre-configured to work with 4 stations but you can also add more stations to it later.
This installs and configures the pHAT Beat software, and it also installs VLC, a cross-platform media playback and streaming program that also works with the command line. The VLC Radio like its name suggests, uses VLC to stream and play internet radio stations. By default, it has been pre-configured to work with 4 stations but you can also add more stations to it later.
Enter y for yes when prompted to continue during the installation.
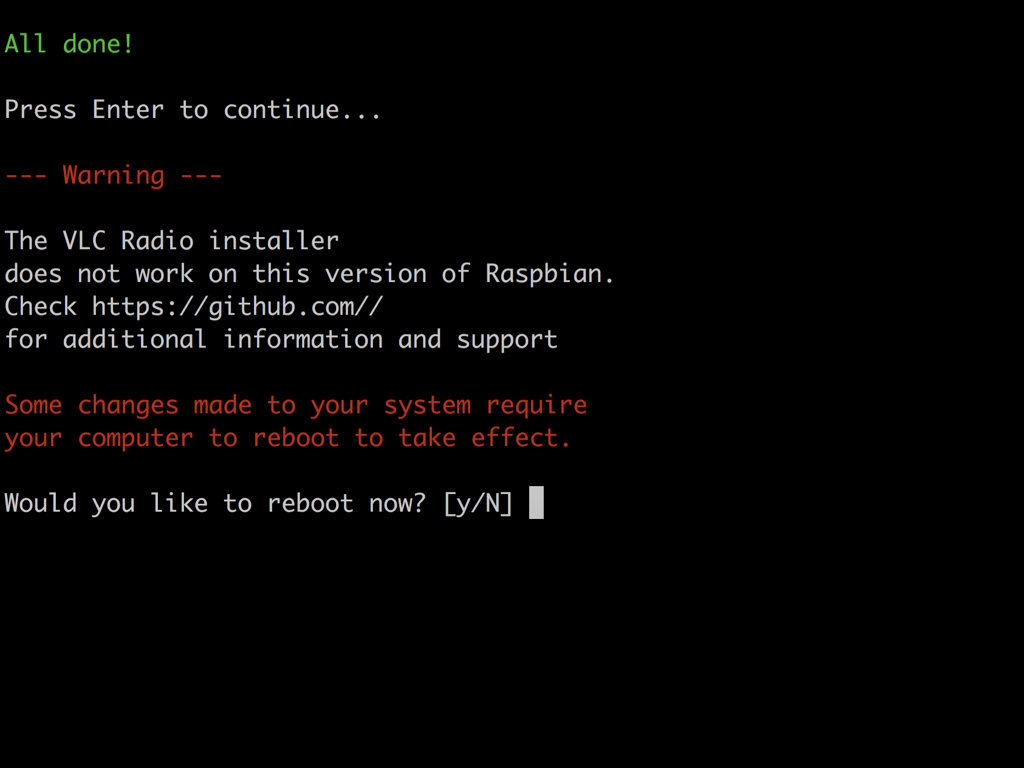
At the end of the installation, you will come across the message on a Raspberry Pi 4:
--- Warning ---
The VLC Radio installer
does not work on this verison of Raspbian
Check http://github.com//
for additional information and support
At this time of writing, Pimoroni has not yet updated the setup.sh file for VLC Radio to be compatible with Raspbian Buster for a Raspberry Pi 4. To solve this problem, we'll need to edit the setup.sh file.
So go ahead and enter the following command: sudo nano Pimoroni/phatbeat/projects/vlc-radio/setup.sh file
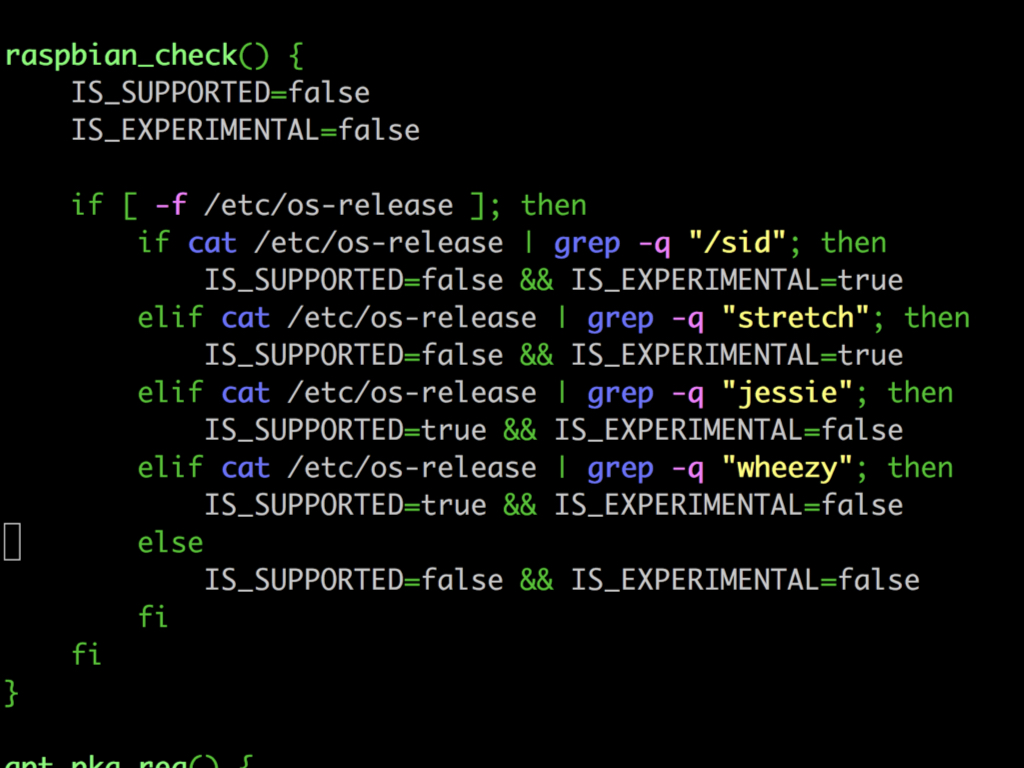
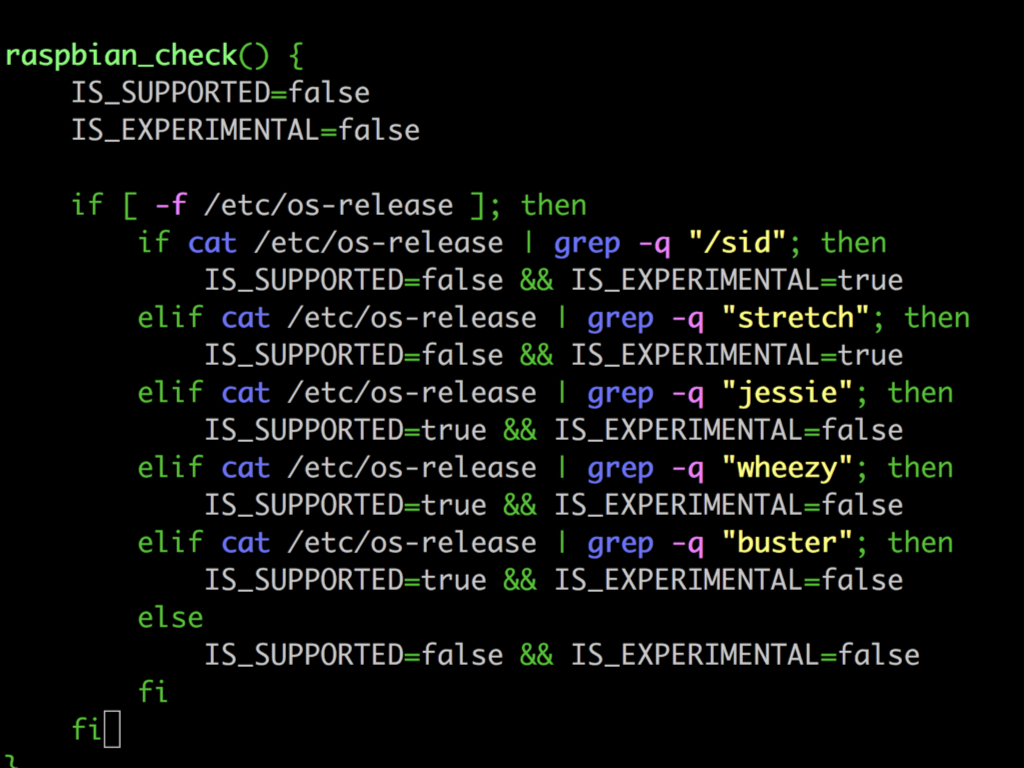
Press control + W in the nano editor to search for raspbian_check, or just navigate to that line.
Here, notice how there is no option for Raspbian Buster. So make the modification as shown in the second image, then save and exit.
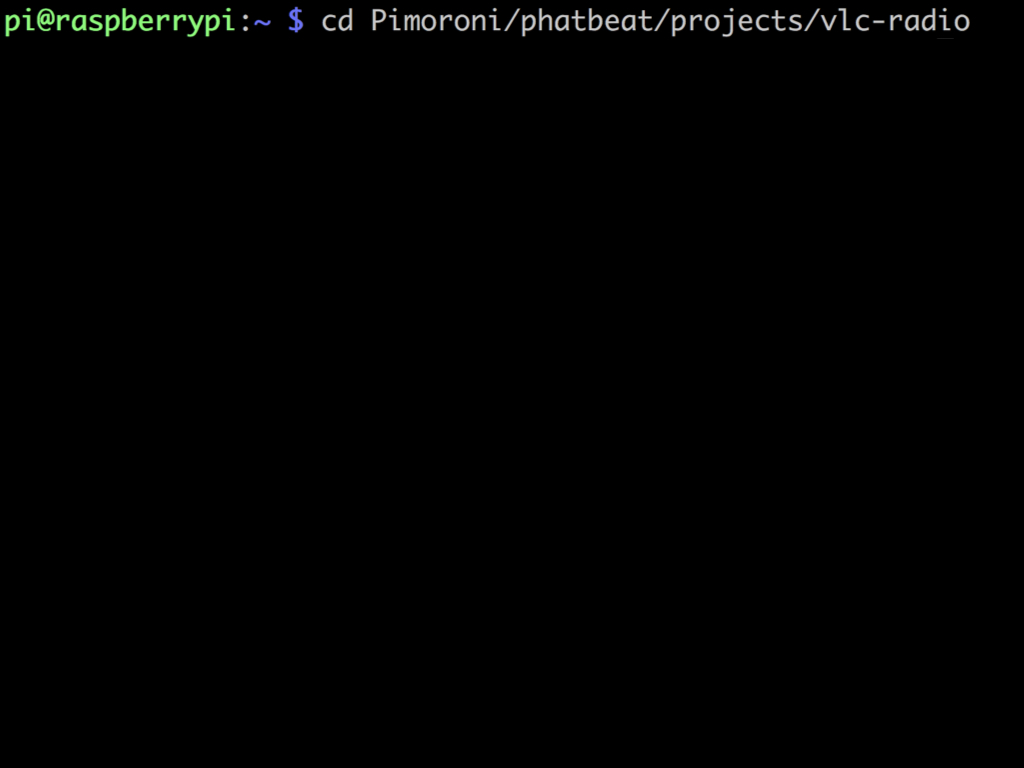
Change directory to the right folder by using the command: cd Pimoroni/phatbeat/projects/vlc-radio
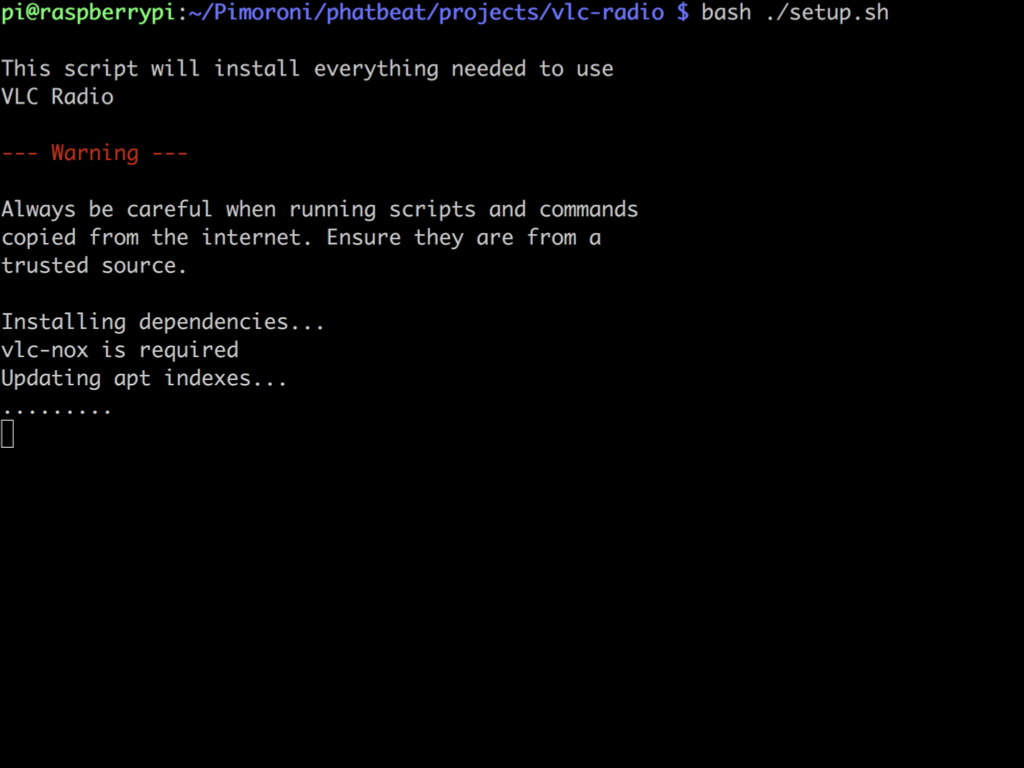
Now run the modified setup.sh script with bash ./setup.sh
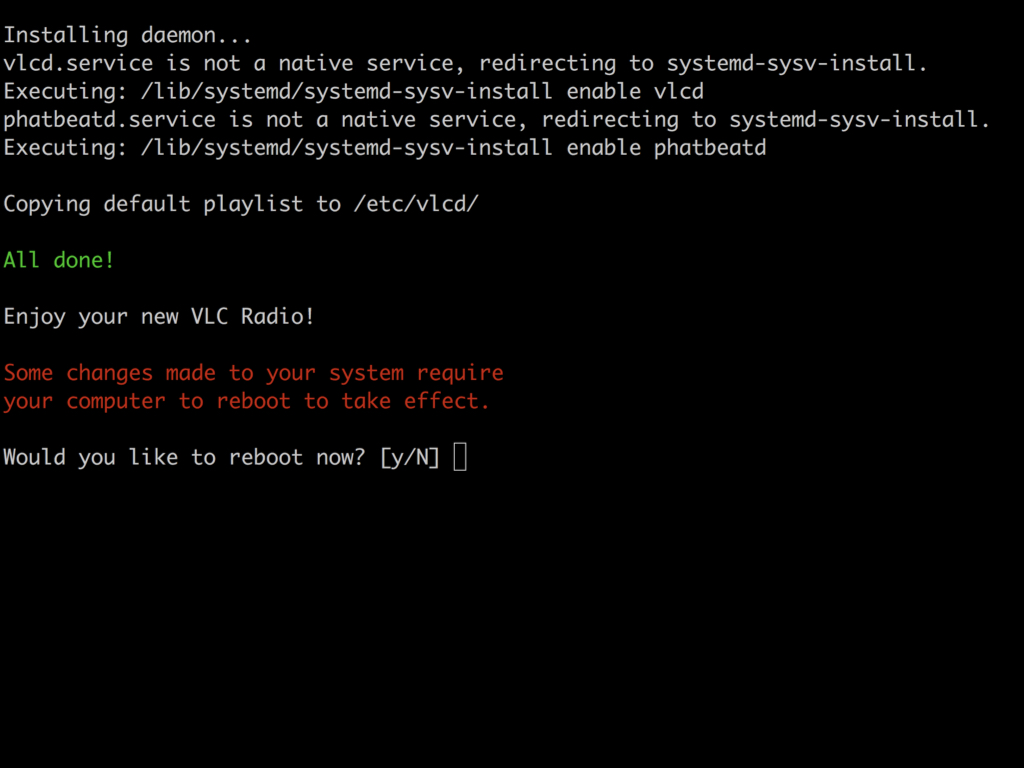
Wait for the installation to complete, and enter y when prompted to reboot the Raspberry Pi.
Once rebooted, press the play button on the phat beat and the radio channel should be playing!
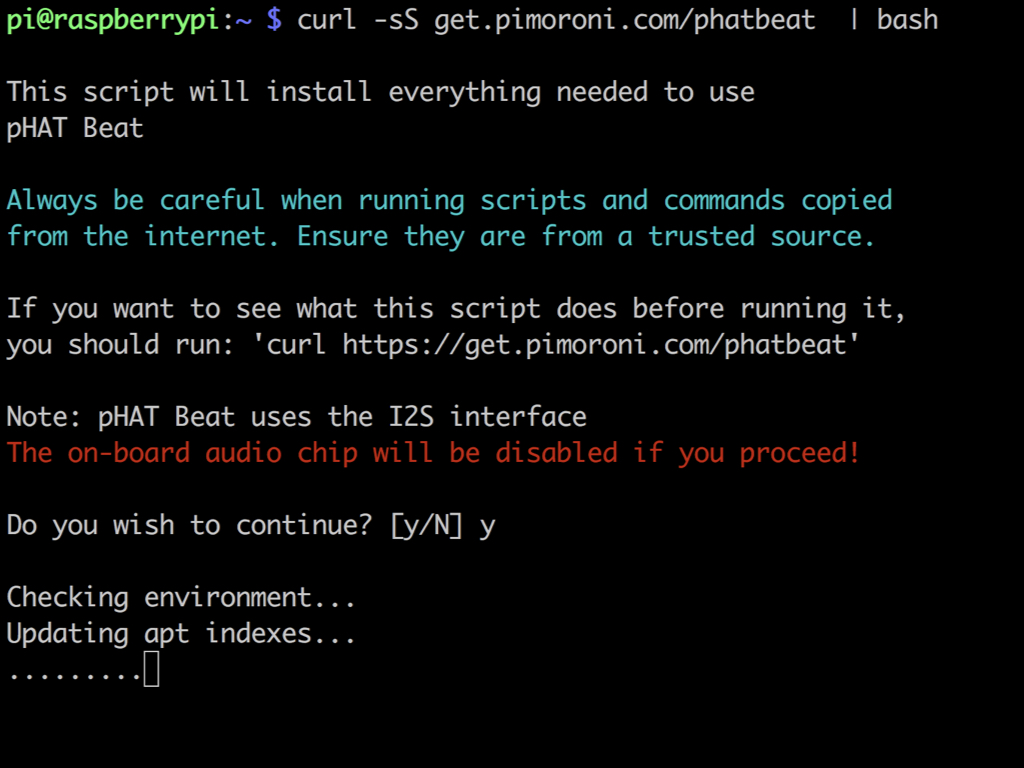
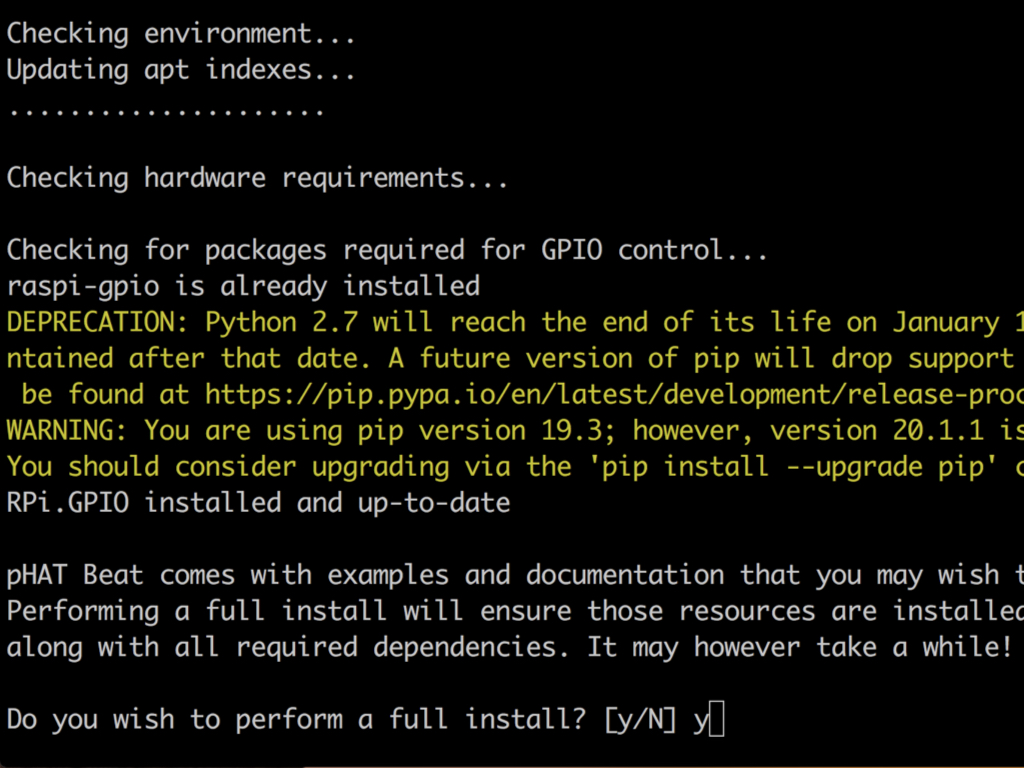
The Raspberry Pi 4 can also connect to your Spotify account and stream music, but this option only works if you have a Spotify premium account. If you do, enter the following command to first install the necessary files for phatbeat to work: curl -sS get.pimoroni.com/phatbeat | bash
Through the installation you will be prompted to continue, just press y when prompted.
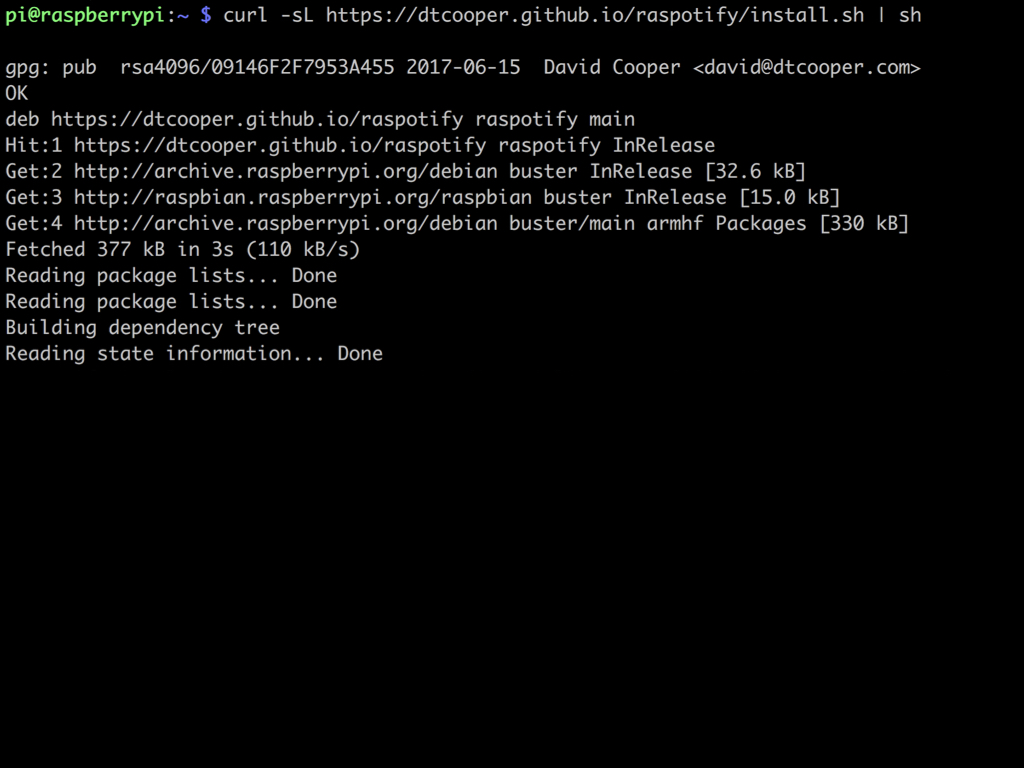
Install the Spotify Connect client on your Raspberry Pi with the following command:
curl -sL https://dtcooper.github.io/raspotify/install.sh | sh
curl -sL https://dtcooper.github.io/raspotify/install.sh | sh
Save the file and exit the nano editor.
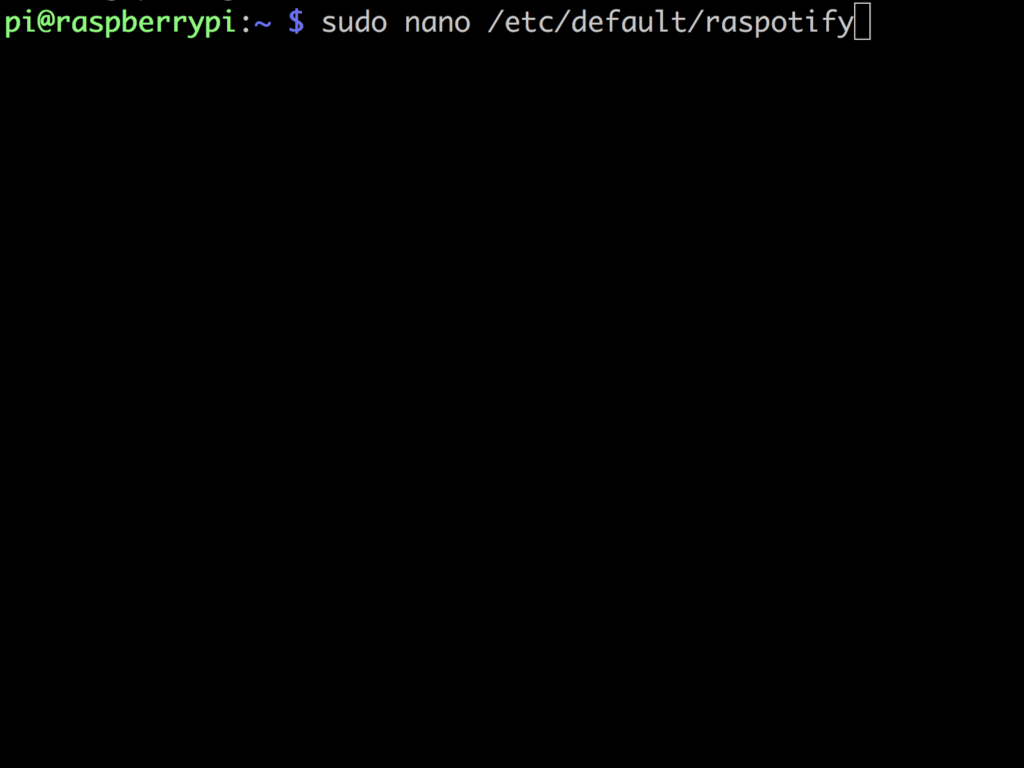
Next, enter the following: sudo nano /etc/default/raspotify
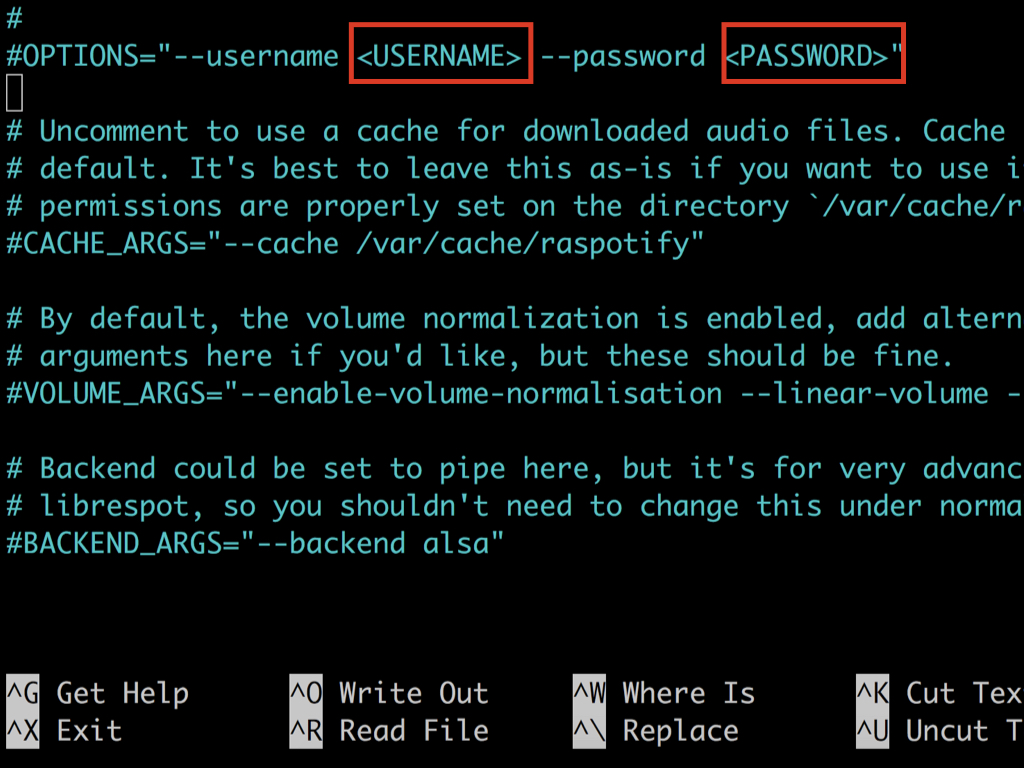
In the nano editor, navigate to the line which states: #OPTIONS="--username <USERNAME> --password <PASSWORD>"
Uncomment that line by removing the # and substituting <USERNAME> and <PASSWORD> with your Spotify account details.
