Remap Inputs on ShakeUp
Learn how to change inputs on the ShakeUp
Written By: Cherie Tan
Difficulty
Easy
Steps
6
The ShakeUp comes programmed with inputs that emulates some keys on a keyboard as well as a mouse.
But did you know that you can also change its inputs? In this guide, you will learn how remap the ShakeUp's inputs by editing an Arduino sketch.
Complete this guide to turn your ShakeUp into a custom game controller!
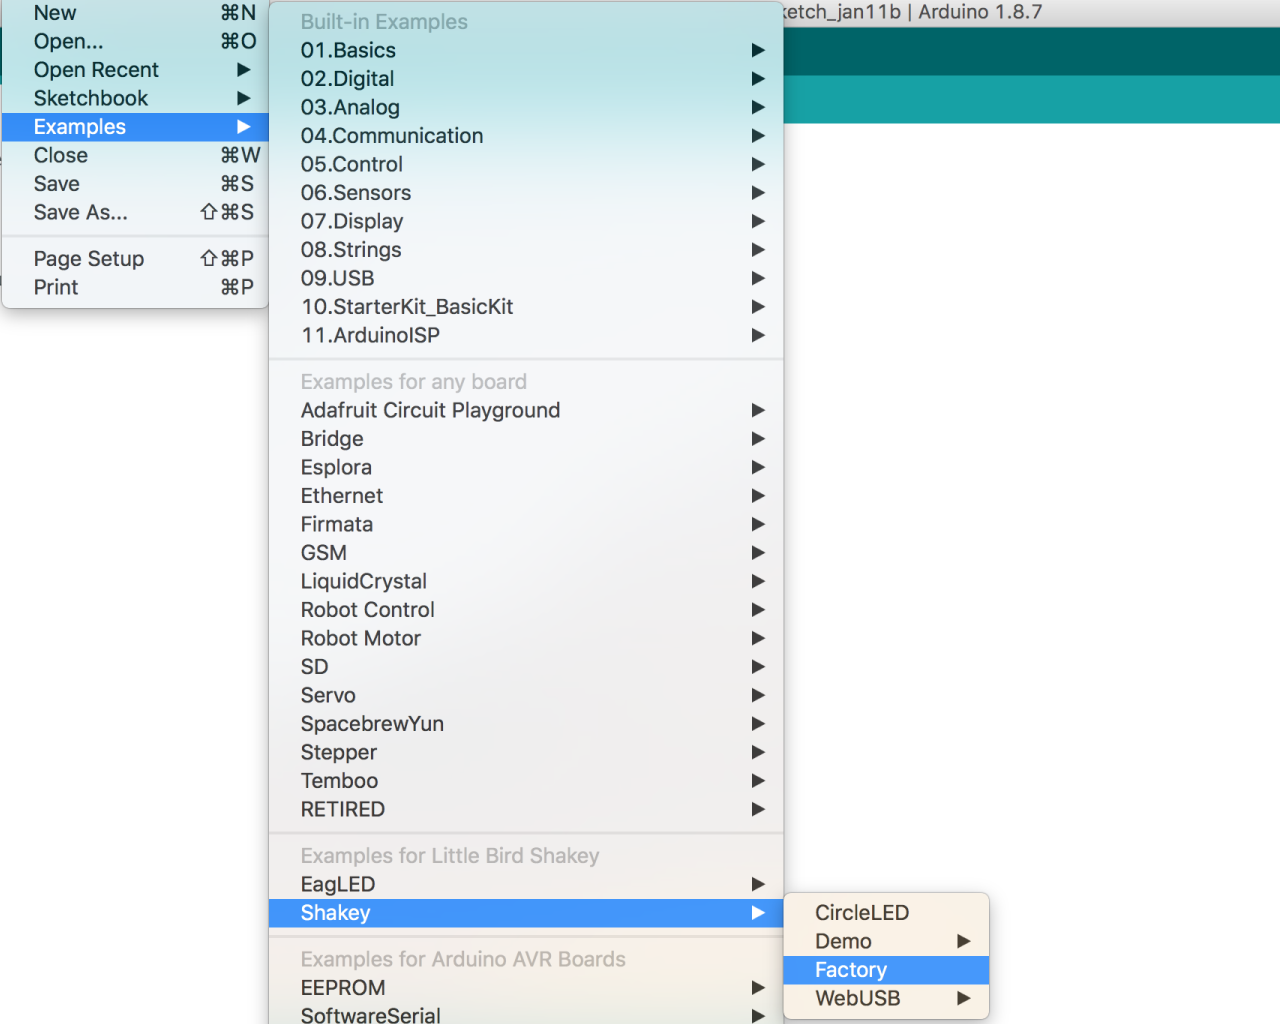
Over in the Arduino IDE, you'll find an example sketch called 'Factory'. It can be found under File > Examples > Examples for Little Bird ShakeUp > Shakey > Factory
This is the sketch that is already programmed to the ShakeUp out of the box. If you run into any errors, it can be re-uploaded to the ShakeUp. It can also be used to change the input keys to your liking.
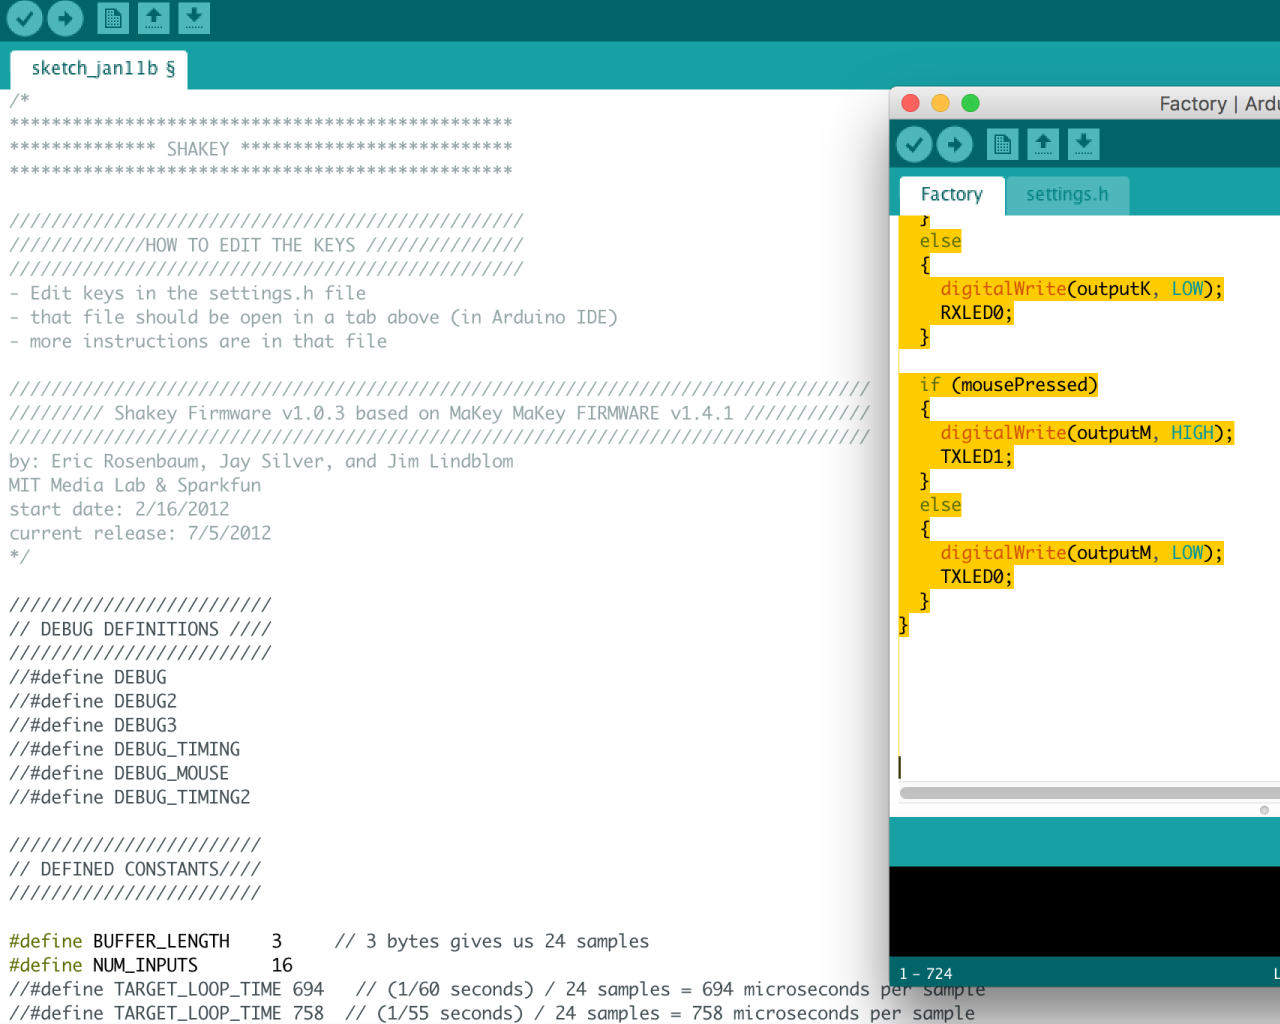
To keep the factory sketch as is, create a new Arduino sketch.
Then copy and paste the factory sketch into the new sketch file.
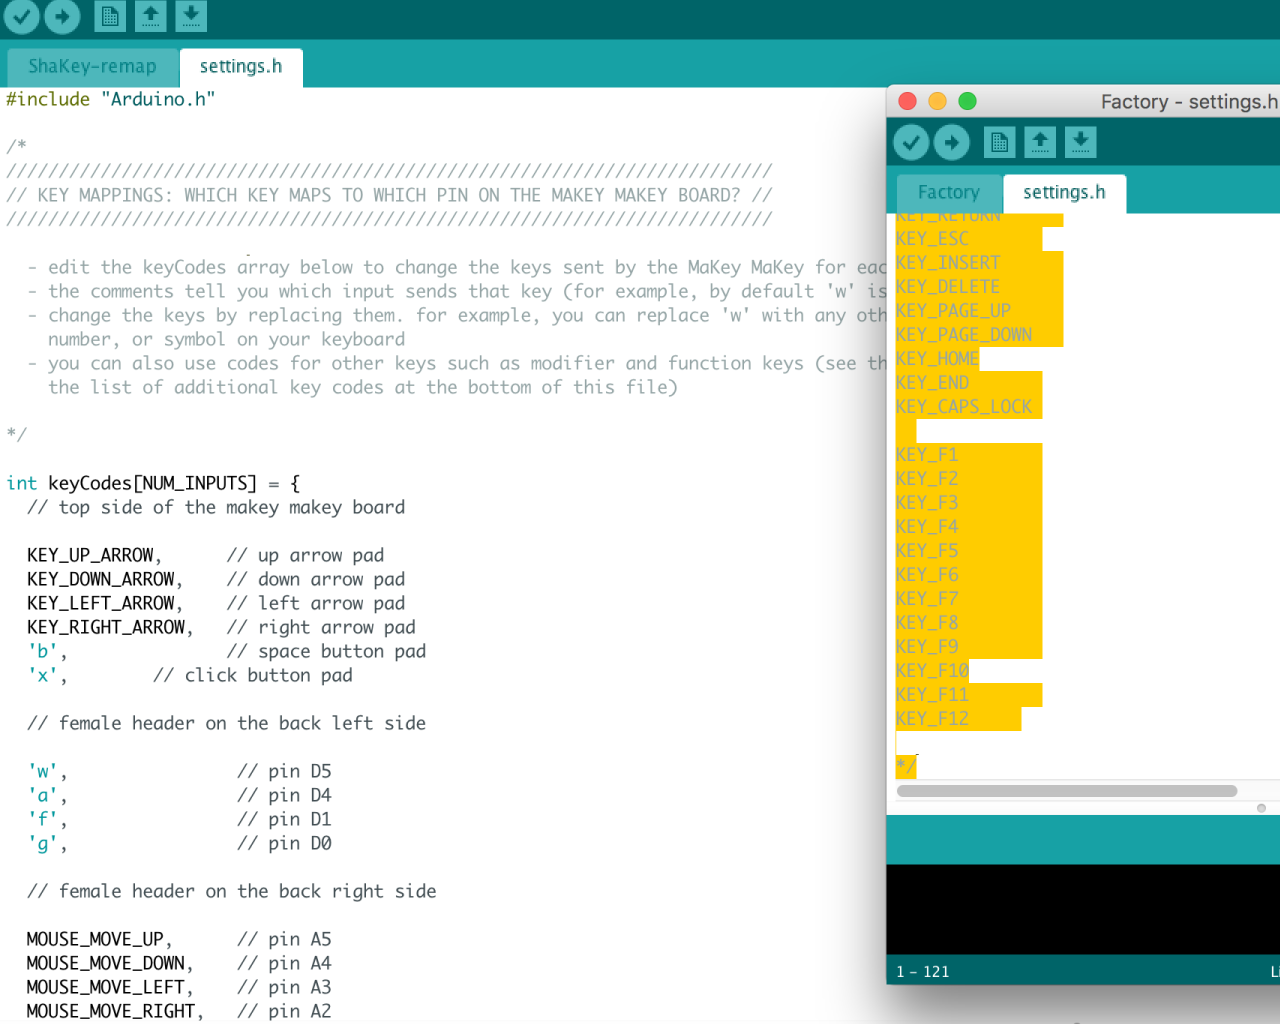
Copy 'settings.h' and paste it into a new sketch as well. Make sure its extension is '.h' and not '.ino'!
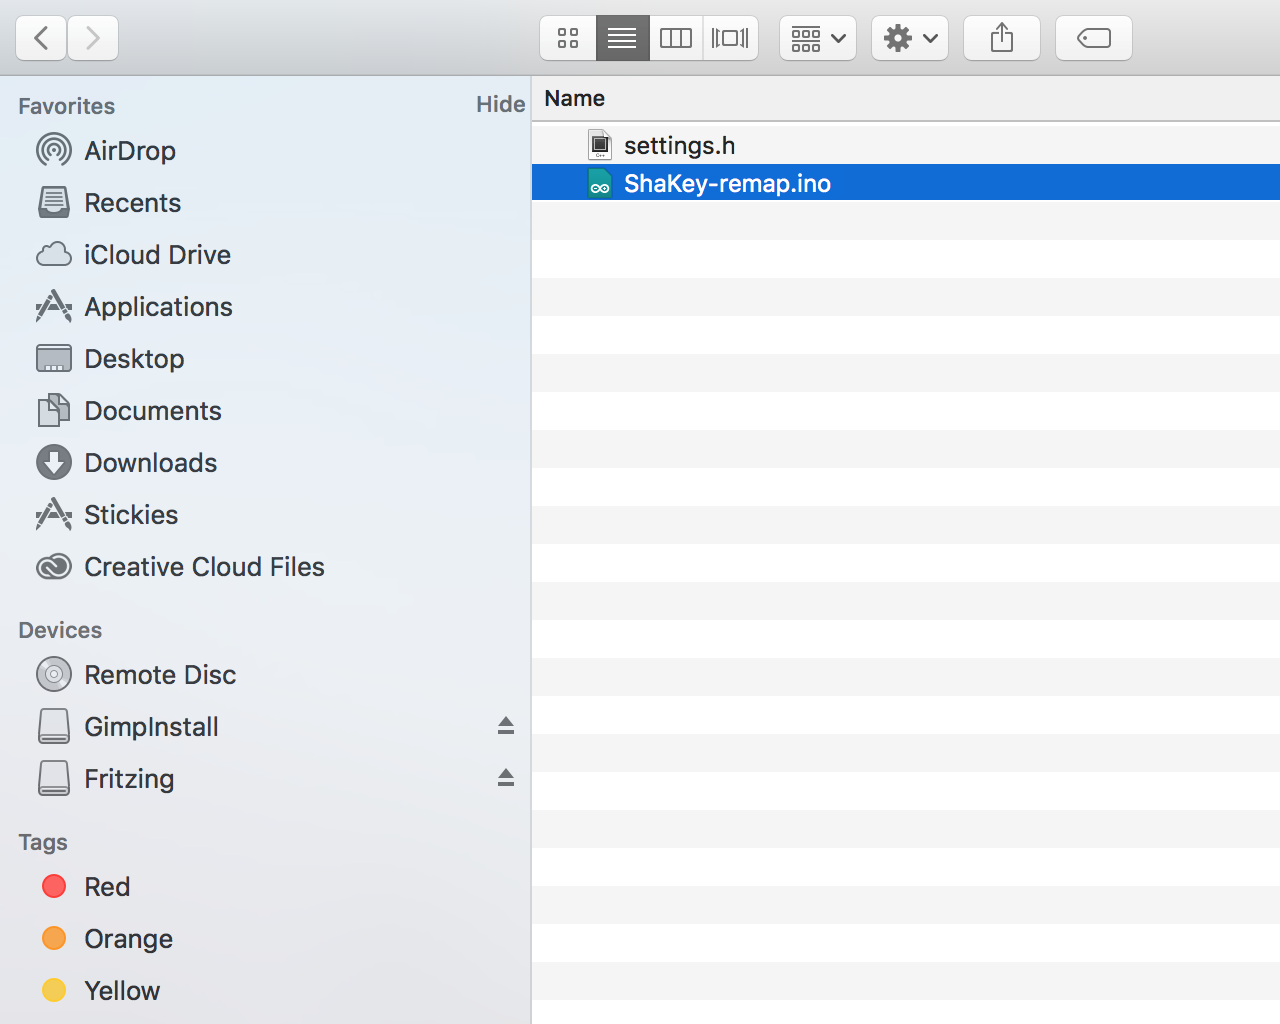
For the code to work, the new 'settings.h' file needs to be in the same directory as the new sketch file. So place it in the same directory as shown.
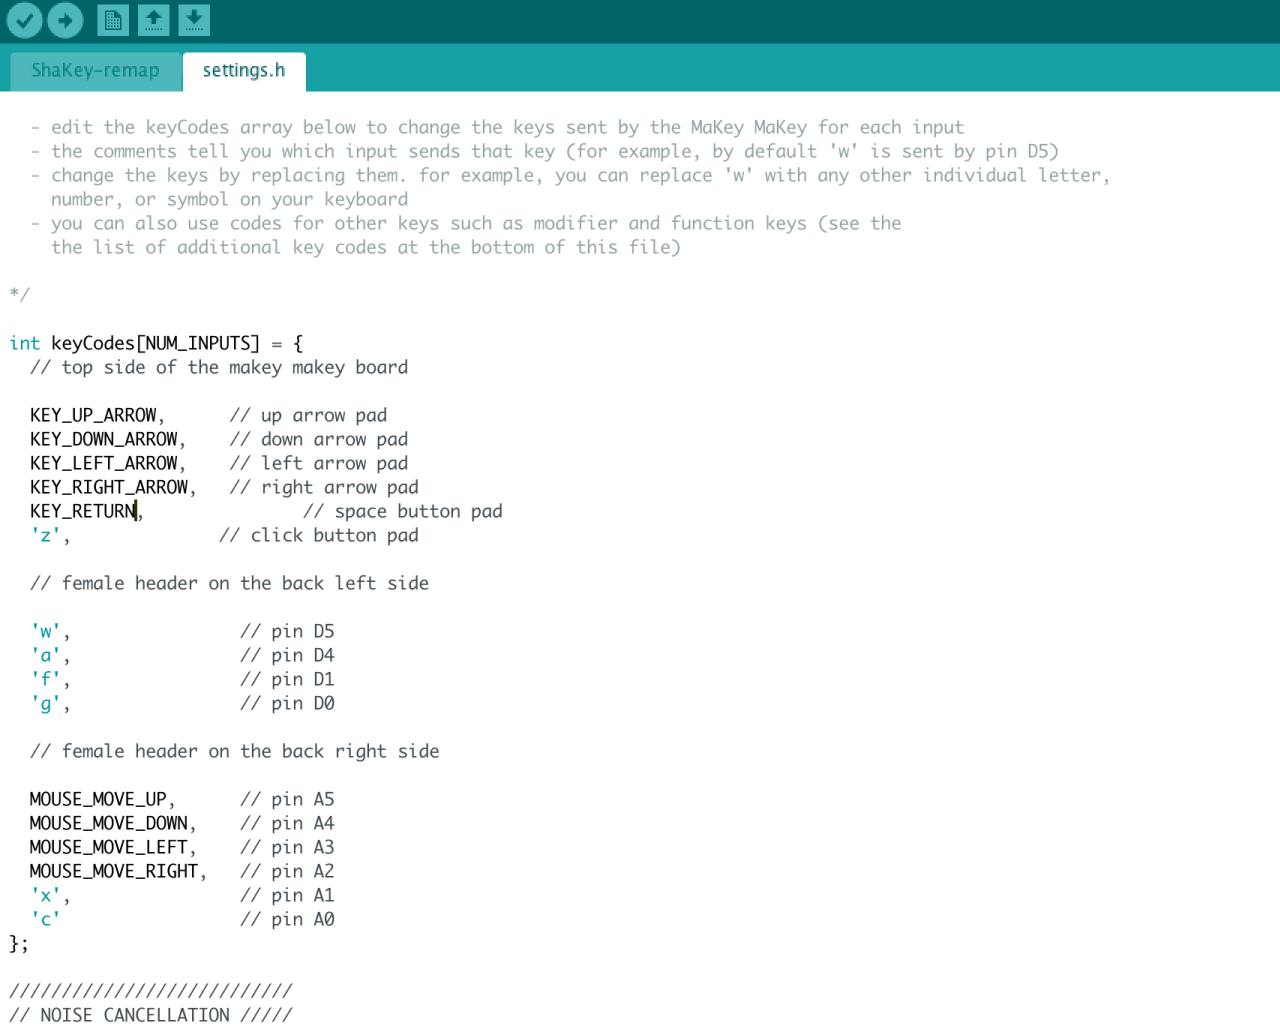
In this new sketch, the inputs for up, down, left and right are kept the same. Four inputs on the right hand side of the ShakeUp have been changed to 'z', 'x', 'c' and the return key, 'KEY_RETURN'.
For a full list of key codes, scroll down to the bottom of the sketch. They should be in grey, this means they are comments.
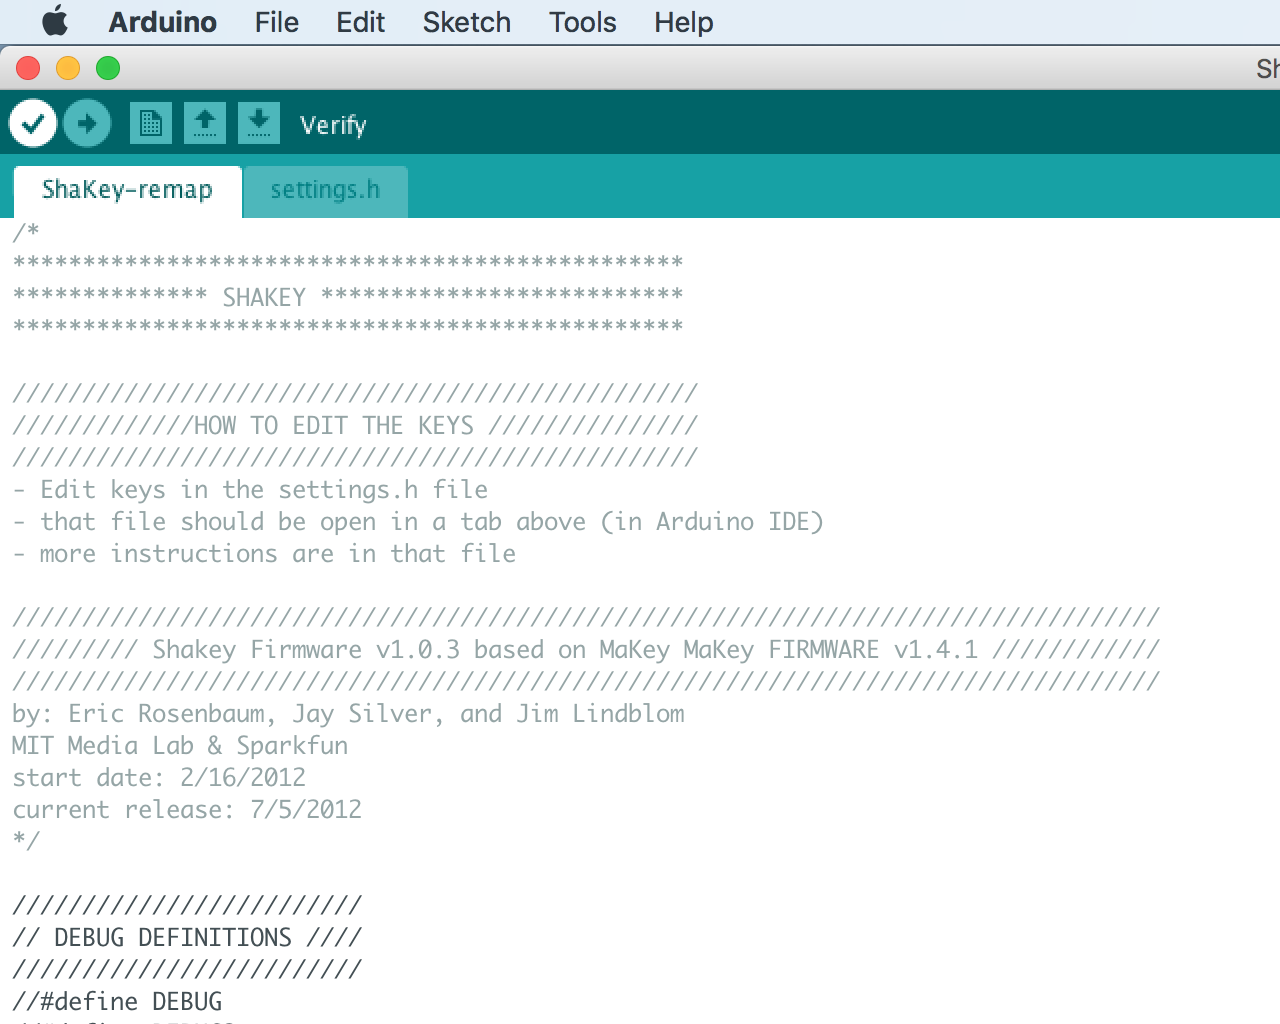
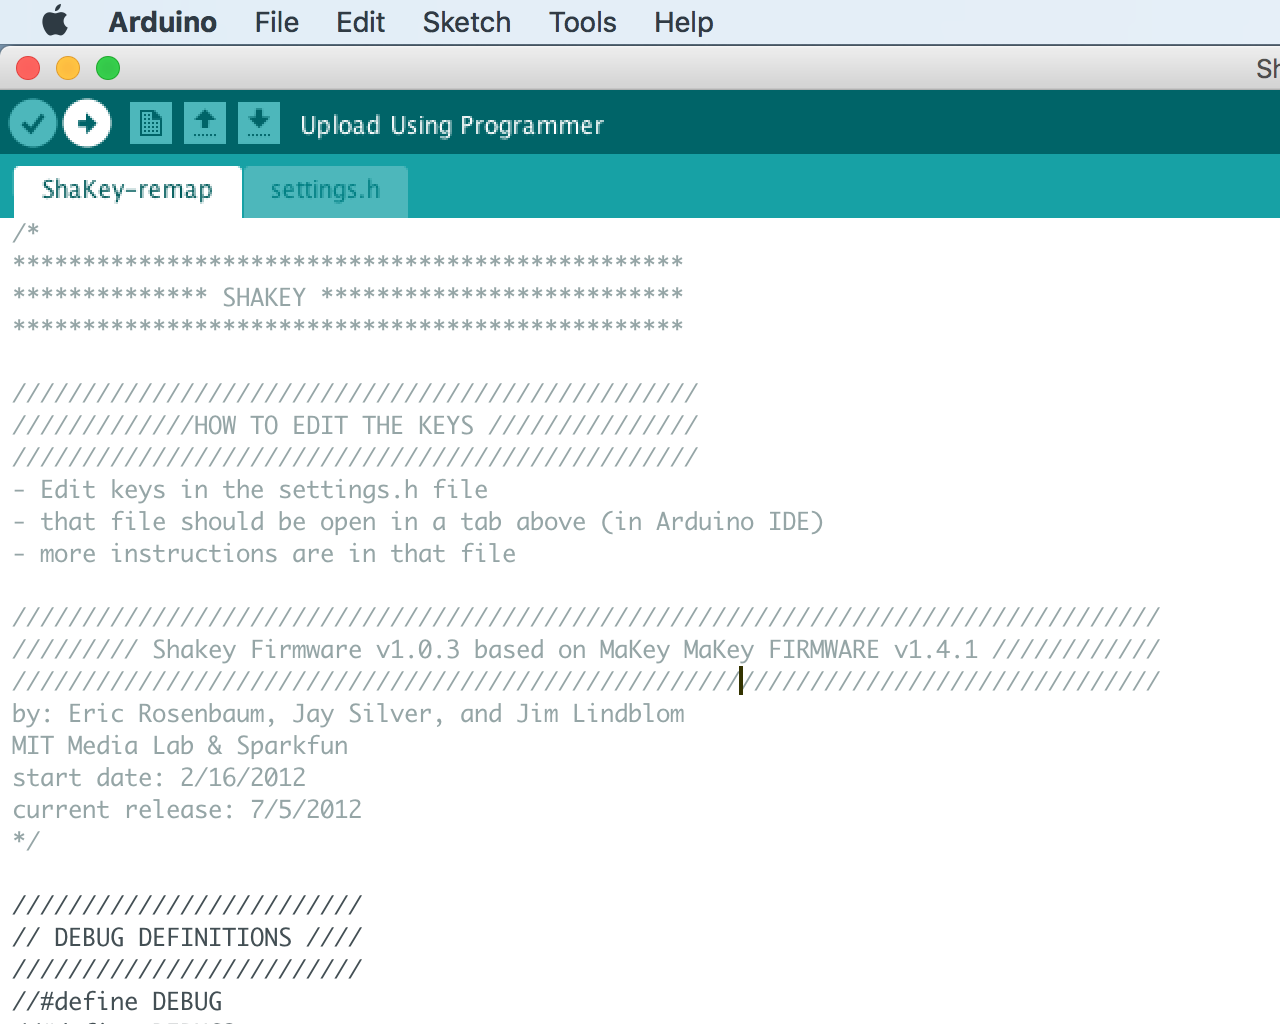
Save the new settings.h file, and re-upload the new ShakeUp sketch file, 'ShakeUp-remap.ino'.
