How to Attach Heatsinks to Raspberry Pi 4
Learn to attach heat sinks to the Raspberry Pi 4
Written By: Cherie Tan

Difficulty
Easy
Steps
6
With a more powerful processor on the Raspberry Pi 4, this means more excess heat can be expected. The new Broadcom BCM2711 System-on-chip (SoC) has the same packaging as its predecessor, but it is more powerful and will run noticeably hotter than the Raspberry Pi 3 Model B+. To protect your Raspberry Pi 4 from overheating, use heatsinks.
In this guide, learn how and where to attach heat sinks to your Raspberry Pi 4.
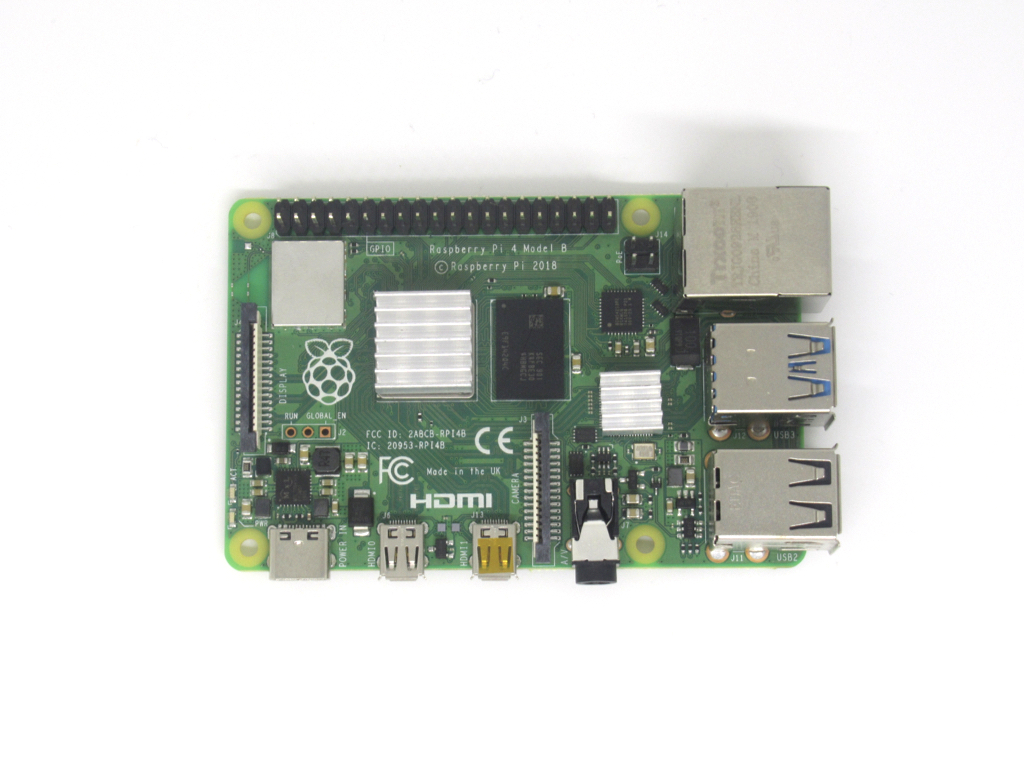
After completing this guide, your Raspberry Pi 4 will be much more safer from overheating.
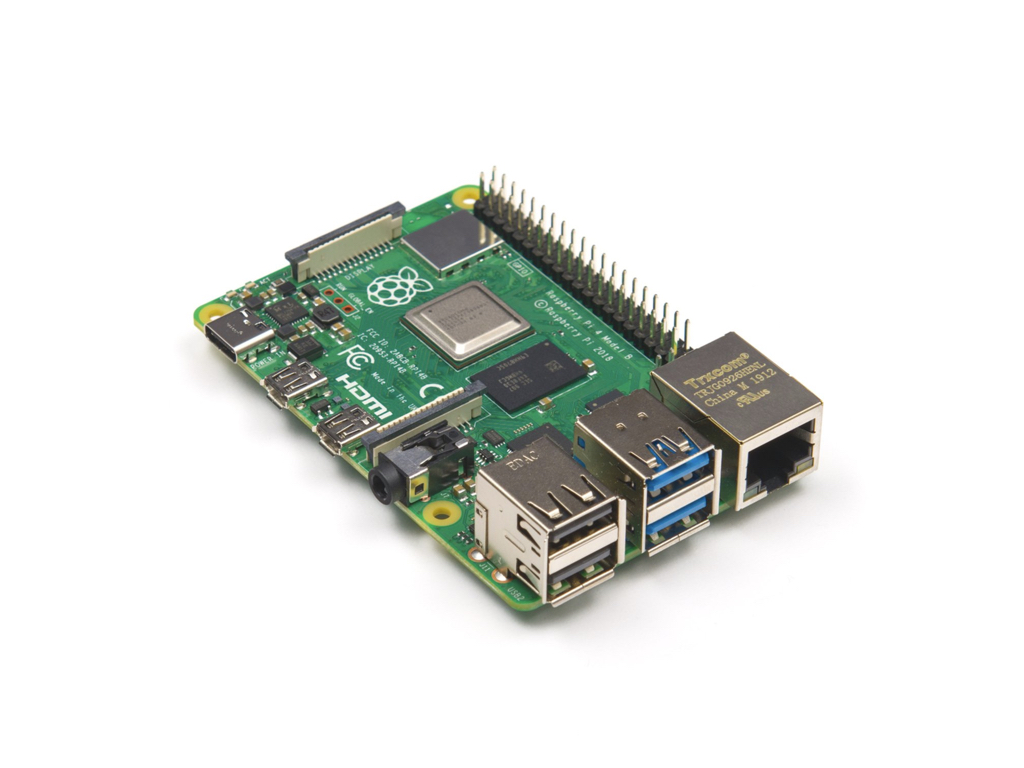
The Raspberry Pi 4's new Broadcom BCM2711 system-on-chip has the same packaging as its predecessor, but it is more powerful with a vastly improved bandwidth for both memory and external hardware. According to benchmarks from MagPi, there is also a higher power draw, and this naturally leads to more heat.
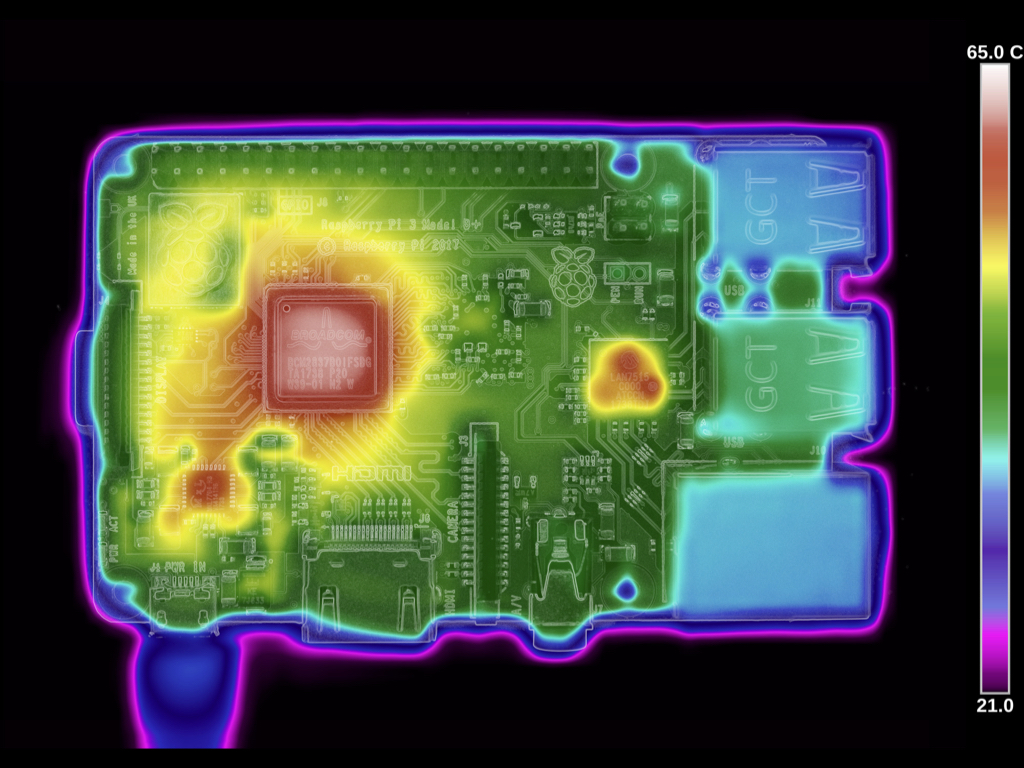
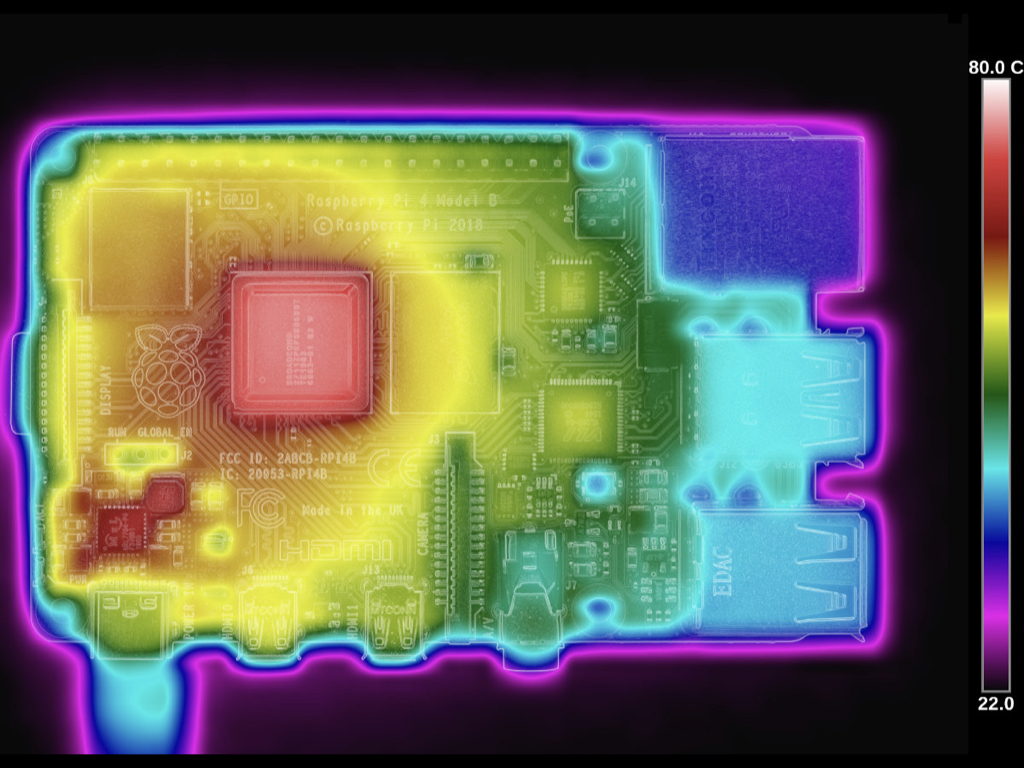
After a ten-minute heavy CPU-focused workload, a thermal image is captured, demonstrating where heat is generated and how it spreads throughout the board.
The second image shows a thermal image of the Raspebrry Pi 3B+, and the third image shows a thermal image of the Raspberry Pi 4. In both cases, most of the heat is centred on the system-on-chip.
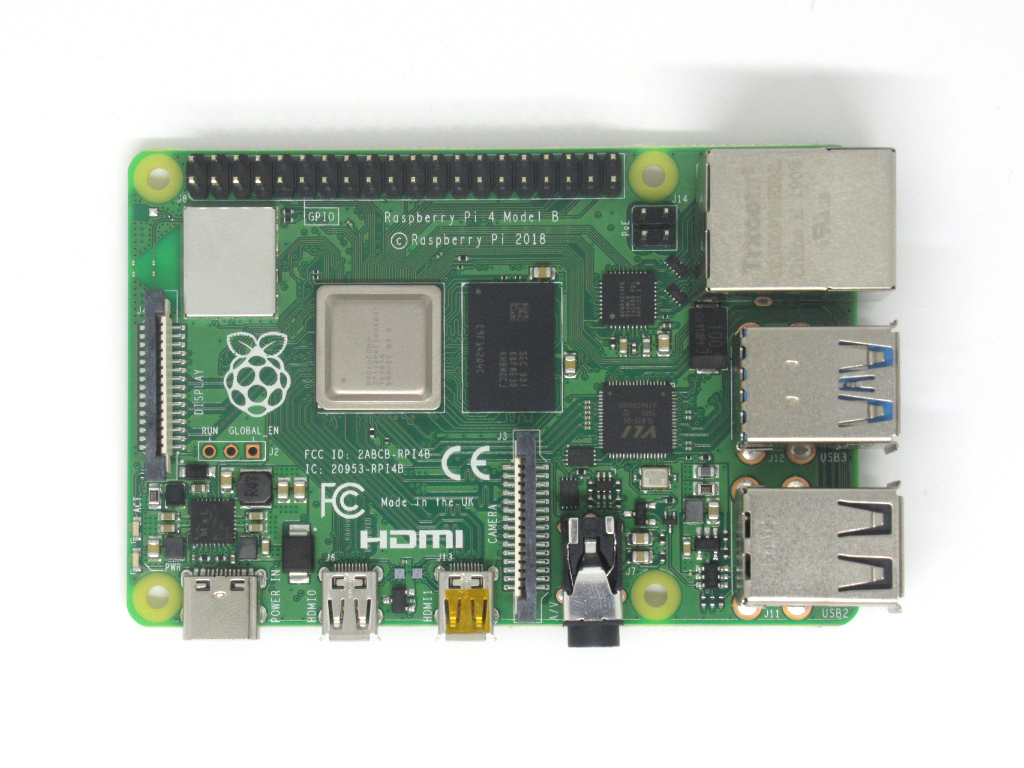
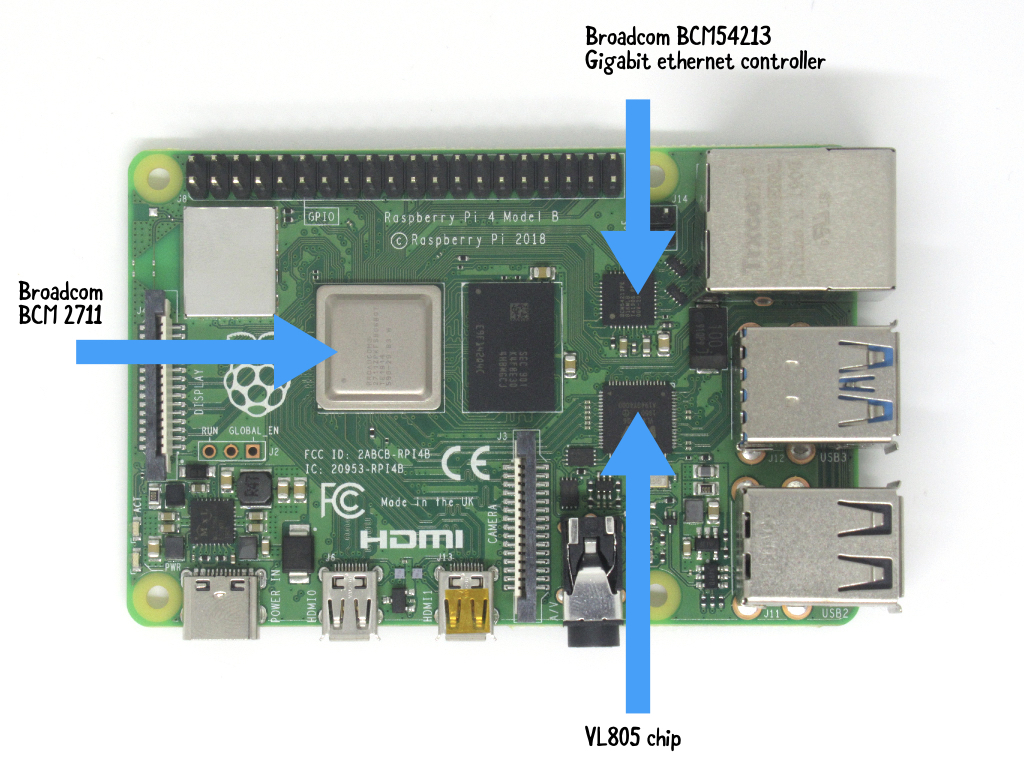
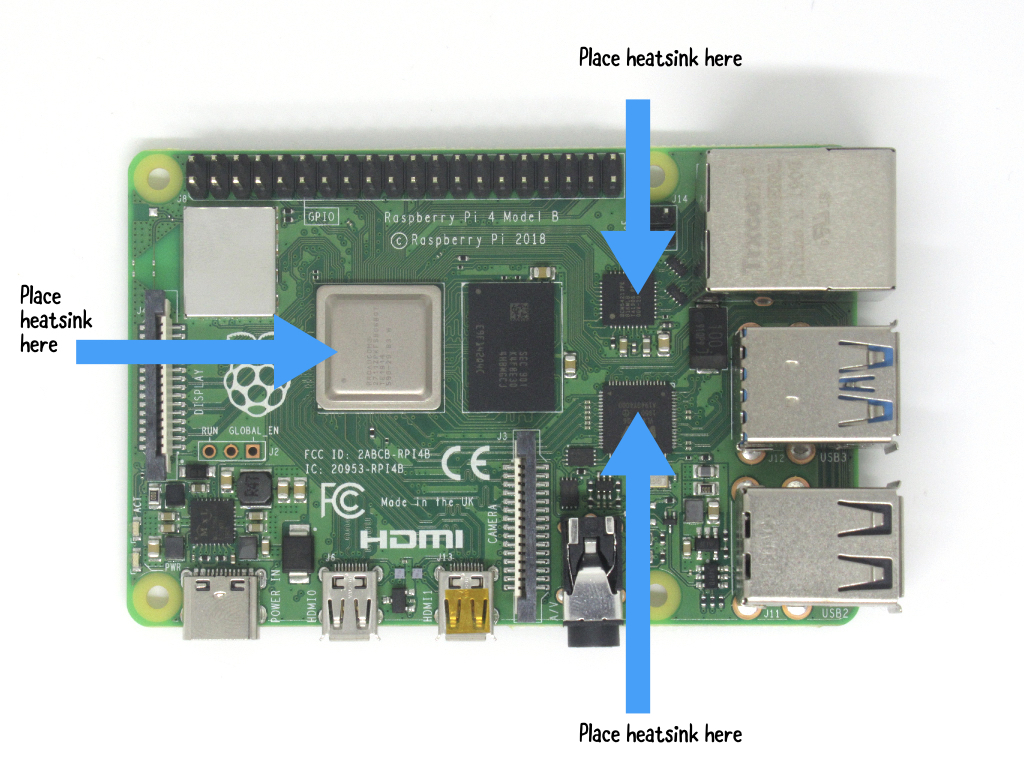
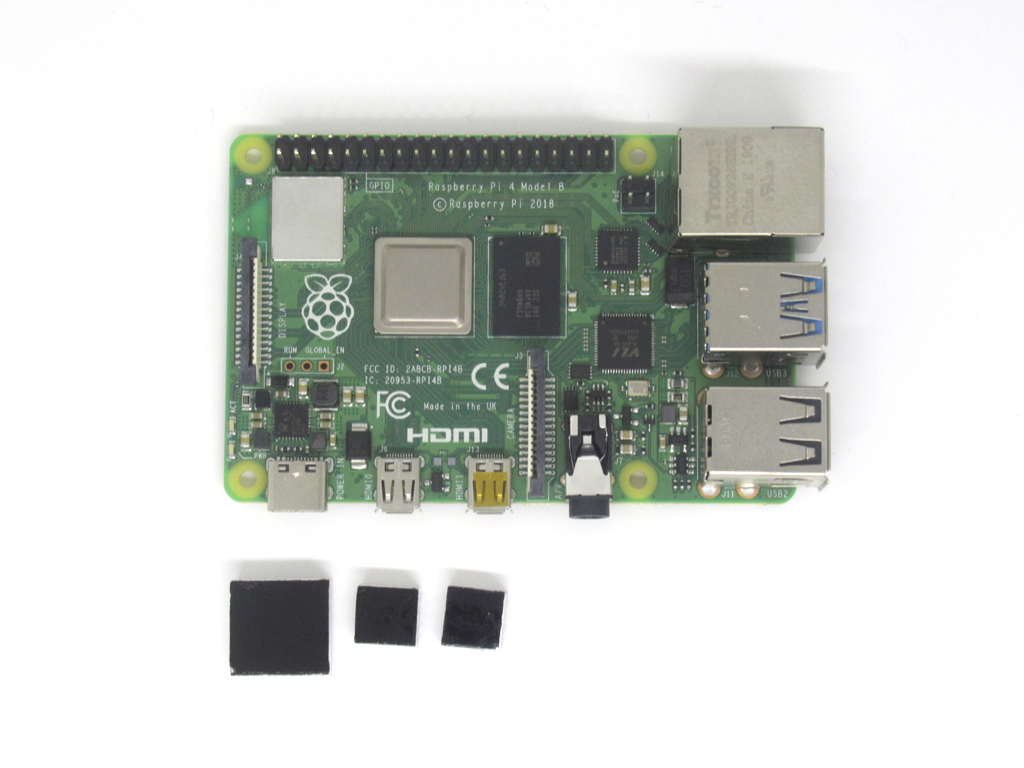
As indicated in the thermal image, most of the heat is centered on the system-on-chip. So the large heatsink will be placed on the Broadcom BCM 2711 SoC.
Next, a heatsink will be placed on the VL805 chip.
Another heatsink will also be placed on the Broadcom BCM54213 Gigabit ethernet controller.
Next, place the second heatsink on the VL805 chip for the 2 x USB 3.0 and 2 x USB 2.0 ports as shown.
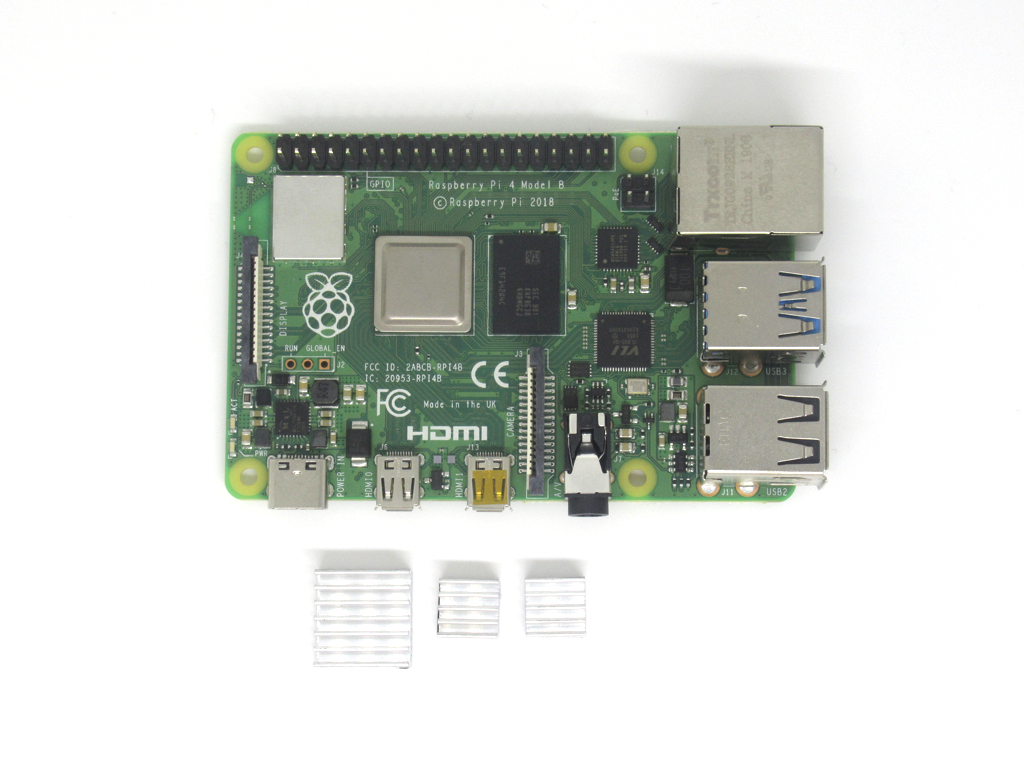
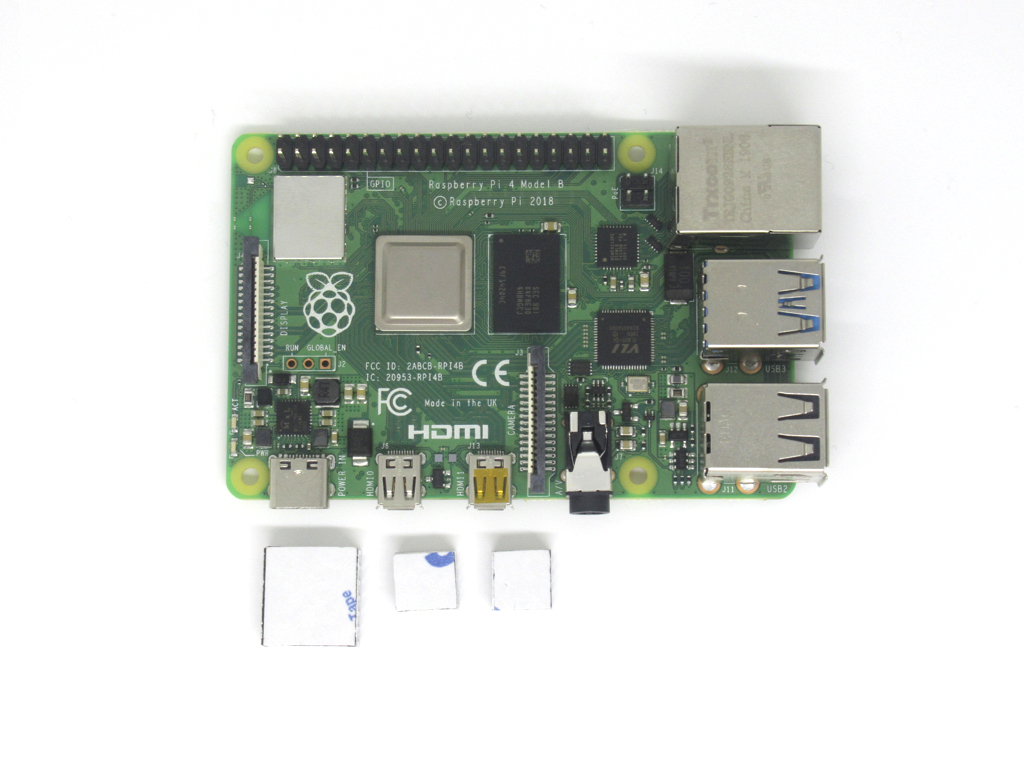
Each heatsink comes with some adhesive, simply peel back the tape on the flat side of the heatsink.

