String Instrument with ShakeUp
Learn about lists and make your own string instrument
Written By: Cherie Tan
Difficulty
Medium
Steps
11
You might have already learned to make music with the ShakeUp. But what about making your own string instrument?
In this guide, you will take what you've learned about variables and conditional control blocks, and build a string instrument with the ShakeUp. We'll use cardboard, conductive tape, alligator clips, the ShakeUp and Scratch programming language.
Complete this guide to learn about a new programming concept, lists, and take your programming skills to the next level.
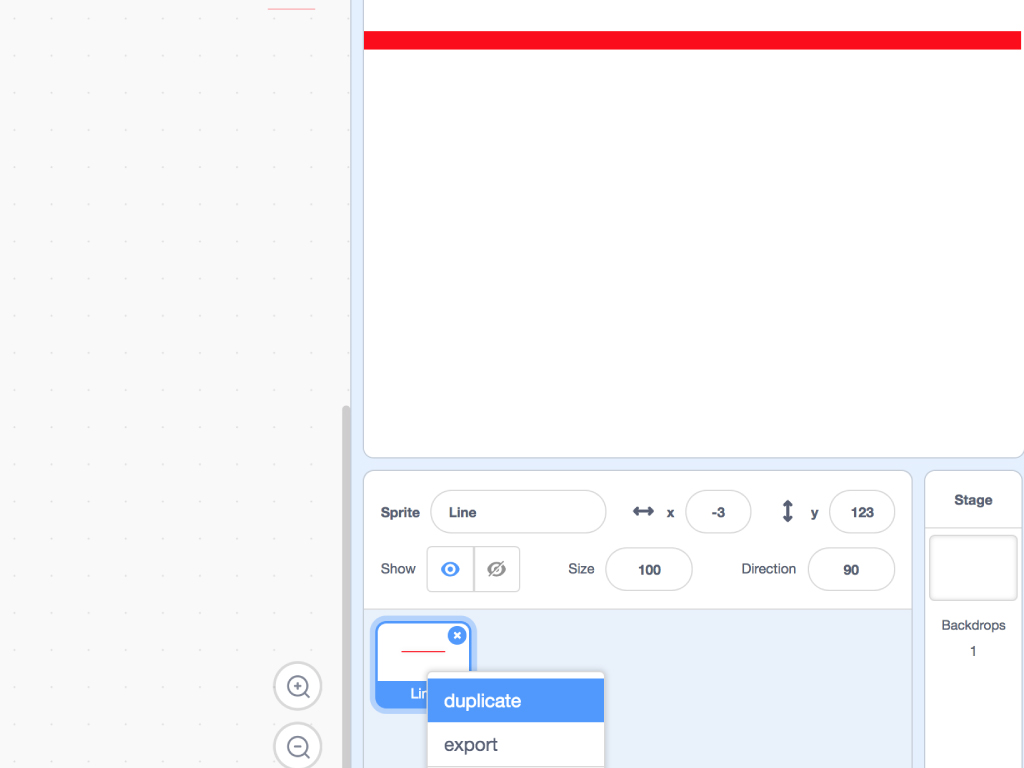
Right-click on the newly added sprite and select 'duplicate'.
Make 5 line sprites in total.
Open up the Scratch editor and start a new project.
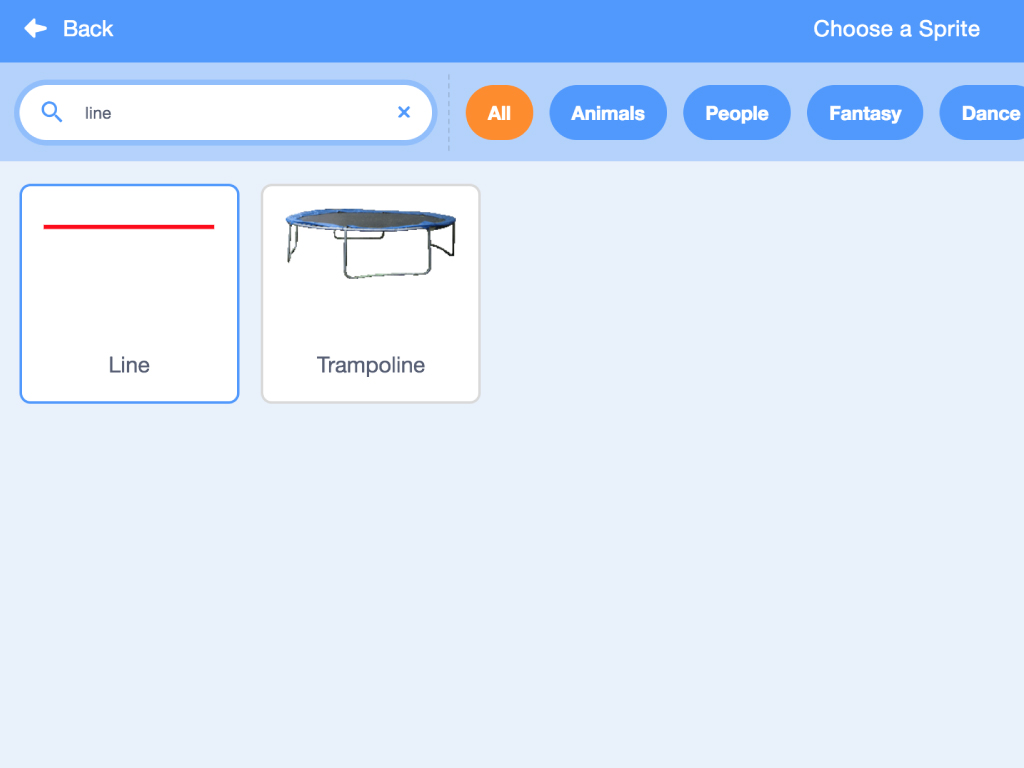
Delete the cat sprite, then click on 'Choose a Sprite'.
Type 'line' in the search box and click on the 'Line' sprite.
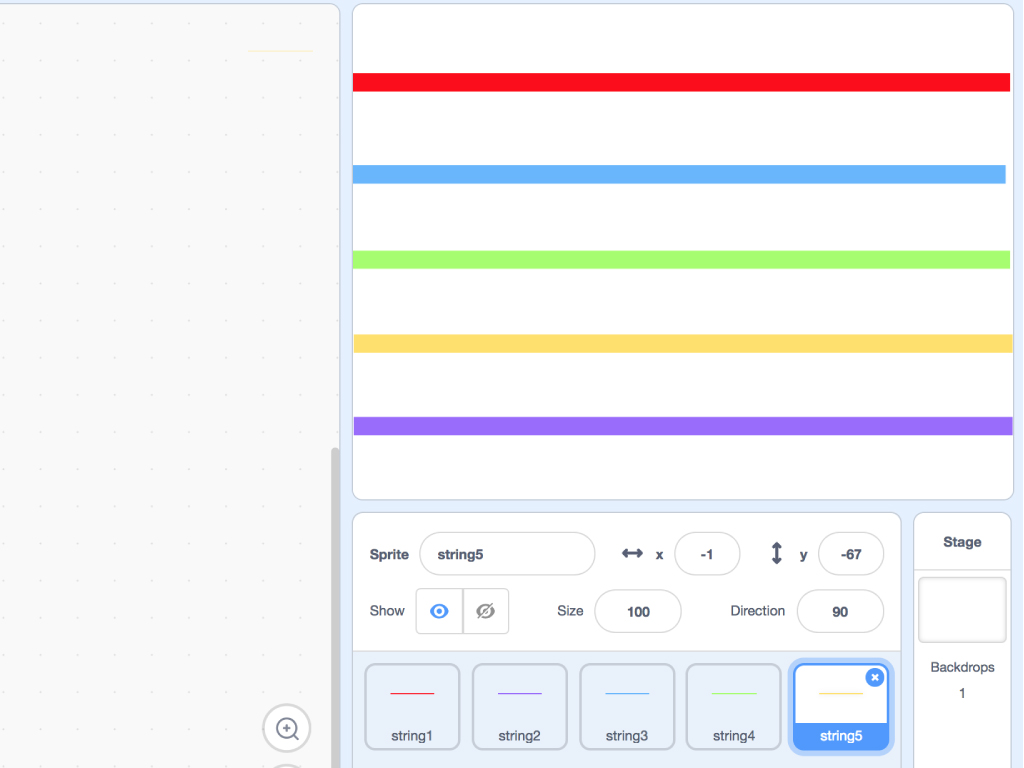
We have named them 'string1' , 'string2' , 'string3' , 'string4' and 'string5'.
Then click on 'costumes' to edit the colour to your liking.
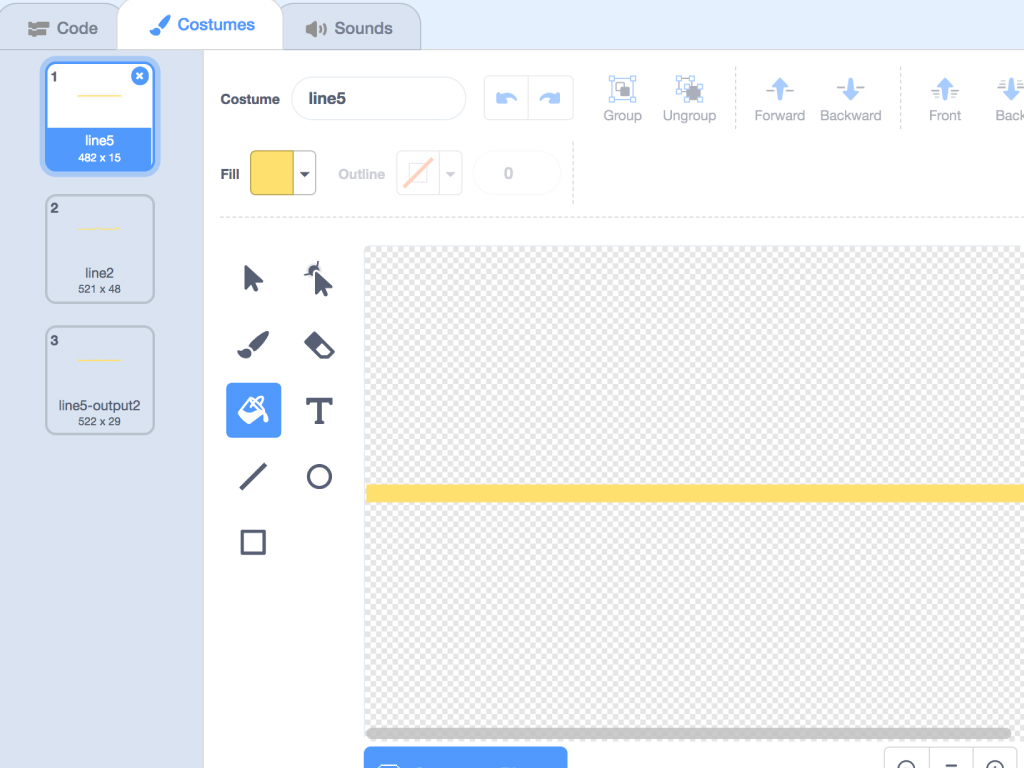

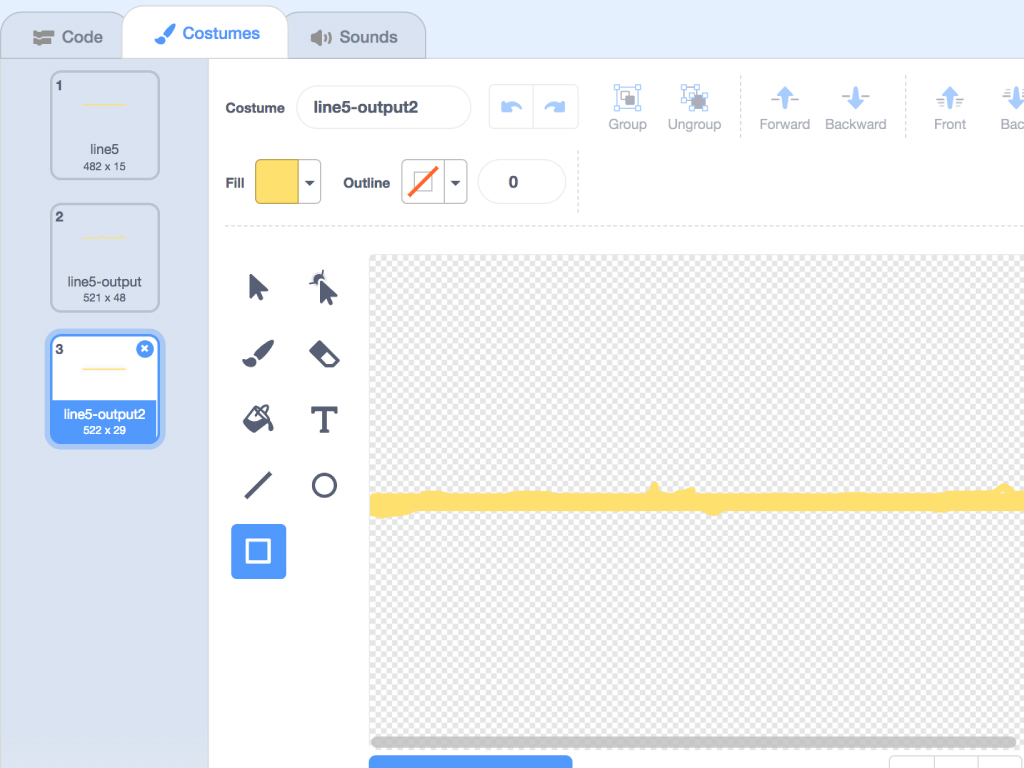
To add some animation to our scratch program, we'll create more costumes for the 5 line sprites. For each 'string' sprite, we'll add two more costumes. 'line-output' and 'line-output2'. This will make the animation transition more smoothly.

Click on the Backdrop.
Now click on the 'Code' tab.
While a variable is limited to storing a single value at any one time, what if you needed to store and use multiple, related values such as from a grocery list or in this case, music scales (a scale is a set of notes in order of their pitch)? You could use multiple variables, but that might get complicated. Thankfully, there are lists. A list lets you store multiple values in one place and is a simpler and easier solution.
Create a new variable by clicking on the 'Variables' tab and 'Make a Variable'. Name it 'scale'.
Then click on 'Make a List'. Name it 'scales'
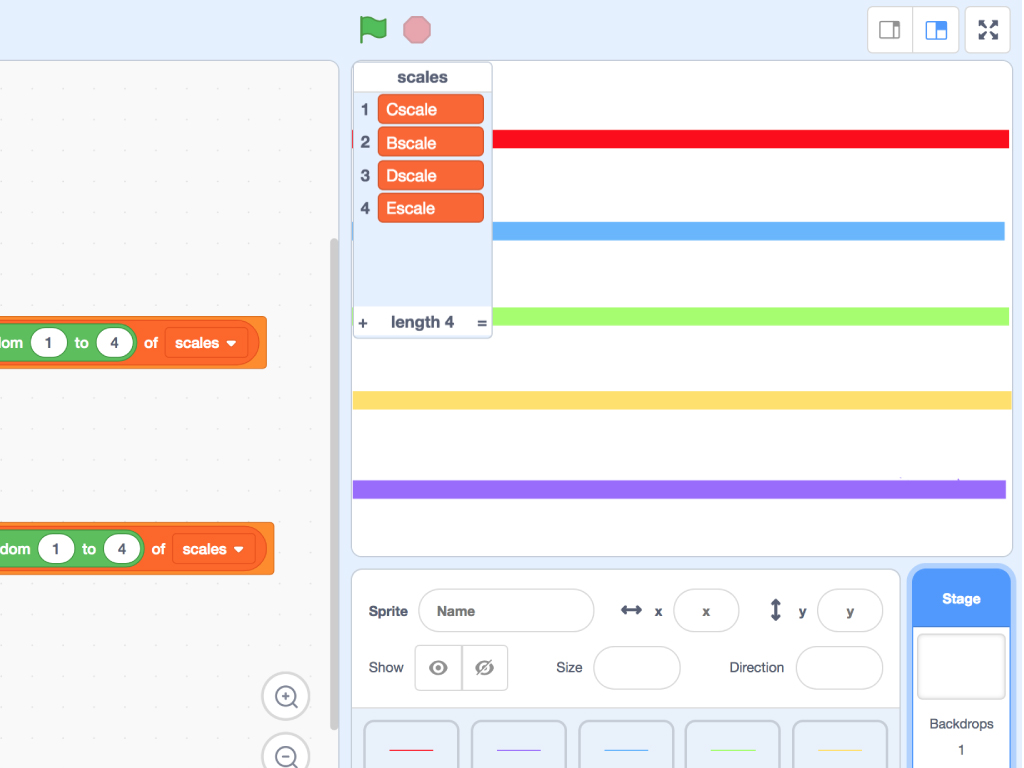
Our instrument will be able to play these four scales: C scale, B scale, D scale, and E scale. The list 'scales' will hold these four values. When green flag icon is clicked, pick a random scale from the list. When 'g' key is pressed, pick the first item from the scales list. When 'a' is pressed, pick the second item and so on and so forth. We will need to add the items to the 'scales' list.
Click on the check box next to 'scales' in the 'Lists' tab. It should show up on screen.
Click on the '+' to add a value to the list. We've added four values, 'Cscale', 'Dscale', 'Bscale' and 'Escale'.


Next, create new lists, 'Cscale', 'Bscale', 'Dscale', and 'Escale'. In these lists, this is where we'll later store the notes for the C scale, B scale, D scale and E scale.
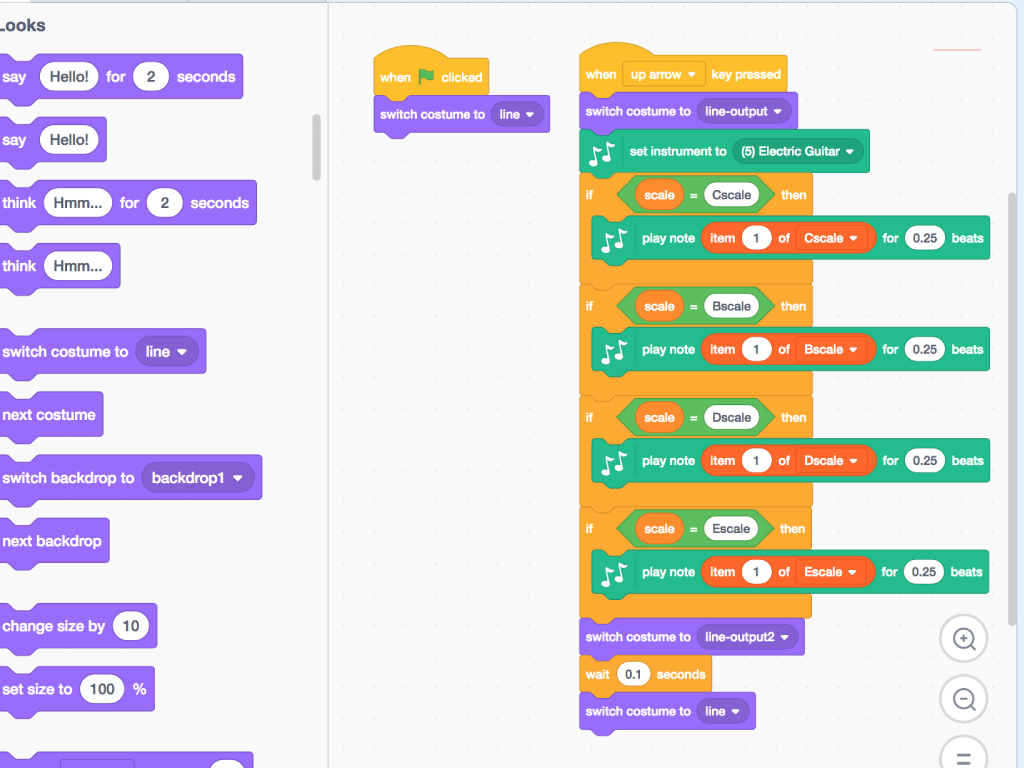
Click on 'string1' sprite and the 'Code' tab to add the blocks as shown in the first image.
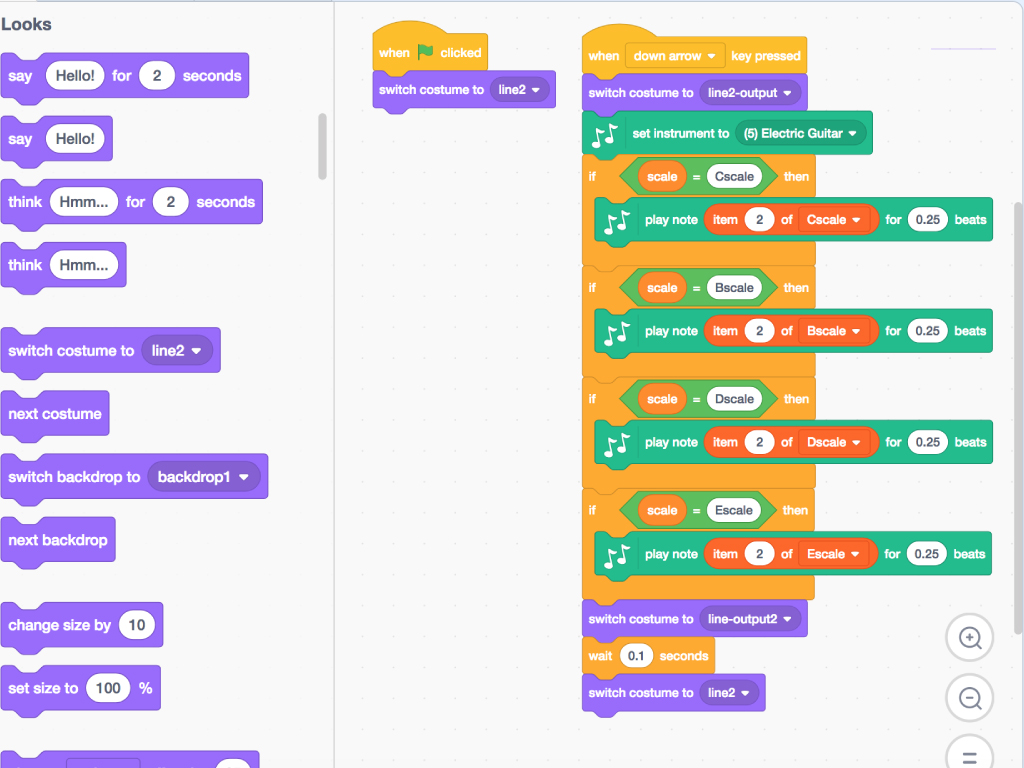
Then click on 'string2' sprite and the 'Code' tab again to add the blocks in the second image.
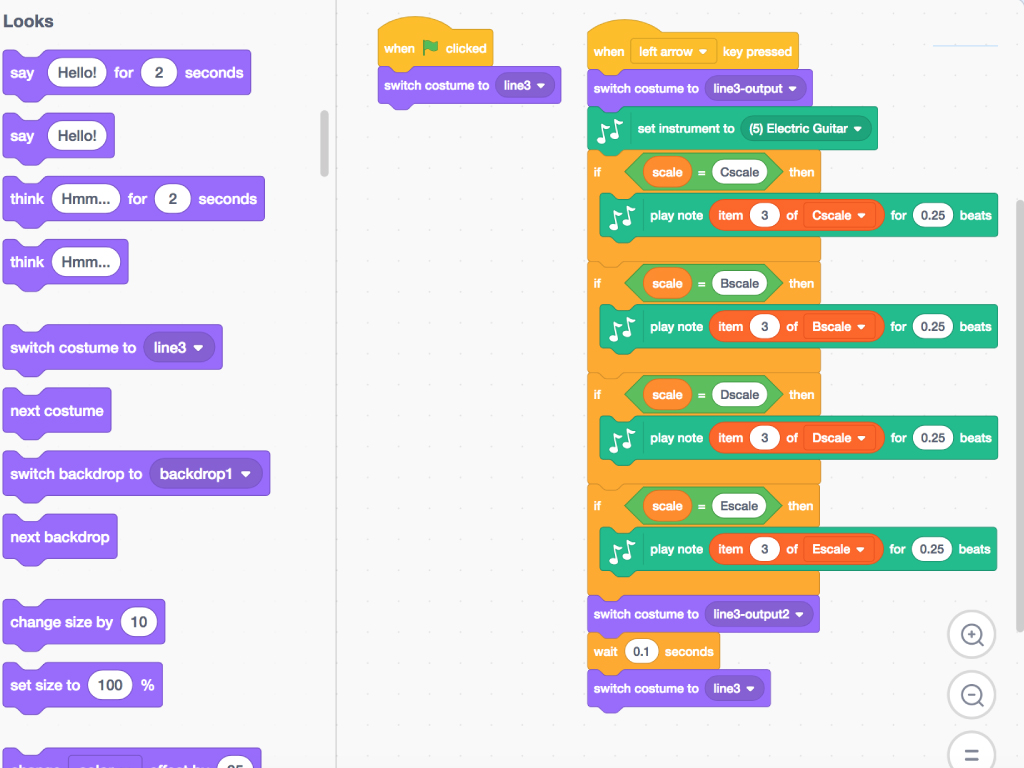
Finally, click on 'string3' sprite and the 'Code' tab again, to program that sprite.
For 'string1' sprite, we'll use 'when up arrow key pressed' block.
For 'string2' sprite, this will be 'when down arrow key pressed' block.
For the 'string3' sprite, we will use a 'when left arrow key pressed' block.
For 'string1' sprite, we'll use 'when up arrow key pressed' block.
For 'string2' sprite, this will be 'when down arrow key pressed' block.
For the 'string3' sprite, we will use a 'when left arrow key pressed' block.
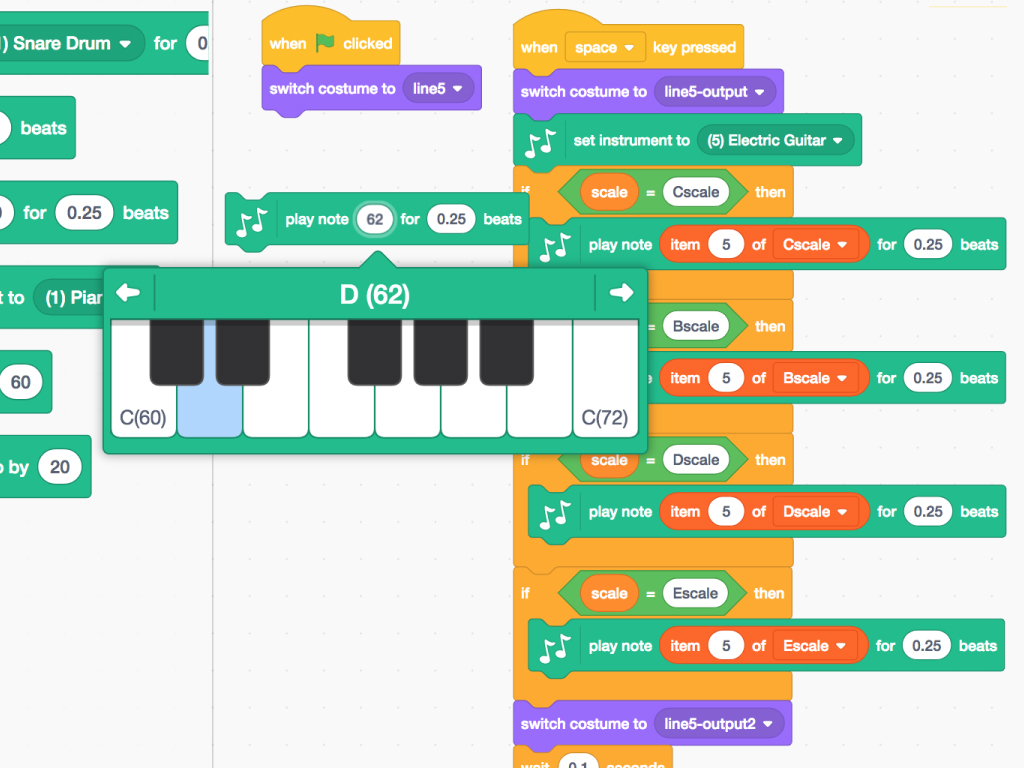
Make sure to switch the costumes and set the instrument to 'Electric Guitar' or whichever string instrument you'd like.
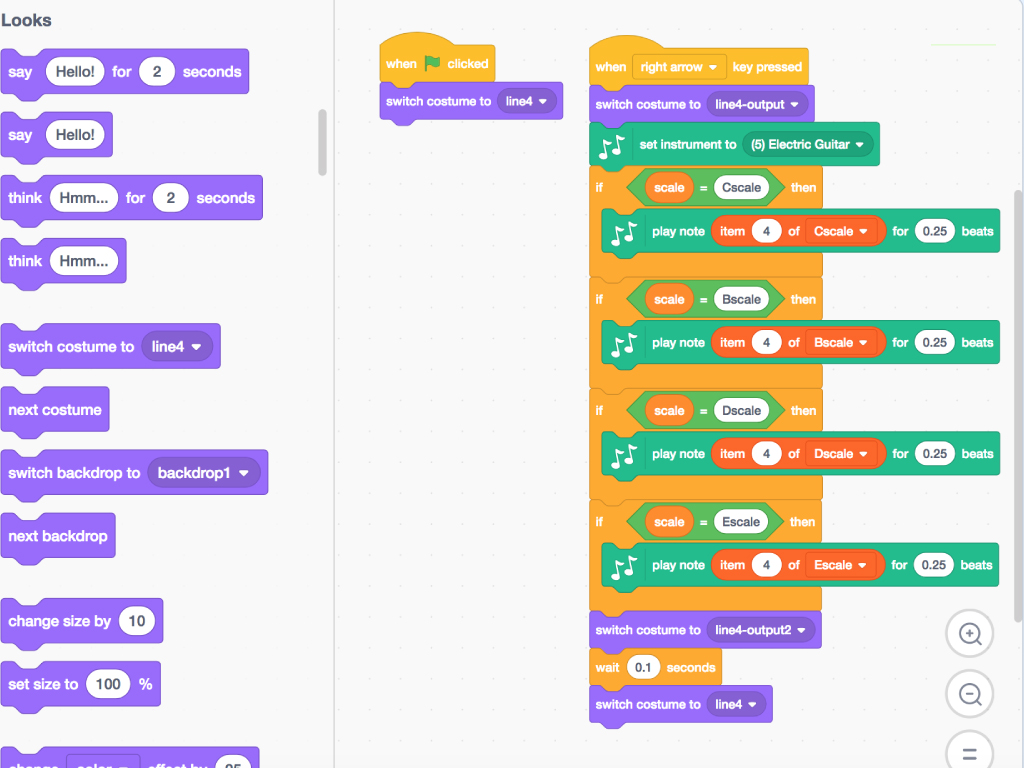
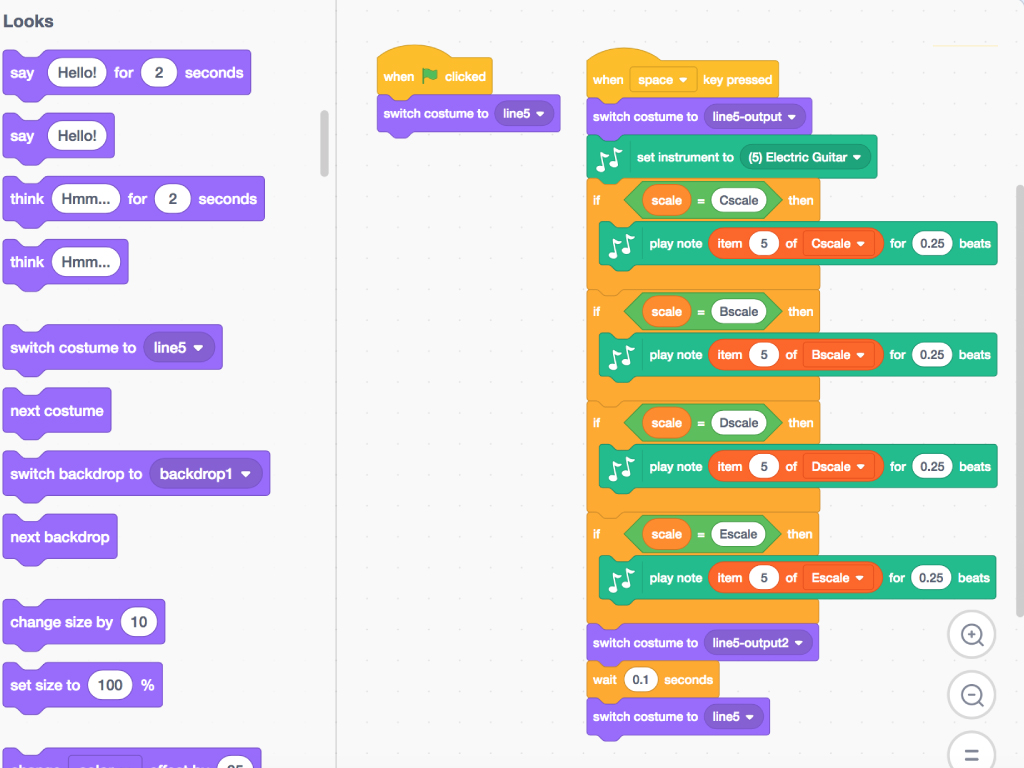
Now program the final two string sprites. Add the following code blocks as shown.
For 'string4' sprite, we'll use 'when right arrow key pressed' block.
For 'string4' sprite, we'll use 'when right arrow key pressed' block.
For 'string5' sprite, use the 'when space key pressed' block.
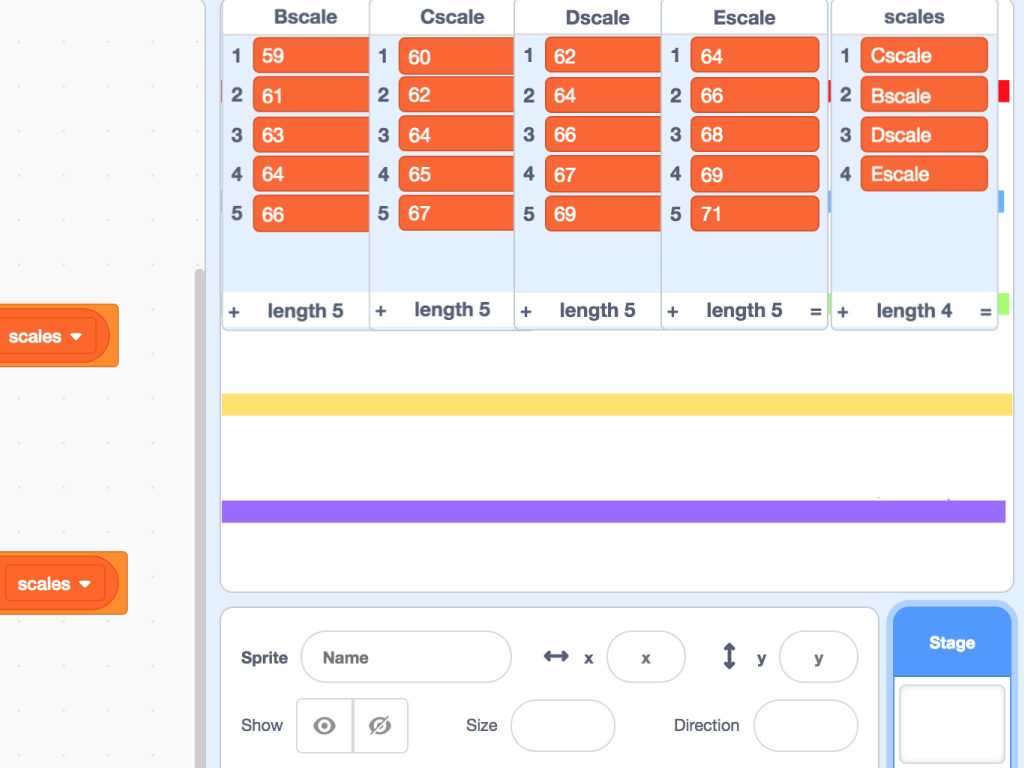

Let's now add values to the lists, 'Bscale' , 'Cscale' , 'Dscale', and 'Escale'.
The notes in the C scale: C, D, E, F, G, A, B.
D scale: D, E, F♯, G, A, B, and C♯
B scale: B, C♯, D♯, E, F♯, G♯, and A♯
E scale: E, F♯, G♯, A, B, C♯, and D♯
The middle C note is represented by '60' in Scratch. We'll add or subtract from that number to go up or down the musical scale.
We'll do the same for the rest of the scales. If you're unsure what value the note is represented in Scratch, use a 'play note ... for ... beats' block. A tiny piano visual will pop up on click, displaying the note and its Scratch value.
You can download the full Scratch code here: String-Instrument-ShaKey.sb3
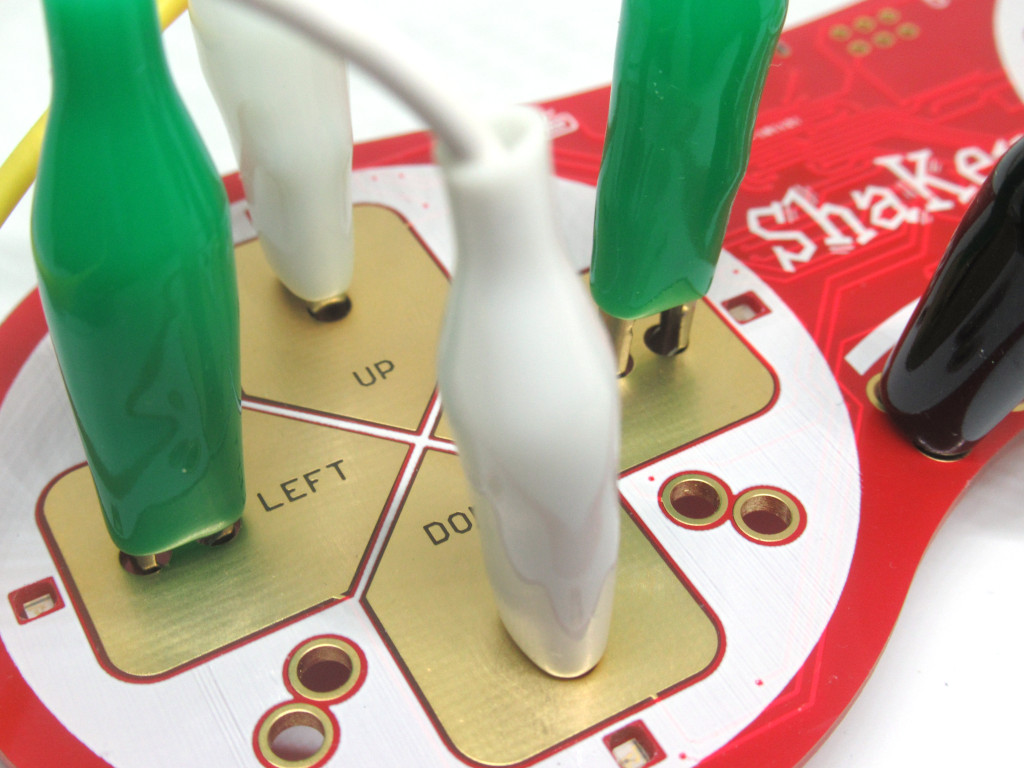
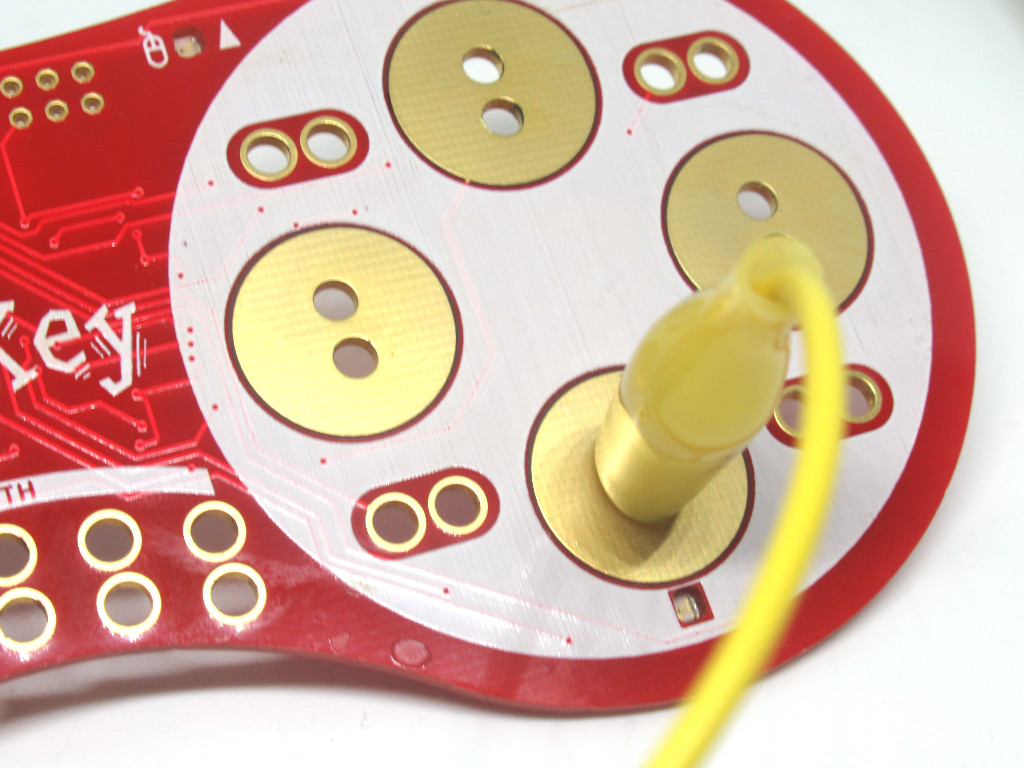
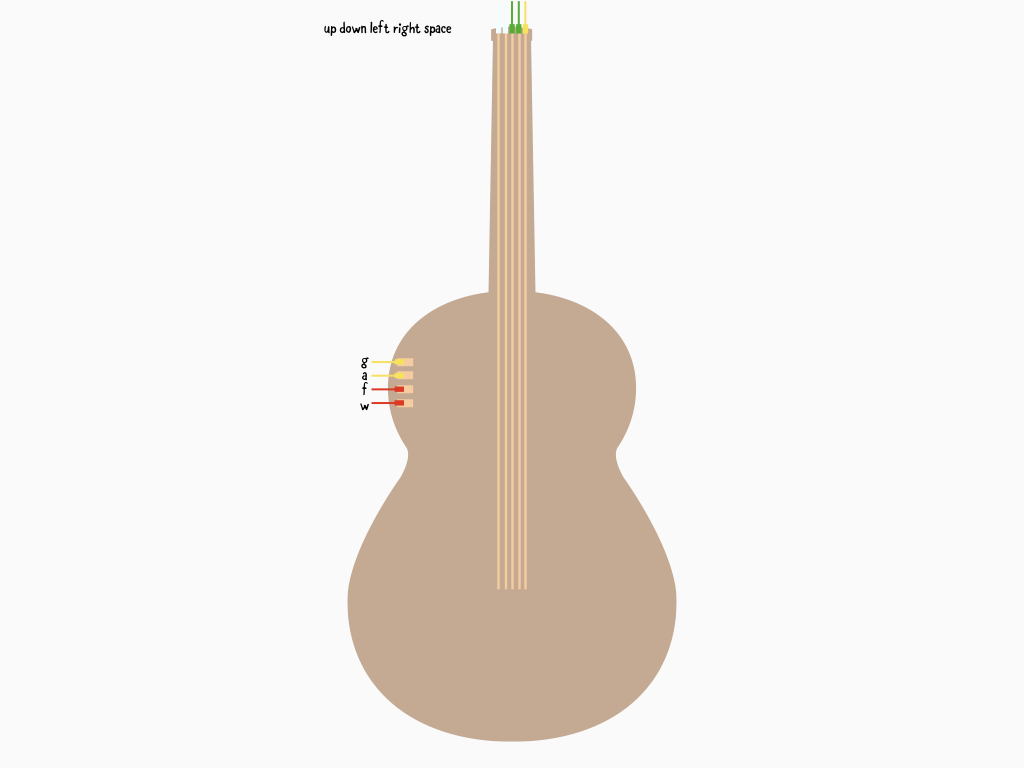
Go ahead and attach white alligator clips to 'Up' and 'Down' inputs on the ShakeUp.
Attach green alligator clips to 'Left' and 'Right' inputs on the ShakeUp.
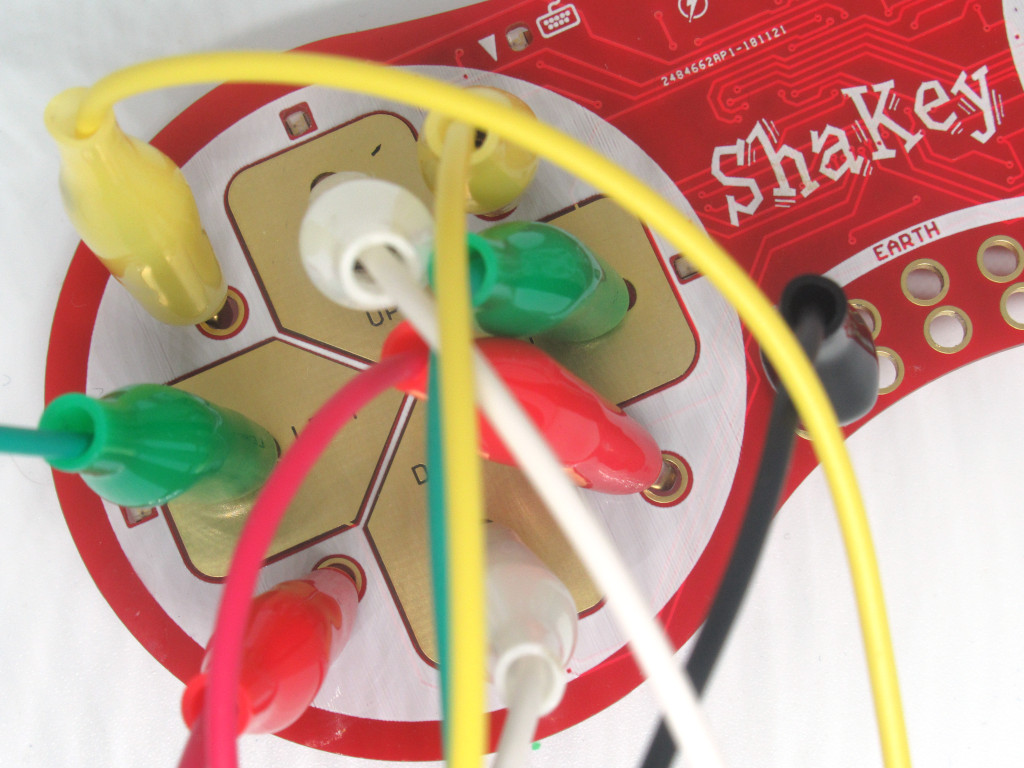
Connect alligator clips to 'a' , 'g' , 'w' and 'f' inputs.
Connect another alligator clip to 'Space' input on the ShakeUp.
Finally, connect a black alligator clip to 'Earth' on the ShakeUp.
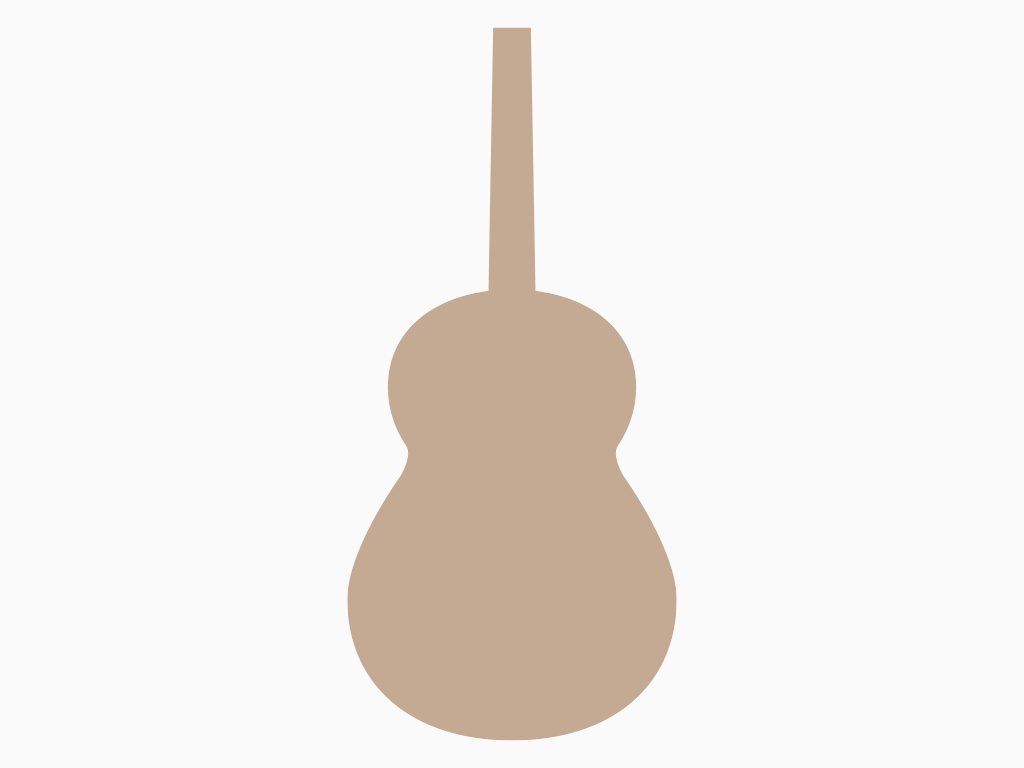
It's time to make the guitar body and neck out of cardboard! Cut out a guitar shaped piece of cardboard.
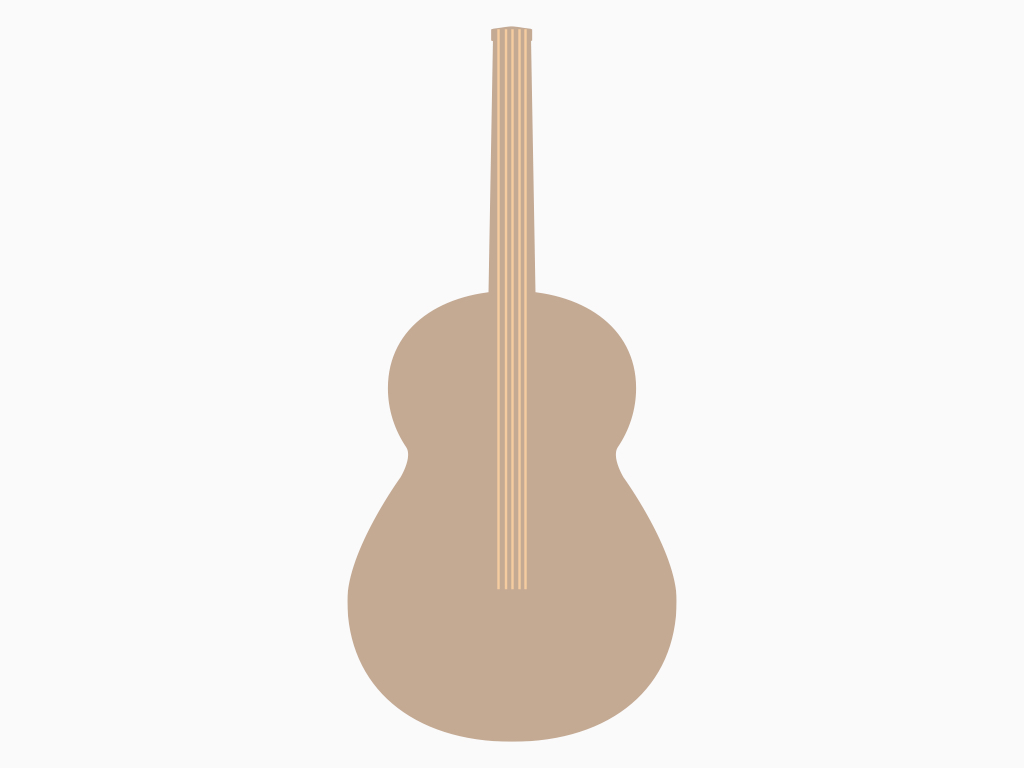
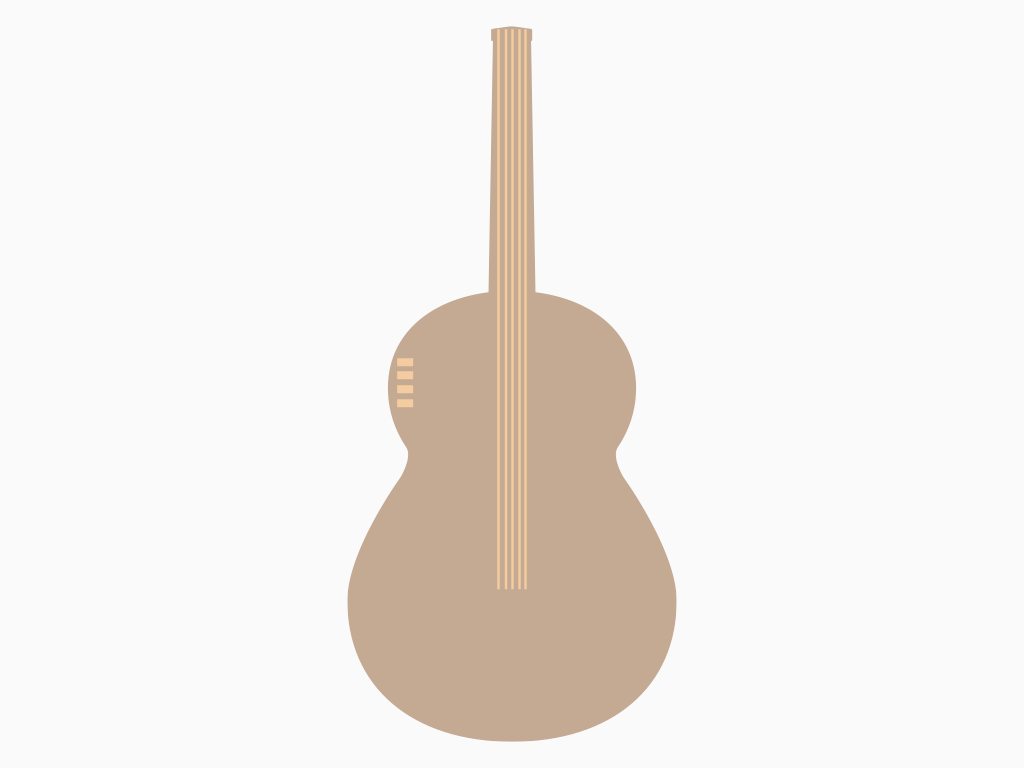
Add 5 strips of conductive tape along the guitar body and neck, all the way to the tip of the neck.
Attach the alligator clips to the right conductive strip.
Then add four more strips of conductive tape on the side, these are for changing the scales.
Connect them to 'g' , 'a' , 'f' and 'w' inputs as those are the key inputs we had programmed earlier to change the scales.
Optionally, you might want to stick the ShakeUp board onto your cardboard guitar as well for more portability.
