Retropie with Raspberry Pi
Written By: Cherie Tan
Difficulty
Easy
Steps
16
Retropie allows you to turn your Raspberry Pi into a retro-gaming machine.
This guide will show you how to set up Retropie. As Retropie is able to sit on top of a full OS, you can install it on an existing Raspbian, or start with the Retropie image and add additional software later. Follow along with this guide to learn how to do it both ways.
Complete this guide to get started with retro gaming on the Raspberry Pi.

Retropie is an application for retro gaming on the Raspberry Pi and other boards such as the Odroid as well as on PC.
There are two ways to go about installing Retropie on your Raspberry Pi. The first way is to have it installed as a standalone on the Raspberry Pi.
Alternatively, if you want to get Retropie without losing your existing Raspbian projects and environment, you can install Retropie as an application in Raspbian.
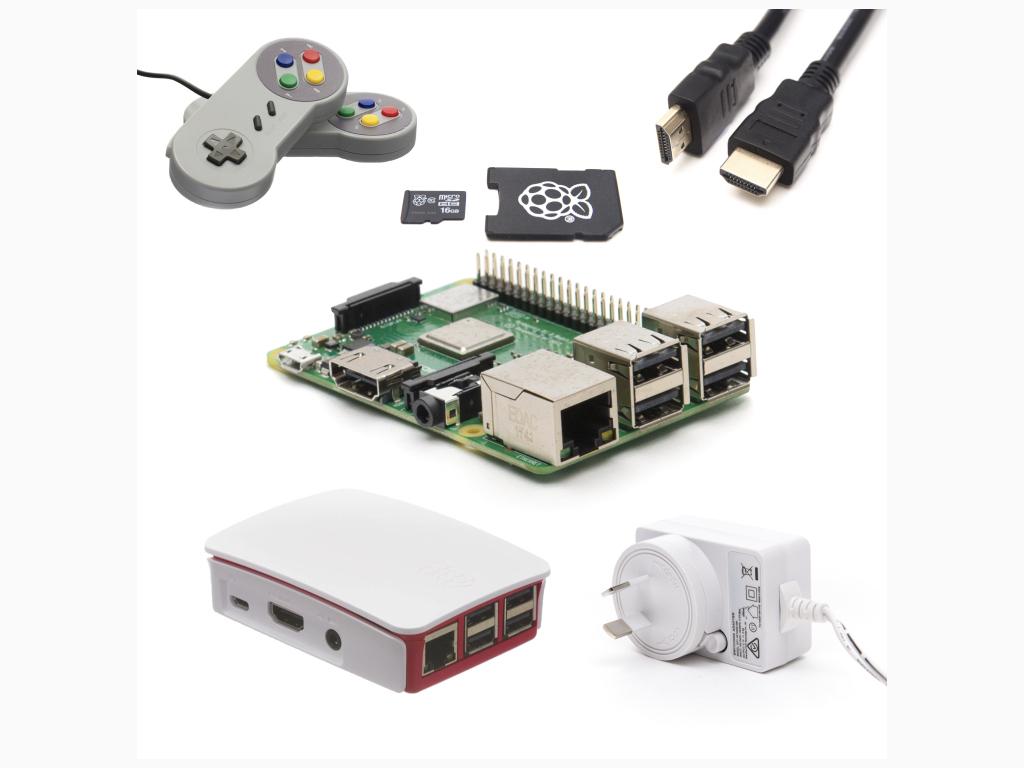
The Gamer's Kit for Raspberry Pi comes with everything you need to get started. It even comes with a 16GB micro SD card with RetroPie already pre-installed.
If you'd like to install Retropie on an existing copy of Raspbian, please skip to Step 13.
First, insert the microSD card into the Raspberry Pi.
The kit also comes with the Official Raspberry Pi Red/White enclosure. Insert the microSD card after you've put the Pi in the case. For more information on how to put it in its case, follow our guide here.
Next, connect a controller or mouse and keyboard via USB to the Raspberry Pi's USB ports.
Any standard or generic USB mouse can be used, and we recommend using a wired USB keyboard.
Insert a HDMI cable into the Raspberry Pi's HDMI port. Then connect it to a monitor using the same cable.
Note: The HDMI connection is output only, and only meant to be used for connection to displays.
Important Note: The HDMI port on the Raspberry Pi is OUTPUT ONLY for connecting to HDMI monitor devices, do not connect to the HDMI output of the Raspberry Pi to the output of laptops or tablets.
Next, insert the power supply cable into the 5V microUSB port. The power supply has to be 5V DC at 2.5 amps or greater, like the Raspberry Pi power supply included in the kit.
As Retropie has already been pre-installed, you will see the Retropie splash screen on boot up.
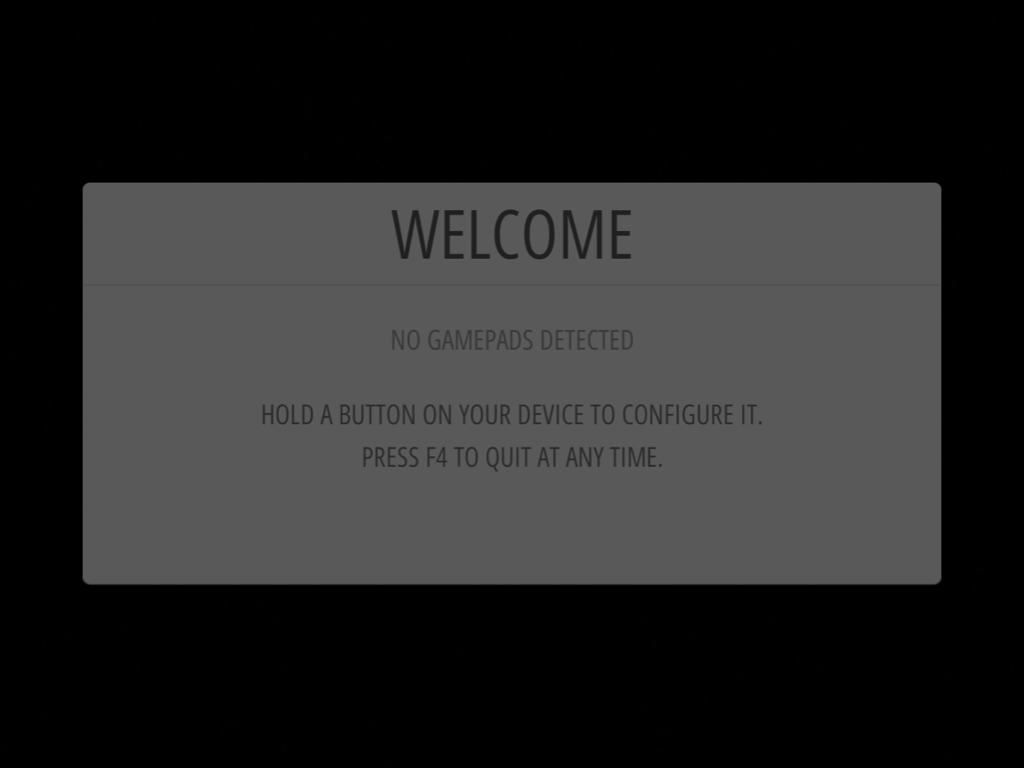
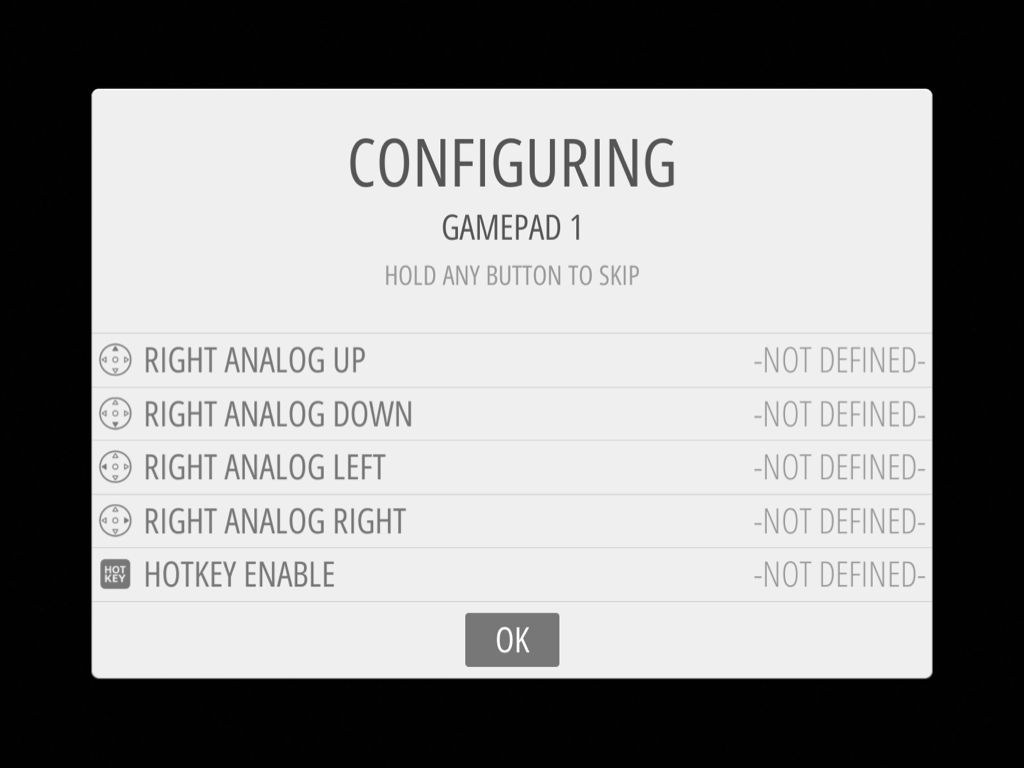
After the splash screen, you will be welcomed with the following screen. This is the menu that will take you through configuring the controls.
Hold down any button on your controller or keyboard and the name of it will appear. "... GAMEPAD DETECTED" will appear at the top.
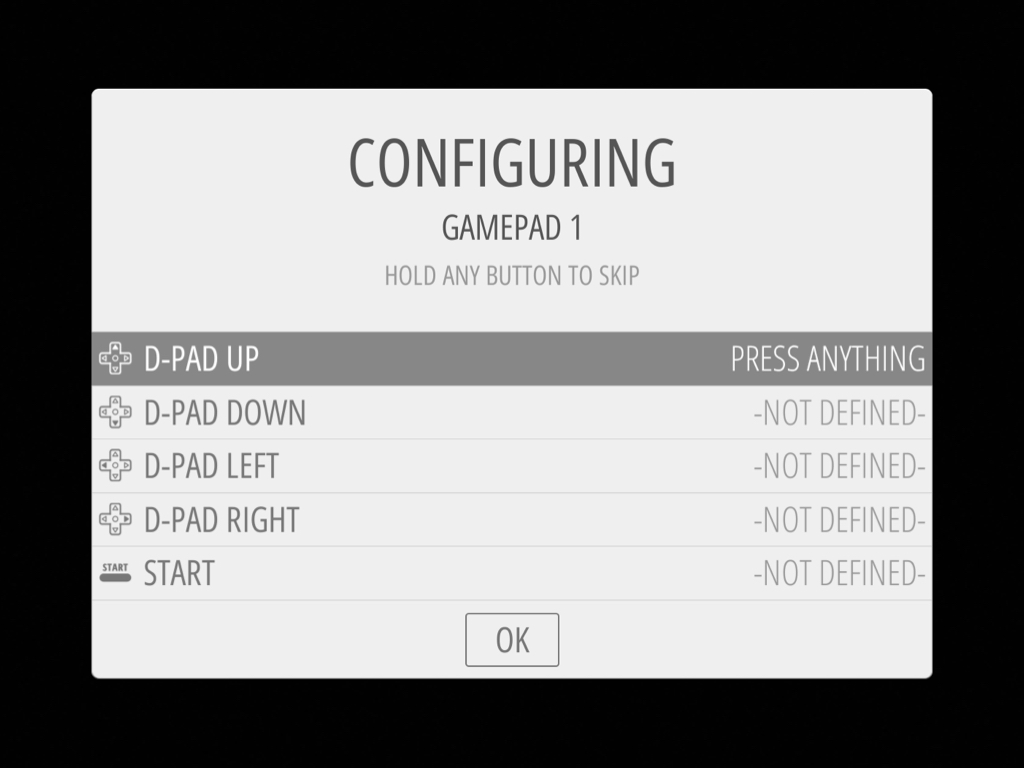
Follow the onscreen instructions to configure the game controller.
Note: If there are not enough buttons on your controller (the SNES controller in the kit has 12 buttons), just hold down ANY button to skip a control. Finally, when you get to the 'OK' button, press the button which you have configured as "A"
Once the controller has been set up, you'll see the "RETROPIE" logo. At the moment, there is just the option to configure Retropie. To play games on the Retropie, you'll need some ROMs.
ROM stands for Read Only Memory and they are the digital copies of old game catridges. They will allow you to play games on the emulators on Retropie.
There are MAME ROMs that have been released for free and for non-commercial use.
To get a ROM, head over to: mamedev.org/roms
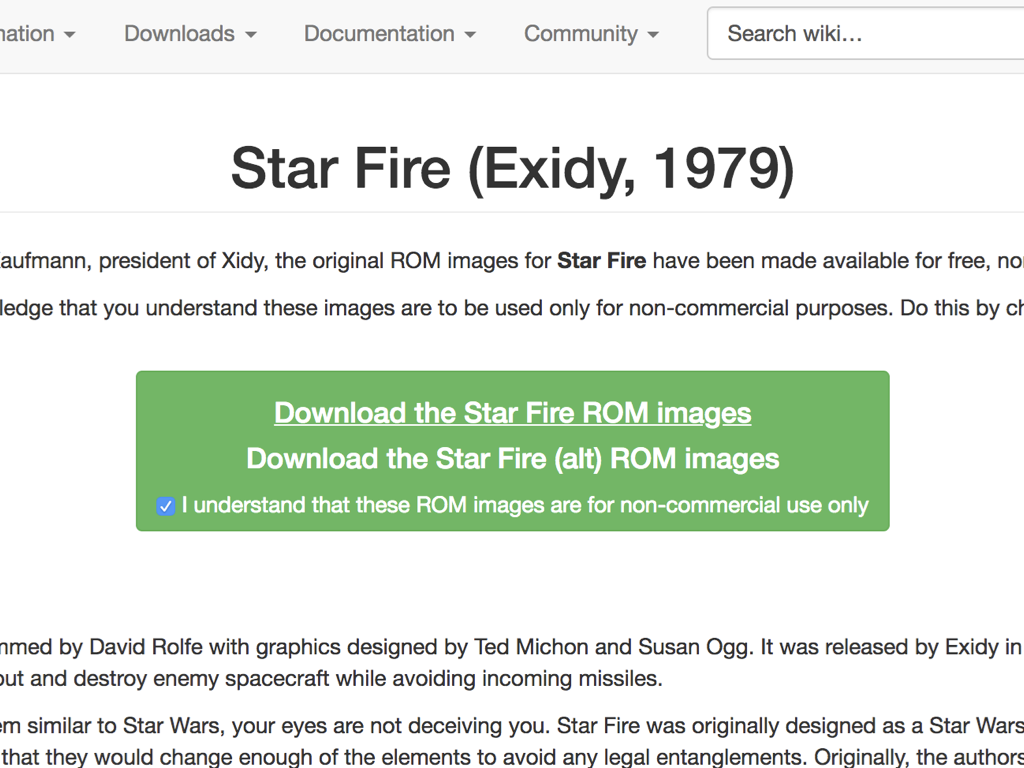
In this guide, we will choose a classic from 1979, called Star Fire. So click on 'Star Fire' and you will be directed to the download page.
Click on 'Download the Star Fire ROM images'.
Check the box that states 'I understand that these ROM images are for non-commercial use only.
MAME games need to be zipped here. If the downloaded ROM of your choice is not already zipped, you will need to use an app like 7-Zip on Windows or WinZip on the Mac to compress the folder.
The downloaded Star Fire ROM is already zipped.
The easiest way to transfer ROMs over to Retropie is by using a USB stick.
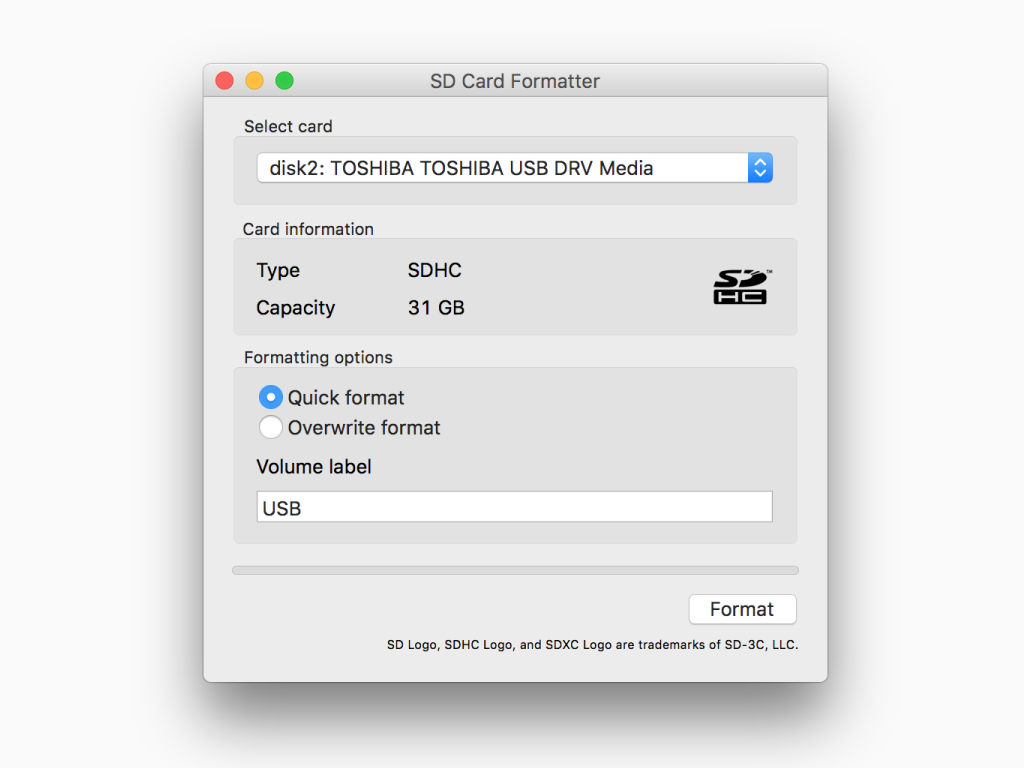
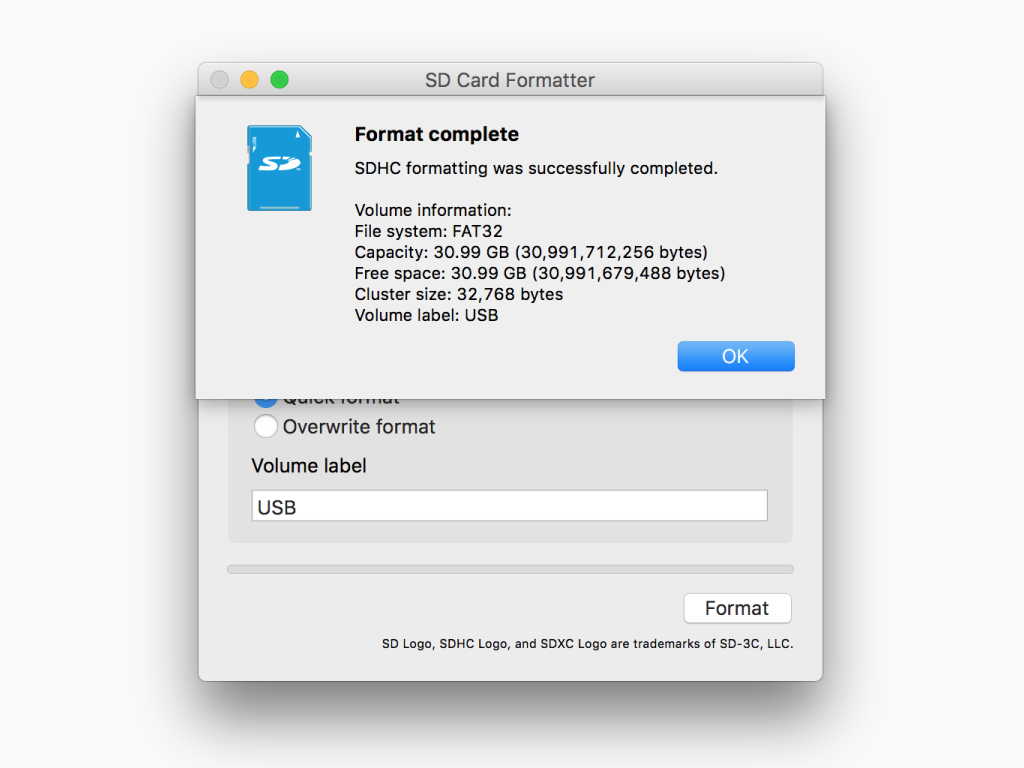
But first, make sure that the USB stick has been formatted. Here we have used SD Card Formatter 4.0(for Windows or Mac)
But first, make sure that the USB stick has been formatted. Here we have used SD Card Formatter 4.0(for Windows or Mac)
Insert the SD card into your SD card reader, then see the drive letter that shows up in the left hand column of Windows Explorer, or Finder on the Mac.
Select the card that corresponds to your USB stick with the dropdown field under 'Select card'
Choose 'Quick Format'
Click on 'Format' button
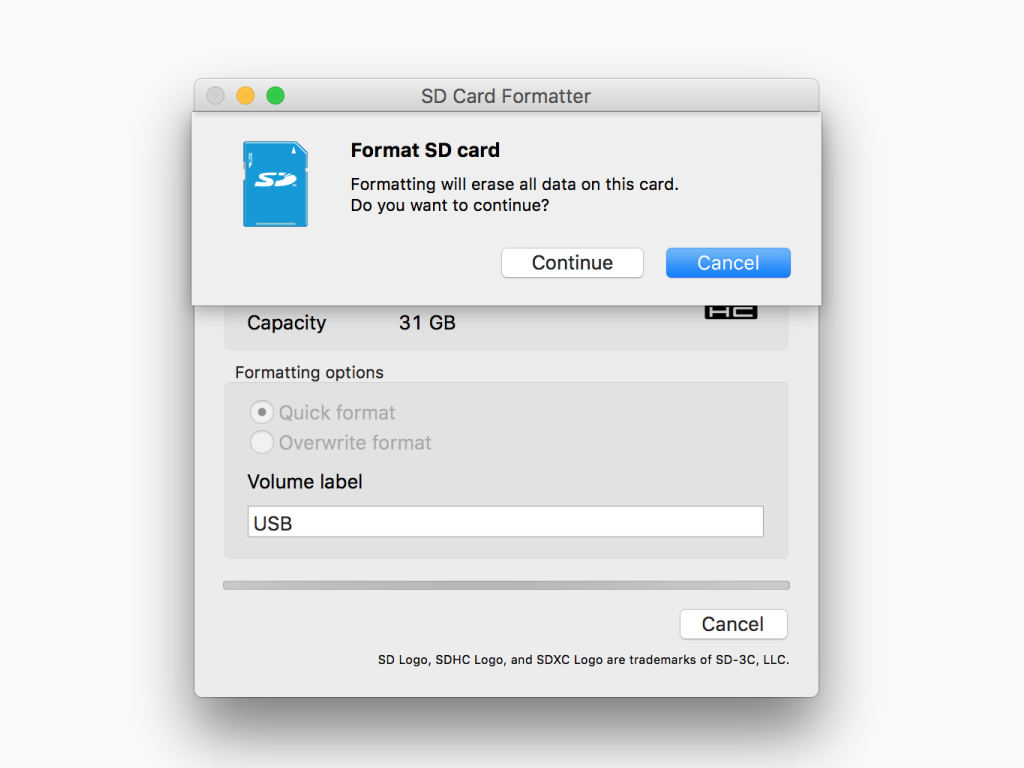
Click 'Continue'
Once complete, you will see 'Format complete' and the file system is FAT32.
Now that the USB stick has been formatted, it's time to transfer the downloaded ROM over. Create a folder called 'retropie' on your USB stick
With Retropie started up, Insert the USB stick into one of the Raspberry Pi's USB port.
Wait for it to finish blinking before unplugging it
Insert it into your computer's USB port
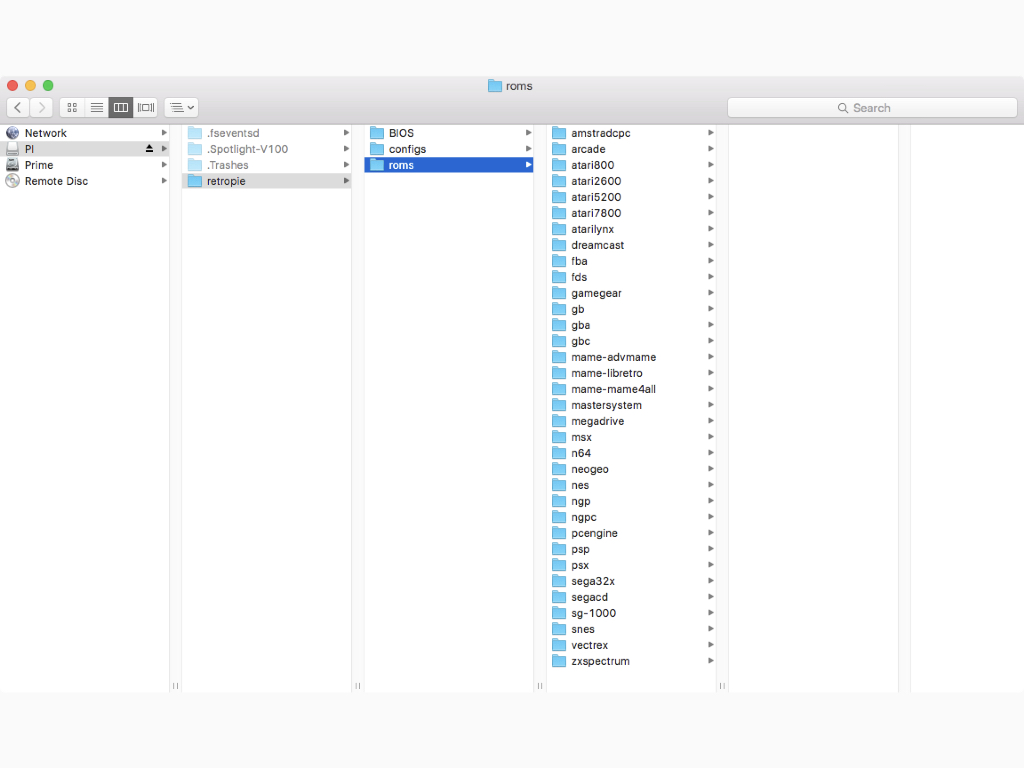
You should now see the Retropie file structure automatically laid out on the USB drive. Copy the ROM over into the 'MAME' folder (retropie/roms/MAME)
Add more ROMs into the folder of what file system it runs on
Start up Retropie
Insert the USB stick back into the Raspberry Pi
Wait till it has finished blinking, then remove the USB stick
Restart emulationstation by pressing F4, or restart the system from the start menu
Note: For certain games to work, you will need the BIOs file for the system i.e. GBA. Once you have gotten the BIOS file, connect the USB to your PC. Then drag and drop the file into the gaming system's folder found in the 'BIOS' folder.
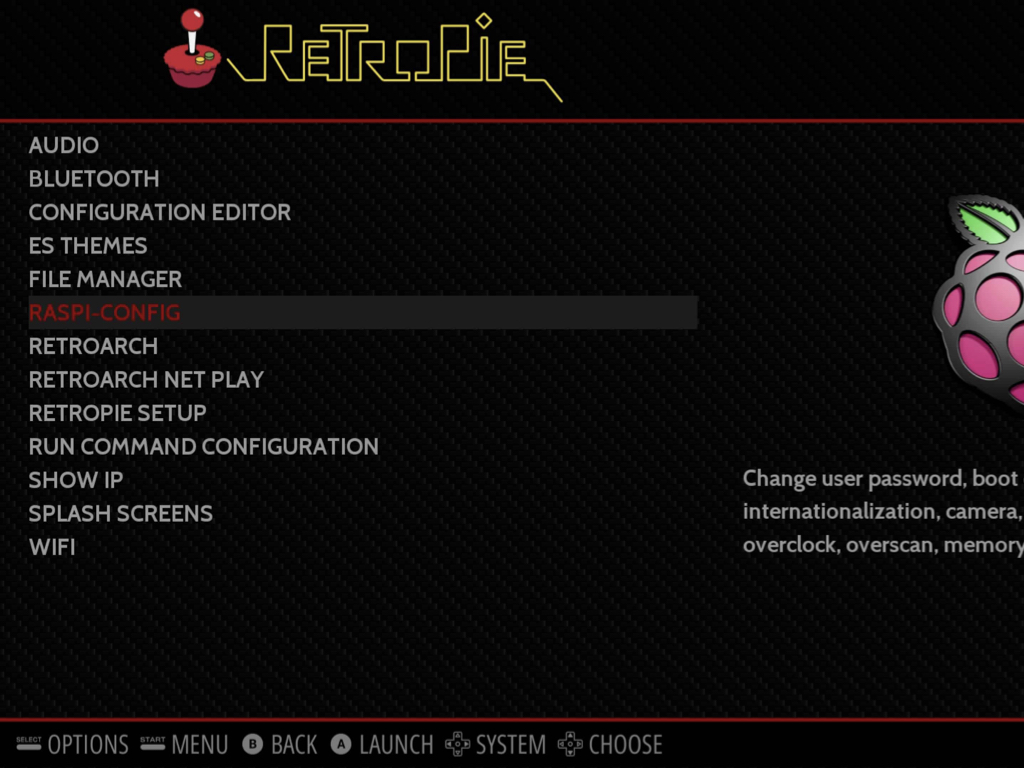
To change keyboard layout on Retropie, select 'Raspi-config'
Select 'Localisation Options'
Select 'Change keyboard Layout'
Select 'Generic 101-key PC'
Select 'English (Australian)
If you are using a Raspberry Pi that is NOT the Raspberry Pi 3B+:
- Press the 'A' button on the home screen where the Retropie logo is shown.
- You will see a menu with several options.
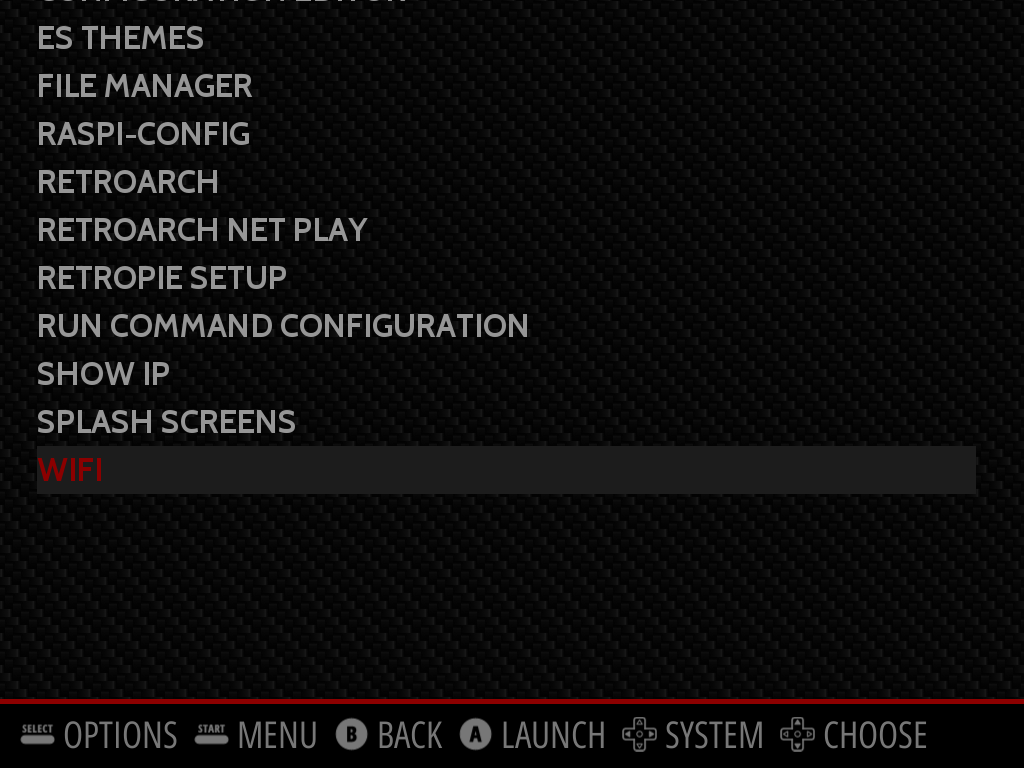
- Select 'WIFI'
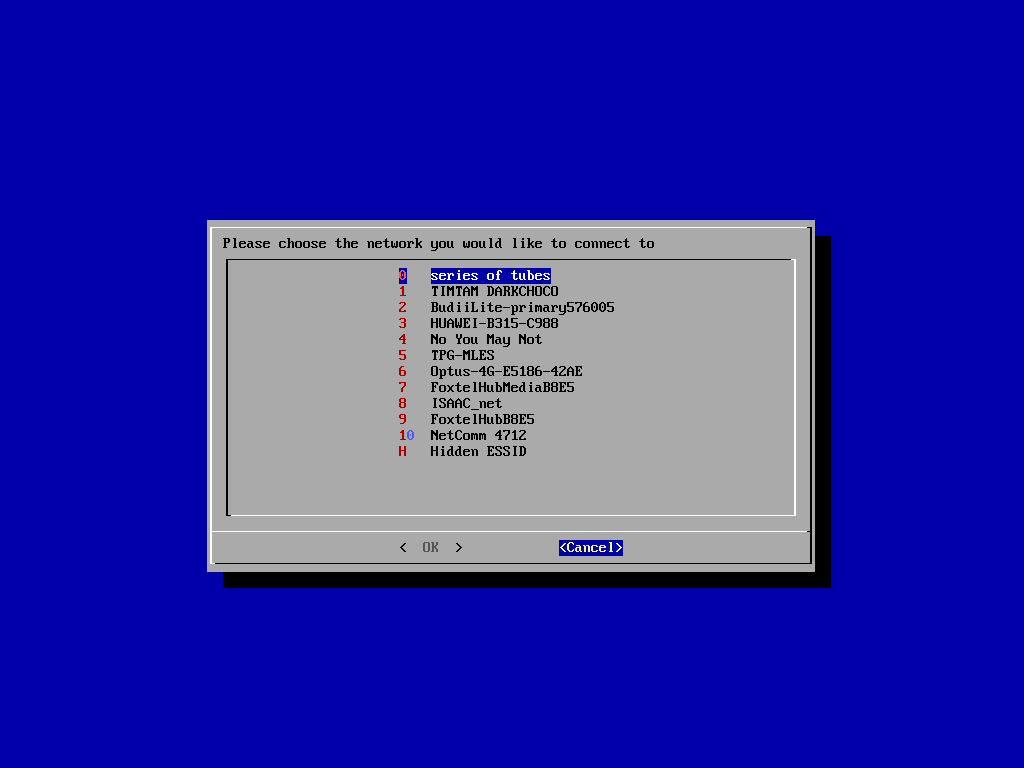
- Select 'Connect to WiFi network'
- Select your WiFi network and you will be prompted for the network password.
- Skip to Step 13!
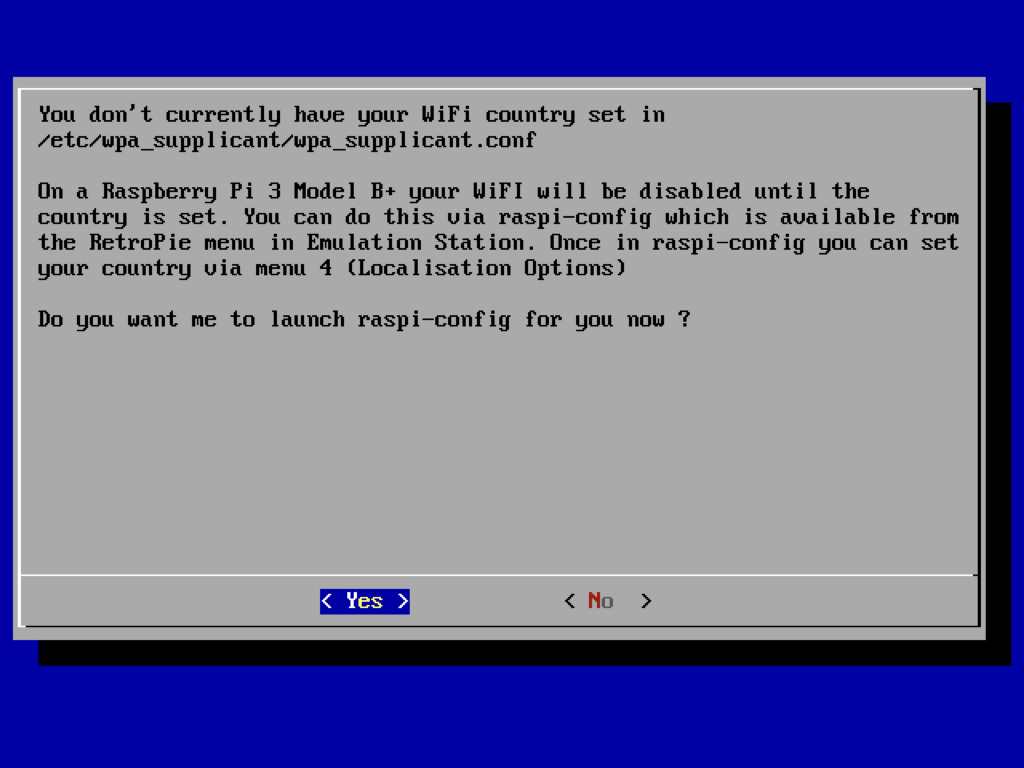
When setting up WiFi on a Raspberry Pi 3B+ for the first time on Retropie, you will see this message:
You don't currently have your WiFi country set in /etc/wpa_supplicant/wpa_supplicant.conf
On a Raspberry Pi 3 Model B+ your WiFi will be disabled until the country is set. You can do this via raspi-config which is available from the Retropie menu in Emulation Station. Once in raspi-config you can set your country via menu 4 (Localisation Options)
On a Raspberry Pi 3 Model B+ your WiFi will be disabled until the country is set. You can do this via raspi-config which is available from the Retropie menu in Emulation Station. Once in raspi-config you can set your country via menu 4 (Localisation Options)
Do you want me to launch raspi-config for you now?
Select 'Yes'
Select 'Localisation Options'
Select 'Wi-fi Country'
Choose 'AU Australia'
Choose 'OK' and you should see 'Wi-fi country set to AU'
Restart emulation station by using [Start] button > Quit > Restart System
ctrl_interface=DIR=/var/run/wpa_supplicant GROUP=netdev
update_config=1
country=AU

# RETROPIE CONFIG START
network={
    ssid="your_real_wifi_ssid"
    psk="your_real_password"
}
# RETROPIE CONFIG END
Enter your network details in network={ ssid = "your_real_wifi_ssid" psk= "your_real_password" }
Press 'CTRL+X' to exit
Press 'Y' to save changes
Press 'Enter'
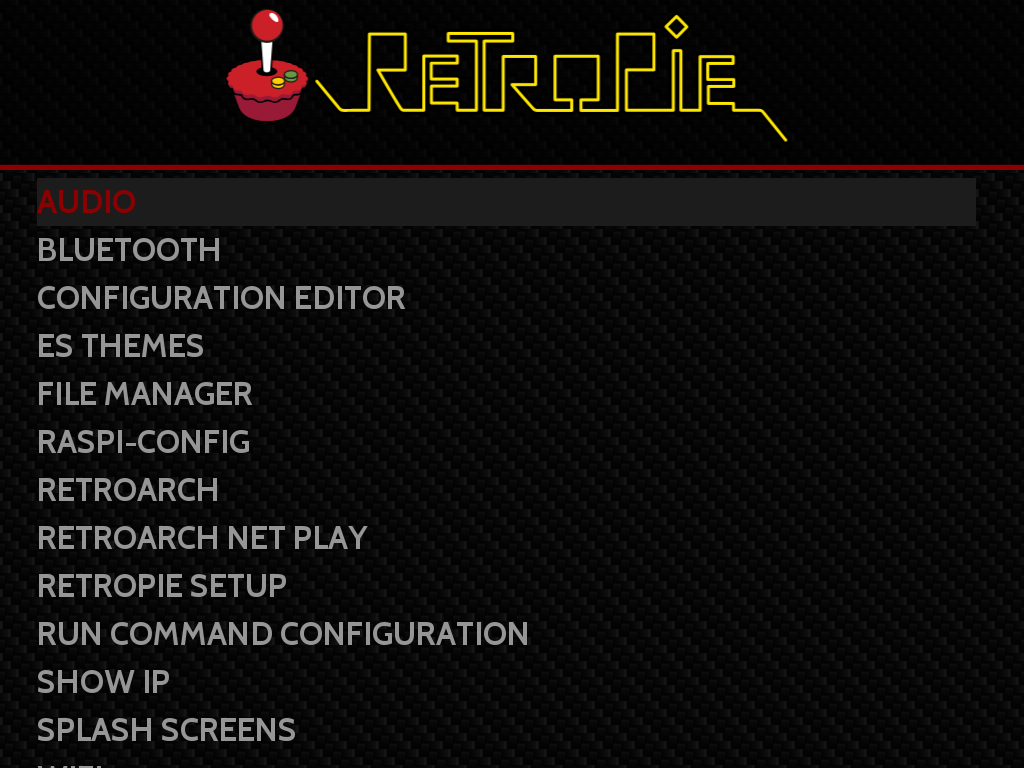
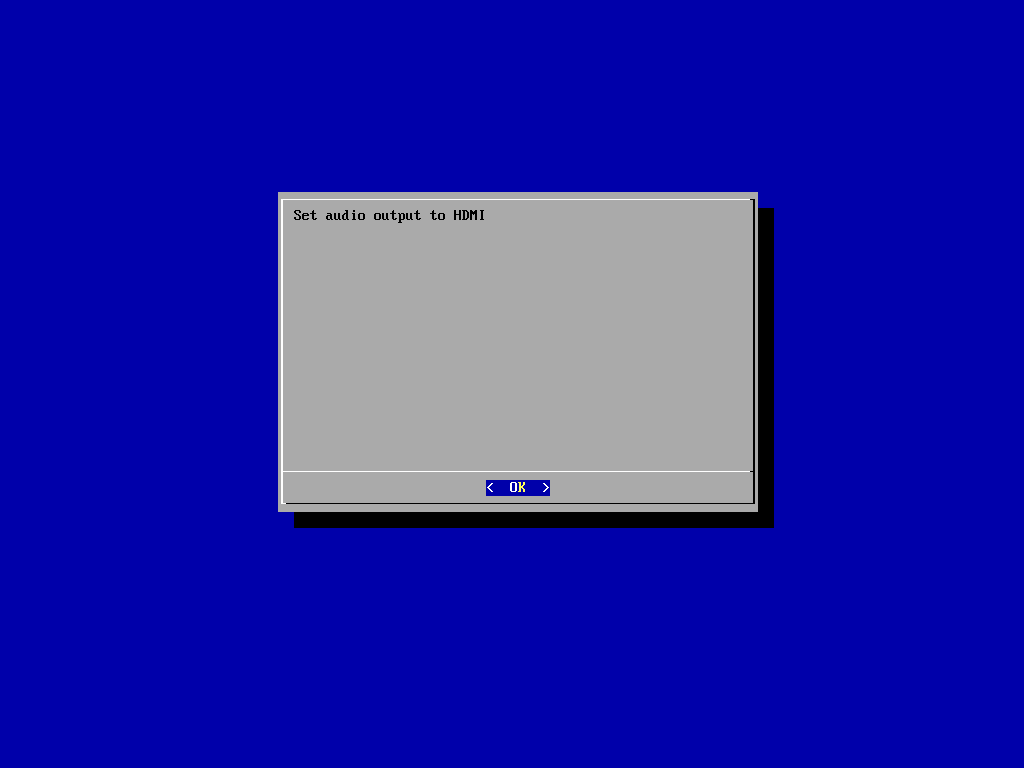
Next, follow these steps to set up the audio device that Retropie will output to.
Press 'A' with 'Audio' selected in the menu.
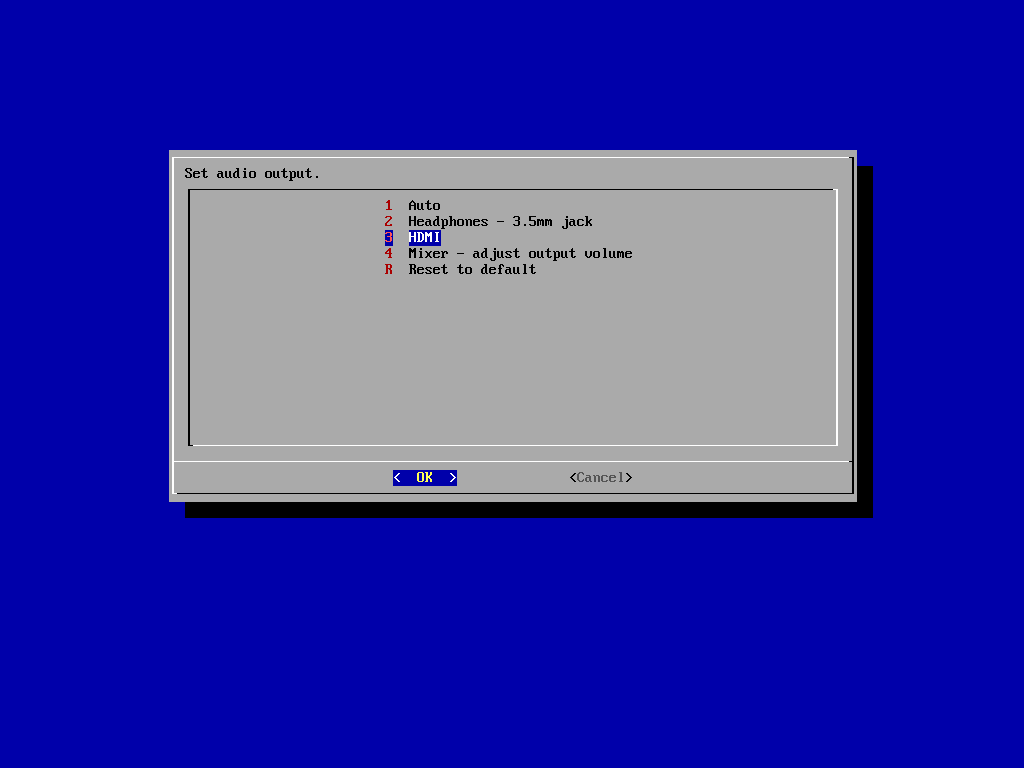
Select the audio device of your choice.
Here, we will output to HDMI.
Press the 'OK' button.

You can also choose to install Retropie on an existing copy of Raspbian. This is useful if you'd like to use both Retropie and Raspbian on the same microSD card!
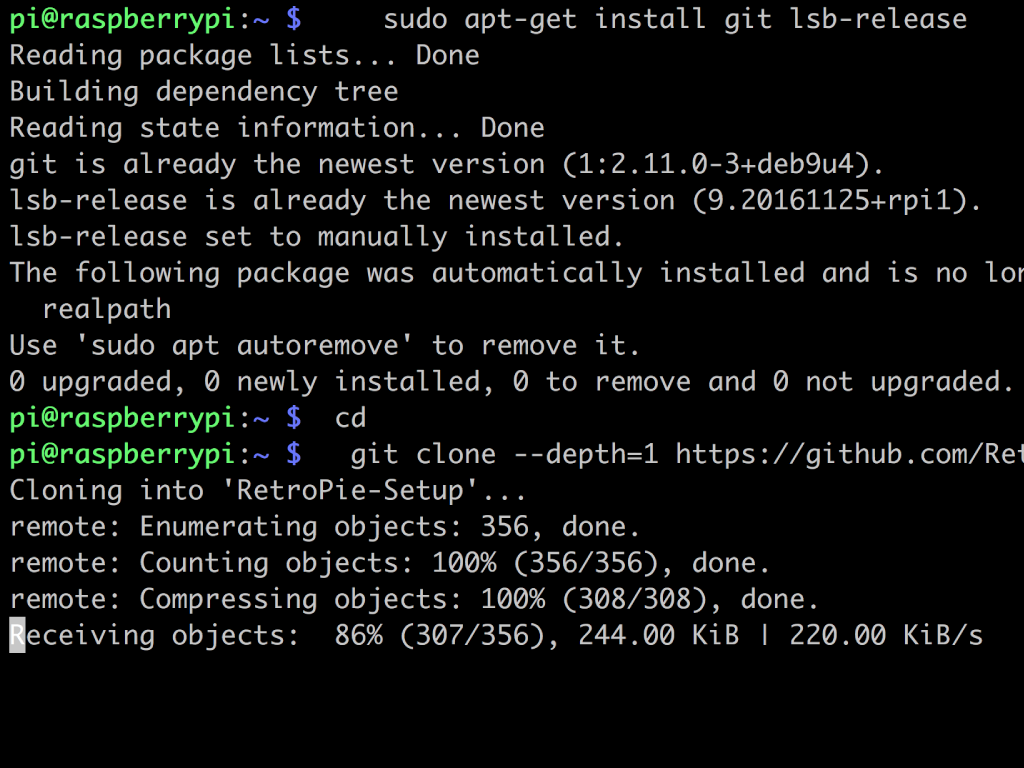
Insert the microSD card with Raspbian into the Raspberry Pi, then boot it up to the Raspbian desktop. Open up a terminal window and type the the Retropie setup script: sudo apt-get install git lsb-release
Then type cd
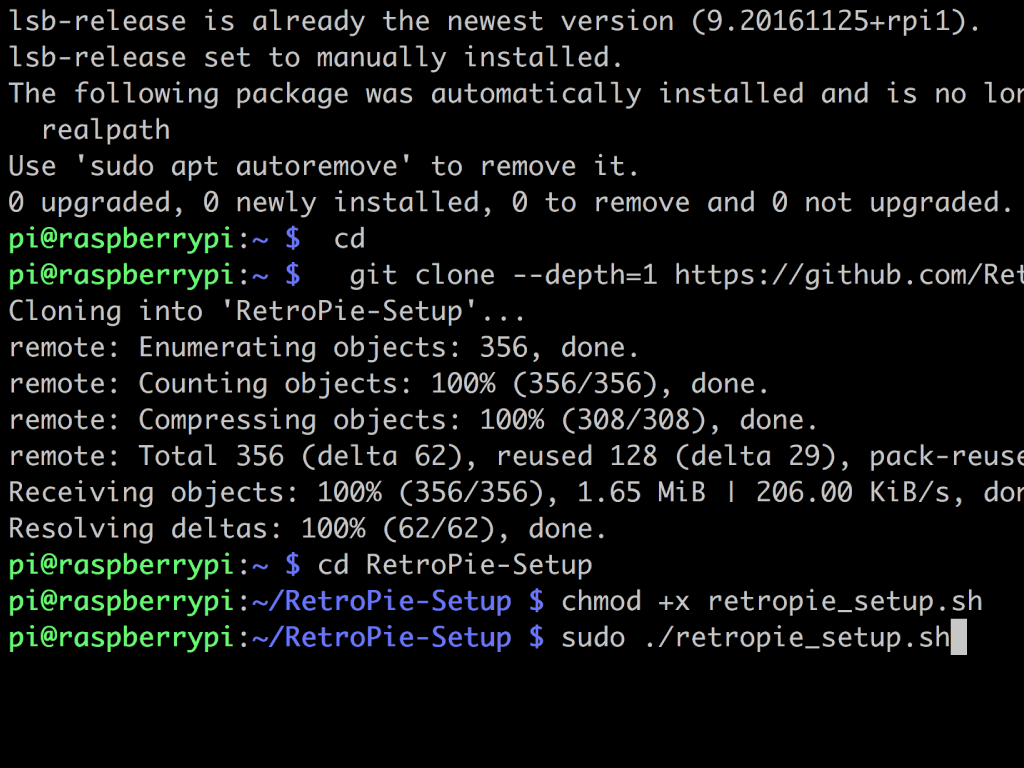
Continue with the command: git clone --depth=1 https://github.com/RetroPie/RetroPie-Setup.git
The script is executed with cd RetroPie-Setup
chmod +x retropie_setup.sh
sudo ./retropie_setup.sh
startx
emulationstation
On boot up now, you'll see the loading screens for both Raspbian and Retropie, playing out one after another.
Then you will see command line, where you are prompted to log in on your Raspberry Pi via username and password.
To run Raspbian, type startx in the command line.
To run Retropie, type emulationstation in the command line.