Raspberry Pi High Quality Camera
Set up the new camera and lenses for Raspberry Pi 4
Written By: Cherie Tan
Difficulty
Easy
Steps
11
The Raspberry Pi High Quality camera is here!
In this guide, we'll show you how to set up the Raspberry Pi HQ Camera with the Raspberry Pi 4. Then we'll take comparison photos using the Raspberry Pi HQ Camera and its predecessor, the V2 camera.
Can we expect better quality images to its predecessor? Let's find out! We'll also show you how to turn it into a portable device for outdoor photography.
The Raspberry Pi High Quality camera is here! Back in 2013, the first Raspberry Pi camera was released. Based on a 5-megapixel OV5647 CMOS image sensor, this was then phased out in 2016 with the Raspberry Pi Camera V2, an 8-megapixel camera utilising a Sony IMX219.
So how does the new Raspberry Pi HQ Camera compare? Some of its key features include:
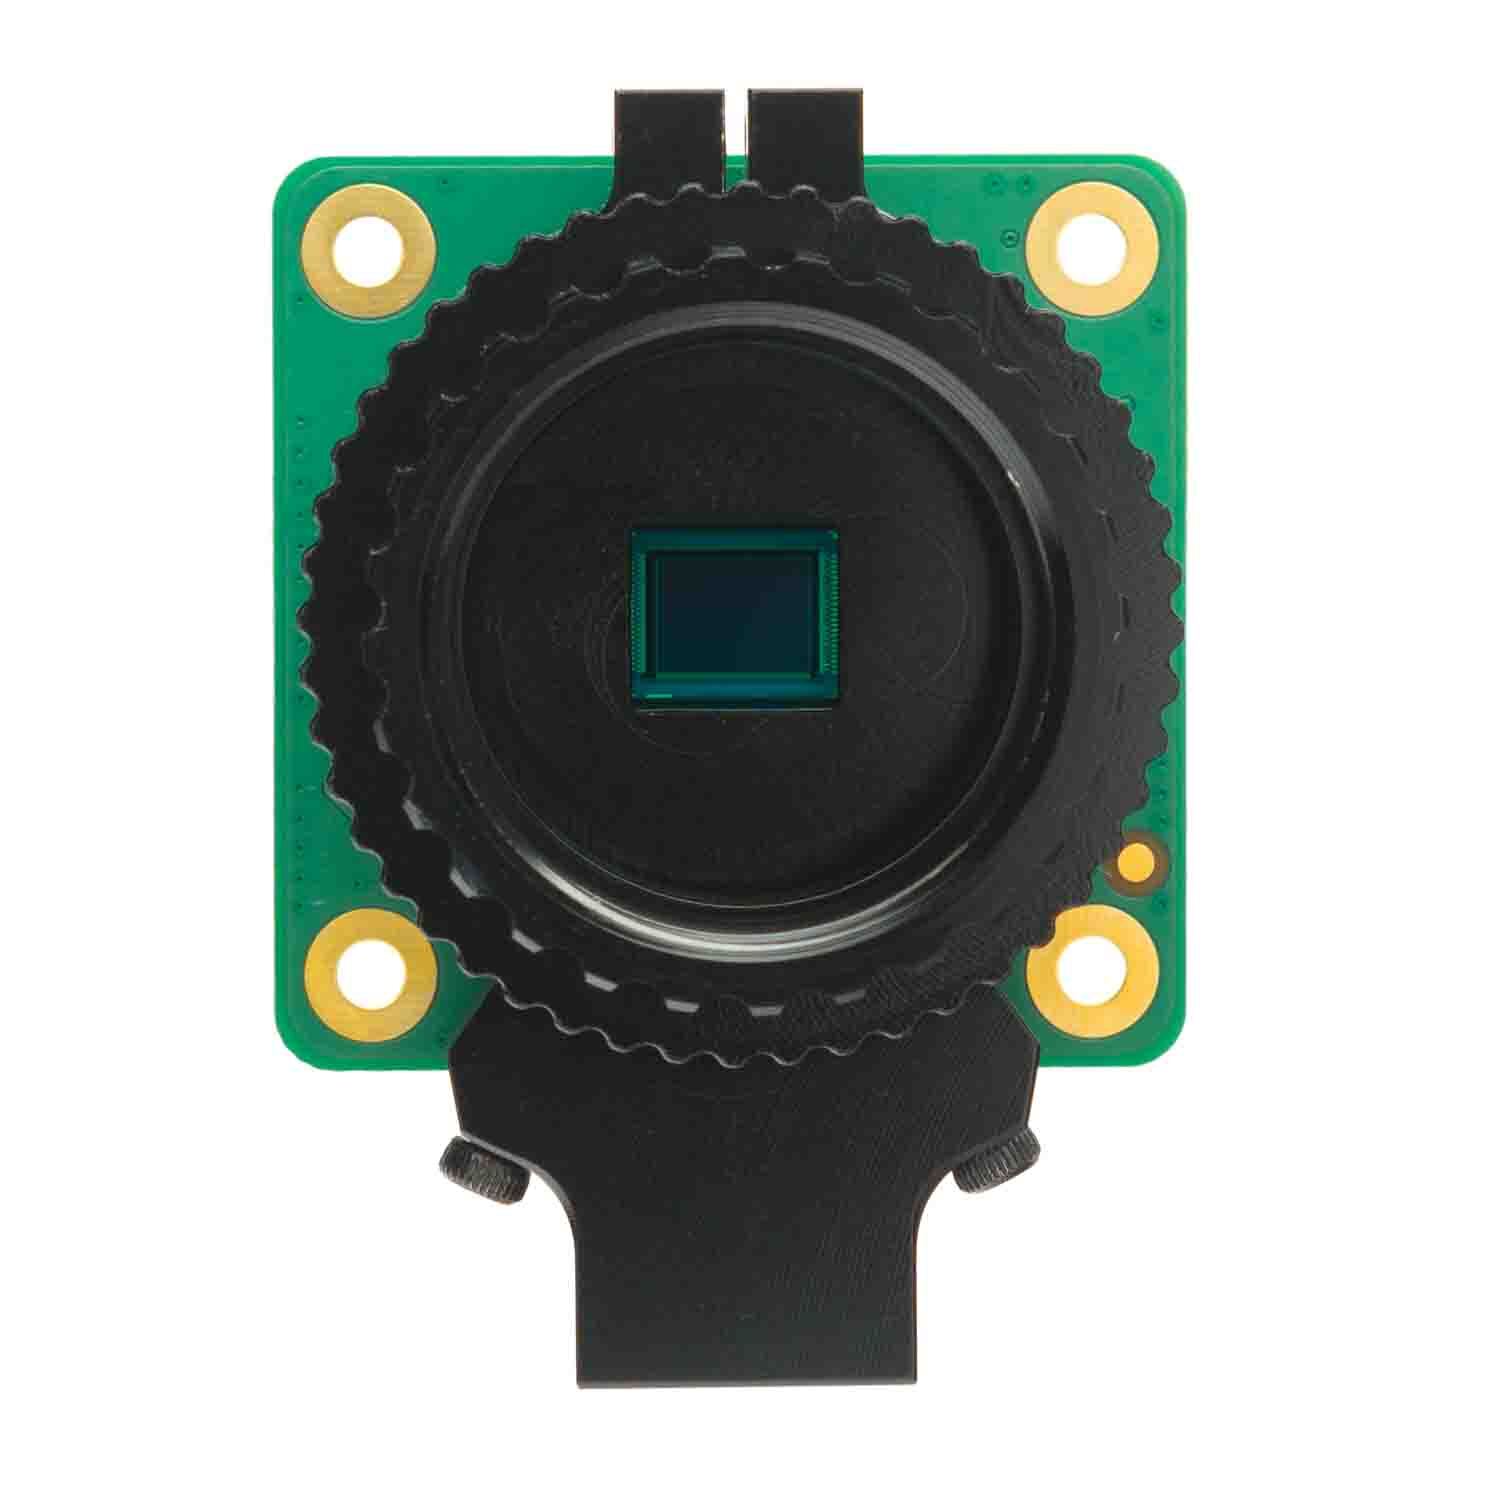
• 12.3 megapixel Sony IMX477 sensor
• Back-side illuminated sensor architecture
• 1.55-μm pixel size – double the pixel area of the IMX219
So how does the new Raspberry Pi HQ Camera compare? Some of its key features include:
• 12.3 megapixel Sony IMX477 sensor
• Back-side illuminated sensor architecture
• 1.55-μm pixel size – double the pixel area of the IMX219
• Interchangeable lens (C- and CS- mount lens)
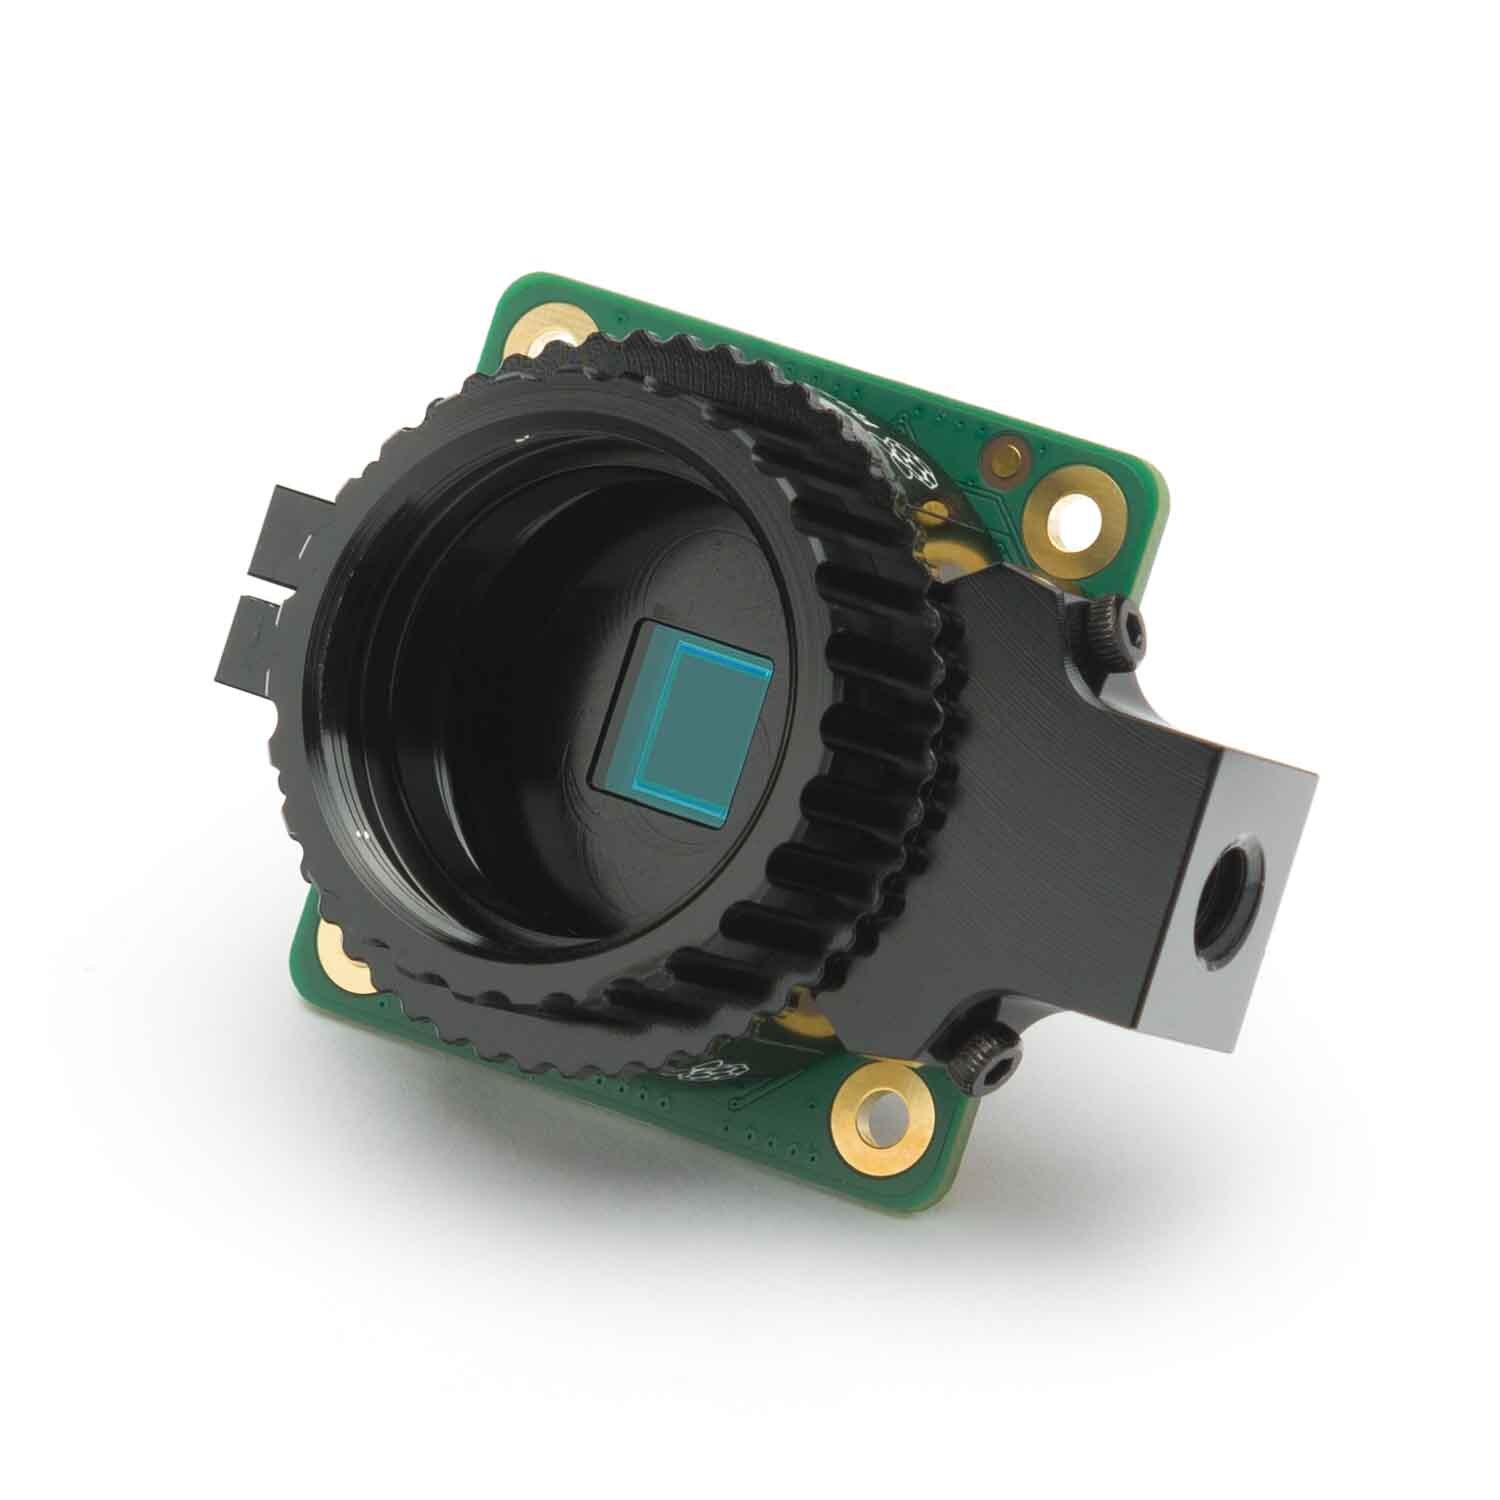
• Back-focus adjustment ring
• A 0.25-inch screw point to connect to a standard tripod
• M2.5 screw holes along its four corners, to connect the camera to another object or frame
• Back-focus adjustment ring
• A 0.25-inch screw point to connect to a standard tripod
• M2.5 screw holes along its four corners, to connect the camera to another object or frame
In this guide, we'll show you how to set up the Raspberry Pi HQ Camera with the Raspberry Pi 4. Then we'll take a few comparison photos using the Raspberry Pi HQ Camera and its predecessor, the V2 camera.
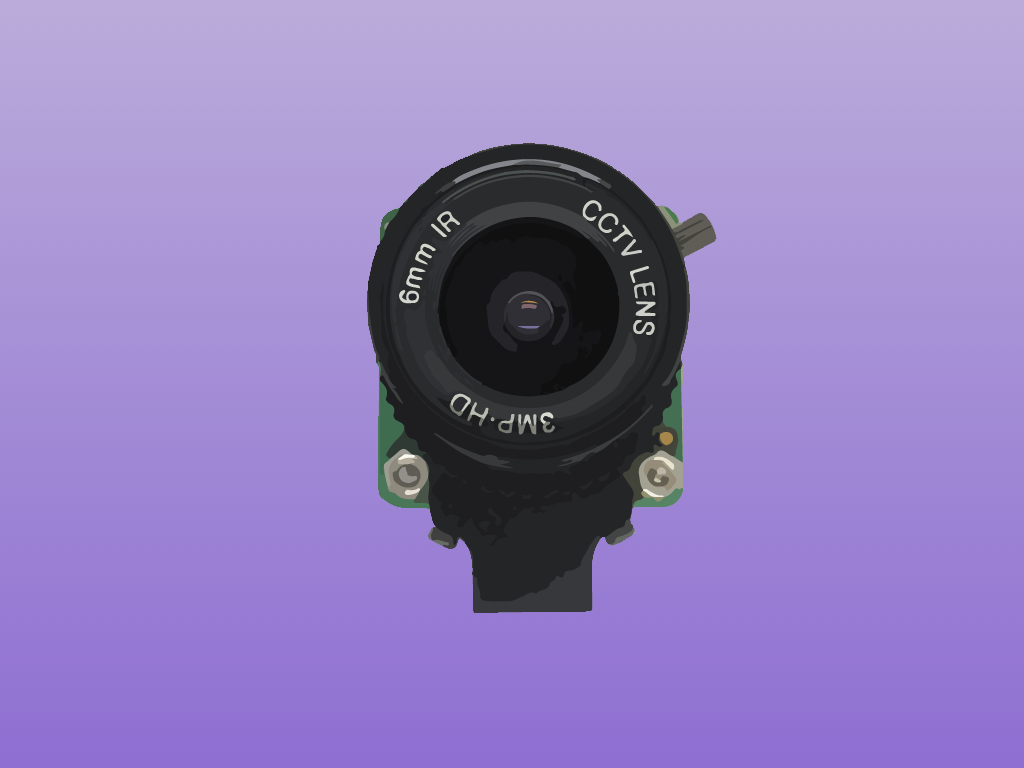
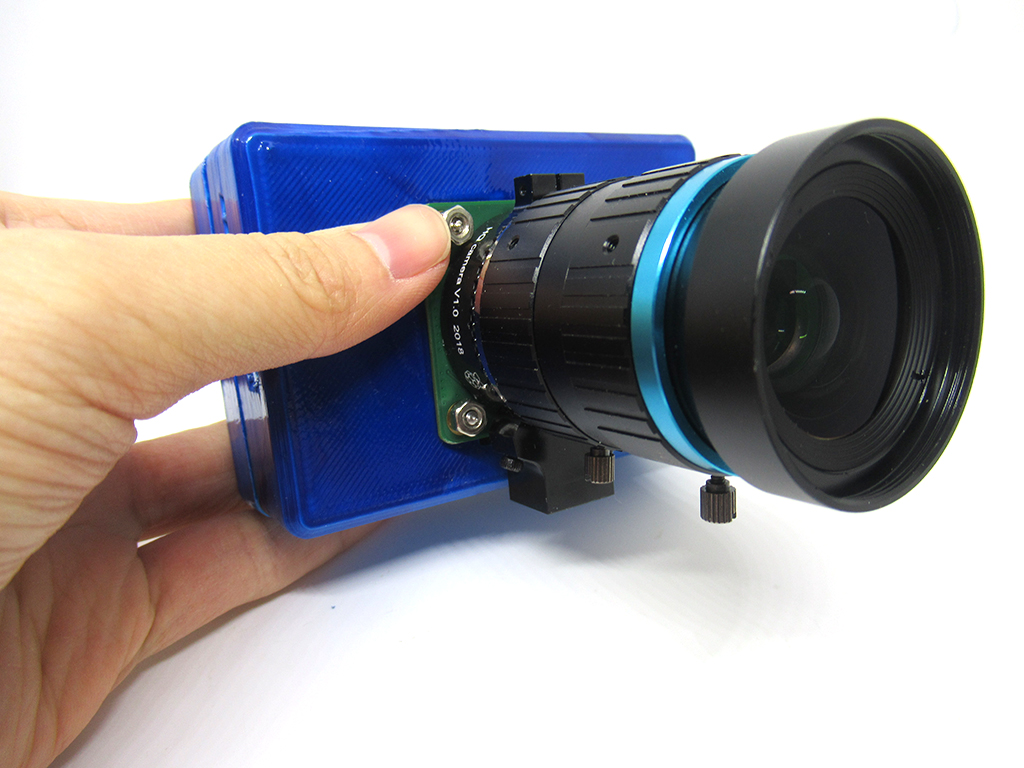
The Raspberry Pi HQ Camera on its own, does not include lens. However, it does include the back-focus adjustment ring and an integrated tripod mount. For 100% compatible lens, pick up the 6mm Wide Angle Lens or 16mm Telephoto Lens.
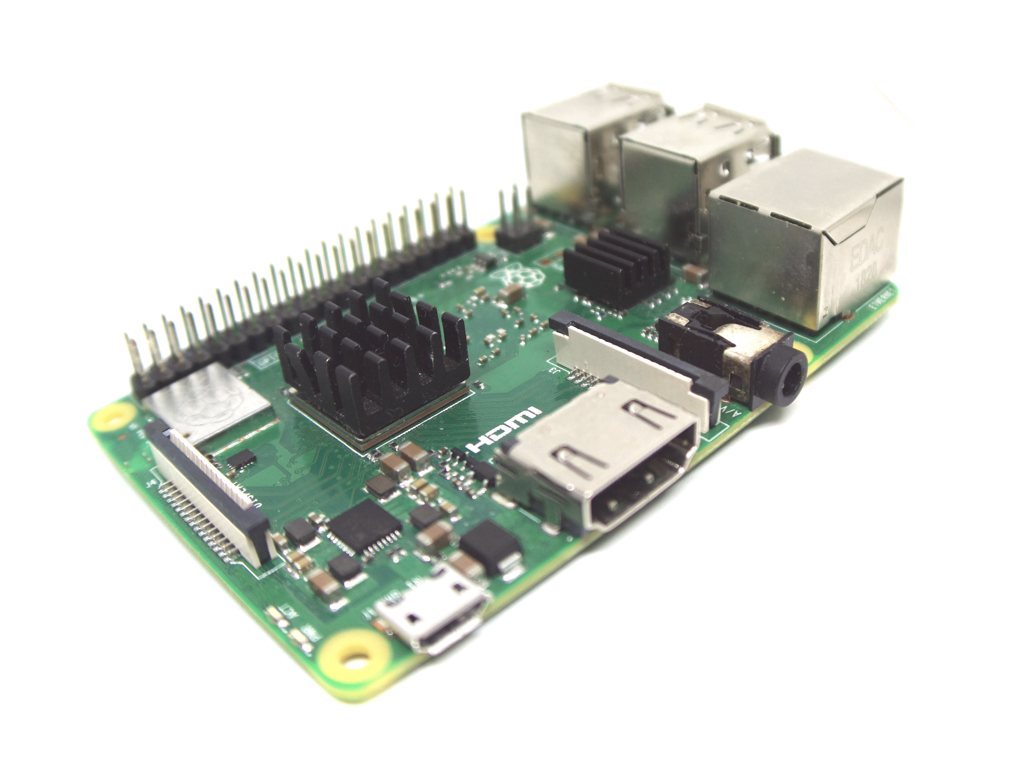
The new Raspberry Pi HQ camera is compatible with all models of the Raspberry Pi except the first generation of Pi Zero which has no Camera Serial Interface (CSI) port. Still, we recommend using the Raspberry Pi 4 with it. Why? For larger images, we need more GPU memory, around 256MB for a 5K image. So for best results, pick up a Raspberry Pi 3B+ or 4.
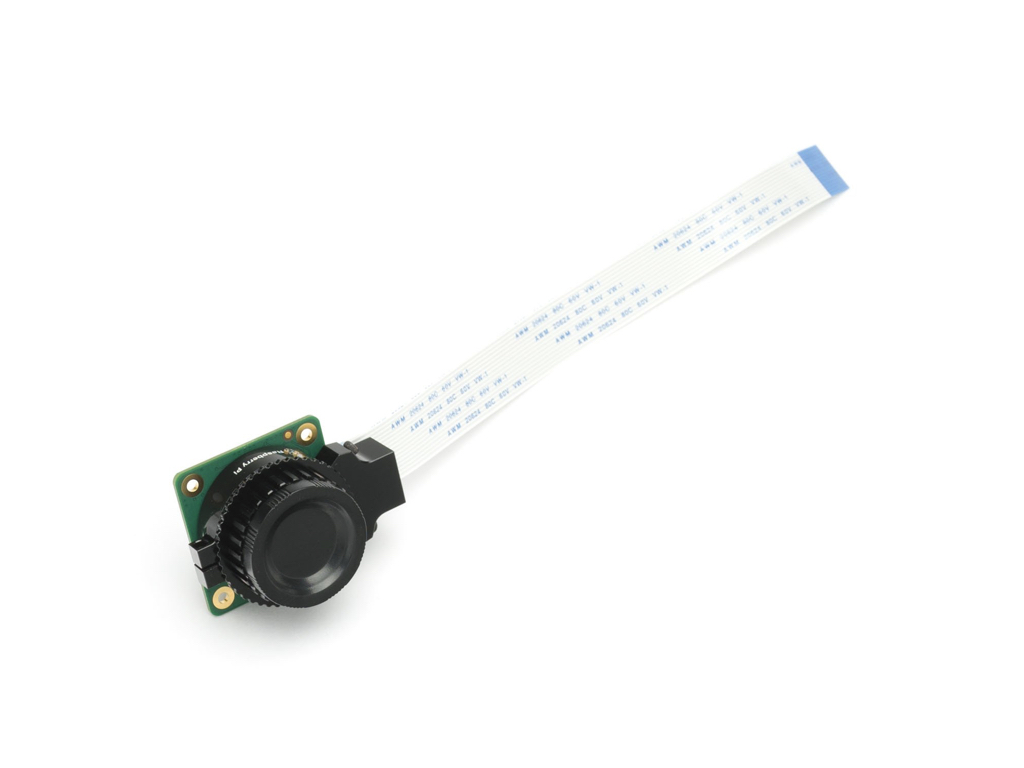
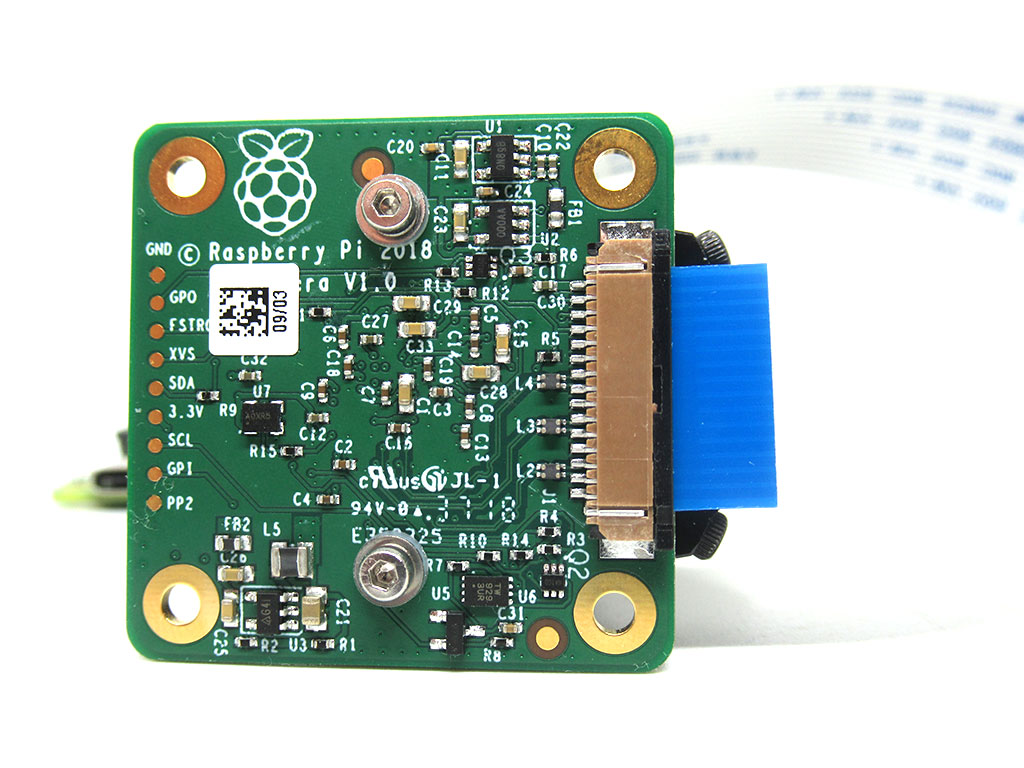
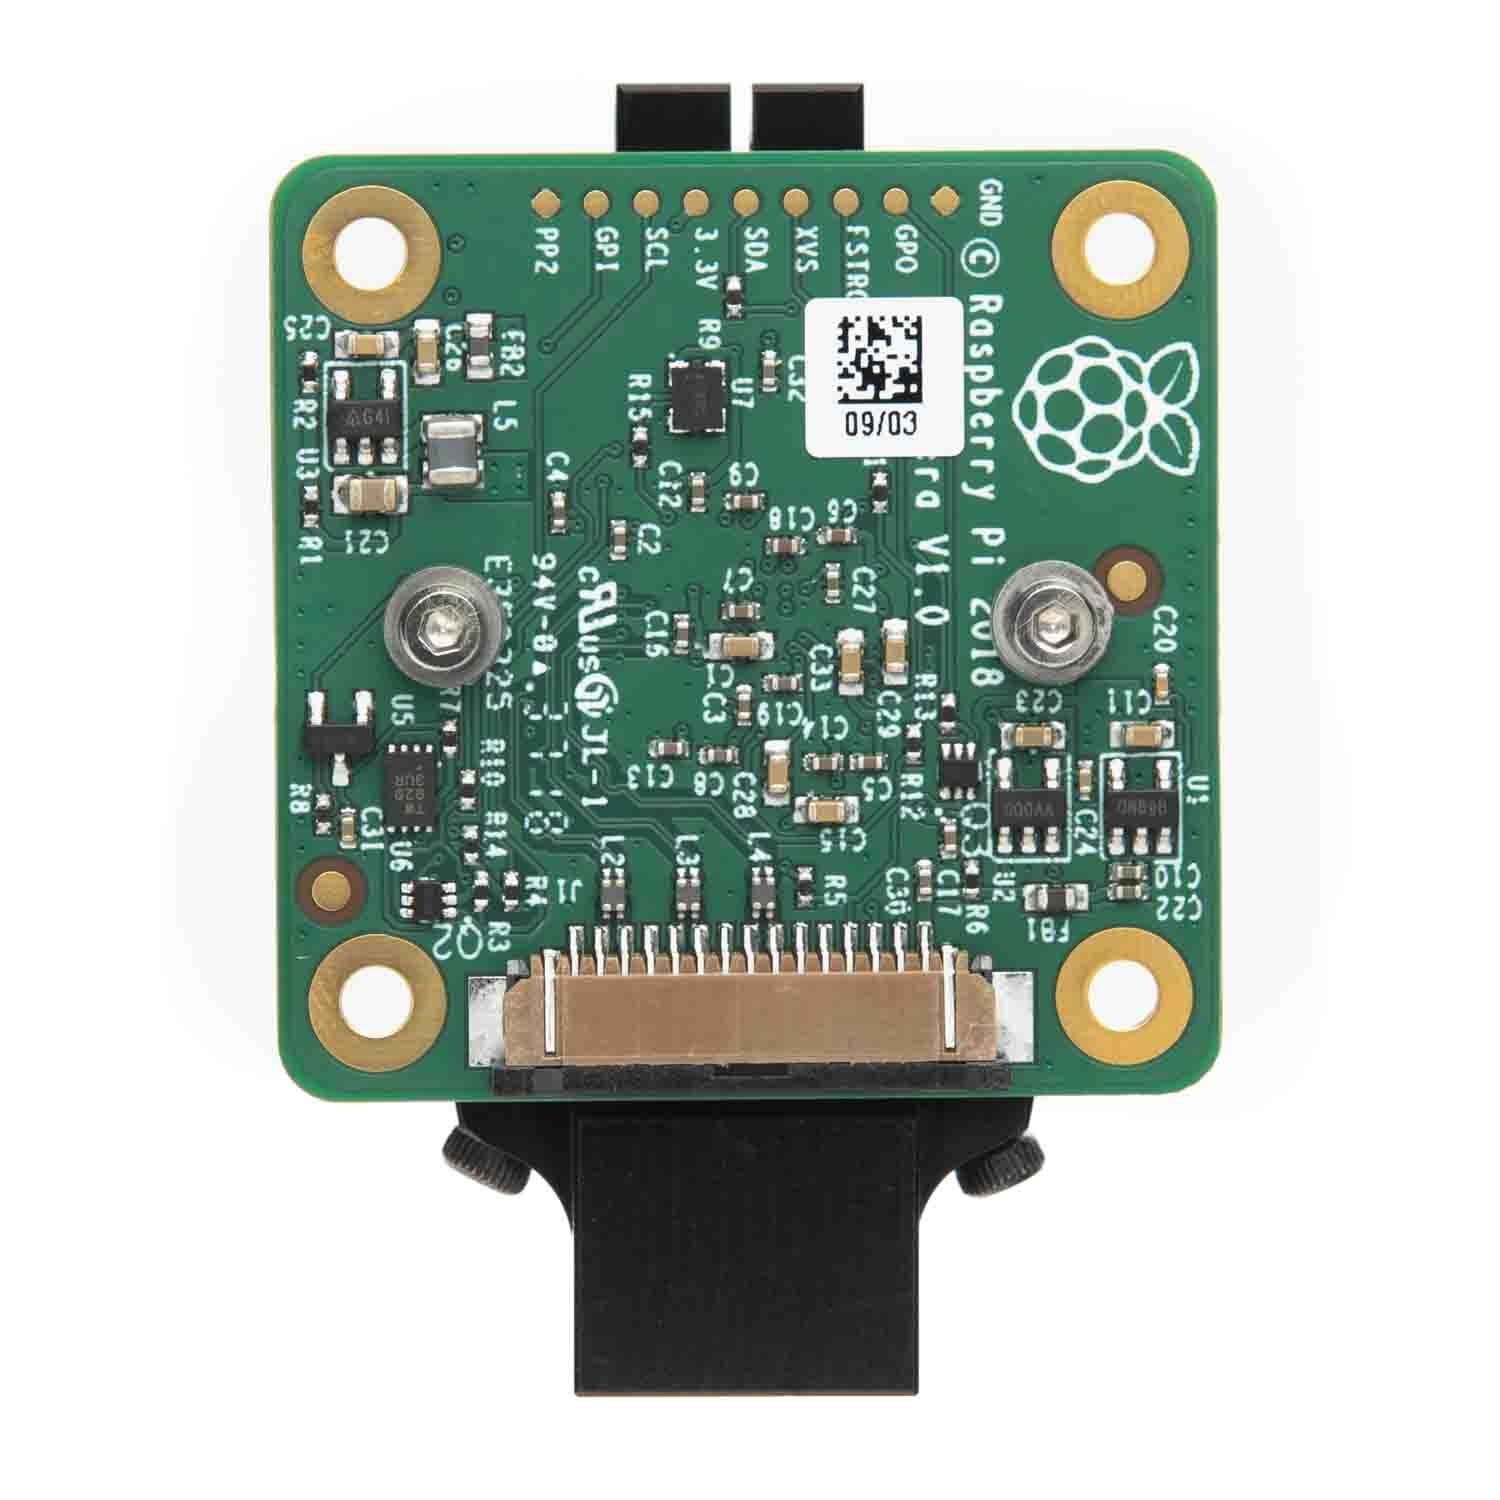
Attach the 200mm ribbon cable included with the Raspberry Pi High Quality Camera into the Camera Serial Interface (CSI) connector on the Raspberry Pi. Make sure the camera cable is inserted in the right orientation, with the blue letters facing outwards toward the front of the camera, as shown in the image.
This can be found on all models except the Raspberry Pi Zero which will require a different ribbon cable due to its smaller CSI (Camera Serial Interface) port. Using a Raspberry pi Zero? Pick up a Raspberry Pi Zero Camera Cable.
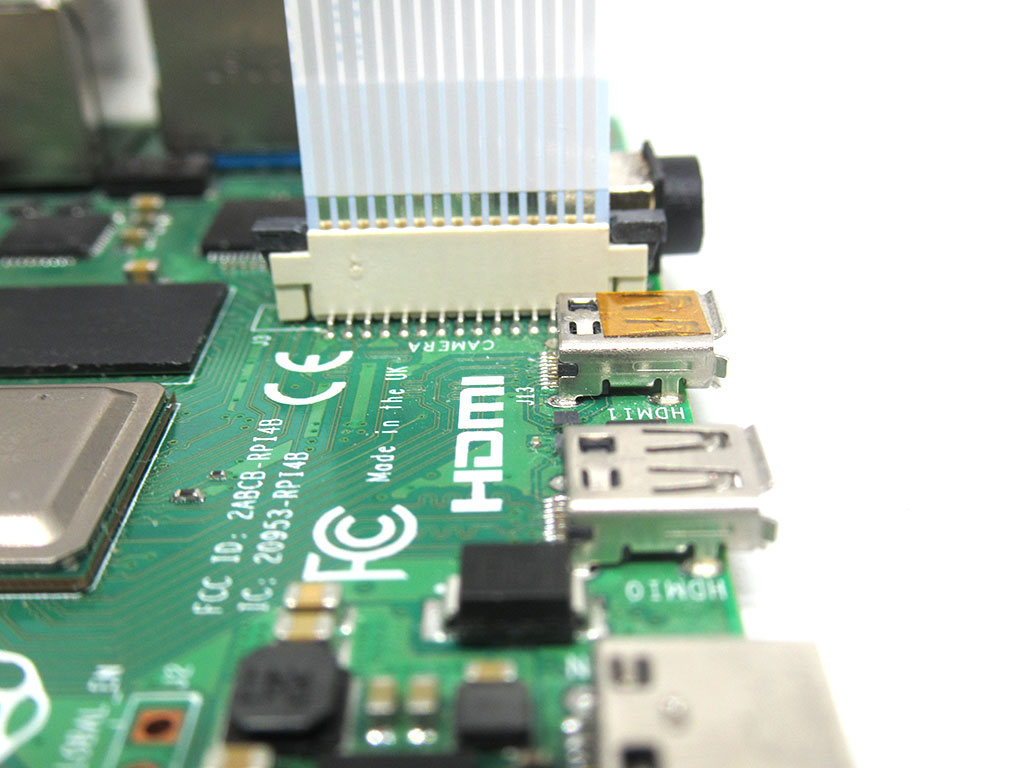
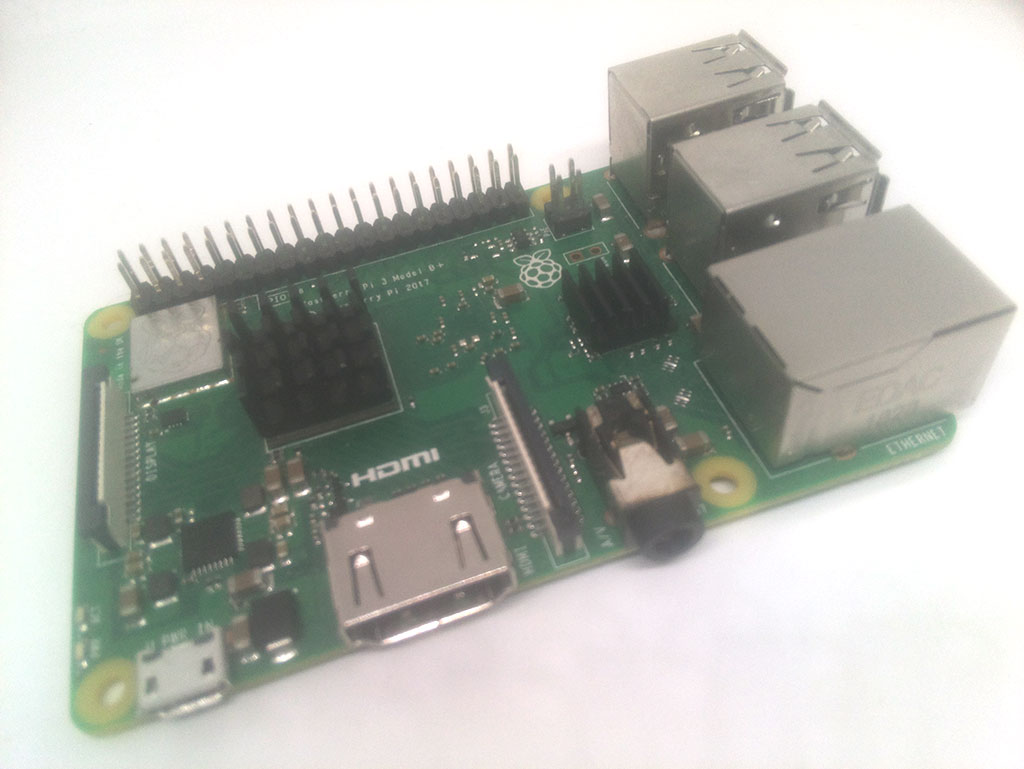
Next, connect the ribbon cable into the Raspberry Pi 4 as shown.
Please note, there is a DSI port and CSI port on the Raspberry Pi 4 as well as other models apart from the Raspberry Pi Zero W.
The CSI port is next to the 3.5mm audio socket.
The CSI port is next to the 3.5mm audio socket.

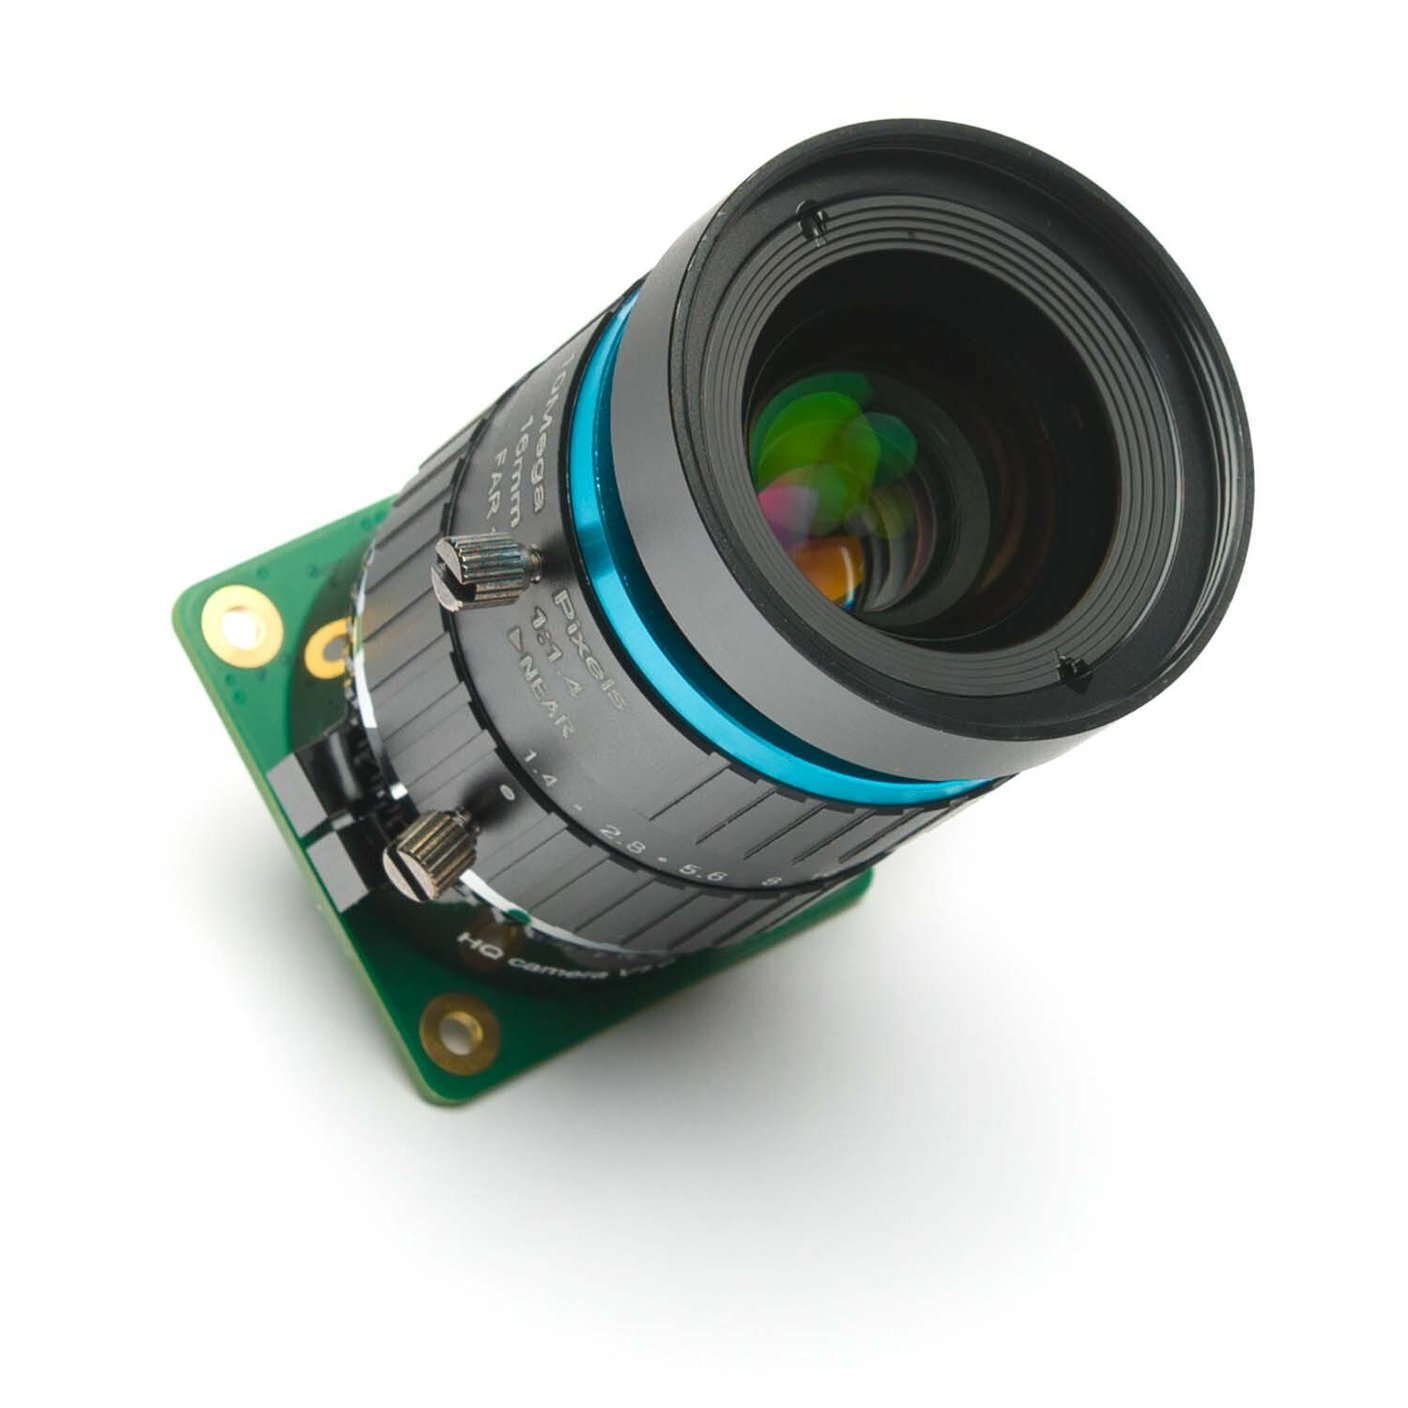
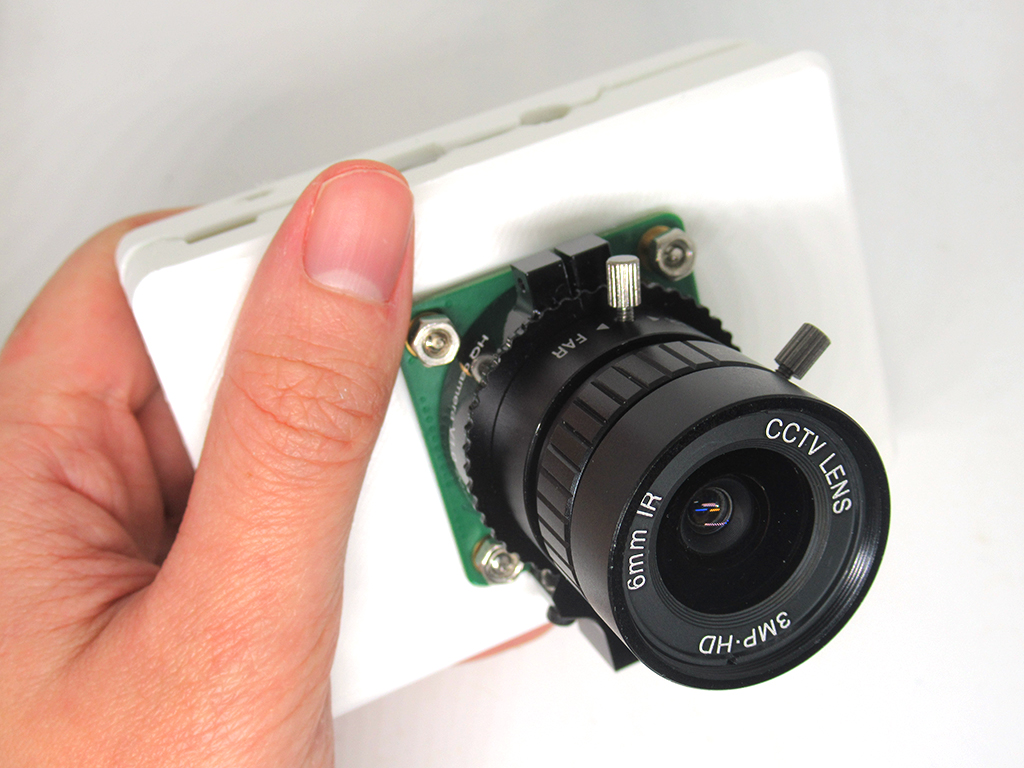
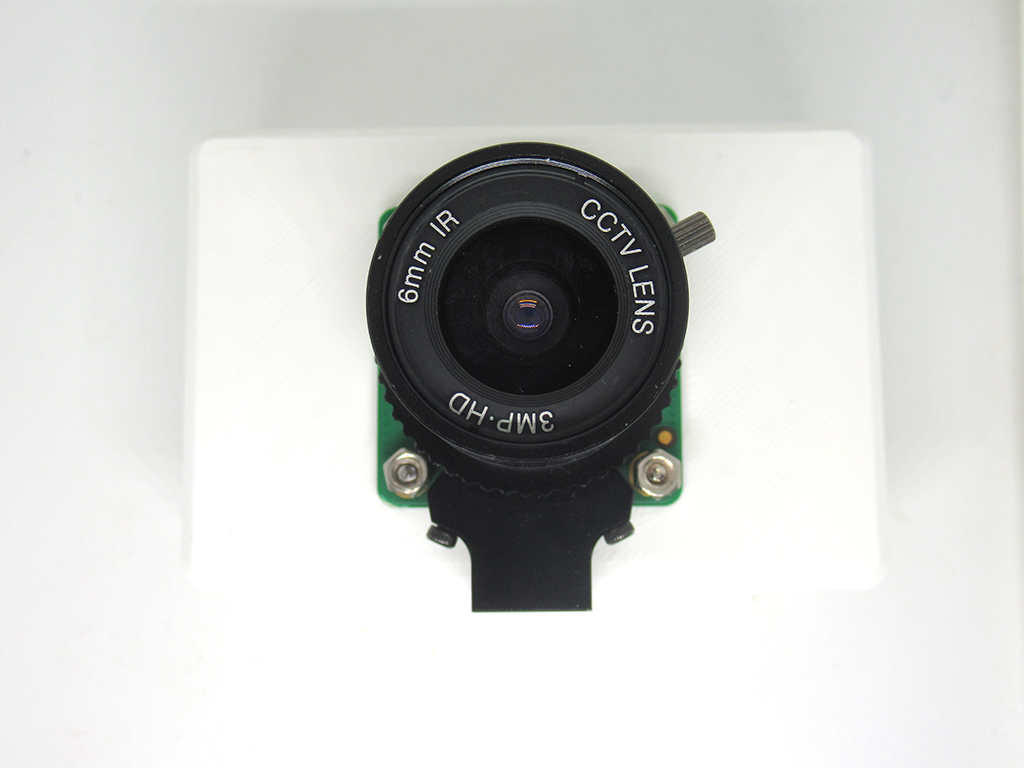
The first lens we'll look at is the 6mm Wide Angle lens. As this is a CS-mount device, it does not require the C-CS adapter that would've came with your Raspberry Pi High Quality camera. Simply rotate the lens clockwise into the back focus adjustment ring, all the way, and you're good to go.
Likewise, to attach the 16mm telephoto lens to the Raspberry Pi HQ camera, simply rotate it clockwise into the back focus adjustment ring.
To show how much of a vast improvement these Raspberry Pi HQ Cameras are to the Raspberry Pi Camera V2, here is a close-up shot with no adjustments made in software. The 6mm Wide Angle lens was used. As you can see, this is a bright, clear, crisp photo right out of the box. This was a challenge to achieve with the older Raspberry Pi Camera V2 which has a fixed focus lens.
This image was taken with the command: sudo raspistill -w 4056 -h 3040 -o image.jpg
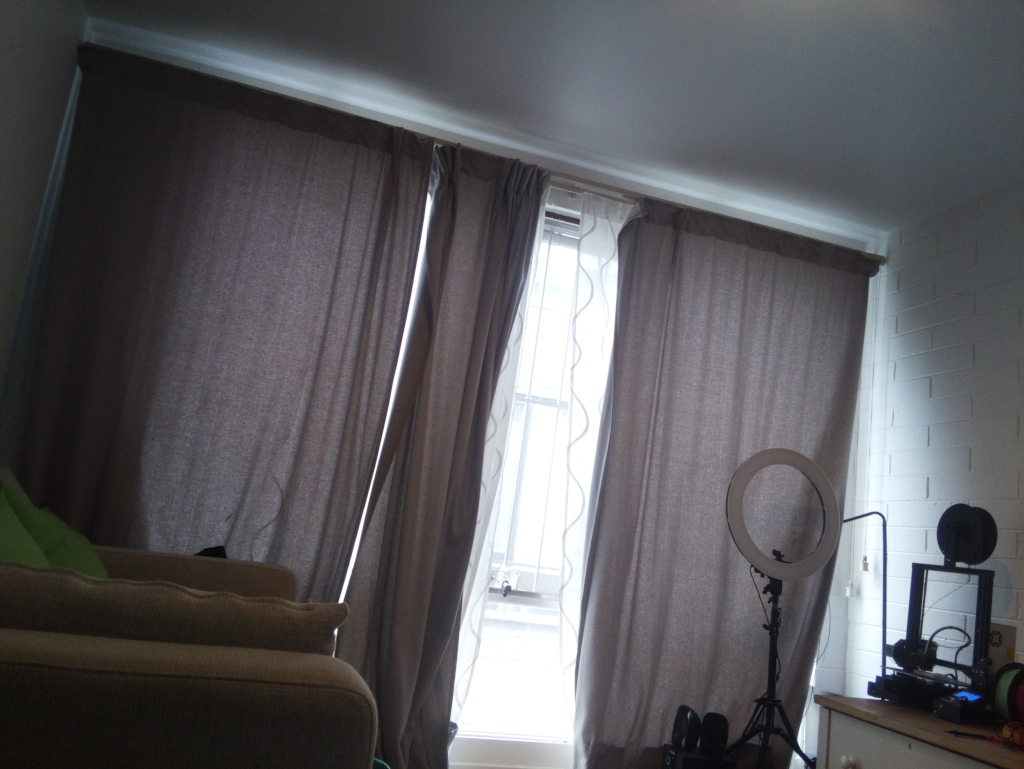
The second image displays a picture taken by the Raspberry Pi V2. It is way less bright or clear. Why? As mentioned above, this is in part due to the fixed focus lens. These sensors have lower signal-to-noise ratio. Finally, there was no option to replace the lens with a more expensive one. All this is solved with the new Raspberry Pi HQ camera.
Just for reference, this second photo was taken with the command: sudo raspistill -w 3280 -h 2464 -o image.jpg -k
What does -k mean? This lets you take a photo at a precise moment by hitting the enter key.
What does -k mean? This lets you take a photo at a precise moment by hitting the enter key.
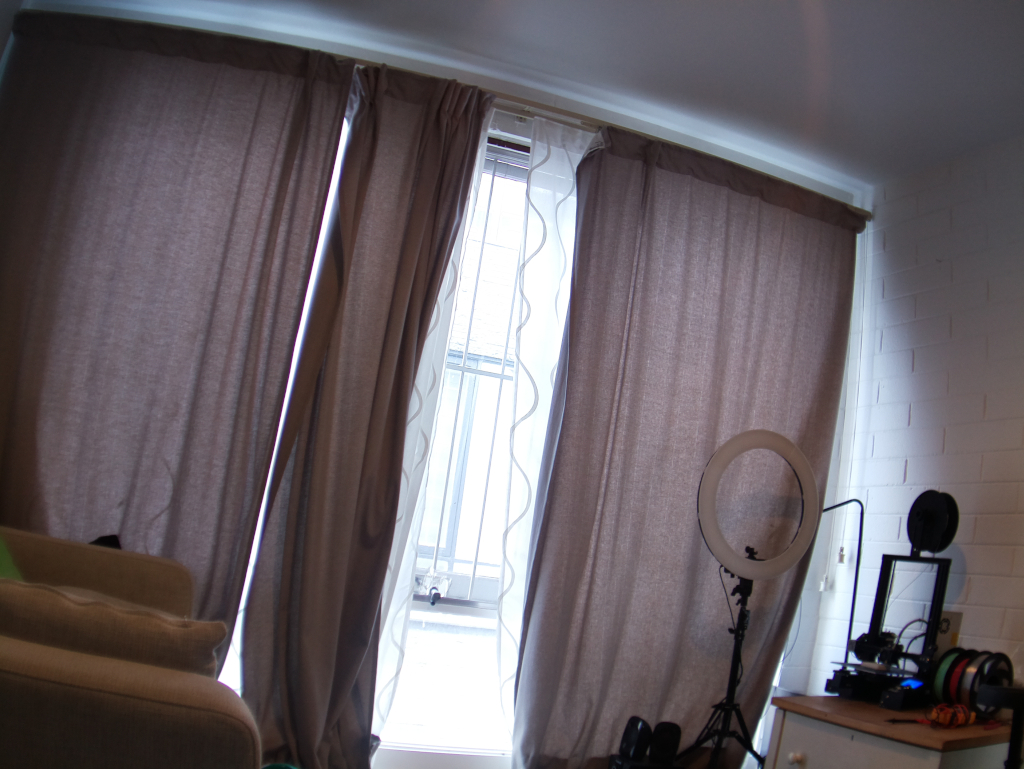
Here is an indoor shot showing the focal length, colour balance and quality of the new camera. This was shot in relatively low light conditions with the 6mm Wide Angle Lens.
In the second shot, this was taken with the Raspberry Pi Camera V2.
While the Raspberry Pi HQ Camera offers better quality images than the fixed-focus lens of its predecessor, for general purpose photography it is hard to lug around on its own.
If you wanted to take photographs or videos outdoors, it needs to be portable. So, you might want to 3D print an enclosure for the HQ Camera and Raspberry Pi model of your choice. Feel free to download this custom case on Thingiverse, here.
If you wanted to take photographs or videos outdoors, it needs to be portable. So, you might want to 3D print an enclosure for the HQ Camera and Raspberry Pi model of your choice. Feel free to download this custom case on Thingiverse, here.
At the time of writing, this case fits a Raspberry Pi 3B+, a Powerboost charger, LiPo battery and pushbutton. We chose to use a 3B+ due to its lower power requirements.
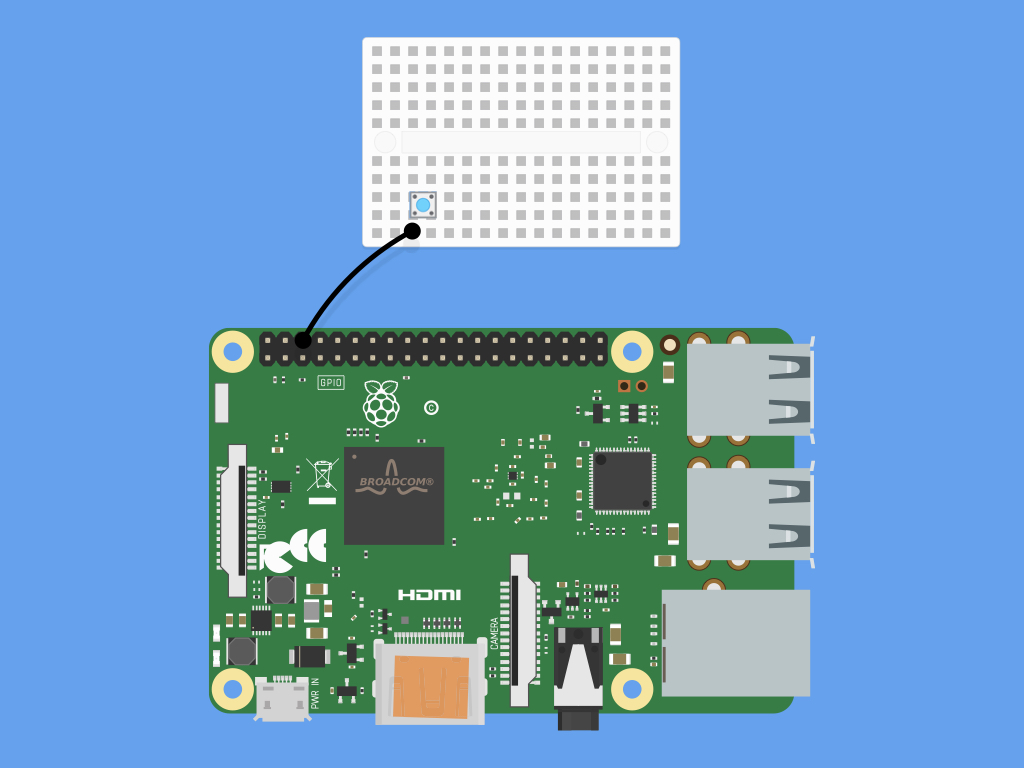
Next, let's prototype the handheld camera by connecting jumper wires to a mini breadboard. Then, connect a jumper wire from GND on the Raspberry Pi to the pushbutton.
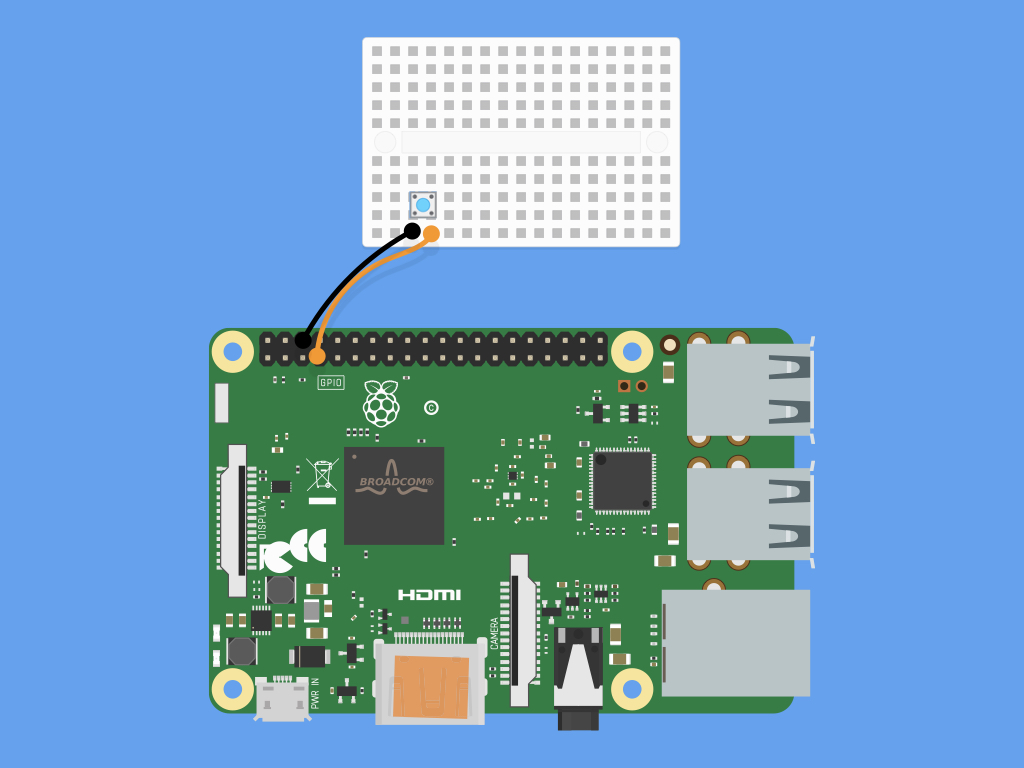
Connect a jumper wire from GPIO4 on the Raspberry Pi to one end of the pushbutton as shown.
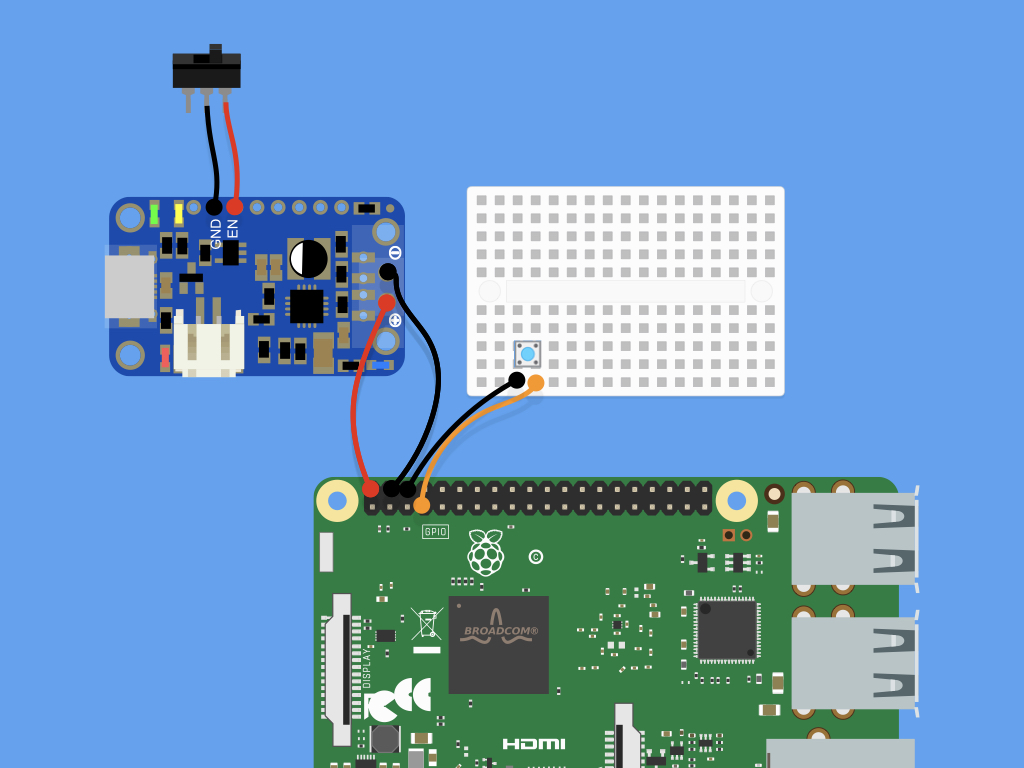
Solder wires between an SPDT slide switch and the Powerboost charger. The GND connection should be connected to GND.
Connect another wire from EN of the powerboost to the otherend of the SPDT slide switch.
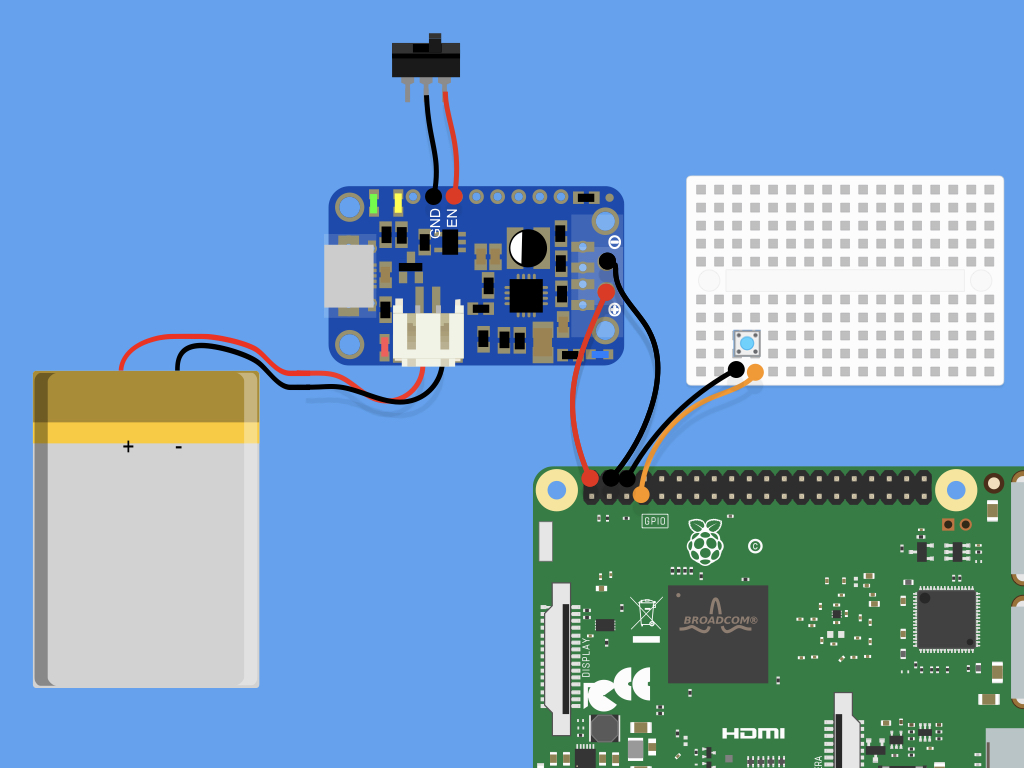
Next, connect a powerboost charger to the Raspberry Pi as shown.
Finally, insert the LiPo battery into the powerboost charger.
from gpiozero import Button
from picamera import PiCamera
from signal import pause

import time

camera = PiCamera()

def take_picture_with_camera():

    image_path = '/home/pi/image_%s.jpg' % int(round(time.time() * 1000))
    camera.capture(image_path)
    print('Took photo')

button = Button(4)
button.when_pressed = take_picture_with_camera

pause()
With the Raspberry Pi powered up, open up a new terminal window and create a new Python file from the command line with : sudo nano hqcam.py
Copy and paste the following code.
To save, click CTRL + x , then y , then enter.
Now give it a test by pressing that button (connected to GPIO4), a photo will be taken and saved to the /home/pi directory, and named based on the time the photo was taken.