NFC Module with Raspberry Pi
Connect the PN532 NFC Module to the Raspberry Pi via I2C!
Written By: Cherie Tan
Difficulty
Easy
Steps
14
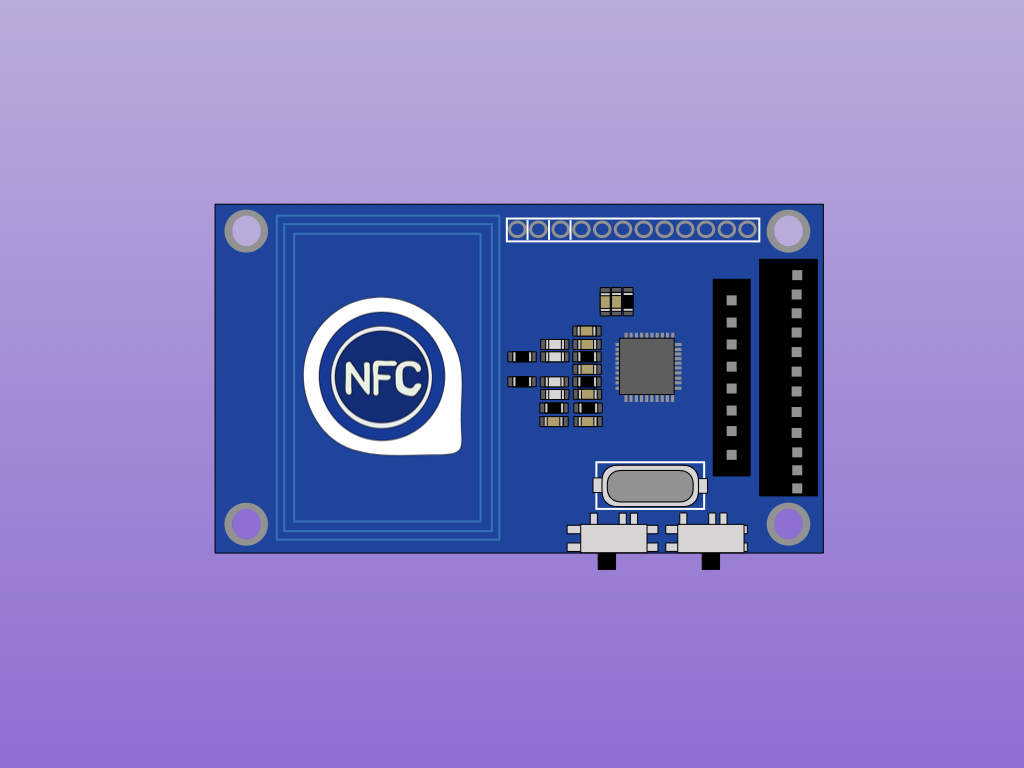
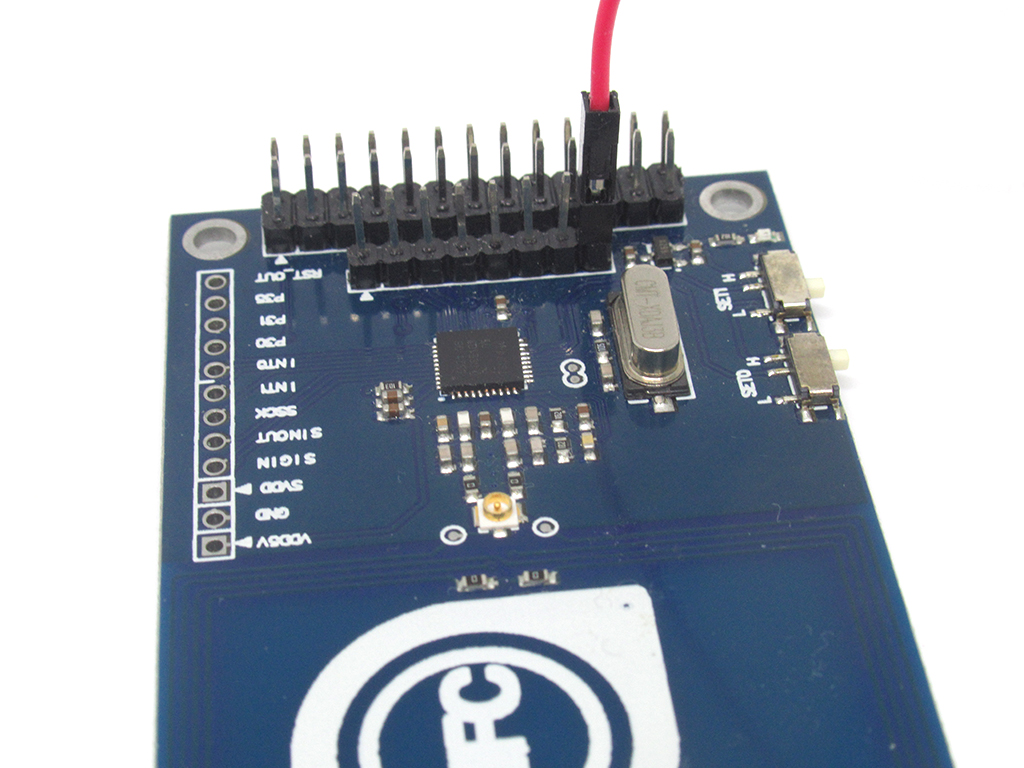
The PN532 NFC RFID Module can be used for near field communication purposes at 13.56MHz. It has two switches on board, SEL0 and SEL1 that allows easy configuration between I2C, SPI, and UART modes. It supports RFID reading and writing, and NFC function with Android phone, making it quite convenient for wireless connection with a maximum distance of 3cm.
In this guide, we'll show you how to connect it to the Raspberry Pi through I2C.
Complete this guide to get started with using the PN532 NFC RFID Module with the Raspberry Pi!
Complete this guide to get started with using the PN532 NFC RFID Module with the Raspberry Pi!
In this guide, we'll show you how to connect it to the Raspberry Pi through I2C.
The PN532 NFC RFID Module can be used for near field communication purposes at 13.56MHz.
It has two switches on board, SEL0 and SEL1 that allows easy configuration between I2C, SPI, and UART modes.
It supports RFID reading and writing, and NFC function with Android phone, making it quite convenient for wireless connection with a maximum distance of 3cm.
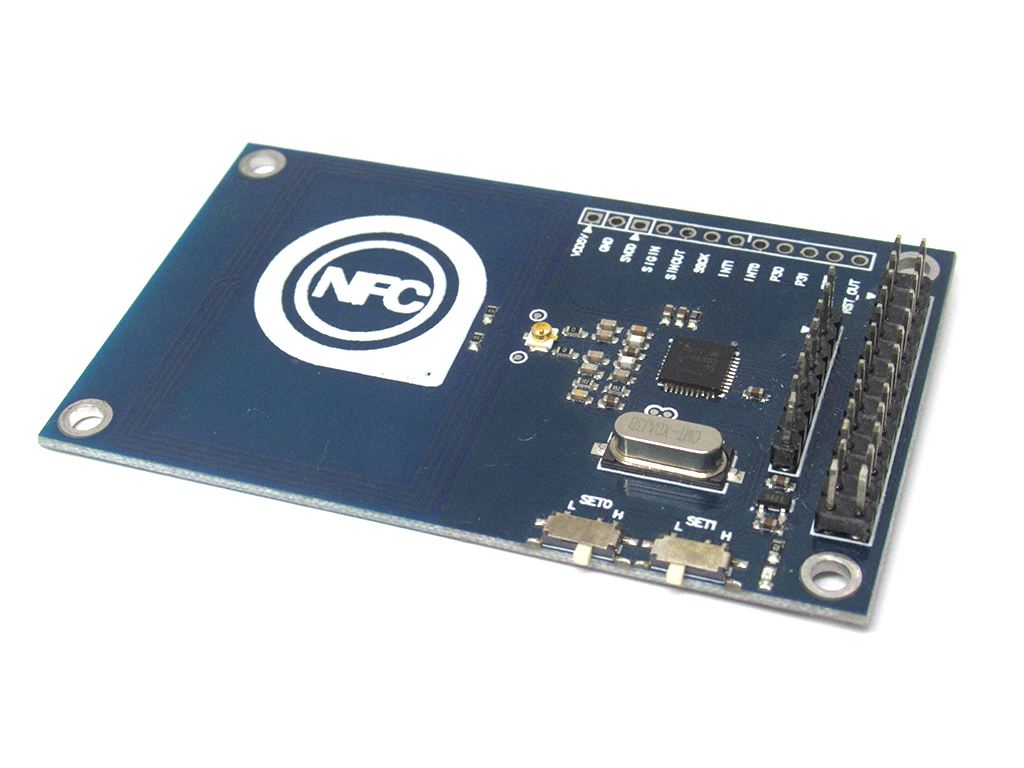
Attach a red jumper wire to 5V on the NFC Module as shown.
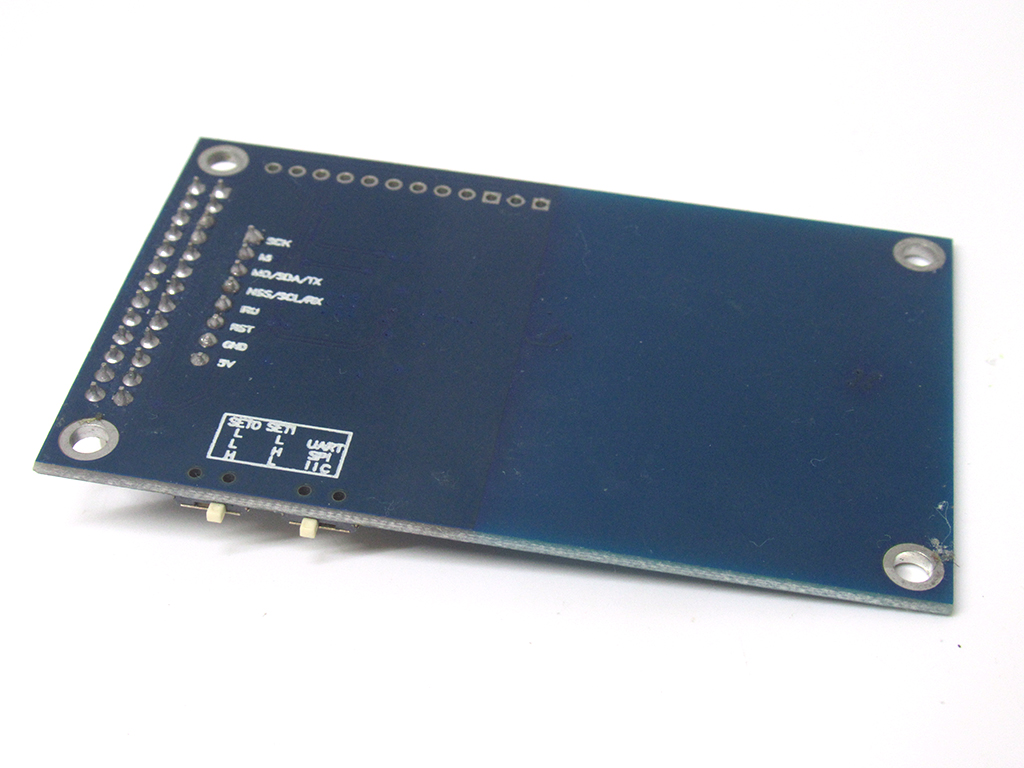
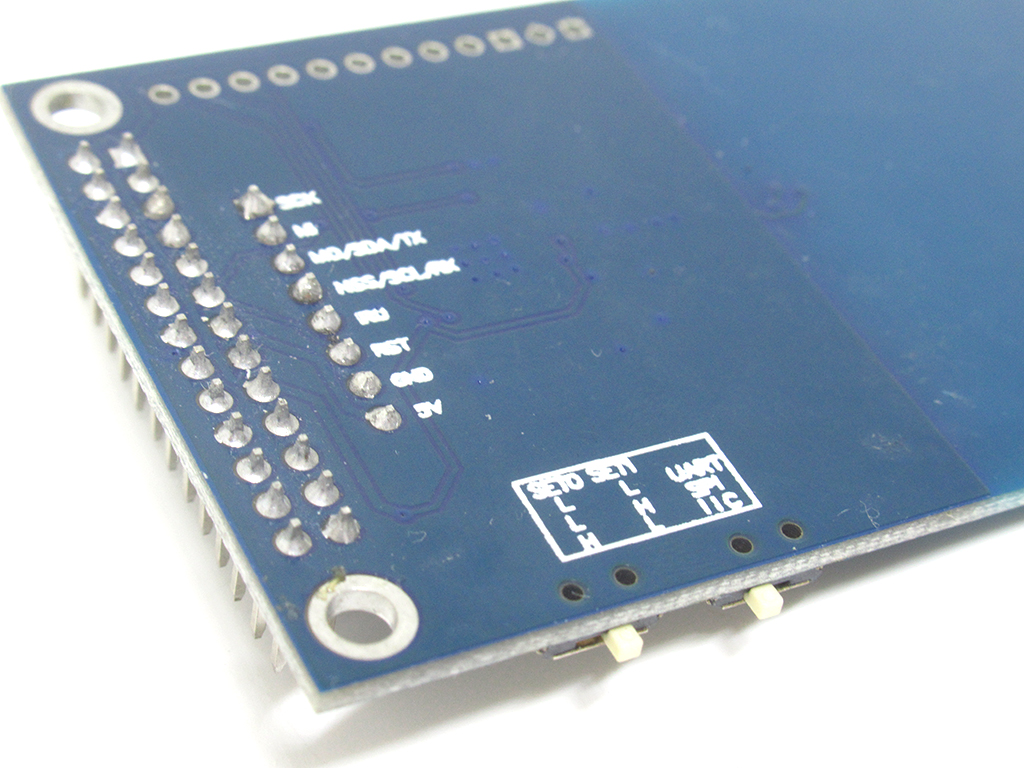
The pins labels can be seen on the back side of the NFC Module.
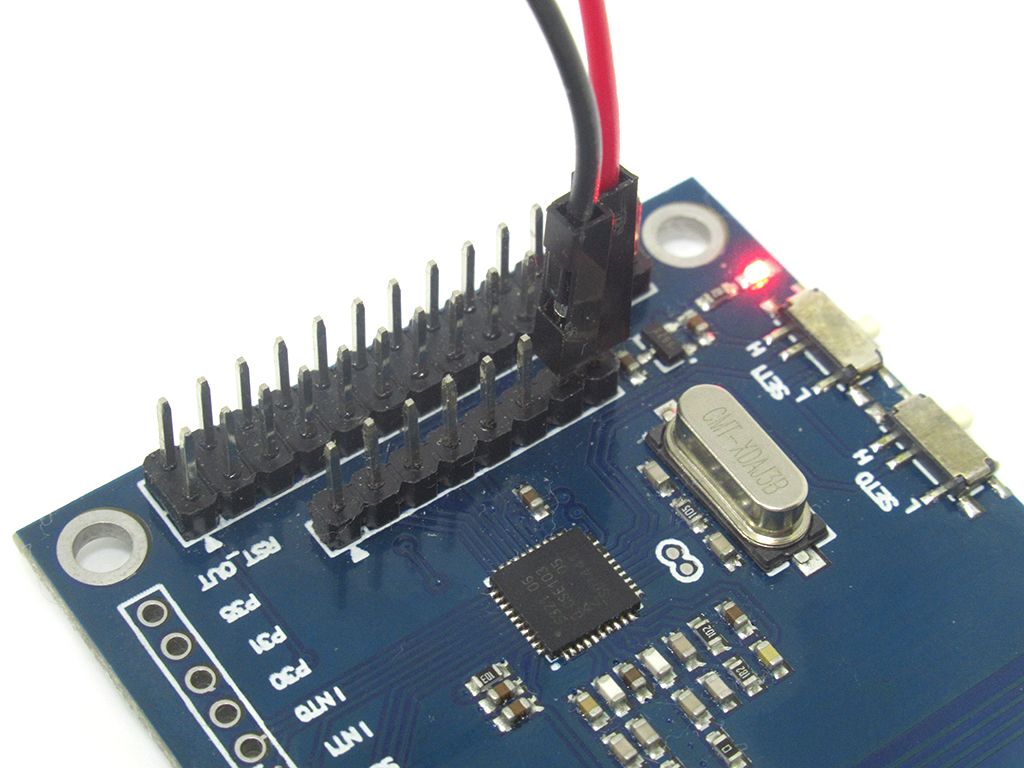
Next, connect a black jumper wire to GND on the NFC Module.
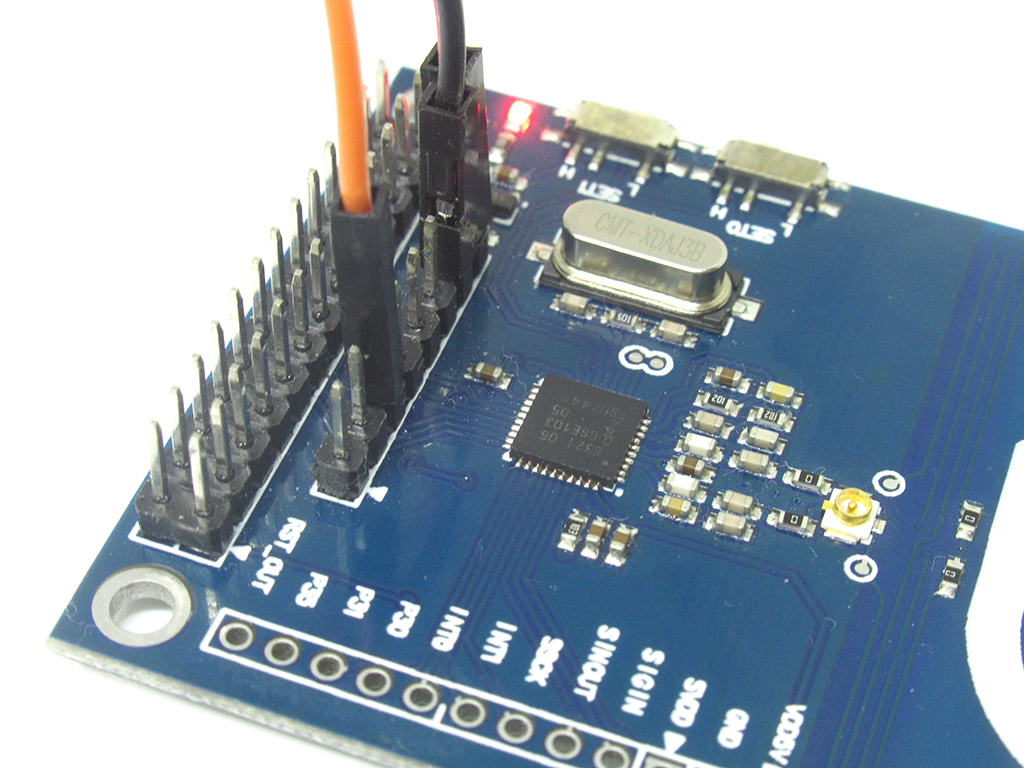
Then, connect another jumper wire to SDA on the NFC Module.
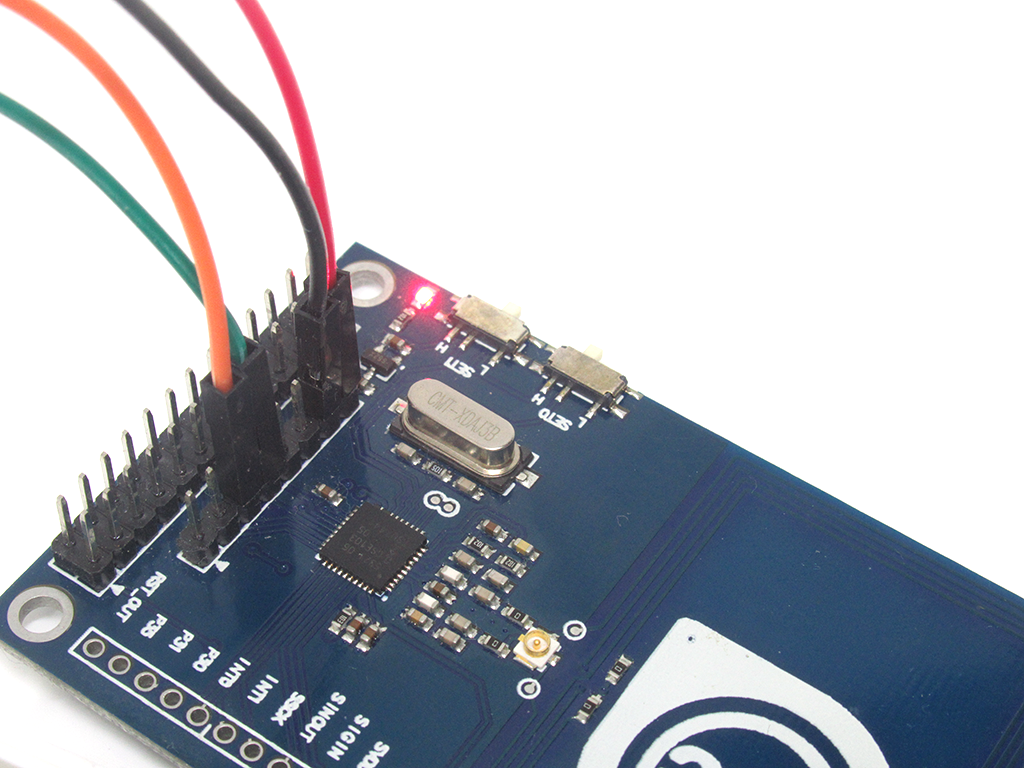
Finally, connect another jumper wire, this time to SCL on the NFC Module.
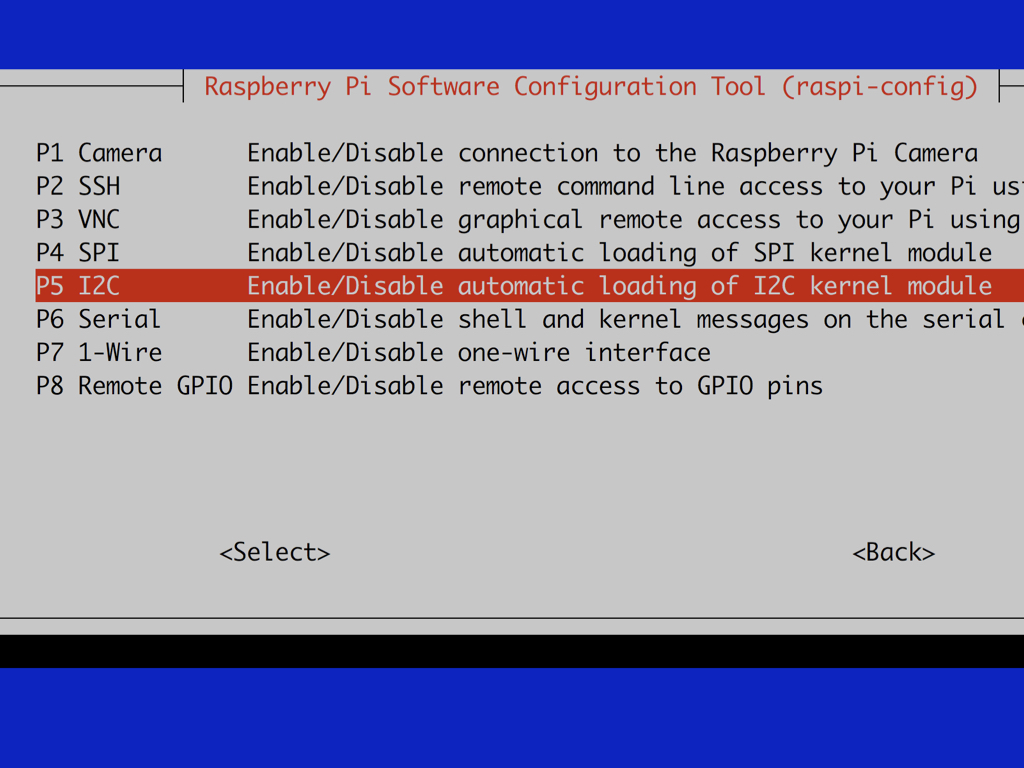

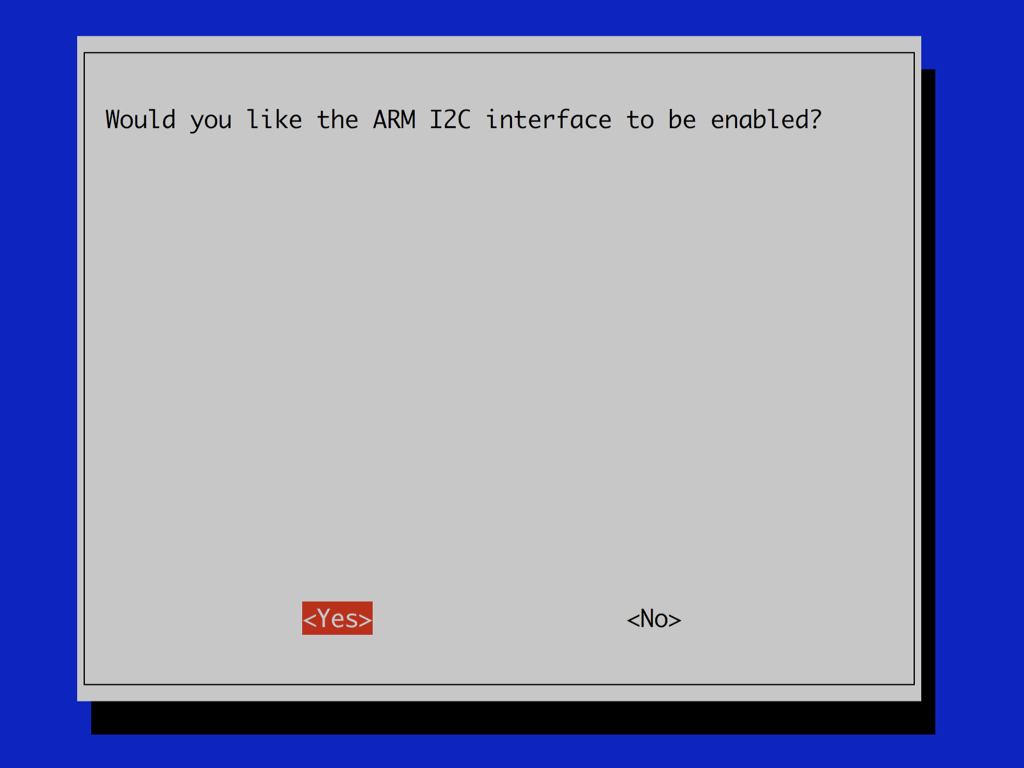
Once the Raspberry Pi has been powered up, run the following in the command line: sudo raspi-config
Navigate to Interfacing Options > I2C > Yes
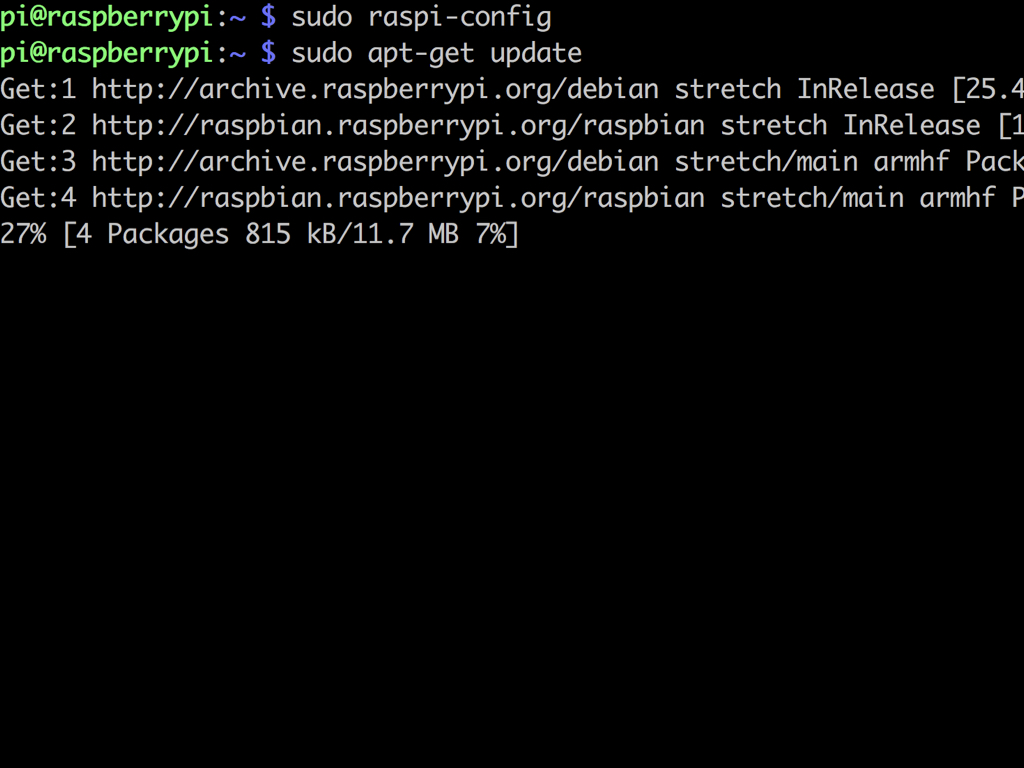
The first thing to do is to download package lists from the repositories and update them.
So enter the following: sudo apt-get update
So enter the following: sudo apt-get update
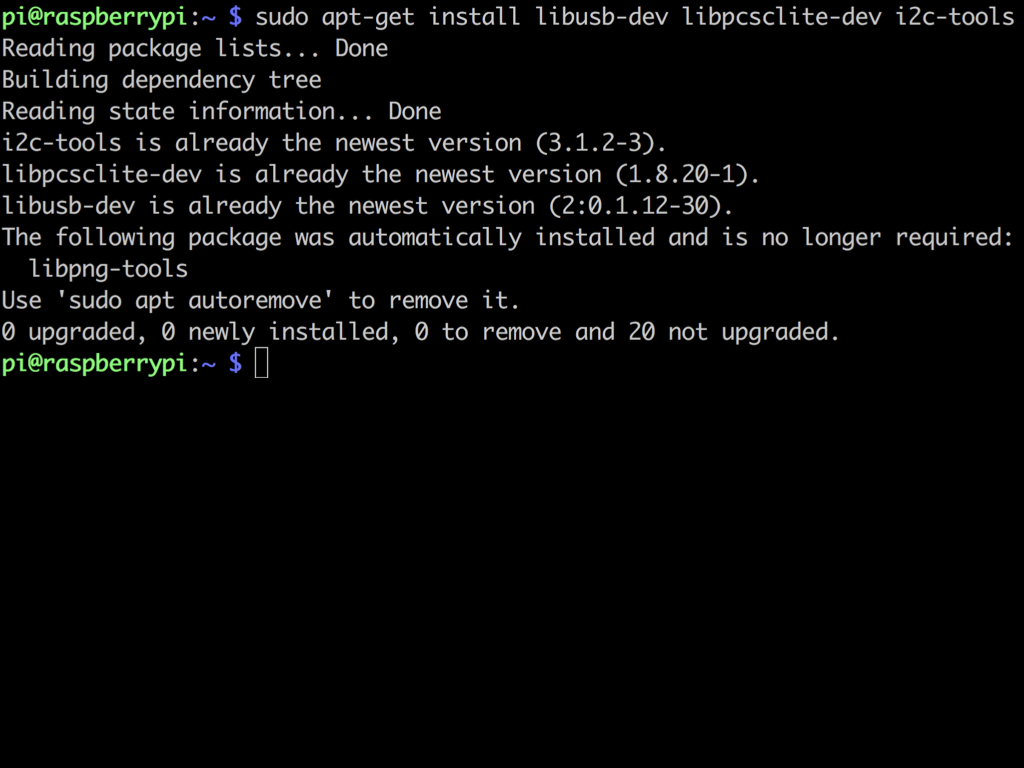
Next, enter the following command to install dependent packages: sudo apt-get install libusb-dev libpcsclite-dev i2c-tools
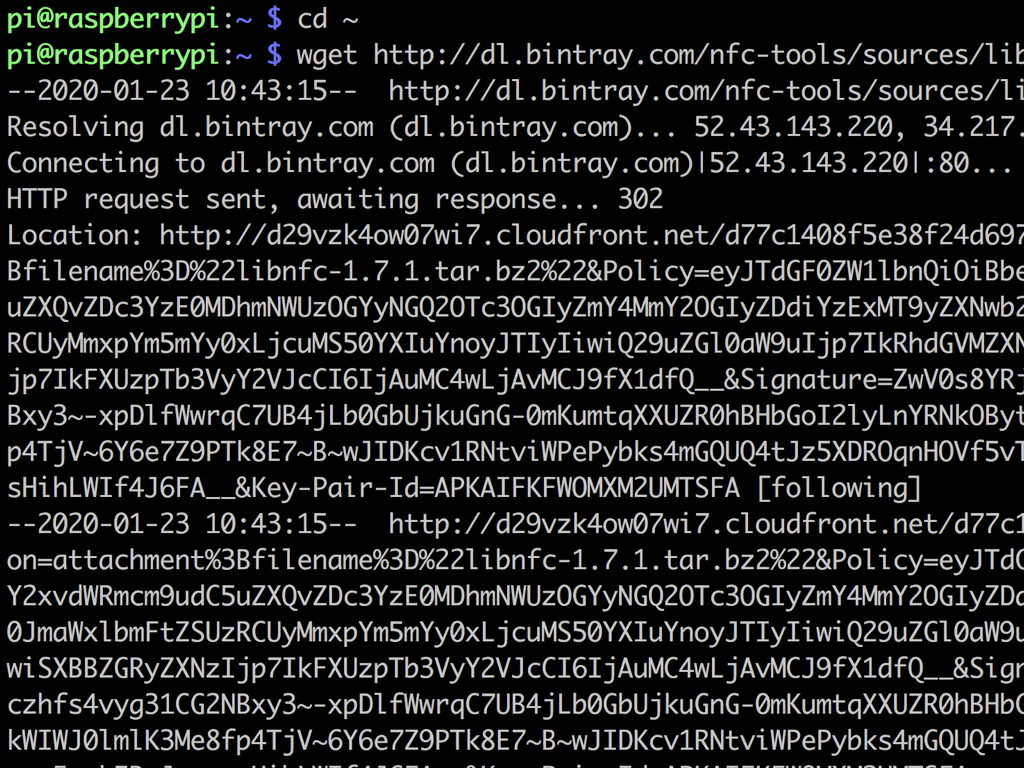
Enter the following: cd ~
Next, download the source code package for libnfc with the command: wget http://dl.bintray.com/nfc-tools/sources/libnfc-1.7.1.tar.bz2
The wget command is a command line utility for downloading files from the Internet.
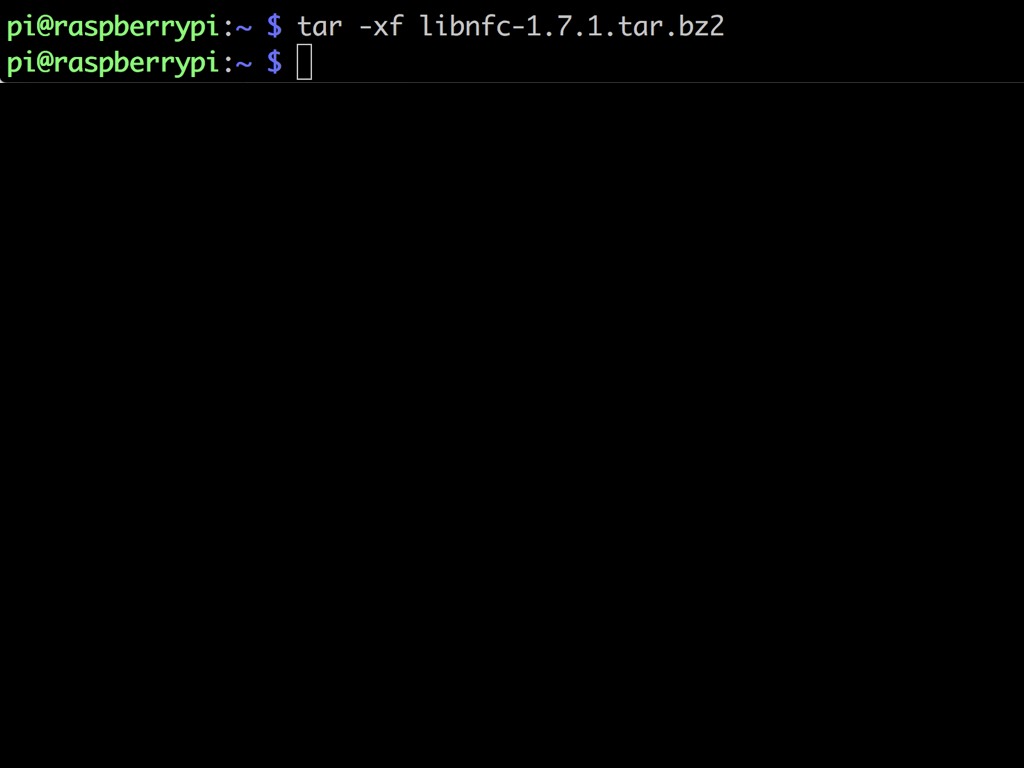
We'll next use the tar command with the option -xf to extract the archive:
tar -xf libnfc-1.7.1.tar.bz2
tar -xf libnfc-1.7.1.tar.bz2
The tar command can be used to compress a group of files into an archive, or to extract, maintain or modify tar archives. The -x option extracts the archive.
tar [options] [archive-file] [file or directory to be archived]
Options:
-c : Creates archive
-x : Extracts the archive
-f : creates archive with given filename
-t : displays or lists files in archived file
-u : archives and adds to an existing archive file
-v : Displays verbose information
-A : Concatenates the archive files
-z : compresses the tar file using gzip
-j : compresses the tar file using bzip2
-W : Verifies an archive file
-r : updates or adds file or directory in already existing .tar file
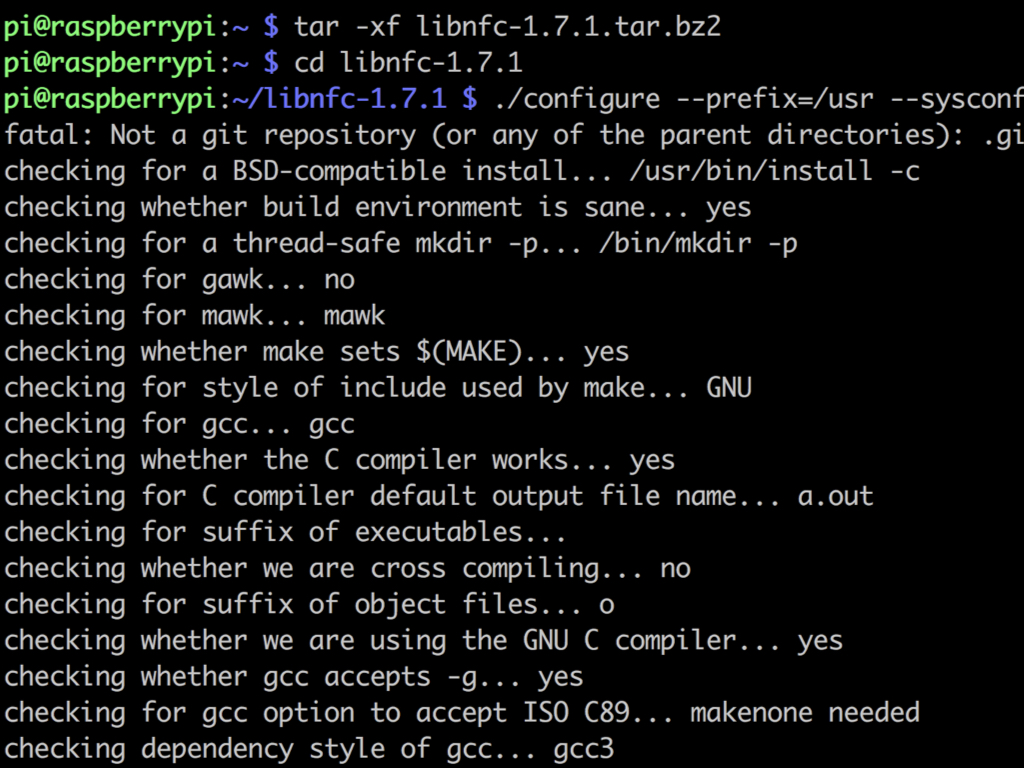
Change directory with: cd libnfc-1.7.1
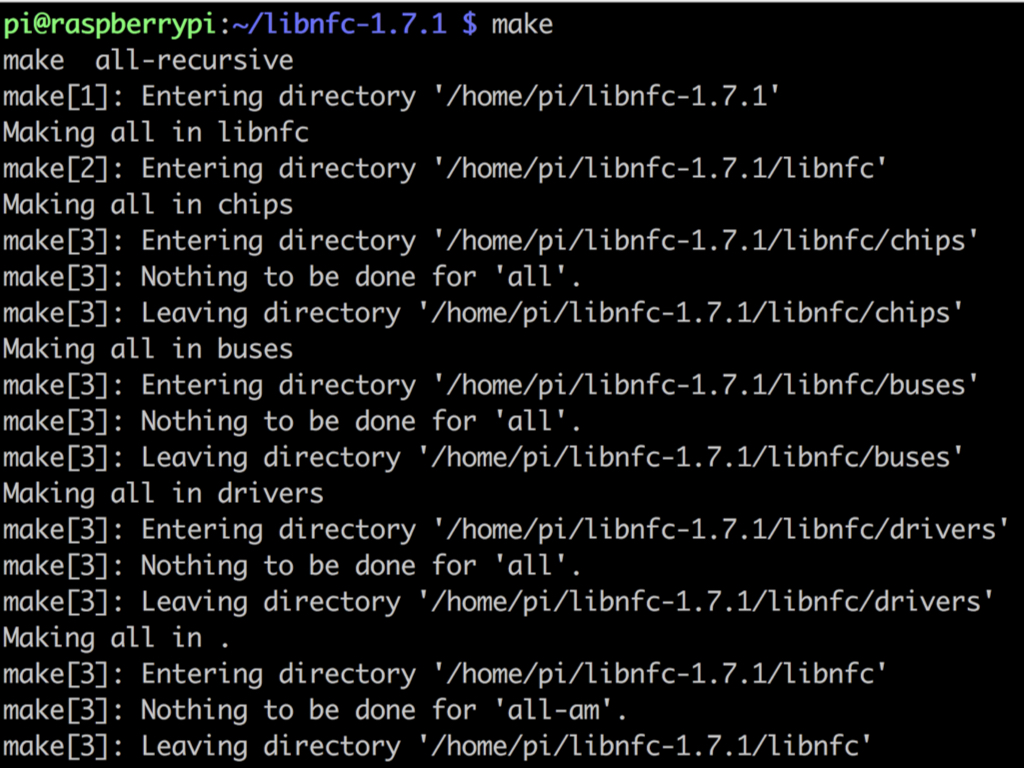
Then compile and install with the following commands:
./configure --prefix=/usr --sysconfdir=/etc
make
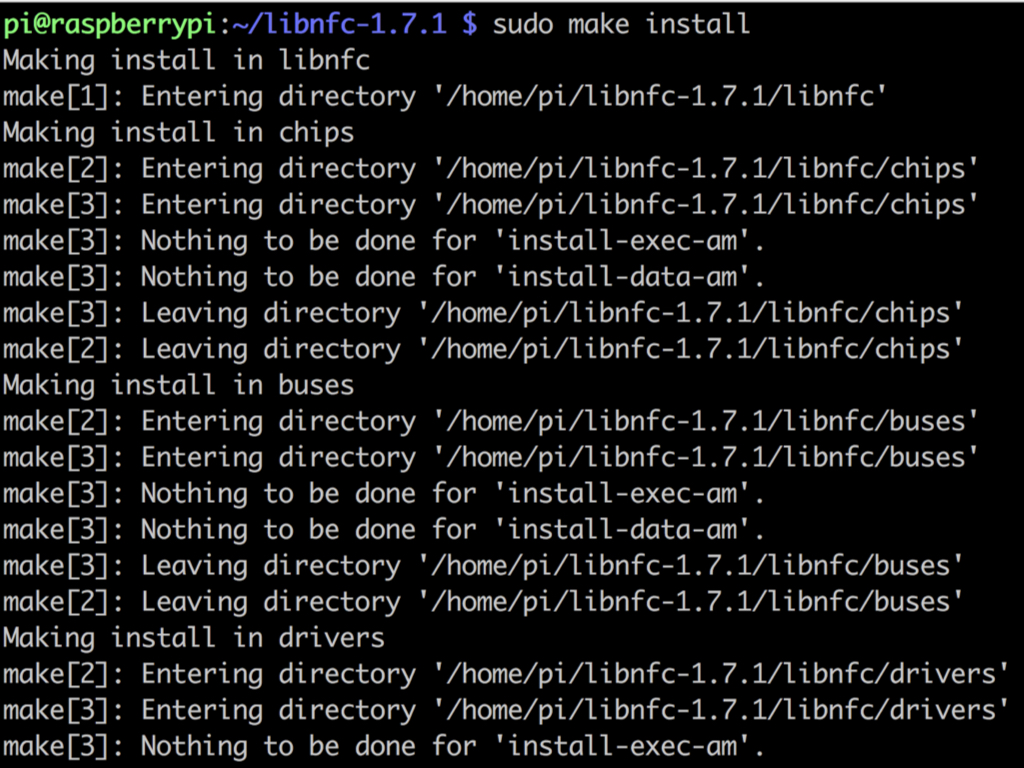
sudo make install
./configure --prefix=/usr --sysconfdir=/etc
make
sudo make install
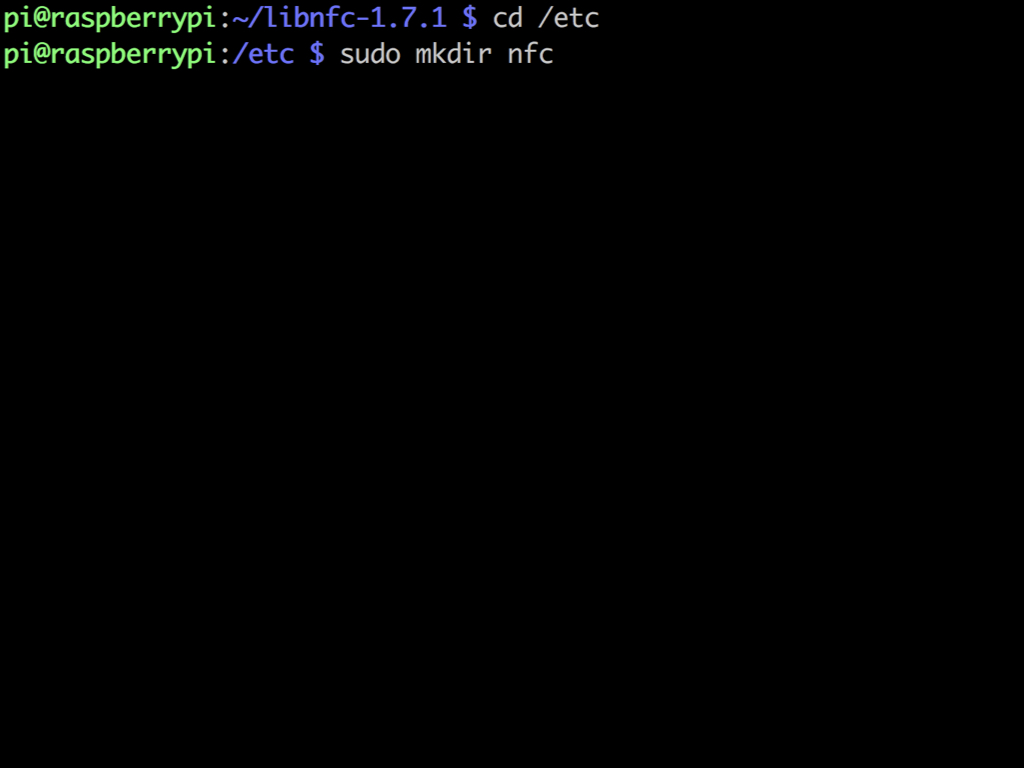
Next, change directory with: cd /etc
Make a new directory with the command: sudo mkdir nfc
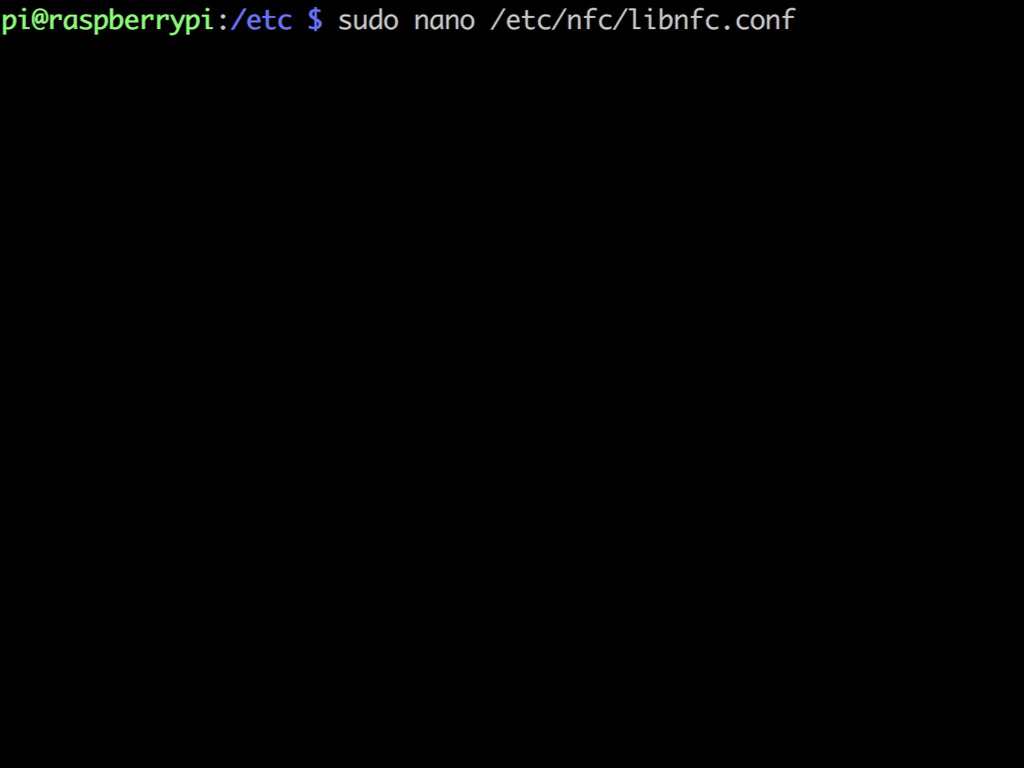
Enter the following: sudo nano /etc/nfc/libnfc.conf
# Allow device auto-detection (default: true)
# Note: if this auto-detection is disabled, user has to set manually a device
# configuration using file or environment variable
allow_autoscan = true

# Allow intrusive auto-detection (default: false)
# Warning: intrusive auto-detection can seriously disturb other devices
# This option is not recommended, user should prefer to add manually his device.
allow_intrusive_scan = false

# Set log level (default: error)
# Valid log levels are (in order of verbosity): 0 (none), 1 (error), 2 (info), 3 (debug)
# Note: if you compiled with --enable-debug option, the default log level is "debug"
log_level = 1

# Manually set default device (no default)
# To set a default device, you must set both name and connstring for your device
# Note: if autoscan is enabled, default device will be the first device available in device list.
#device.name = "_PN532_SPI"
#device.connstring = "pn532_spi:/dev/spidev0.0:500000"
device.name = "_PN532_I2c"
device.connstring = "pn532_i2c:/dev/i2c-1"
Copy and paste the following details into the etc/nfc/libnfc.conf file.
Next, make sure that the switches on the NFC Module have been toggled as such:
SEL0 : H
SEL1 : L
SEL0 : H
SEL1 : L
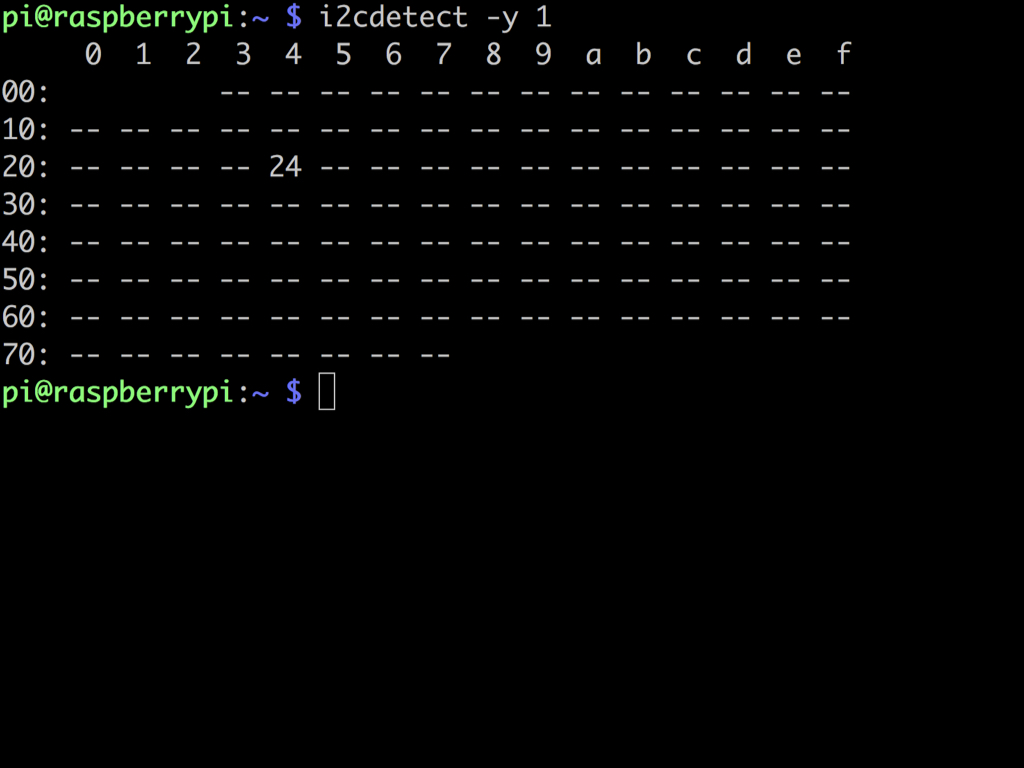
If it has been successfully detected, you should see it appearing in the table as shown.
Now to check whether the I2C device is recognised by the Raspberry Pi: i2cdetect -y 1
