Make a Smart Aquarium
Add a temperature sensor to your fish tank
Written By: Cherie Tan

Difficulty
Easy
Steps
14
Sensors can be found just about everywhere, in your household security alarms, smoke alarms, and in many more devices.
In this tutorial, you will learn how to use a waterproof temperature sensor, the ds18b20 with the Raspberry Pi Zero W to turn your regular fish tank into a smart aquarium. We will use the 1-Wire data protocol to take temperature readings and send an alert via SMS. This will keep your fish friends safe from harm.

First, let's connect the three lines (red: power, orange: data and black : ground) from the sensor to the breadboard.
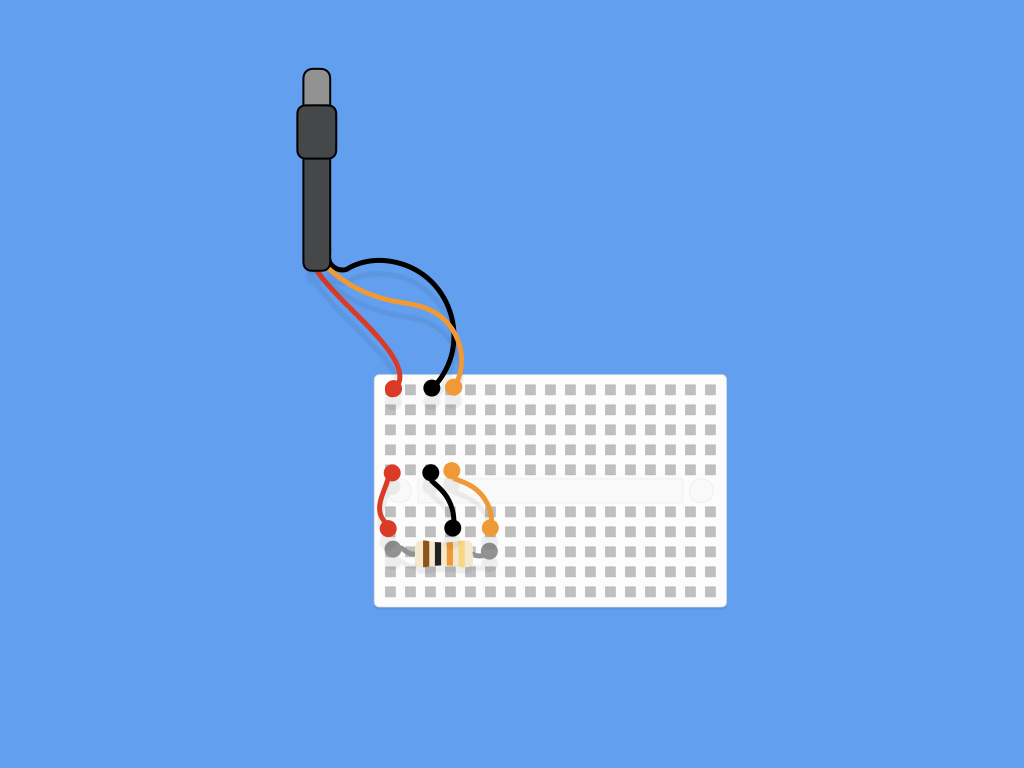
Connect the three lines to a 4.7k Ohm resistor which will pull up the data line, creating a steady data stream.
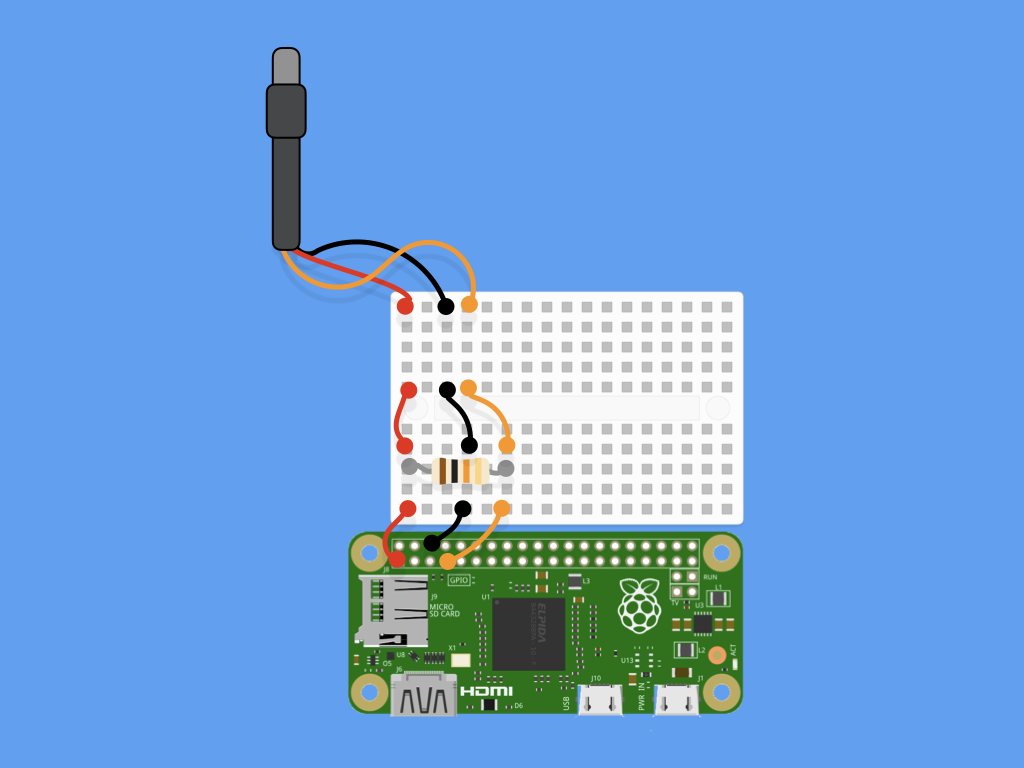
Bridge the gap to connect the three lines (power, data and ground) as well as the resistor, to the GPIO. First, start by connecting power to Pin 1 (3.3v)
Connect ground to Pin 6 (GND)
Connect data to Pin 7 (GPIO4)
sudo raspi-config
Use sudo raspi-config to turn on 1-Wire Interface.
After doing so, you can now exit, there is no need to reboot.
sudo modprobe w1-gpio
sudo modprobe w1-therm
cd /sys/bus/w1/devices/
ls
Next, we need to check the unique device ID of the sensor. To do so, we would need to first tell the operating system that 1-Wire is going to be used, and in particular the thermistor. So, enter the following commands:
sudo modprobe w1-gpio
sudo modprobe w1-therm
Then enter the following command: cd /sys/bus/w1/devices/
Then enter this command: ls
You will see a directory that starts with '28-'. That is the device we are looking for!
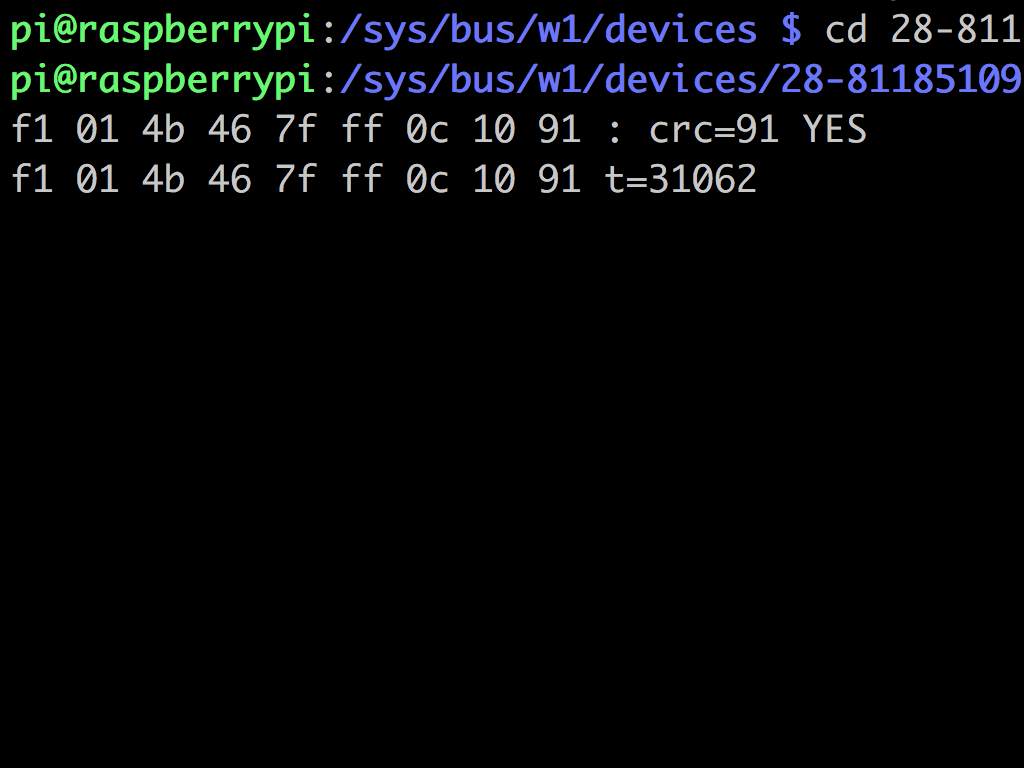
To check the current temperature, change directory by typing: cd 28-
Then hit TAB before entering the following: cat w1_slave
Once the output is displayed, pay attention to the line that has 't='. The number that comes after it is the temperature in degree celsius, multiplied by 1000 for the sake of accuracy. So in this example, the temperature is 31.062ºC.
sudo apt-get install python-w1thermsensor
To use the Raspberry Pi with the sensor, install this library written by Timo Furrer by entering the following:
sudo apt-get install python-w1thermsensor
from w1thermsensor import W1ThermSensor
sensor = W1ThermSensor()
temperature_in_celsius = sensor.get_temperature()
temperature_in_fahrenheit = sensor.get_temperature(W1ThermSensor.DEGREES_F)
temperature_in_all_units = sensor.get_temperatures([
    W1ThermSensor.DEGREES_C,
    W1ThermSensor.DEGREES_F,
    W1ThermSensor.KELVIN])
print(temperature_in_celsius)
Then create a file called
temp.py
and enter the following:
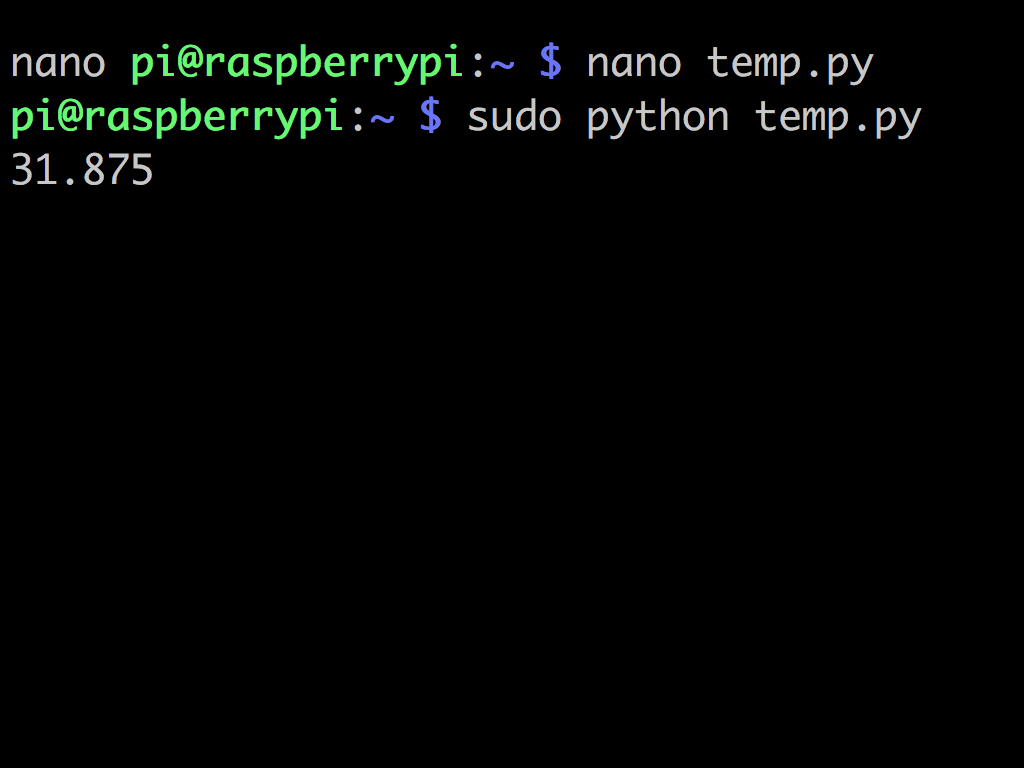
While the 1-Wire module loads automatically, the python code to be used with W1ThermSensor is required to be run as root.
So enter the following: sudo python temp.py
from w1thermsensor import W1ThermSensor
from time import sleep
sensor = W1ThermSensor()
upperThreshold = 27
lowerThreshold = 21
while True:
    temperature = sensor.get_temperature()
    print 'Current temperature: ' + str(temperature)
    if temperature > upperThreshold:
        print 'Too hot'
    elif temperature < lowerThreshold:
        print 'Too cold'
    else:
        print 'Just right'
    sleep(900)
Let's recap, so far we have enabled support for 1-Wire, told the operating system that we're using 1-Wire, tested the temperature sensor, and installed the necessary library.
Now let's create a temperature monitor that will check the temperature every fifteen minutes. The goal is to make sure that your aquarium stays within the necessary temperature range for your fish to stay well and healthy. This temperature is between 21ºC and 27ºC for tropical aquariums.
sudo pip install twilio
Twilio is a developer platform for cloud-based communications. By using its API, you can add capabilities such as voice, video and messaging to your project. By using the Twilio Python Helper Library, you can easily send an SMS alert message to yourself when the temperature goes out of range.
So head over to the terminal and type: sudo pip install twilio
If you get a '- bash' error, you may need to install pip yourself. To do so, enter the following command first: sudo apt-get install python-pip then try to install twilio again.
Now that you have the Twilio library installed, it's time to sign up for a Twilio account.
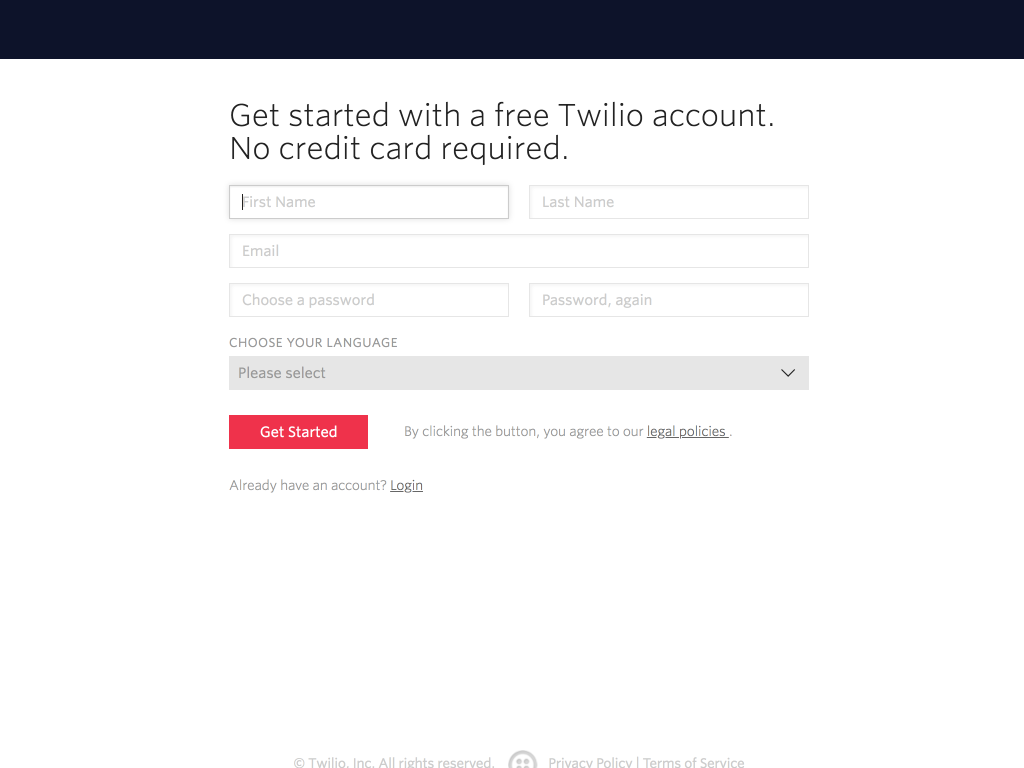
To sign up for a free trial account, head to the Twilio sign up page.
To sign up for a free trial account, head to the Twilio sign up page.
Enter your details and click on the 'Get Started' button.
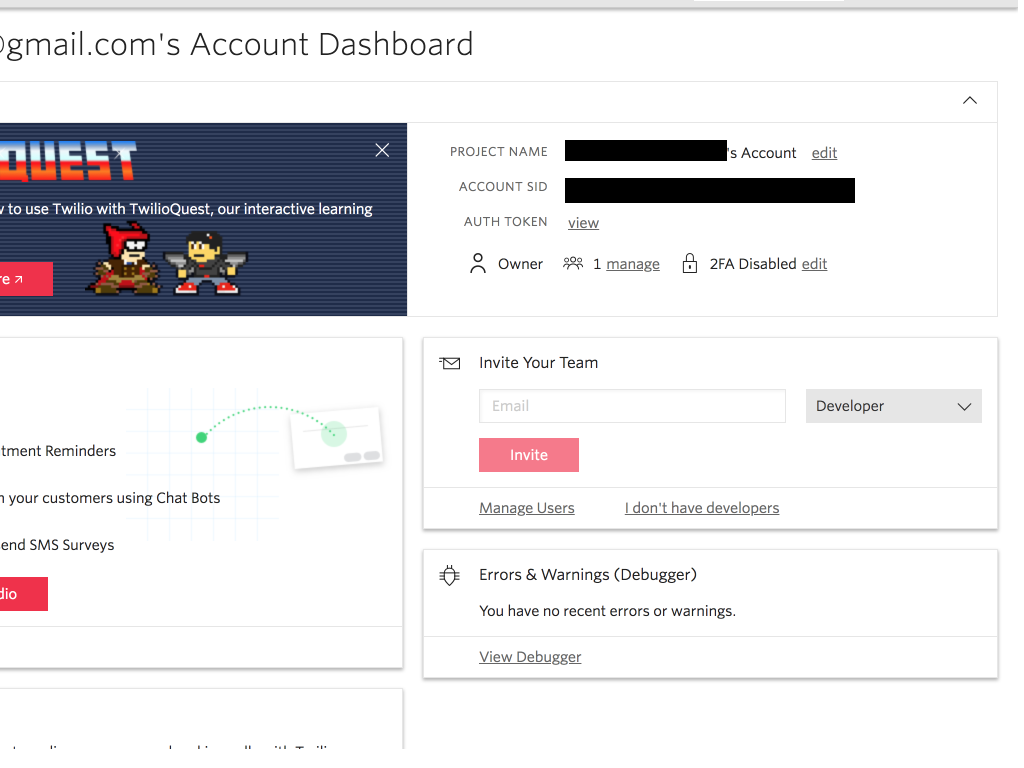
To get your account SID and auth token, go to Twilio console page and it should be on the top right hand corner.
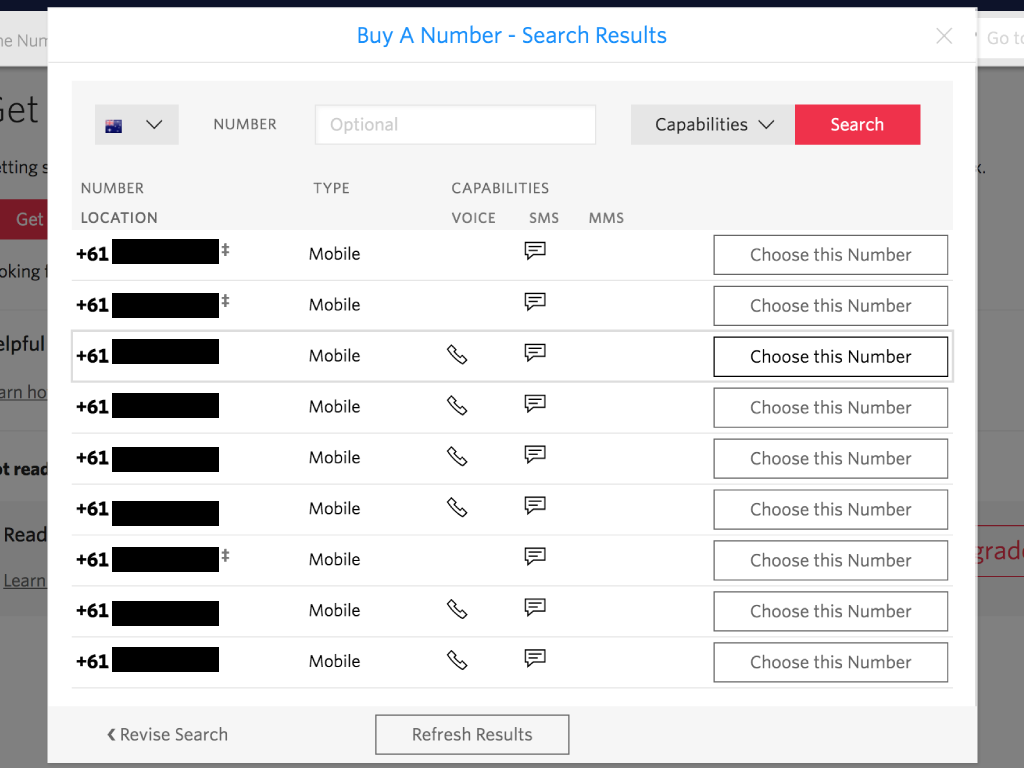
To get a free Twilio phone number to send messages to your mobile phone, go to Twilio's Phone Numbers page.
Click on 'Get your first Twilio phone number' button
Twilio will have chosen a random number for you, but make sure it has SMS sending capabilities. If it does not, click on 'Search for a different number'. Pick a number that has SMS-sending capabilities.
# -*- coding: utf-8 -*-
from twilio.rest import Client
from w1thermsensor import W1ThermSensor
from time import sleep

# Your Account SID from twilio.com/console
account_sid ='XXXXXXX' # Put your Twilio account SID here
# Your Auth Token from twilio.com/console
auth_token ='XXXXXXX' # Put your auth token here

client = Client(account_sid, auth_token)

sensor = W1ThermSensor()
upperThreshold = 27
lowerThreshold = 21

while True:
    temperature = sensor.get_temperature()
    print 'Current temperature: ' + str(temperature)
    if temperature > upperThreshold:
        client.messages.create(
          to='+#####', # Put your mobile phone number here
          from_='+######', # Put your Twilio number here
          body="Uh oh, the temperature is getting too high."
        )
    elif temperature < lowerThreshold:
        client.messages.create(
          to='+#####', # Put your mobile phone number here
          from_='+######', # Put your Twilio number here
          body="Uh oh, the temperature is getting too low."
        )
    else:
        print 'Just right'
    sleep(900)
With this program, you can send a text message from your Raspberry Pi when the temperature goes out of range. Please make the necessary changes such as adding your Twilio account SID, Auth token, Mobile number, and Twilio number.
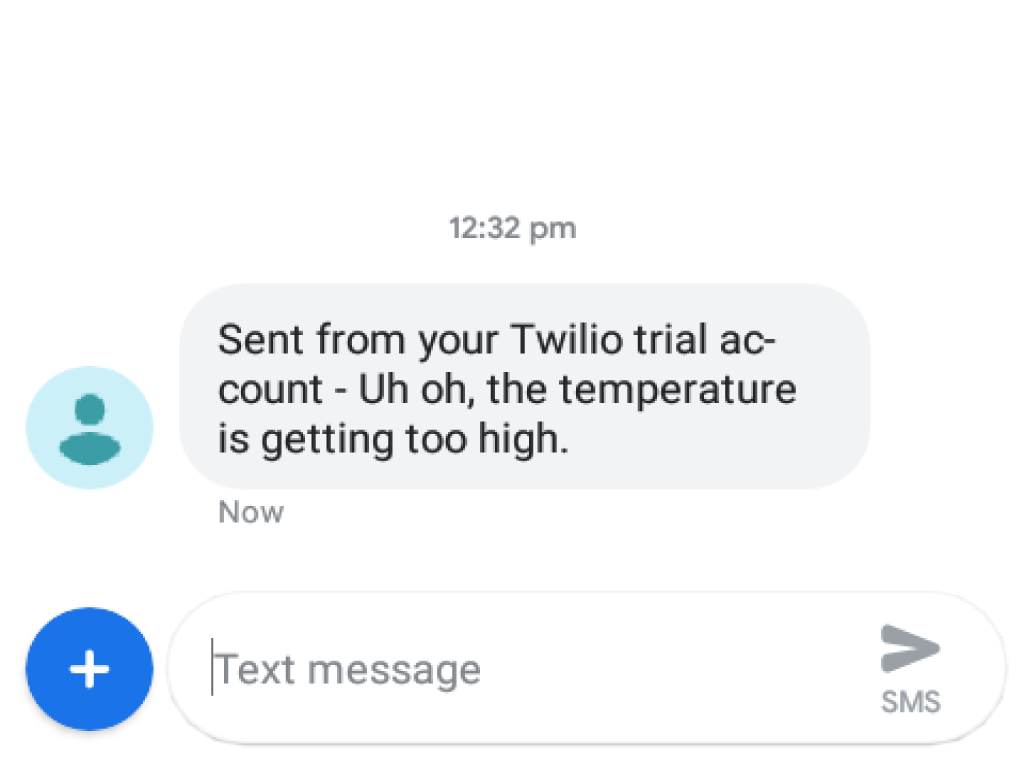
Run the python script again with sudo python temp.py
Now you should get a text message if the temperature goes out of the optimal range.
As long as the Raspberry Pi is powered and the program is running, the temperature will be measured every 15 minutes. It will also continue to send a text message if conditions have been met.
As long as the Raspberry Pi is powered and the program is running, the temperature will be measured every 15 minutes. It will also continue to send a text message if conditions have been met.