Getting Started with the Sense HAT
Gather and display environmental data using the Sense HAT
Written By: Cherie Tan
Difficulty
Easy
Steps
11
In this guide, you will get started with using an actual Sense HAT with the Raspberry Pi 3 Model B+.
After completing this guide, you will have gathered real-world data using the Sense HAT.
Note: The existing code will work fine on the Raspberry Pi 4 Model B+ as well. However, it will be run on Thonny IDE instead.
Note: The existing code will work fine on the Raspberry Pi 4 Model B+ as well. However, it will be run on Thonny IDE instead.
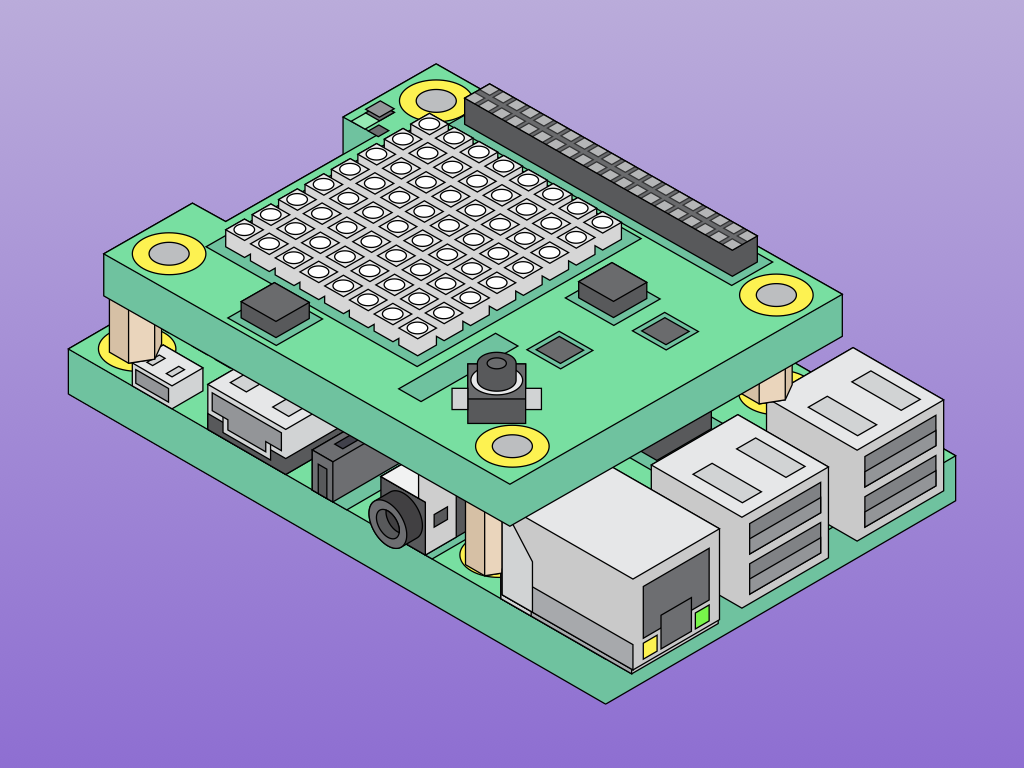
Attach the Sense HAT to the Raspberry Pi by aligning and inserting the 40-pin header as shown.
Insert the NOOBS microSD card into the Raspberry Pi, and then power it up with the official power supply.
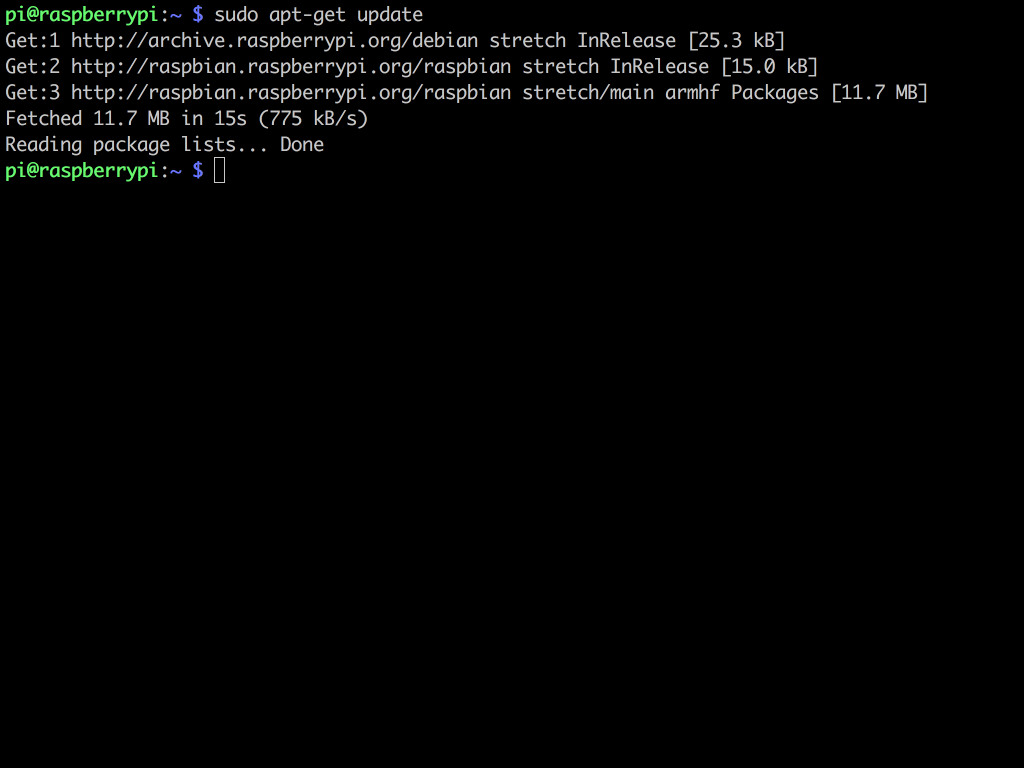
First, to make sure the package lists are up to date: sudo apt-get update
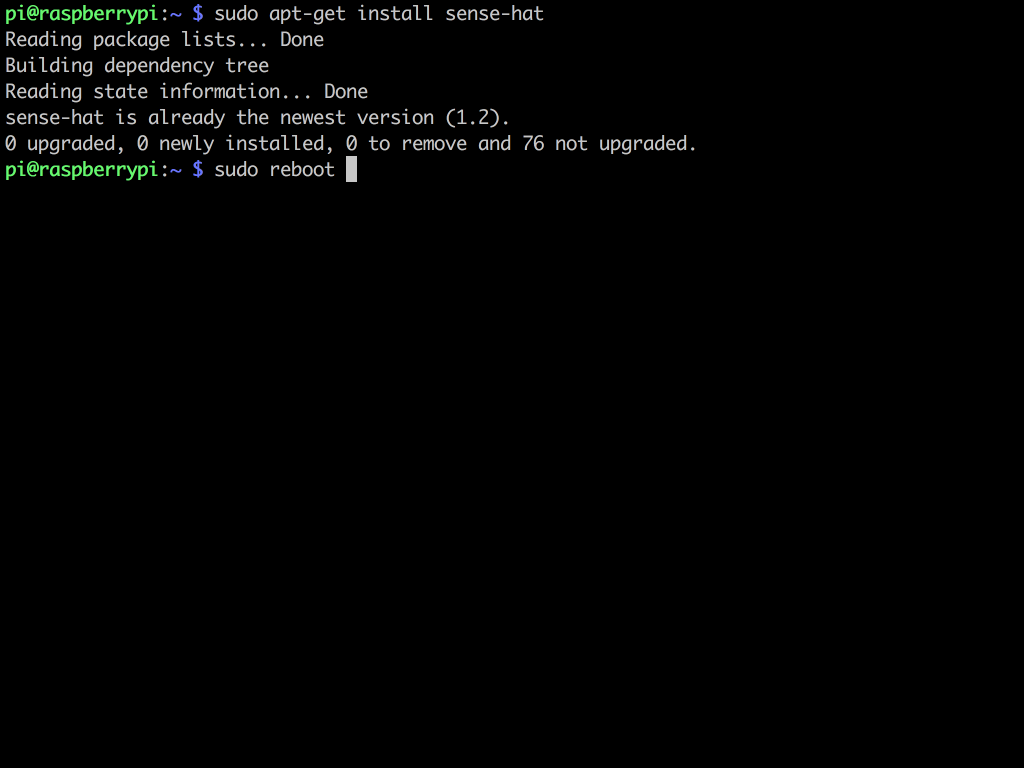
Install the Sense HAT software with the following commands: sudo apt-get install sense-hat
Reboot the Raspberry Pi: sudo reboot
sudo idle3 &
We will control the Sense HAT by first programming it in Python on the Raspberry Pi.
To do so, we need administrative privileges to execute scripts. So open up a terminal window and run IDLE with the following command:
To do so, we need administrative privileges to execute scripts. So open up a terminal window and run IDLE with the following command:
If you're using a Raspberry Pi 4 Model B+, jump to Step 5.
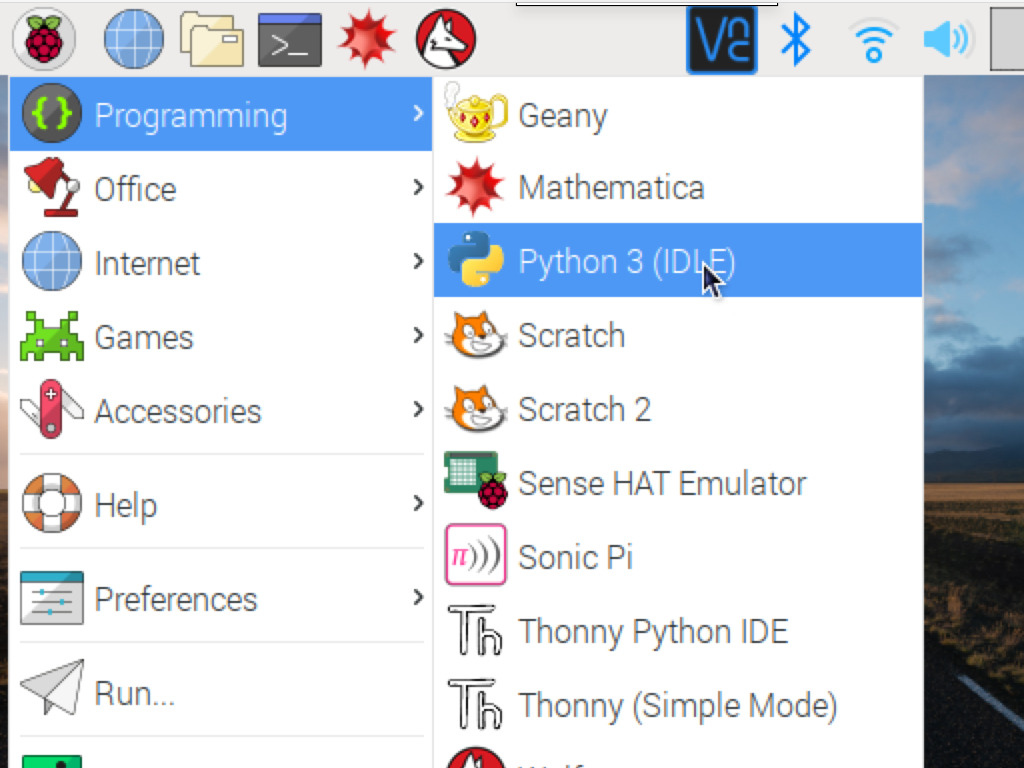
Click on the Raspberry Pi icon on the top left hand corner to access the main menu.
Click on Programming > Python 3 (IDLE).
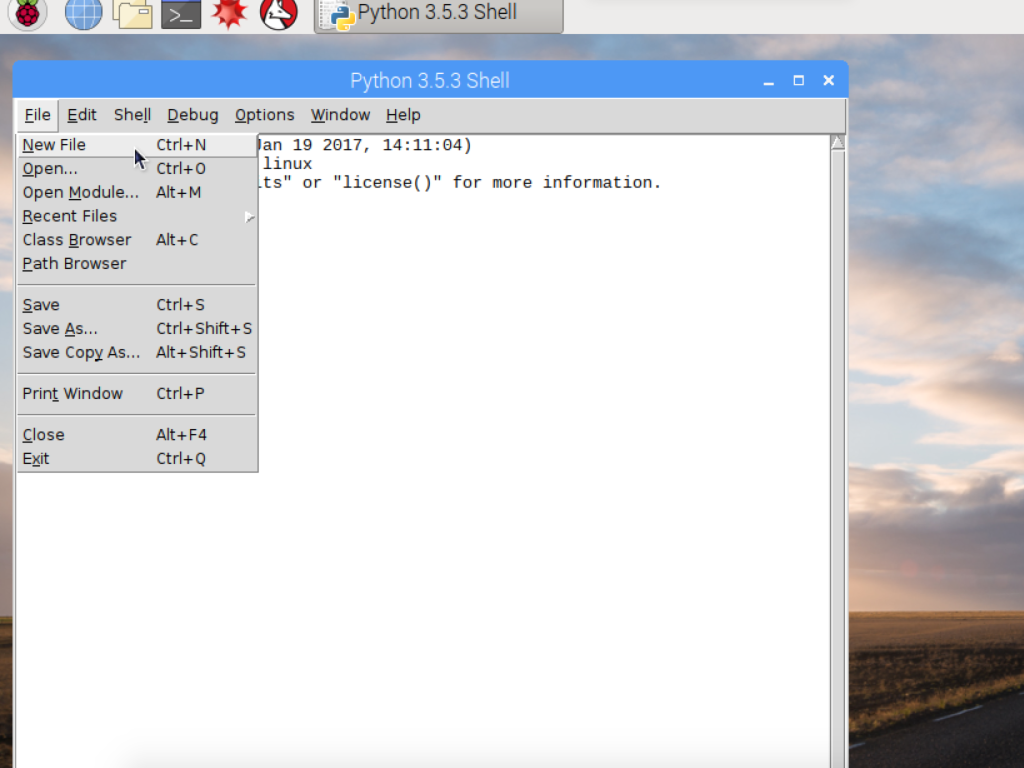
Now, create a new file by clicking File > New File.
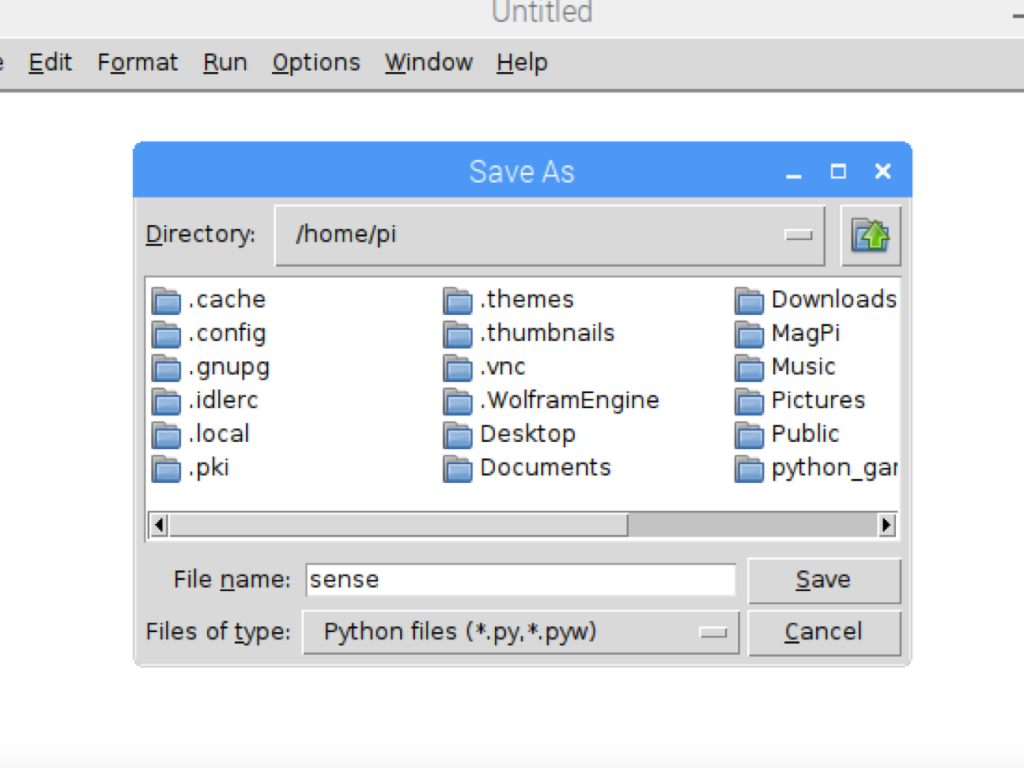
Next, save the file by clicking File > Save, and naming it sense.py
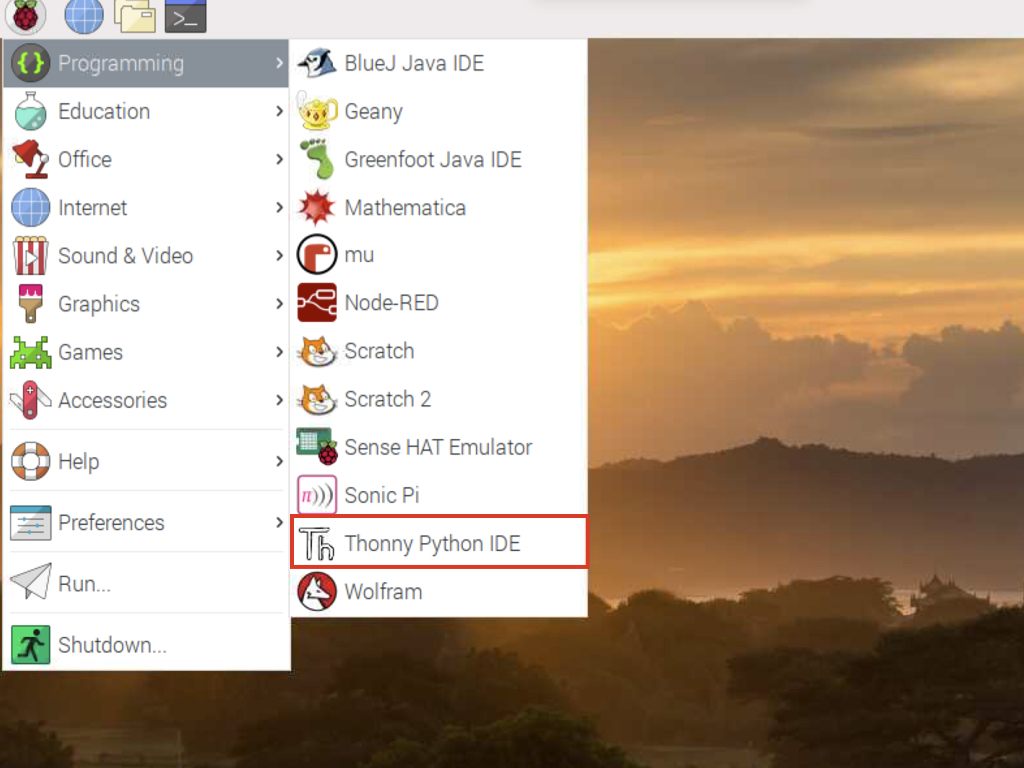
If you are using the latest Raspberry Pi 4 Model B+ then IDLE will have been replaced with Thonny IDE. So go ahead and click on the Raspberry Pi logo on the top left-hand corner.
Navigate to Programming > Thonny Python IDE
from sense_hat import SenseHat

sense = SenseHat()
This code will work fine for both the Raspberry Pi 3B+ and Raspberry Pi 4B+.
First, we will import the relevant Python modules with:
from sense_hat import SenseHat
from sense_hat import SenseHat
Then place it in a variable, called "sense".
from sense_hat import SenseHat

sense = SenseHat()

temp = sense.get_temperature()
pres = sense.get_pressure()
hum = sense.get_humidity()
Using the Sense HAT's sensors, let's measure the temperature in degree celsius using:
temp = sense.get_temperature()
temp = sense.get_temperature()
Pressure in millibars using:
pres = sense.get_pressure()
pres = sense.get_pressure()
Humidity as a percentage by using:
hum = sense.get_humidity()
hum = sense.get_humidity()
from sense_hat import SenseHat
sense = SenseHat()
temp = sense.get_temperature()
pres = sense.get_pressure()
hum = sense.get_humidity()
print(temp)
print(pres)
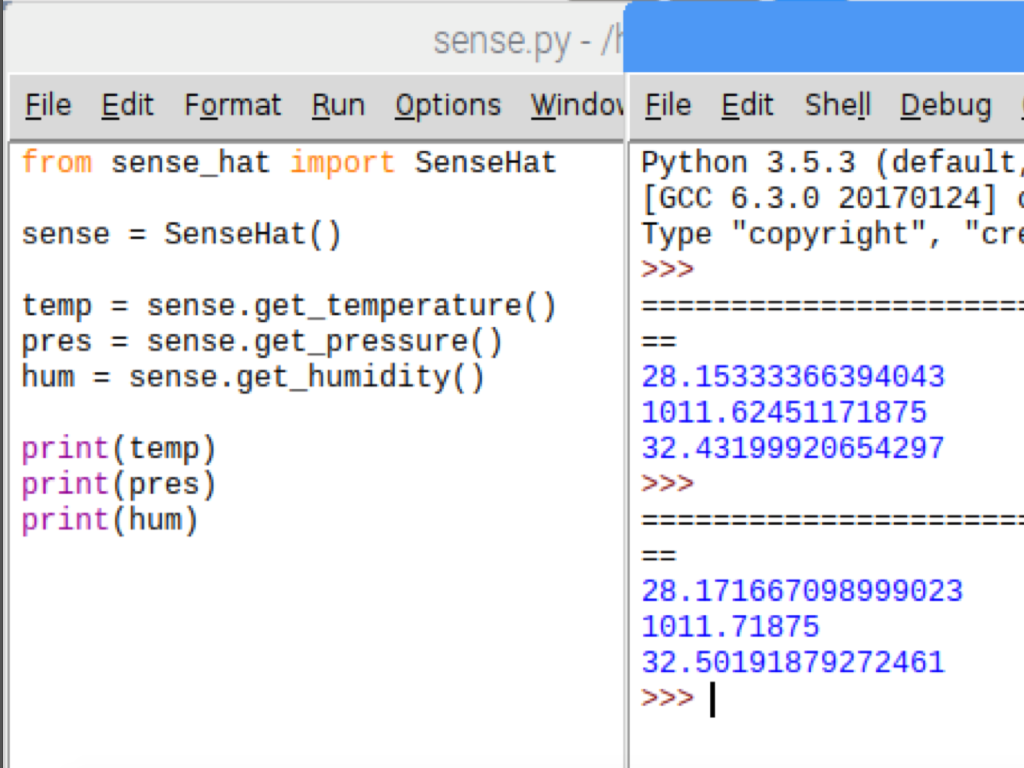
print(hum)Add the following lines to your code to print out the temperature, pressure and humidity readings from the Sense HAT.
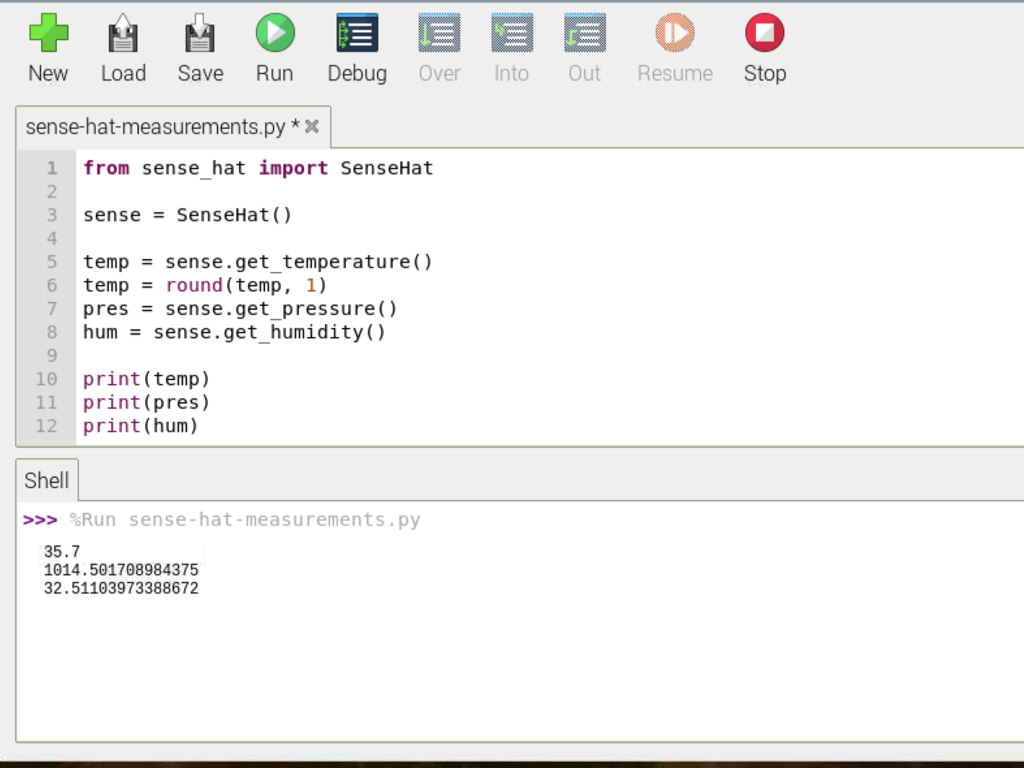
from sense_hat import SenseHat

sense = SenseHat()

temp = sense.get_temperature()
temp = round(temp, 1)
pres = sense.get_pressure()
hum = sense.get_humidity()

print(temp)
print(pres)
print(hum)
To round the reading off to one decimal place (in this example, we'll do it for the temperature measurement), just before the print(temp) line add this line below:
temp = round(temp, 1)
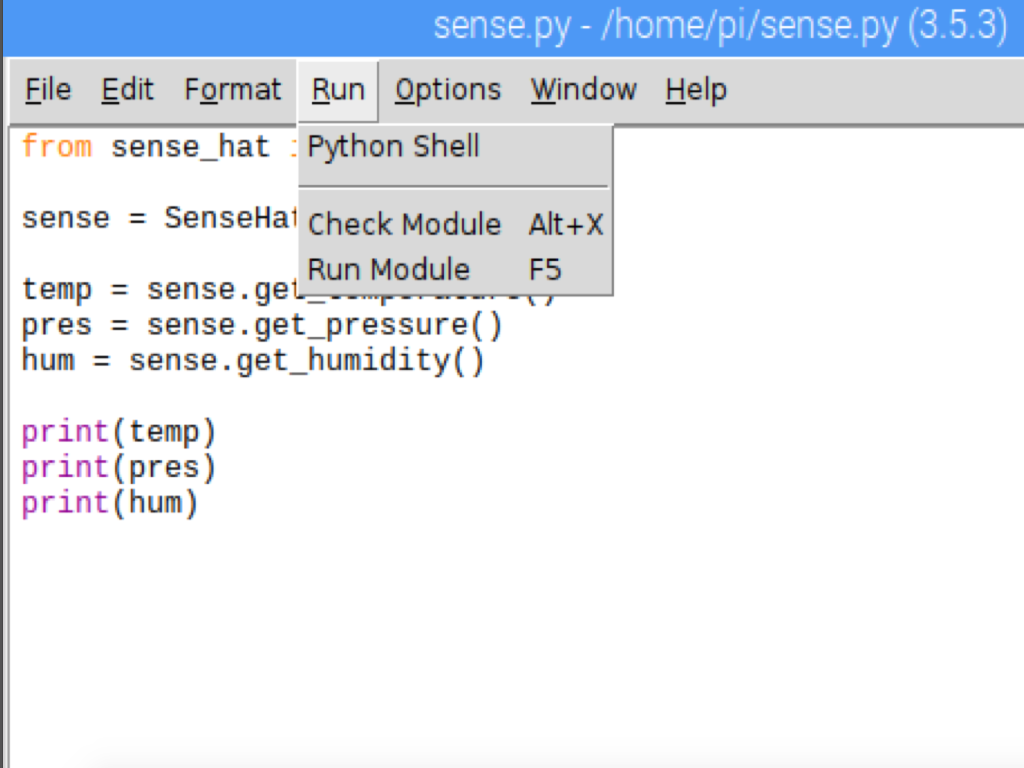
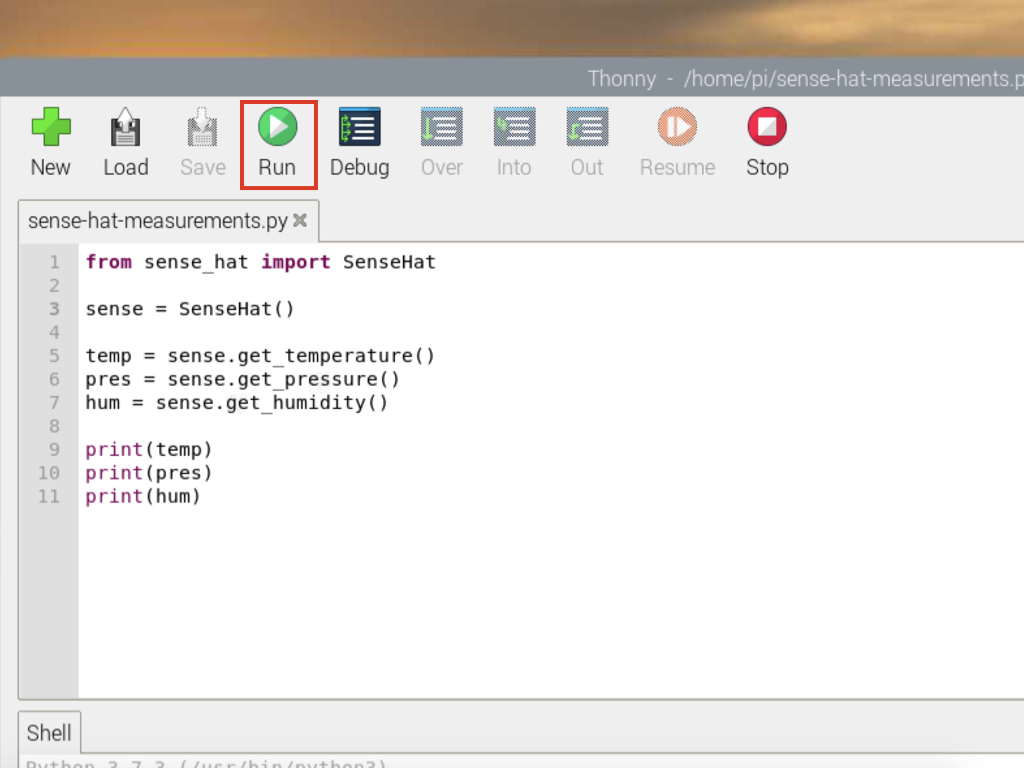
If you are using a Raspberry Pi 4B+ and Thonny IDE, simply click on the Run button and the readings will be output to the Shell.
Now click on Run > Run Module or press F5 on your keyboard to run the program.
You should see three measurements being printed.
Are the Sense HAT's temperature readings a little too high? They probably are and this is due to the heat generated from the Raspberry Pi's CPU which heats up the air around the Sense HAT! This will probably be the case if you have the Sense HAT sitting directly on top of the Raspberry Pi. A workaround is to use a 40-pin extension cable to get the Sense HAT away from the Pi.
To attach the ribbon cable to the Raspberry Pi, you will also require a 40-pin male header. Please follow instructions here. In summary, you can actually remove the female header on the back of the Sense HAT, and attach a 40-pin coupler adapter (male pins). That way, the ribbon cable can be used to connect with it and the Pi.