Create a HTPC Media Centre with Raspberry Pi
Use your Raspberry Pi as a media centre
Written By: Cherie Tan
Difficulty
Easy
Steps
7
Having an all-in-one home theatre PC media centre can be convenient and useful.
Why not create one with a Raspberry Pi? In this guide, you will learn how to turn your Raspberry Pi into a media centre! What's more, if you are new to the Raspberry Pi, it is a simple and easy project you can start on!
After this, you will be able to connect it to a television or monitor screen and play video files or streams with it.
We will use OSMC, a free and open-source media centre that is easy to set up and use.
To get it on the Raspberry Pi, you will need to install the OSMC image to an SD Card. Before doing so, we will need to start with an empty and clean SD card.
If you have not already done so, download SD Formatter 4.0.
Insert the SD card into your card reader, then note the drive letter that shows up in the left hand column of Windows Explorer, or device name in Finder on the Mac.
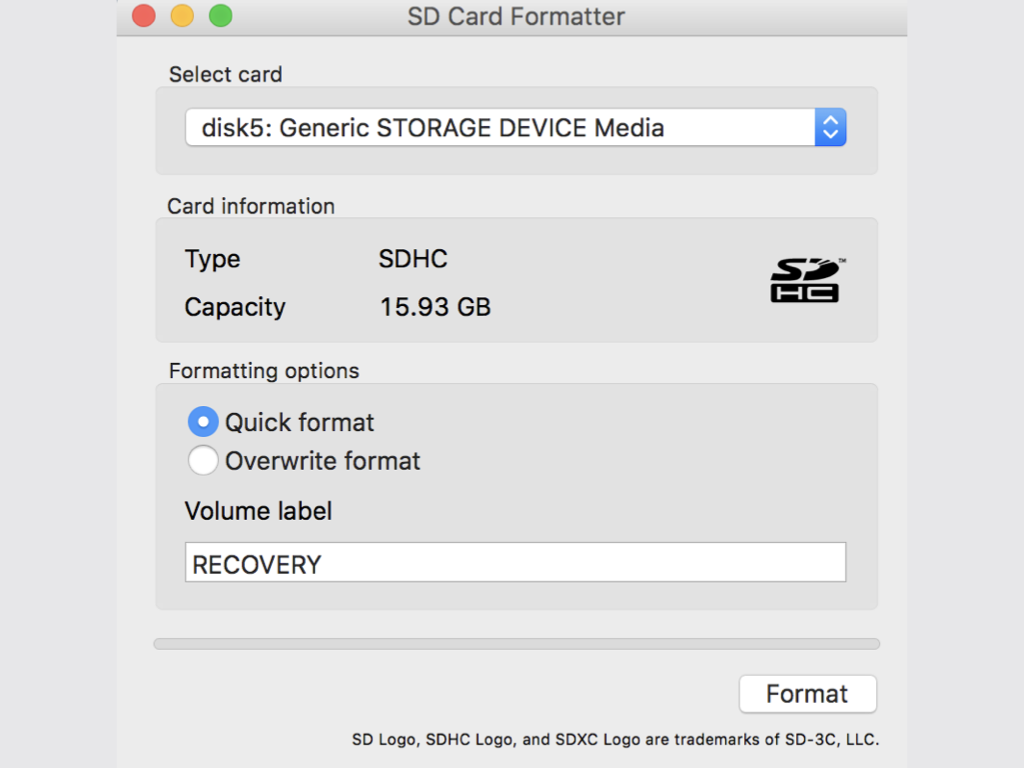
Open SD Formatter 4.0
Under 'Select card', choose your SD Card from the drop-down menu.
Double check that it is the right SD Card, view what is under 'Card Information' to ensure that the type and capacity are identical to what is on your chosen SD Card.
Click on Quick format under 'Formatting Options'.
Hit the 'Format' button!
Please note that doing so will erase everything currently on the SD card.
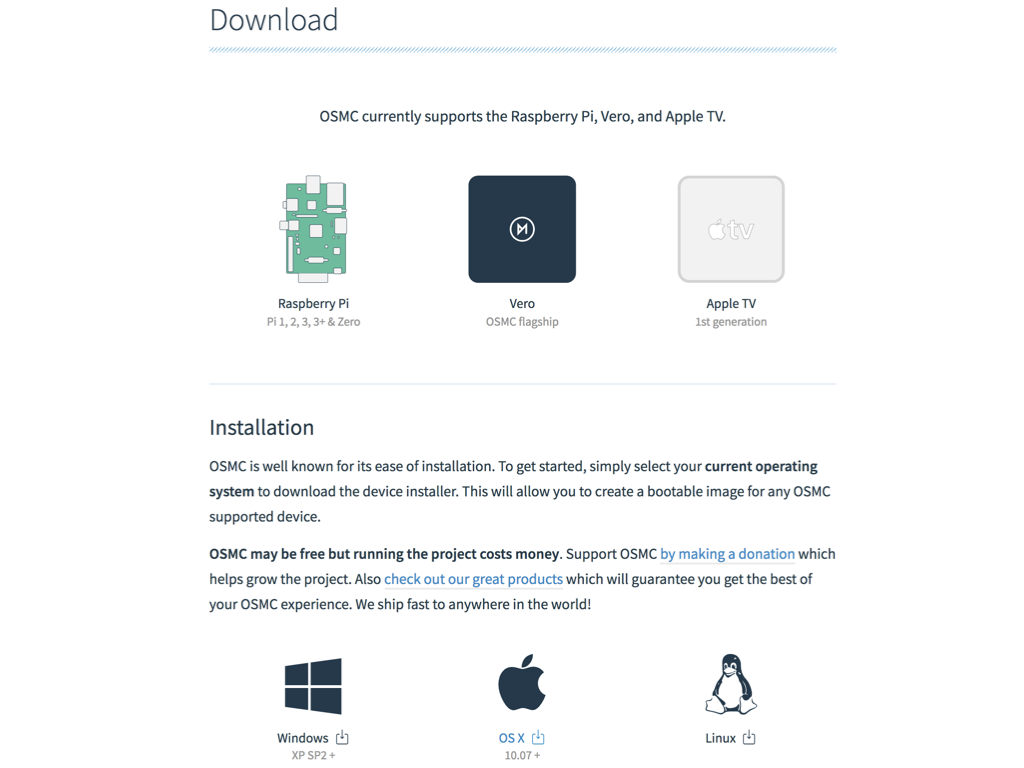
Once you have formatted the SD Card, head to OSMC download page, and you will see that OSMC currently supports Raspberry Pi, Vero, and Apple TV.
There are two ways you can go about downloading OSMC.
(1) Download the device installer for your operating system, as shown in the first image.
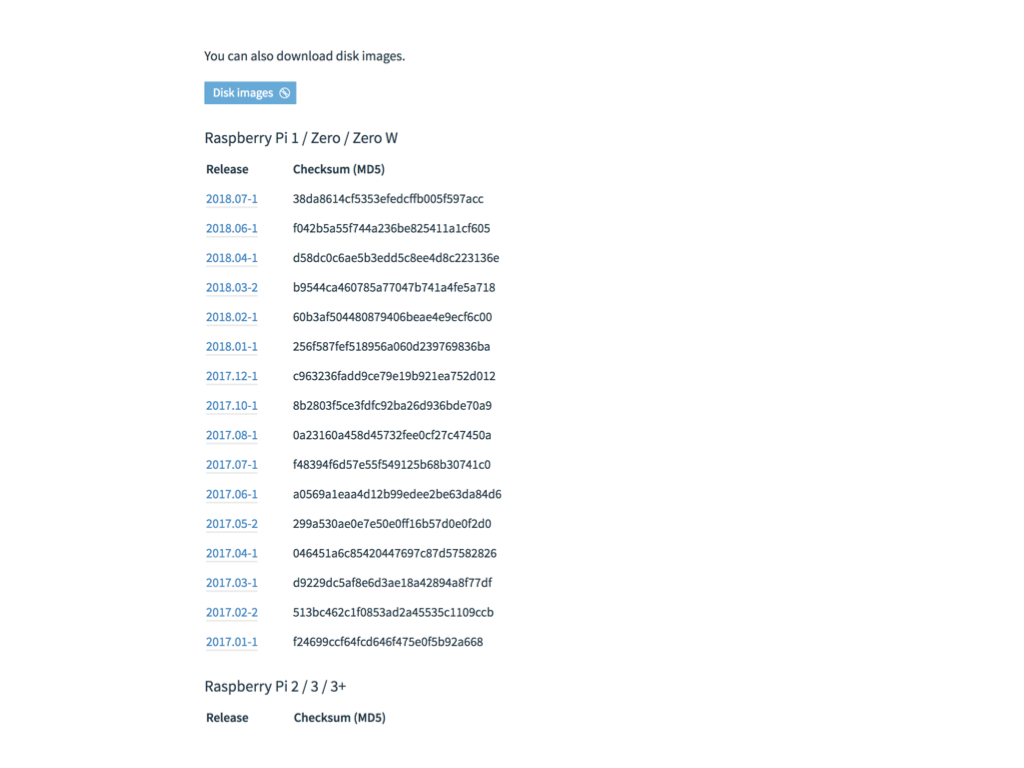
(2) Download the disk image for your Raspberry Pi 1/ Zero/ Zero W/ 2/ 3, as shown in the second image.
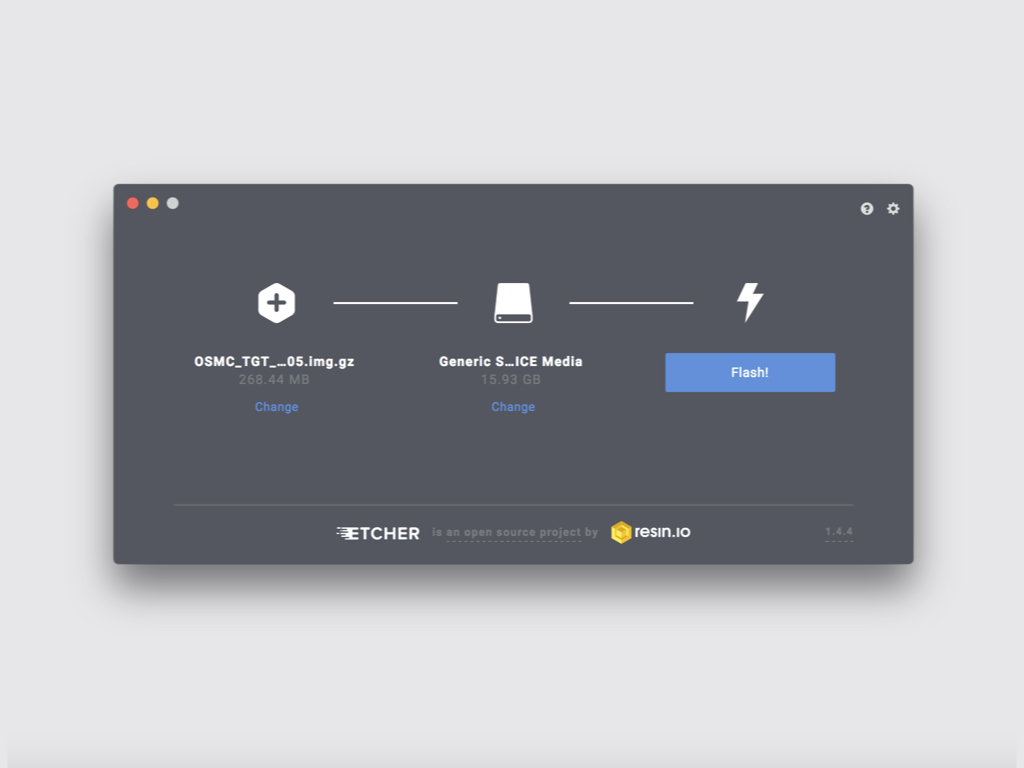
You may skip this step if you chose option (1). If you chose option (2) in Step 2, you will need to manually flash the OSMC image onto your SD Card. To do this, we will use Etcher, so head over to the Etcher download page if you have not got it installed already.
With Etcher on your system, you are now ready! Connect the SD card to your computer by using a built-in or external SD card reader, then flash the image onto the SD Card.
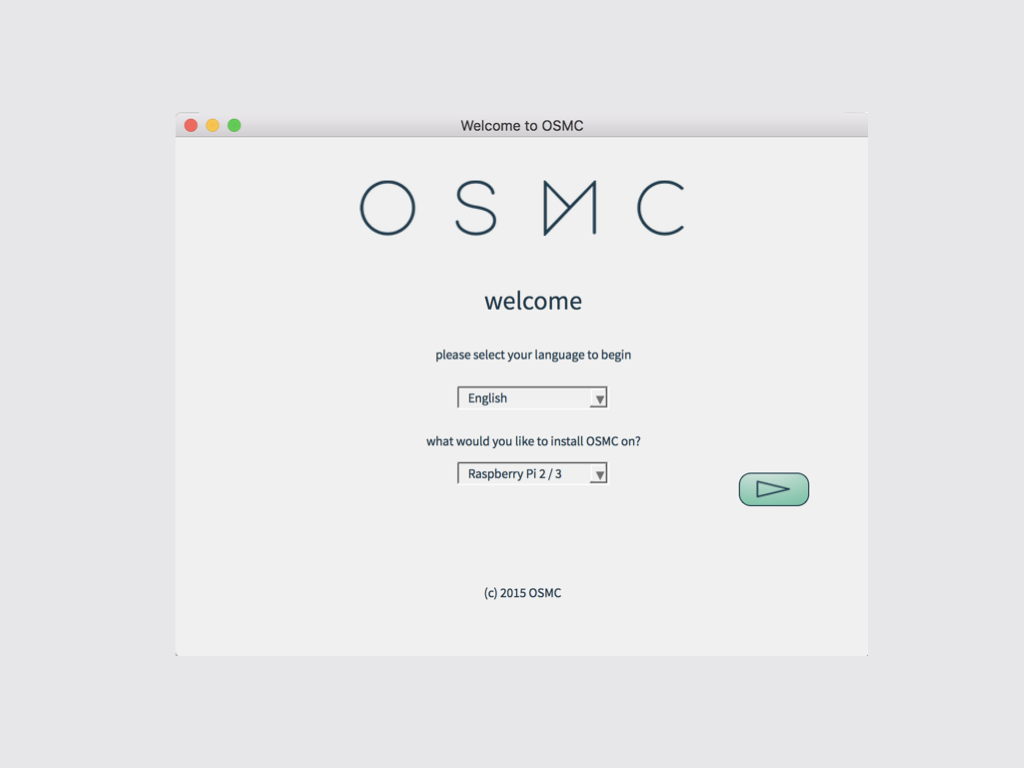
Wonderful. The next step is to insert the SD card onto your Raspberry Pi, then connect it to a keyboard and monitor display. Boot up the Raspberry Pi and go through the Welcome section.
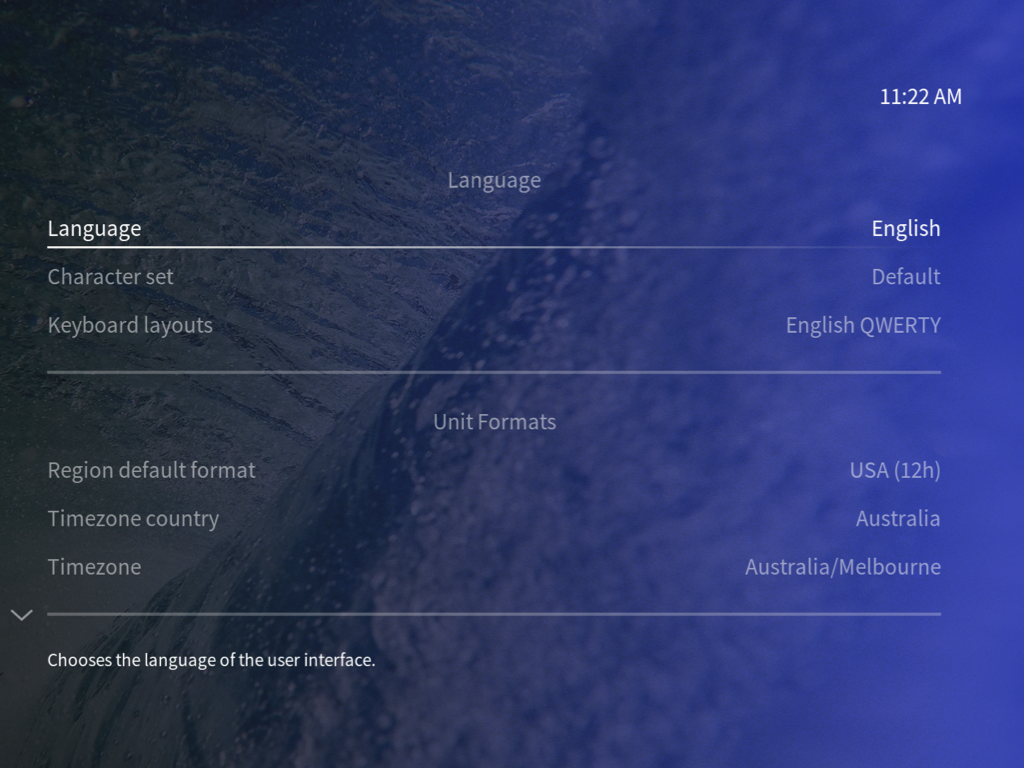
Select your choice of language, time-zone, enable or disable SSH and you may set up wired or wireless connection.
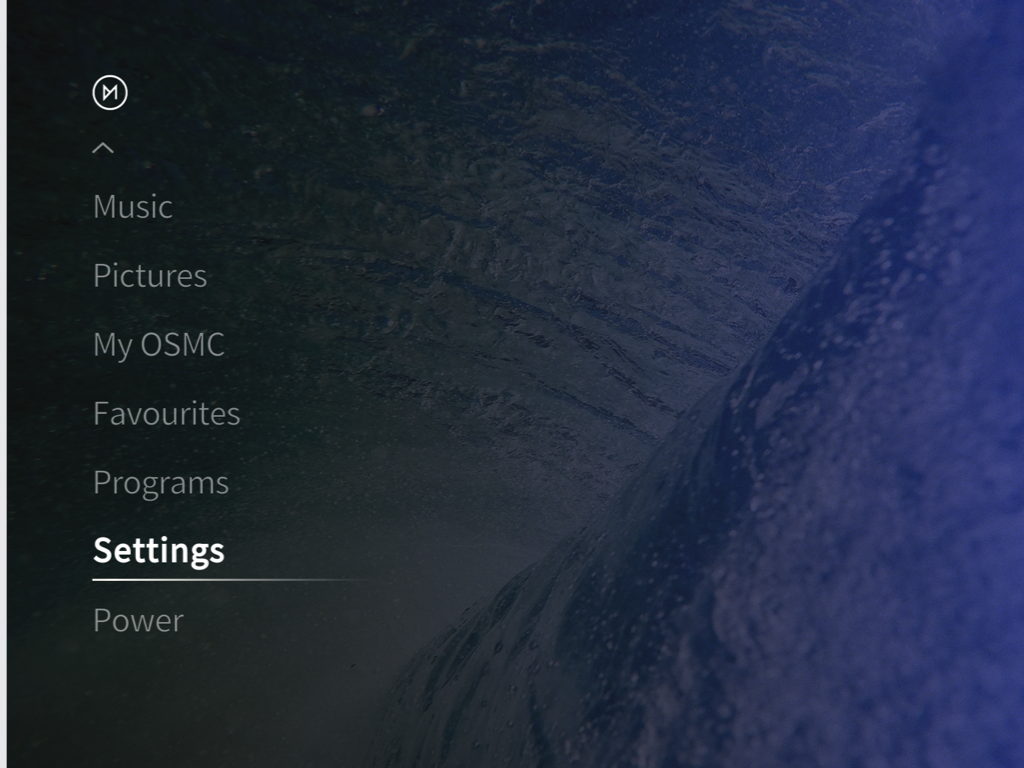
You can go to Settings > Interface > Regional to change these details at any time.
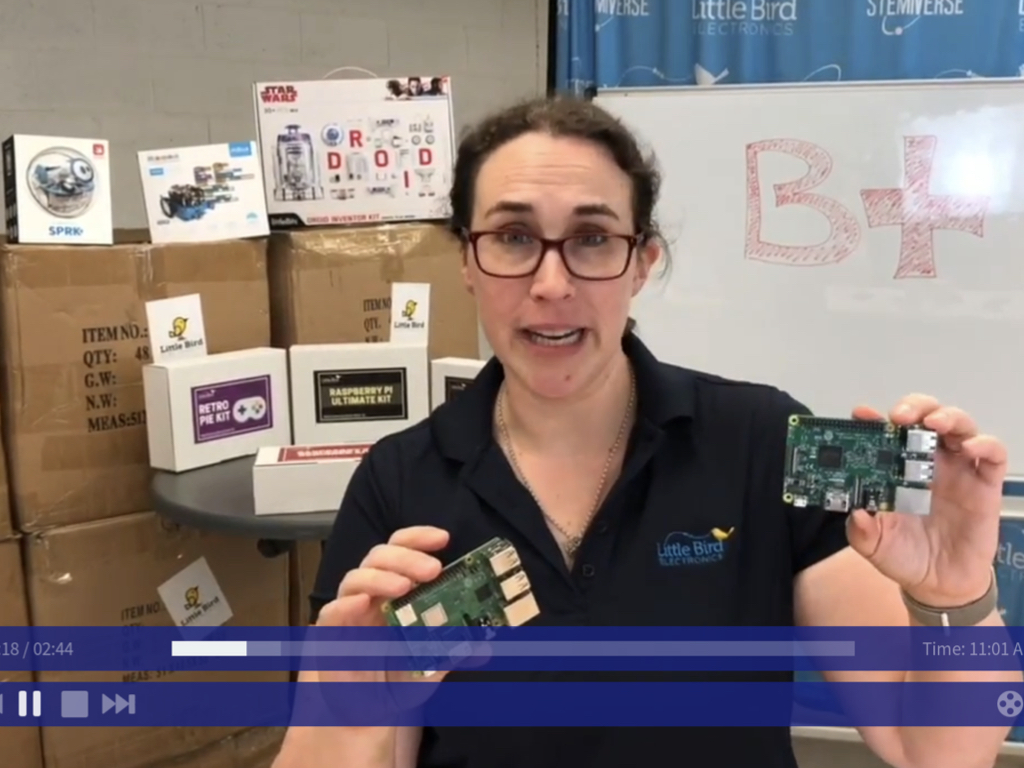
Go on and try it out, add a video file to your OSMC library by transferring it to a USB flash drive and then connect the flash drive to the Raspberry Pi.
On OSMC, select Videos > Files and then select the USB flash drive. You should see the video file that you have previously added. Select it, and it will start to play!
In this guide, we have added our Little Bird video "Raspberry Pi 3 Model B+ In Depth Look!"
Go one step further by setting up video and audio streaming services on your new OSMC media centre!
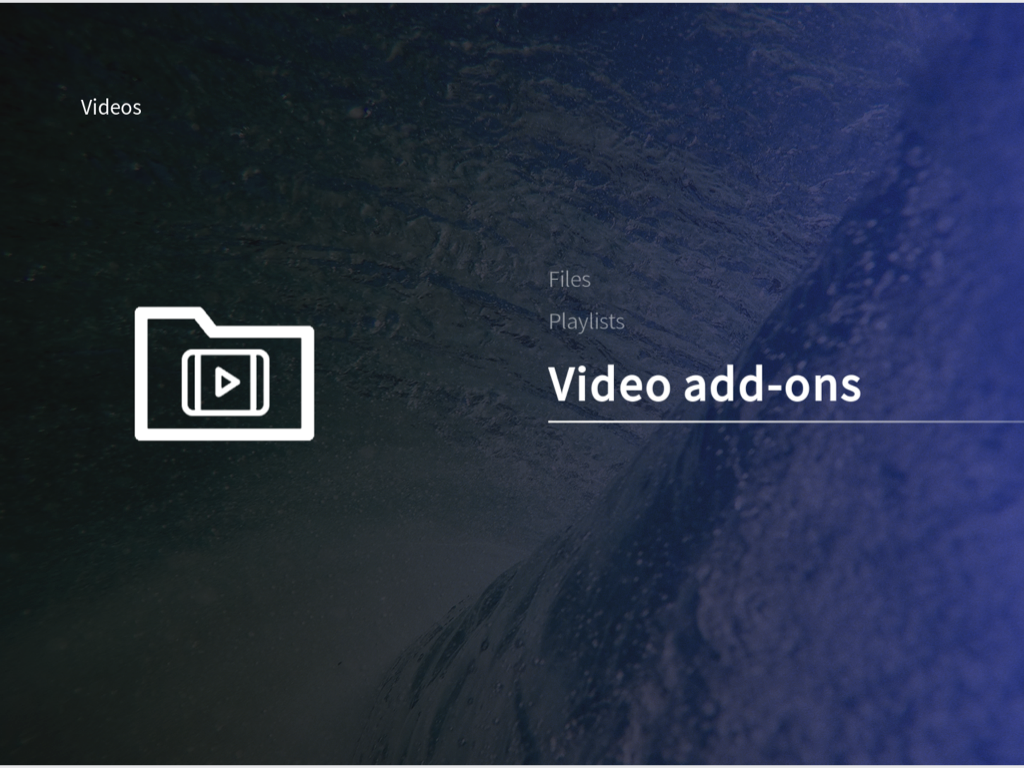
Select Settings > Add-on browser > Install from repository > Video Add-ons
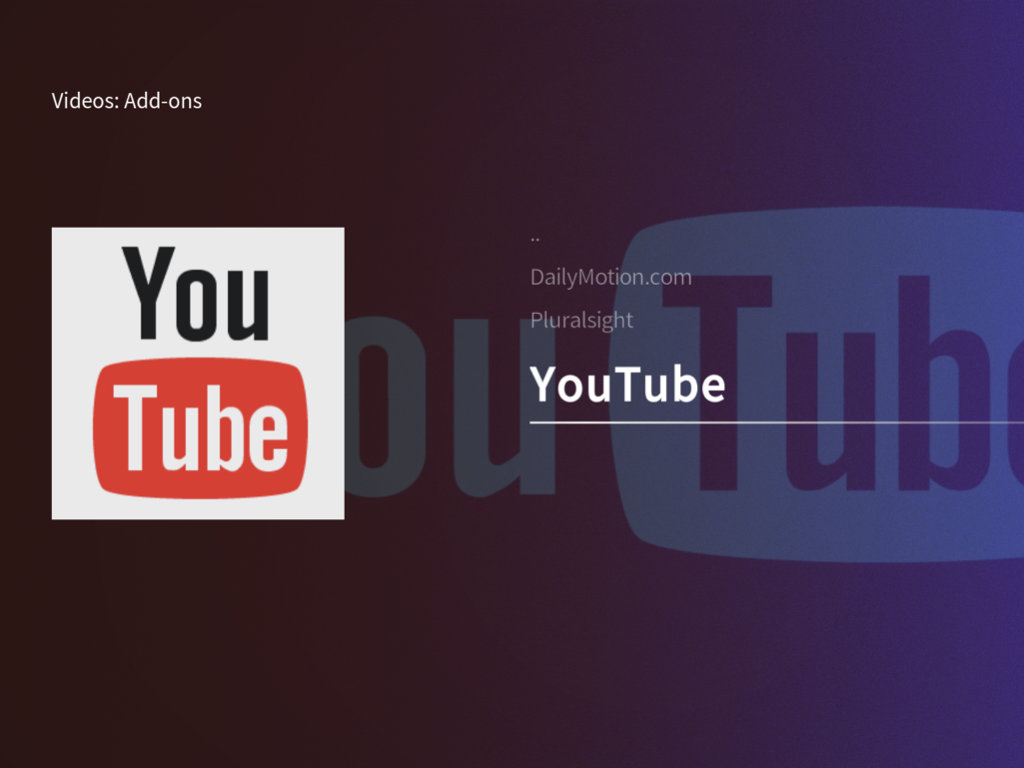
Scroll down the services, and you will find some options, for this guide we will choose Youtube and select Install. Click Esc key to get back to the main screen. Then select Videos >Video add-ons
Select Youtube to use it. If this is your first time, you will need to set it up So choose your language and location, then you are free to use it!
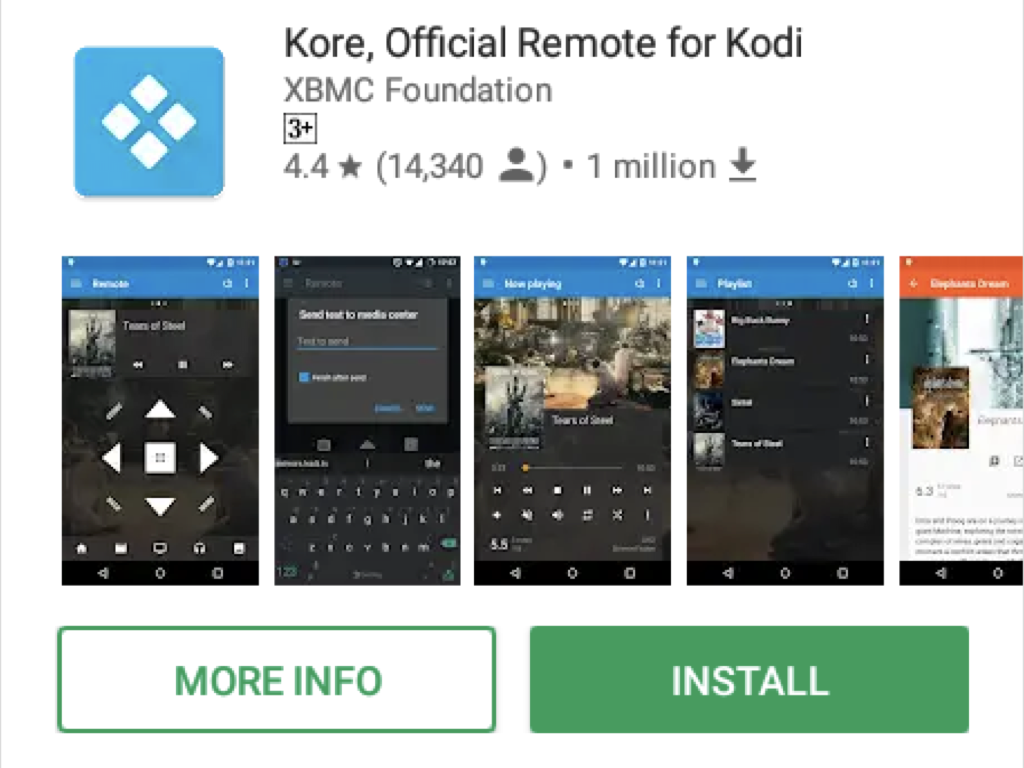
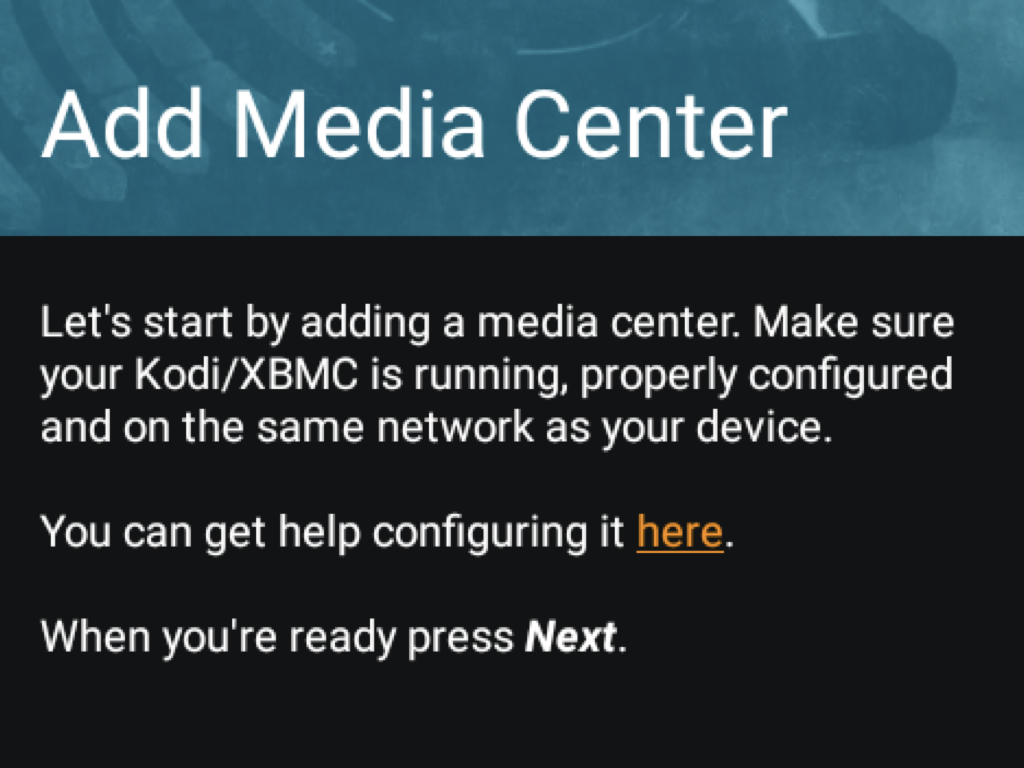
Yes, that's right, what is a media centre good for without a remote control? Open up the app store on your phone and search for the Official Kodi Remote. If you are using an Android-based phone, the app you should look for is 'Kore'.
Once you have installed it, open the app and click on 'Add Host'.
Select Kodi. It should find the Raspberry Pi on your network, after which, click save. Now you can use the app on your phone as a remote control!