Create a Google Calendar Reminder Device with Raspberry Pi
Make an appointment reminder with a Pi Zero and Blinkt! LED strip
Written By: Cherie Tan
Difficulty
Easy
Steps
11
With how busy life can get, it's easy to forget about important appointments even if they are set up in your Google Calendar reminders.
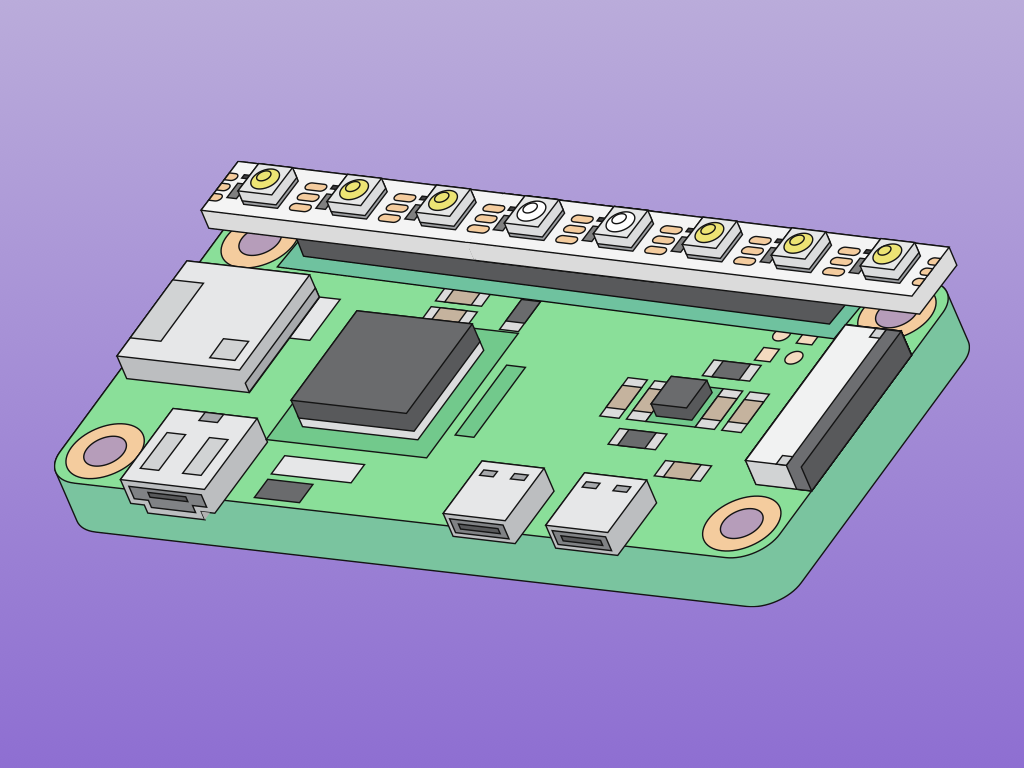
In this guide, we will build a Visual Appointment Reminder device that will connect with your Google Calendar. We will use a Blinkt! LED strip and a Raspberry Pi Zero WH (Zero W with Headers) - v1.3 to construct the device. That said, it will work with other Raspberry Pi boards too.
After completing this guide, you will have a handy visual appointment reminder device that will remind you of any upcoming appointments.

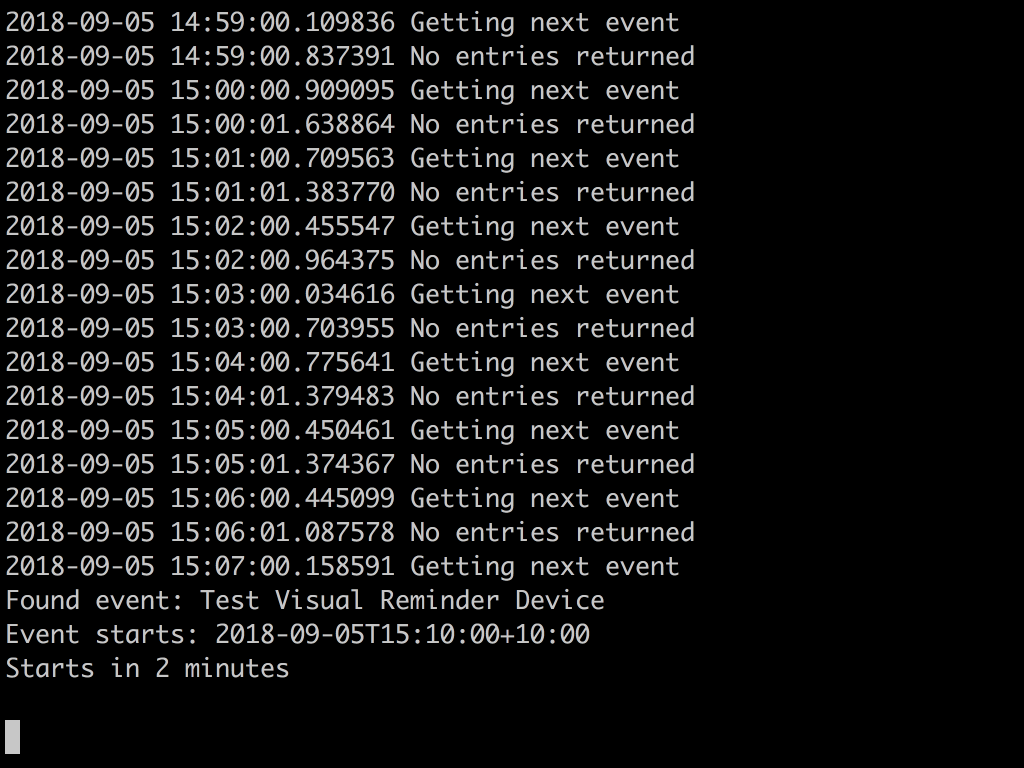
Let's start with running through just how the device will work. First, the Raspberry Pi Zero W will connect to your Google Calendar account every minute. Then it checks for upcoming appointments. If there is an upcoming appointment, the Blinkt! LED will flash.
The LED will flash white when it is 10 minutes to 5 minutes till the appointment
The LED will flash yellow when it is 5 minutes to 2 minutes till the appointment
The LED will flash orange when it is 2 minutes till the appointment
To start off, we will need a fresh copy of Raspbian flashed onto your SD Card. To do so, please follow the steps outlined in our previous guide on how to Create a NOOBS MicroSD Card. NOOBS is the easiest way to get Raspbian on your Raspberry Pi!
Connect a keyboard, a mouse, and a display monitor to your Raspberry Pi Zero W. Then power up the Raspberry Pi Zero W and Raspbian will boot up.
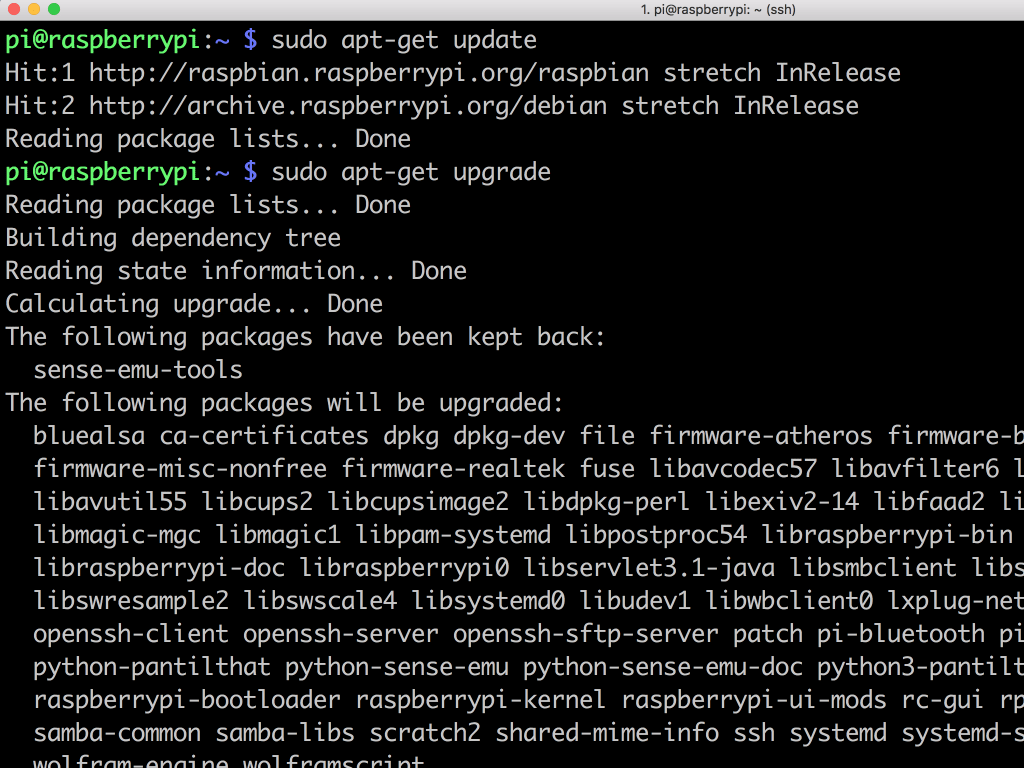
Once you have Raspbian up and running, type the following commands in a terminal window:
sudo apt-get update
sudo apt-get upgrade
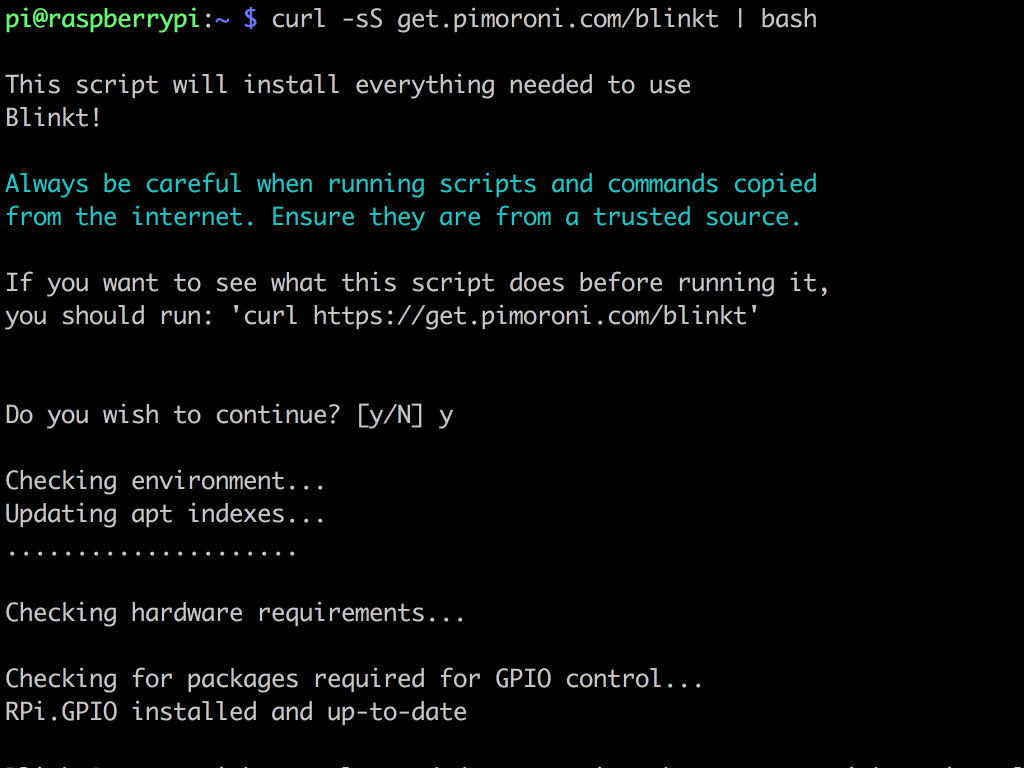
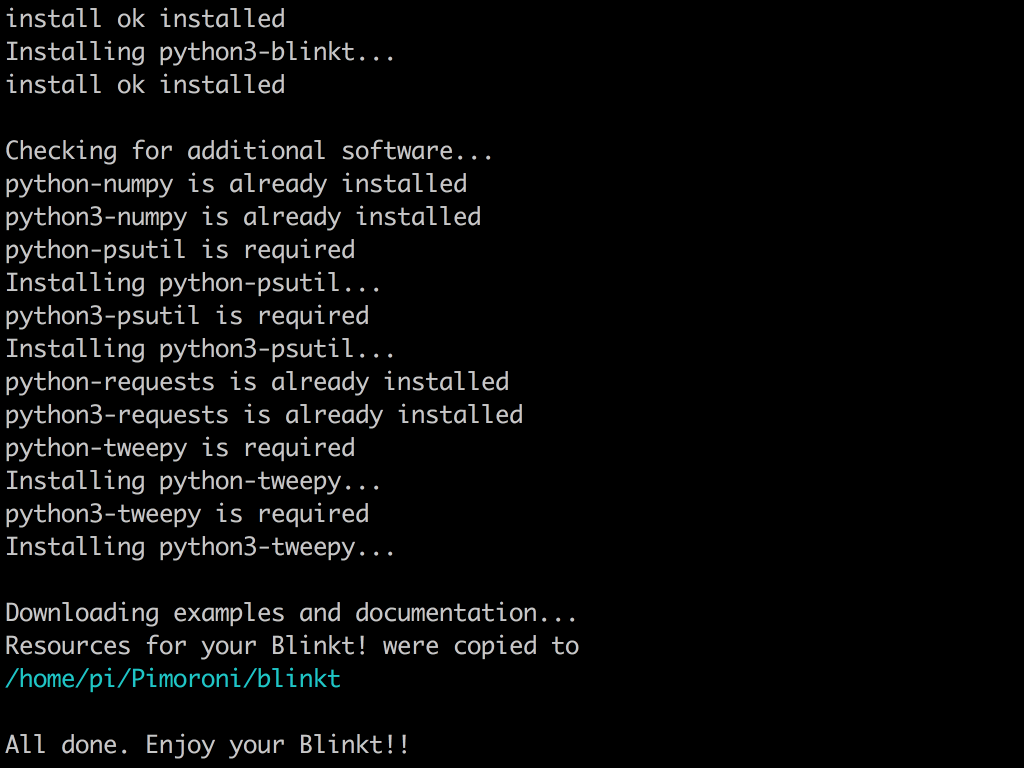
The next step is to install the Blinkt! Python libraries and example applications. Type the following in the terminal window: curl -sS get.pimoroni.com/blinkt | bash
If successfully downloaded, you should see "All done. Enjoy your Blinkt!!"
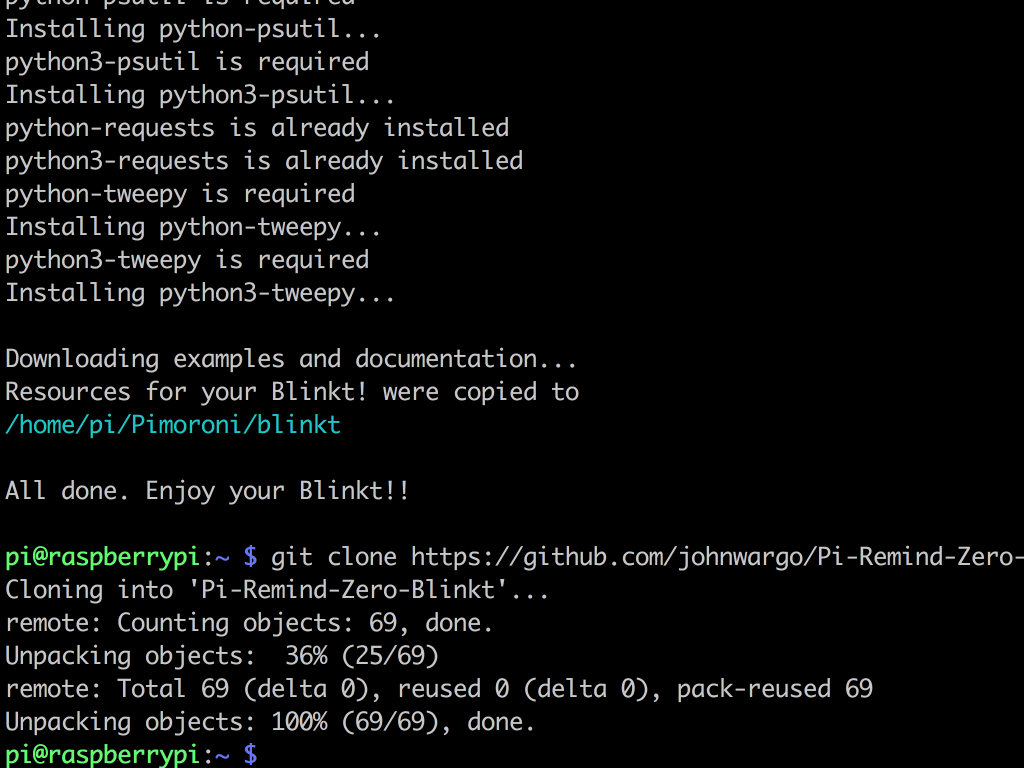
Now we will download the project source code. So execute the following command:
git clone https://github.com/johnwargo/Pi-Remind-Zero-Blinkt
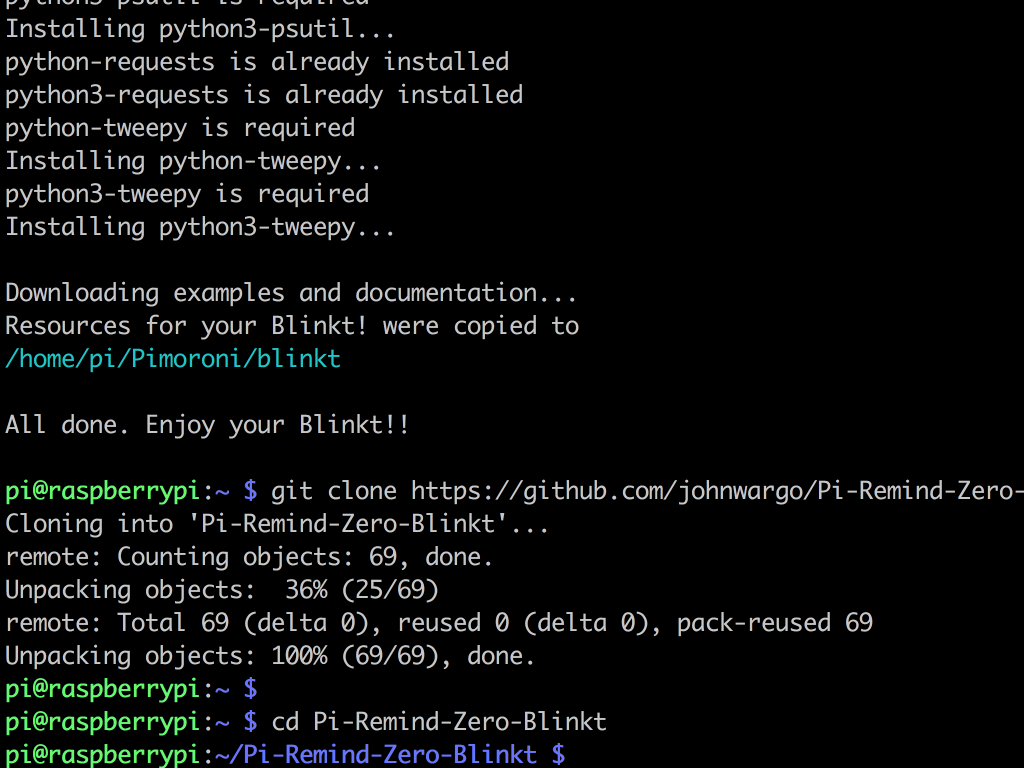
Alright, so we have downloaded the project source code to the Pi-Remind-Zero-Blinkt folder. To move to the new folder, type the following command:
cd Pi-Remind-Zero-Blinkt
We will create a Google Calendar API application. To proceed on, you will need to set up a Google account if you haven't already got one. Read the Google Calendar API Python Quickstart, follow the instructions to create the application.
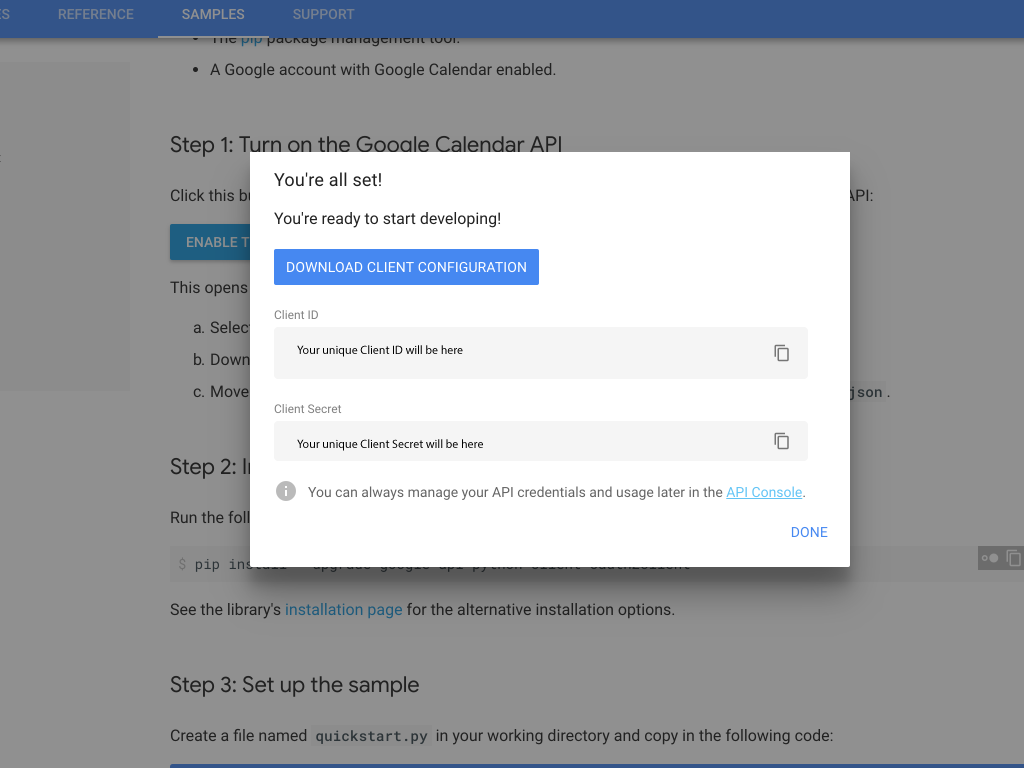
Click on "Enable the Google Calendar API" to create a new Google Calendar API application.
Click on the "Download Client Configuration" button to download the application's client secret, which is unique to you. The downloaded file should be called credentials.json.
Rename this file, or create a new file altogether. Copy the contents in it and place it in a file called client_secret.json, before putting it in the reminder project's folder.
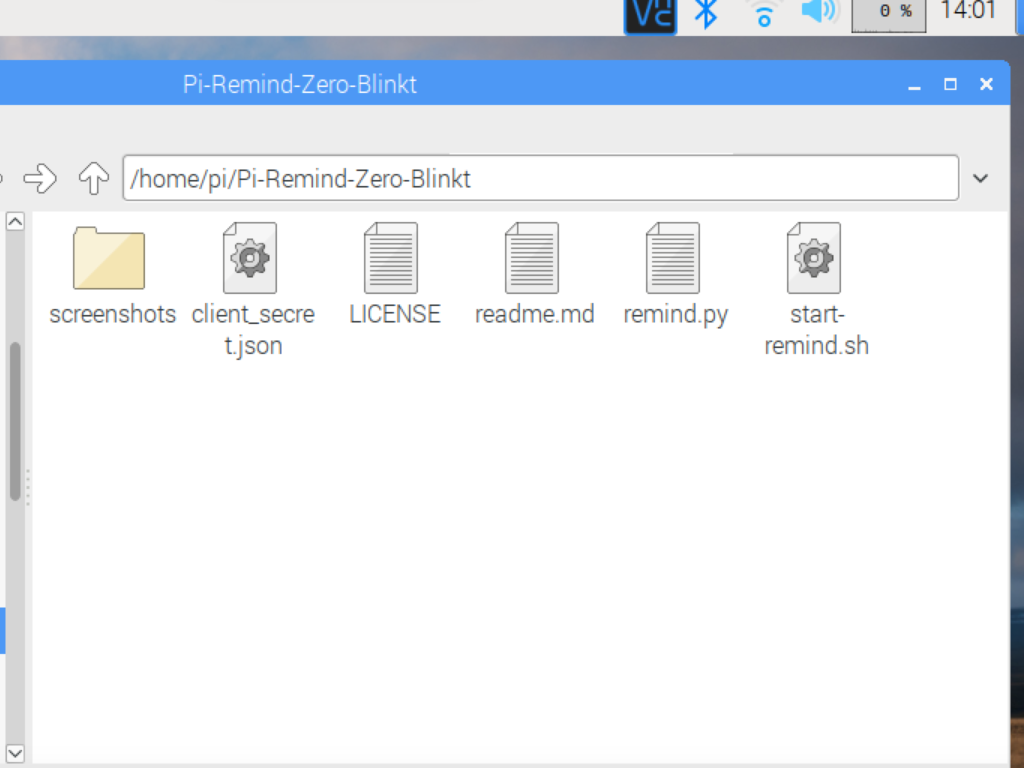
The reminder project folder should be found under /home/pi/Pi-Remind-Zero-Blinkt
It is important that you name the file precisely that, as that file name is hard-coded into the project's Python app (remind.py)
Install the Google Calendar API Python files and other required libraries by executing the following command:
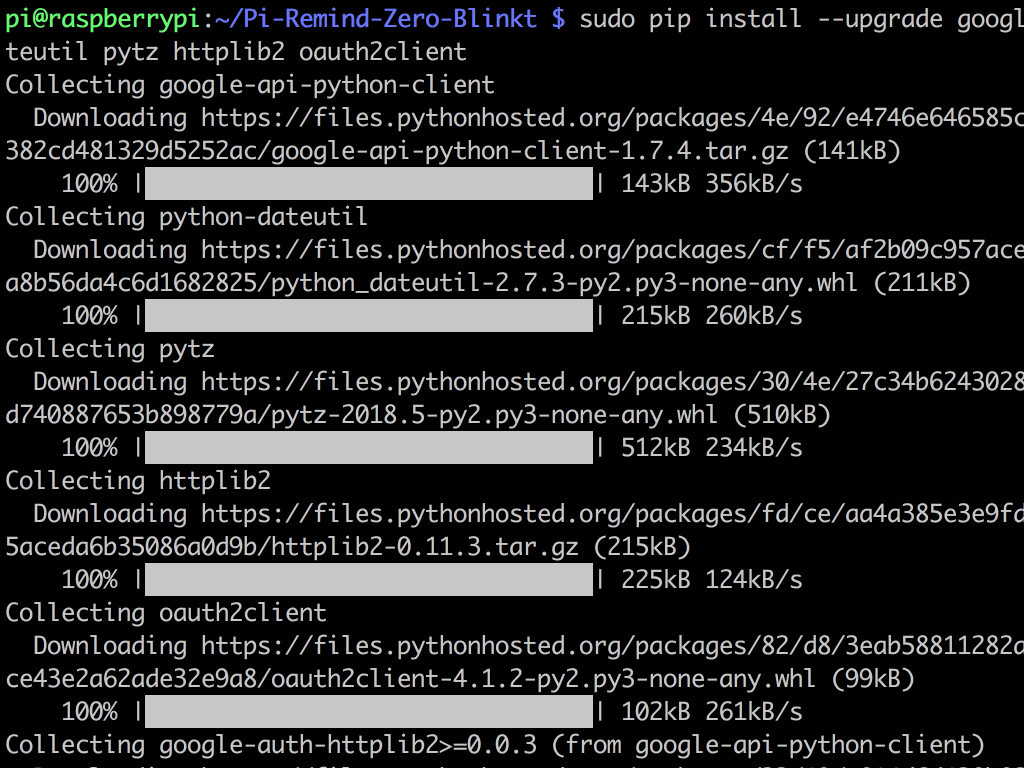
sudo pip install --upgrade google-api-python-client python-dateutil pytz httplib2 oauth2client
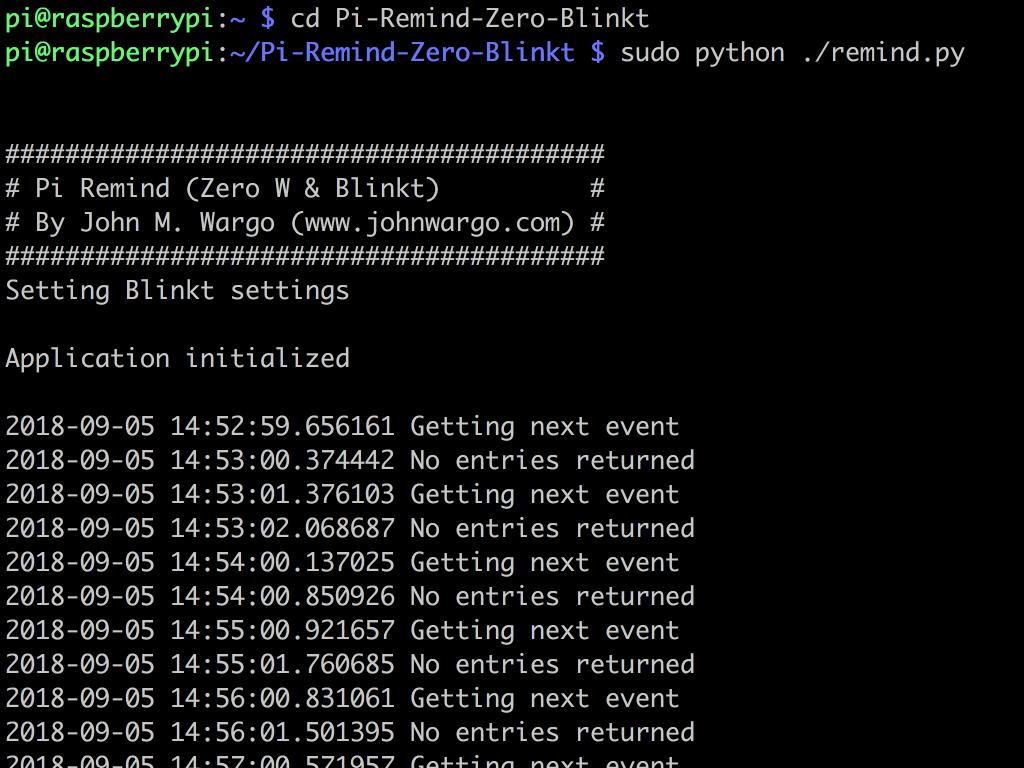
You can now execute the reminder app with the following command:
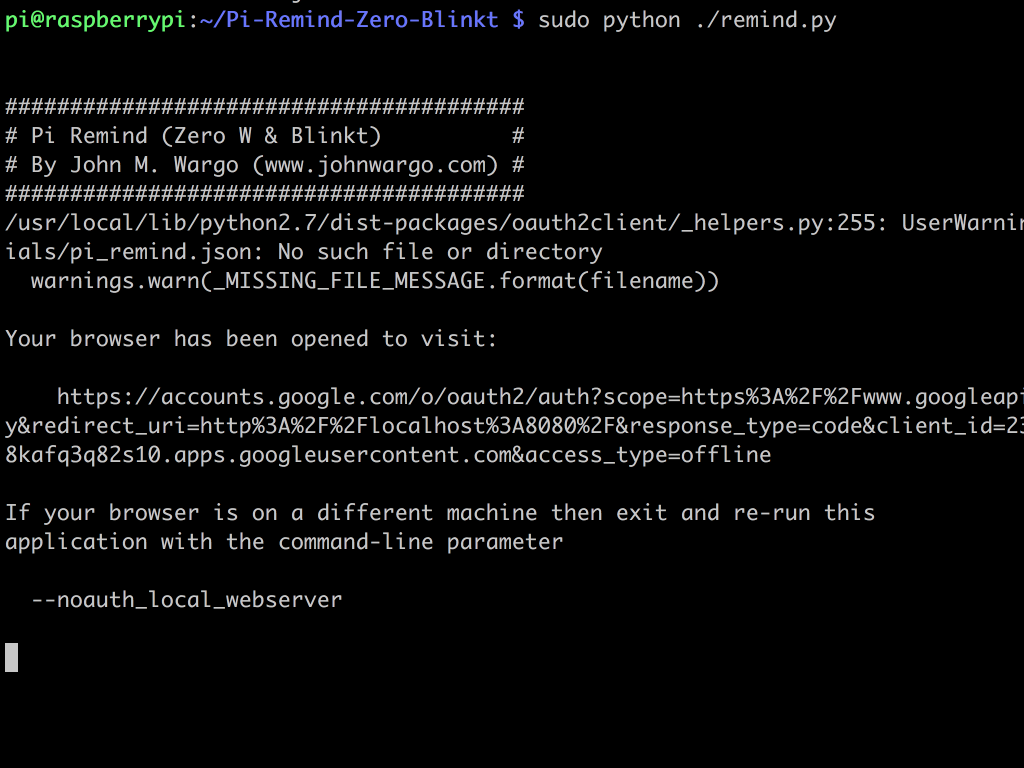
sudo python ./remind.py
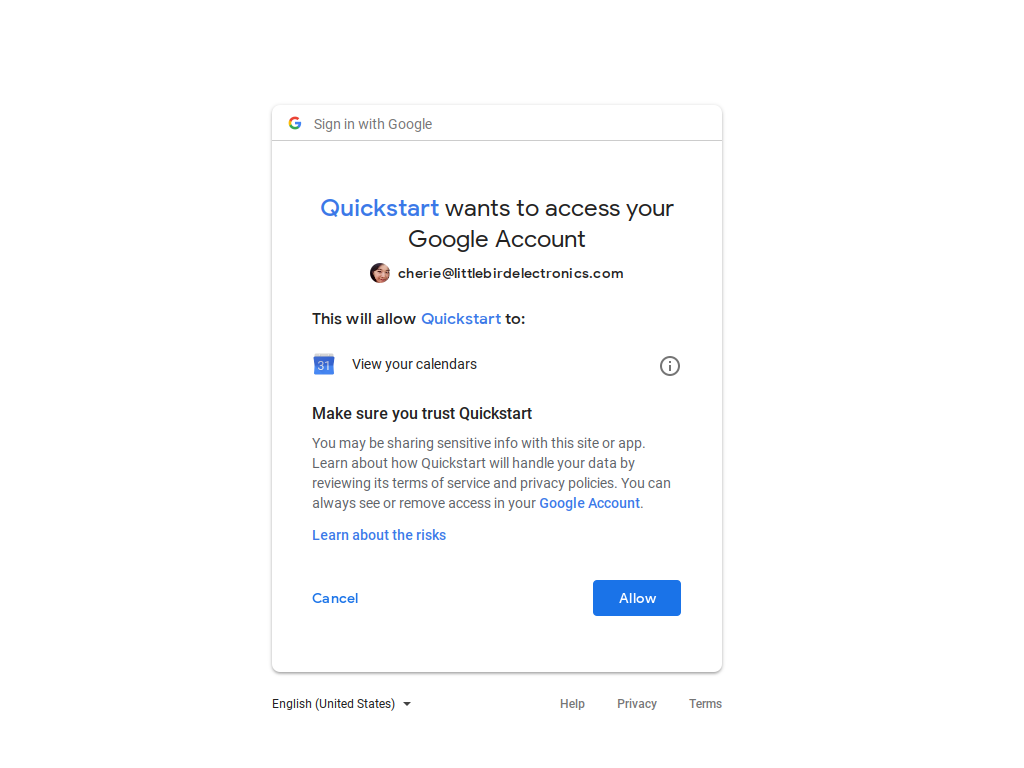
The final step is to authorise your app for use with Google Calendar API. The browser will launch and guide you through the process. You will need to sign into your Google account for the calendar you want the app to monitor. Work through the authorisation process until the browser prompts you to approve the application's access.
Click on the 'Allow' button to authorise access.
From this point on, the application will access your calendar and send you visual notifications of any upcoming appointments!
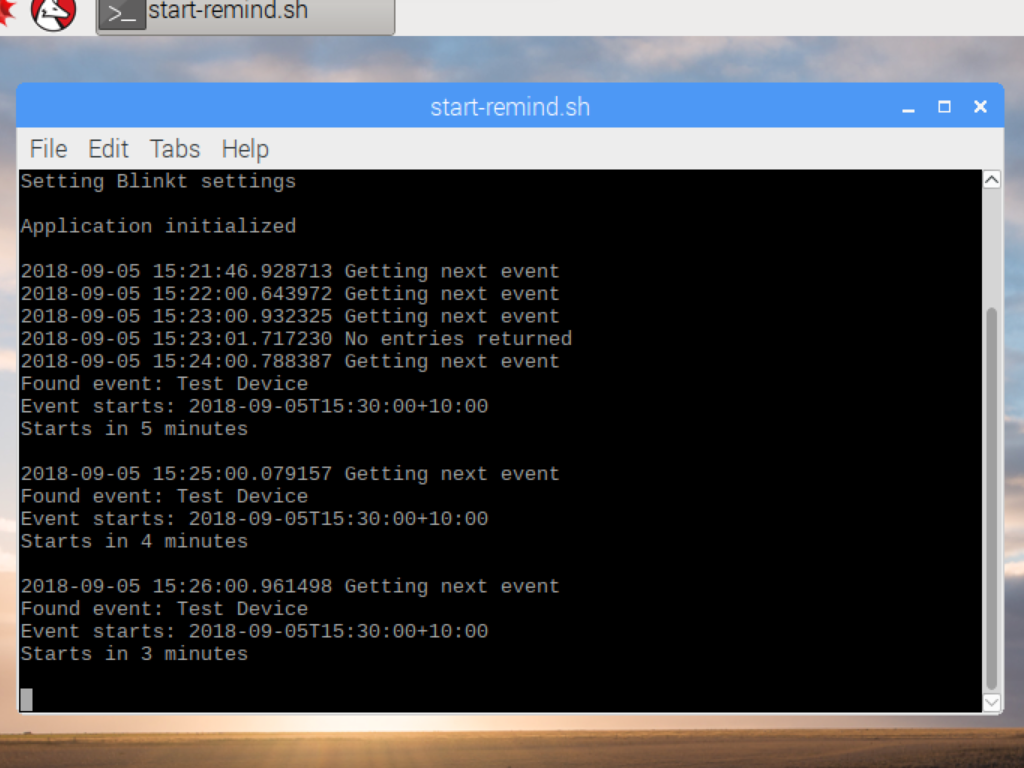
Great! Now that you have created a visual reminder device, wouldn't it be even better if the application started whenever you boot up the Raspberry Pi?
So let's have it do just that! Press CTRL+C to stop the running application.
We want to make the reminder project's Bash script file to be executable. So type the following: chmod +x start-remind.sh
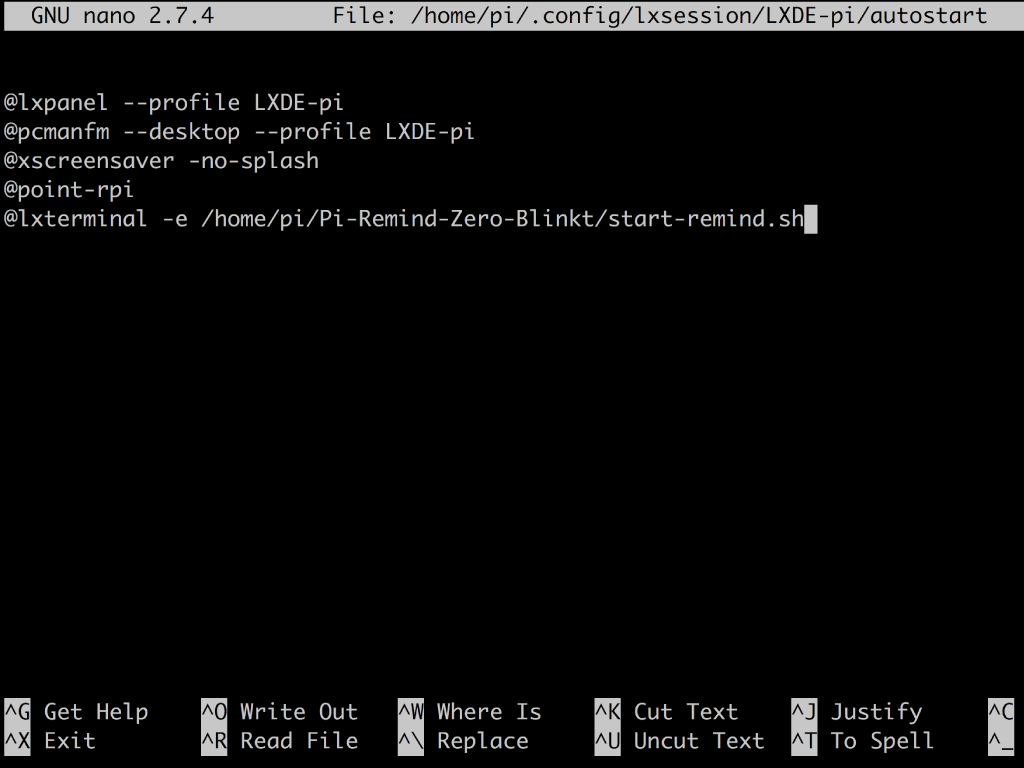
Then open the pi user's autostart file by using the following command:
sudo nano ~/.config/lxsession/LXDE-pi/autostart
sudo nano ~/.config/lxsession/LXDE-pi/autostart
Add this line to the bottom of the file:
@lxterminal -e /home/pi/Pi-Remind-Zero-Blinkt/start-remind.sh
Save the changes by pressing CTRL+O then the ENTER key. Finally, press CTRL+X to exit the application.
Now, when you reboot the Raspberry Pi, the python remind application should execute on its own in a terminal window.