Command-line 101
Learn how to use 15 of the most useful terminal commands
Written By: Cherie Tan
Difficulty
Easy
Steps
15
To get instructions from the user to computer in a clear, quick and unambiguous way, using the command-line is often the best way.
In this guide, we'll run you through fifteen of the most useful and commonly used commands so you can get started with it on the Raspberry Pi.
Complete this guide to utilise the power of the command-line.
In this guide, we'll run you through fifteen of the most useful and commonly used commands so you can get started with it on the Raspberry Pi.
Complete this guide to utilise the power of the command-line.
If you're reading this, you have probably used a computer operating system like Windows, Mac, or Linux. You would also be familiar with graphical user interfaces (GUIs). But before there were graphical user interfaces, the way to interact with a computer was through the command line.
To get instructions from the user to computer in a clear, quick and unambiguous way, using the command-line is often the best way. So, even now, on each operating system, there is a command-line interpreter that allows you to communicate directly with the system by typing text commands at a waiting prompt.
On the Raspberry Pi, if you've ever booted with Raspbian Wheezy, you'd have arrived at the command line by default. The command line is also accessible through the PIXEL desktop with a program called the terminal emulator, also known as the shell, or bash.
A shell is a special user program which provides an interface to the user to use the operating system services. It converts human readable commands into something which the kernel can understand.
A kernel is the software interface to the computer's hardware. That is to say, it communicates with the CPU, memory, and other devices on behalf of any software running. As such, it has complete control over everything in the system.
Bash stands for 'bourne again shell', and it is the name of an implementation of 'shell'. Back in 1979, the 'Bourne shell' (sh) was popular as both a command-line interpreter as well as a scripting language. Then in 1989, bash was created, an improvement to the original shell, where it could efficiently process commands at a prompt as well as execute program scripts that have been saved as text files!
In this guide, we'll run you through some commonly used commands so you can get started with bash on the Raspberry Pi.
Depending on the version of Raspbian, your Pi may or may not boot into the desktop.
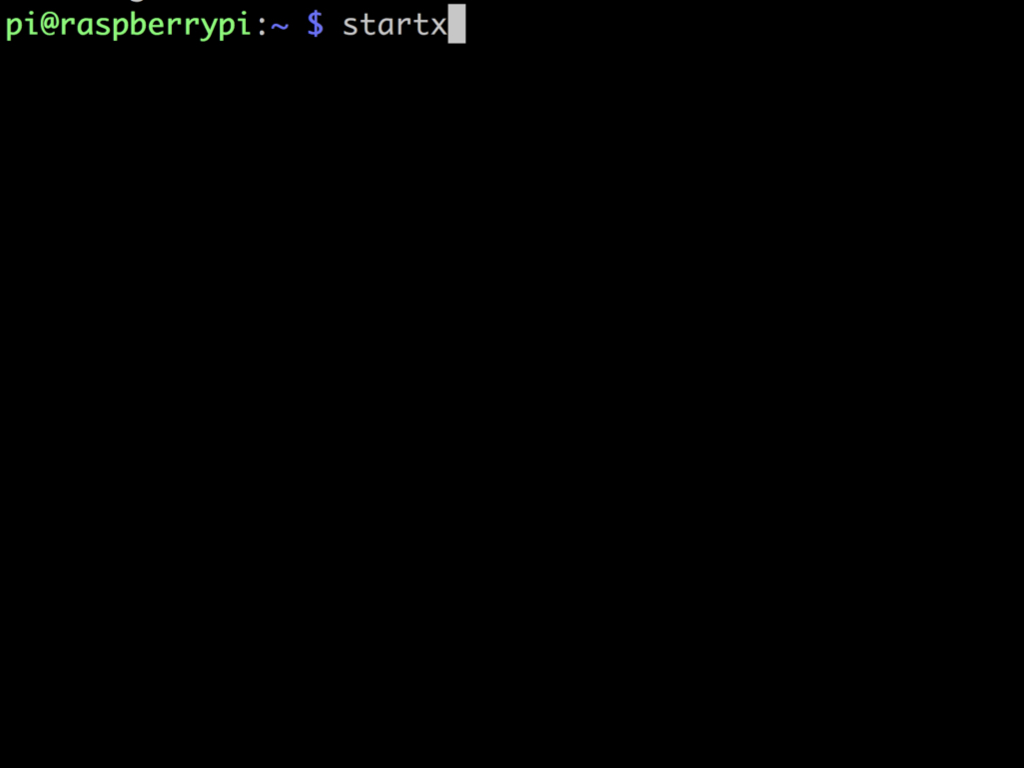
If you have used NOOBs to set up Raspbian, then the Pi will boot to the desktop. Otherwise, if you arrive at the command line by default, you will then be prompted to log in.
To start the desktop, use the startx command.
If you have used NOOBs to set up Raspbian, then the Pi will boot to the desktop. Otherwise, if you arrive at the command line by default, you will then be prompted to log in.
To start the desktop, use the startx command.
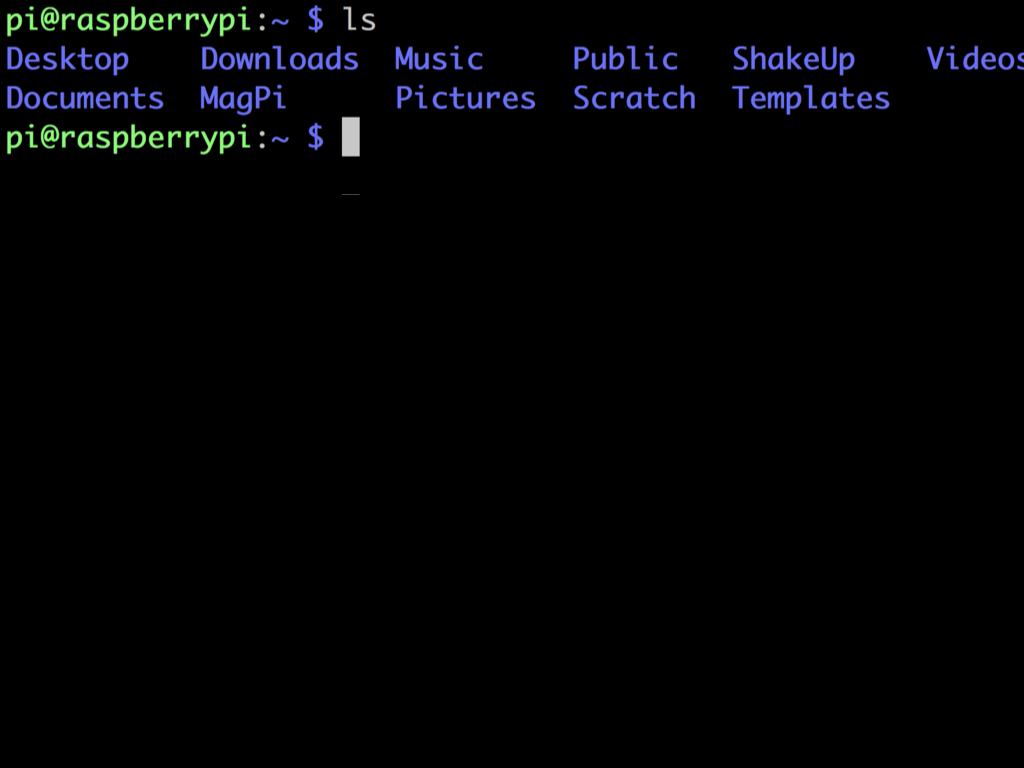
You may be familiar with the icons of folders and files on a graphical user interface. When using the command line, think of the names of these folders and files. To list the contents of a directory, type: ls
Additionally, if you would like to see the list of parameters that you can use with the ls command, type: ls --help
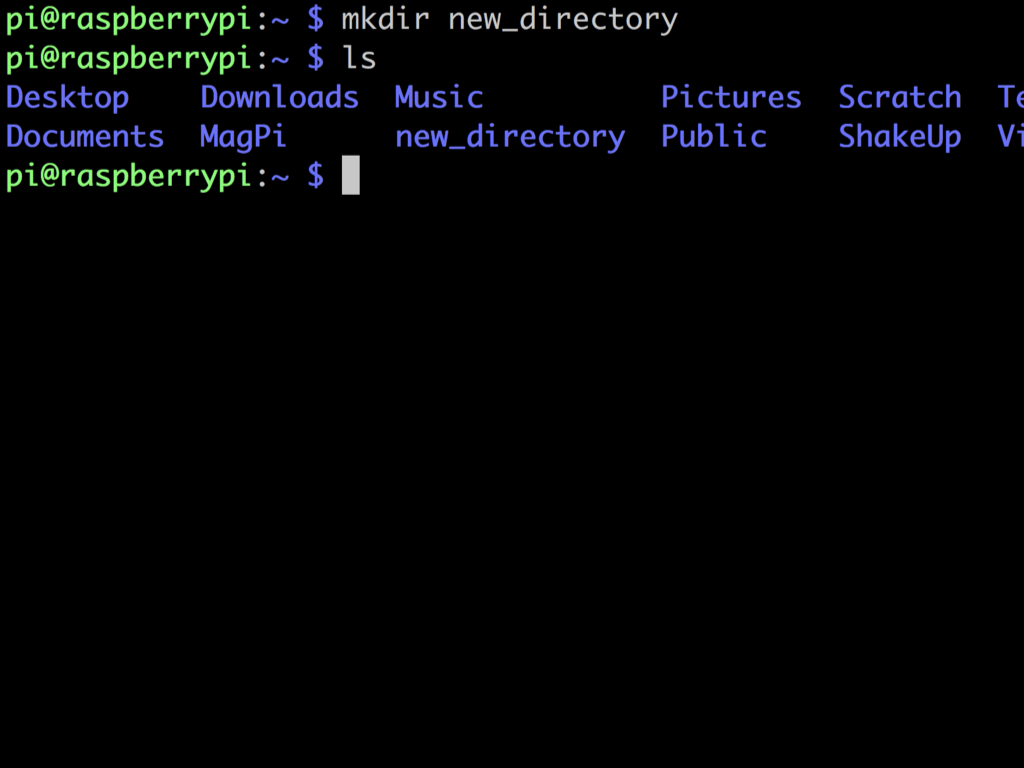
To create a new directory within the one you are in, simply use: mkdir
Type this command followed by the name of the new directory, in this case, we've called it new_directory
Type this command followed by the name of the new directory, in this case, we've called it new_directory
You can think of this as the equivalent of 'New > Folder' on Windows, or 'New Folder' on Mac.
Use the ls command again to list the contents of the current directory, again. The new directory will be listed.
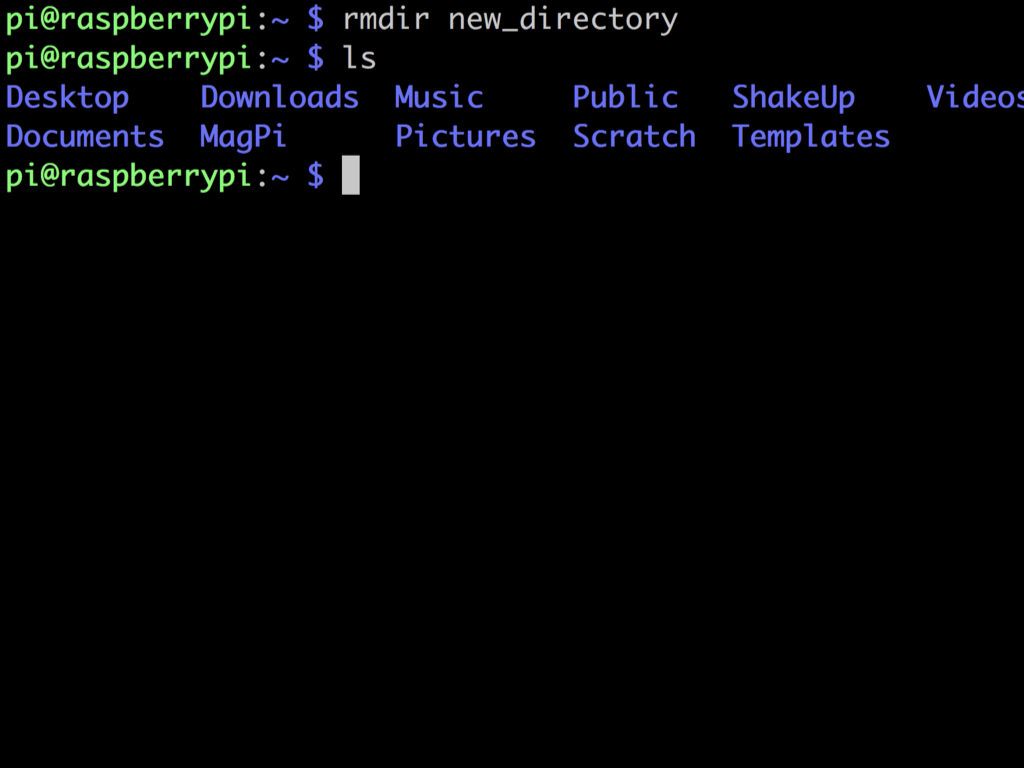
To remove an empty directory, use the rmdir command. For example: rmdir new_directory
The rmdir gives the functionality of removing only empty directories, and so, avoiding the problem of accidentally removing files.
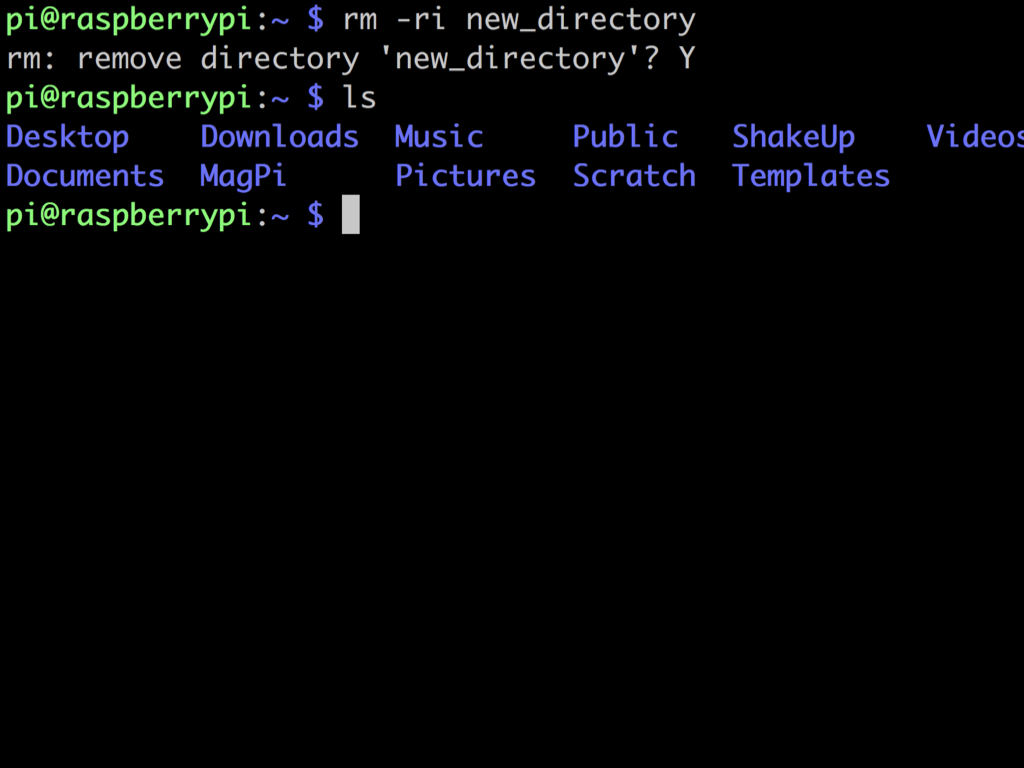
Alternatively, to remove directories irregardless of any files in it, use the rm -ri command. This command interactively deletes the files within the directory, and you will be prompted for approval each time. Reply with 'Y' to delete. For example: rm -ri new_directory
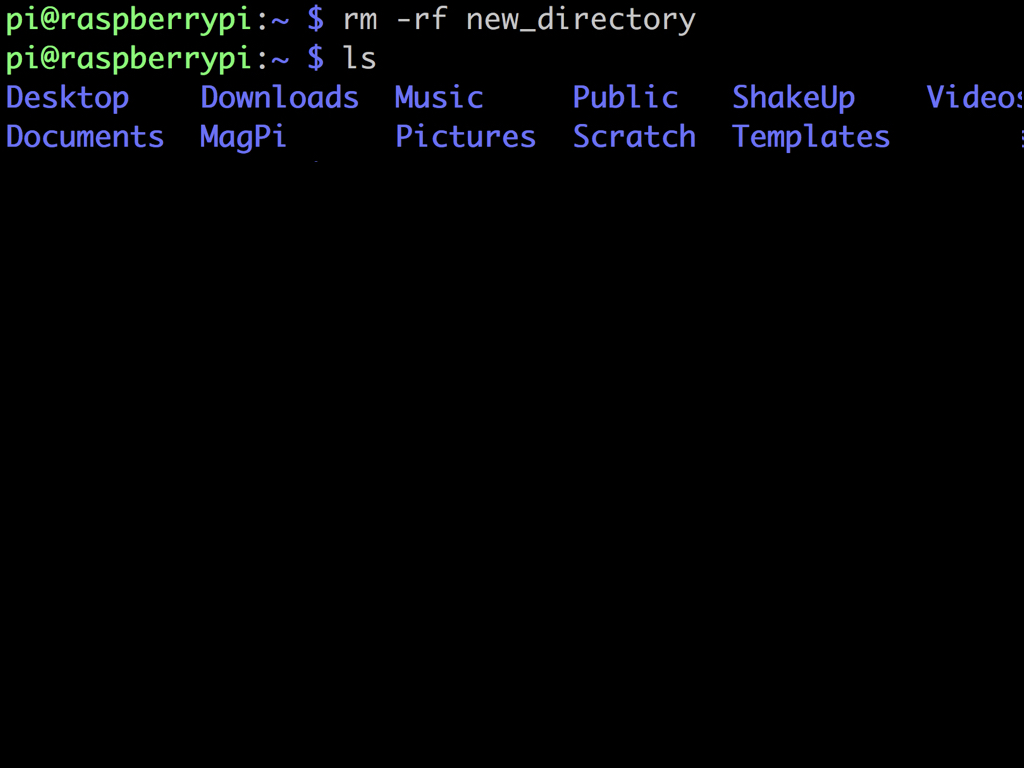
To avoid being prompted, use rm -rf command instead. For example: rm -rf new_directory
To avoid being prompted, use rm -rf command instead. For example: rm -rf new_directory
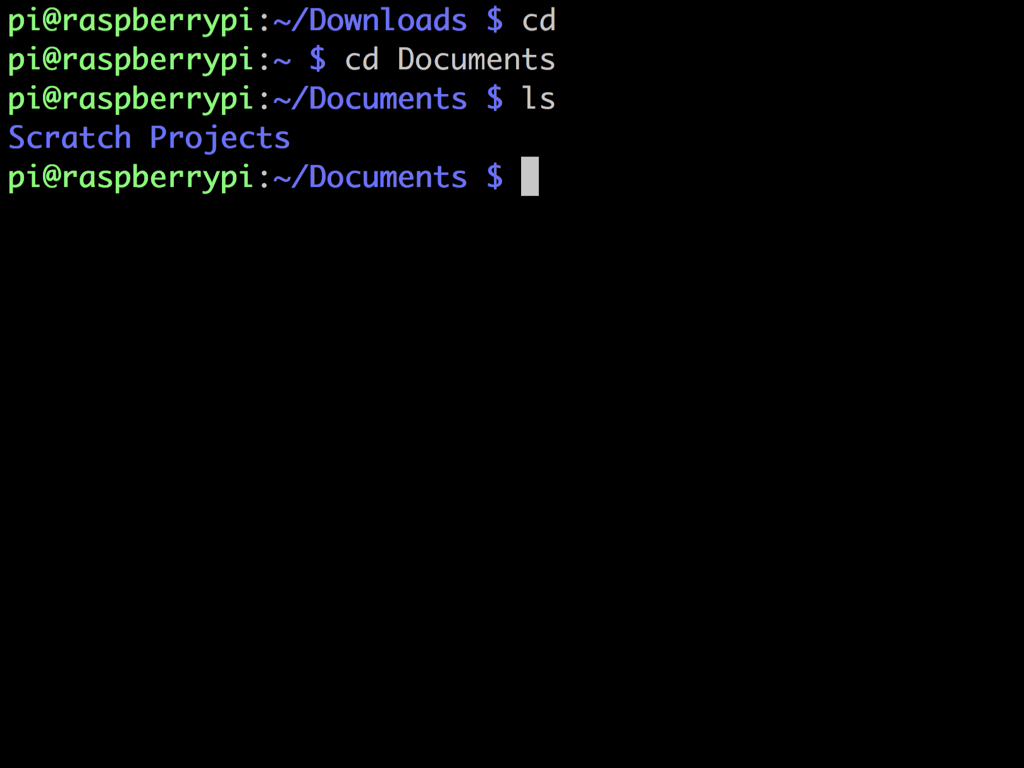

Next, to change the working directory, use the cd command.
Navigate around directories using cd followed by the absolute (i.e. cd /home/pi/directoryA) or relative directory (i.e. cd directoryA).
To return to the parent directory, simply use cd command.
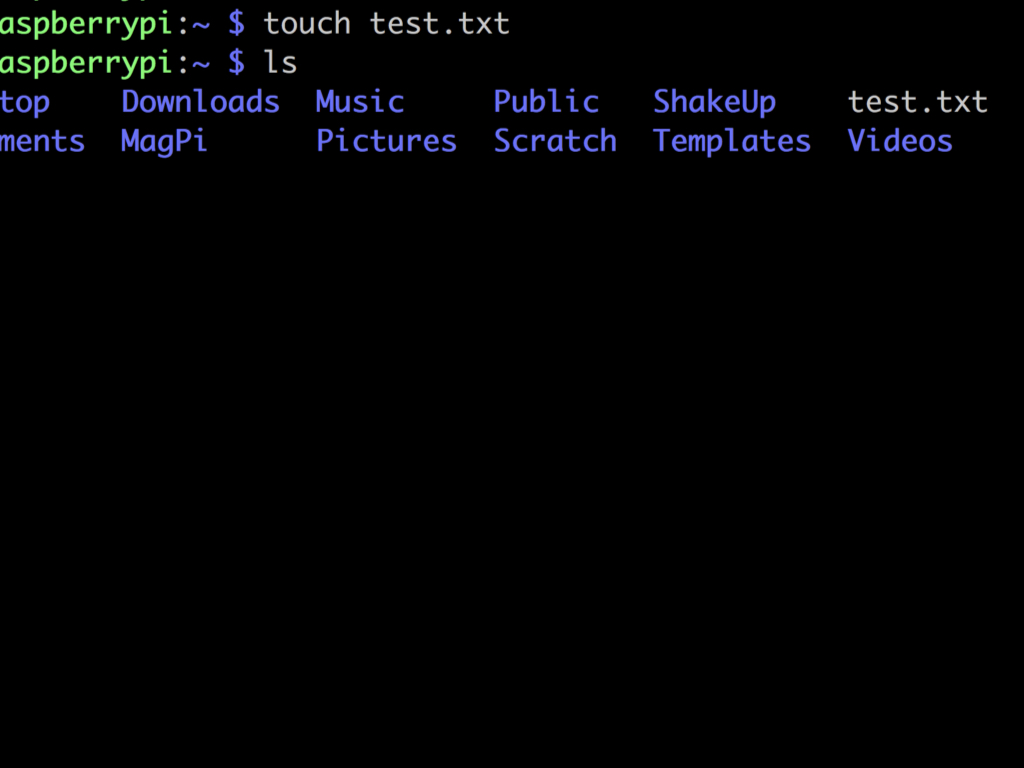
To create a new file, use the touch command i.e. touch test.txt
Actually, the function of touch goes beyond simply creating an empty file.
If the file already exists touch will change the file last access and modification times to the current time.
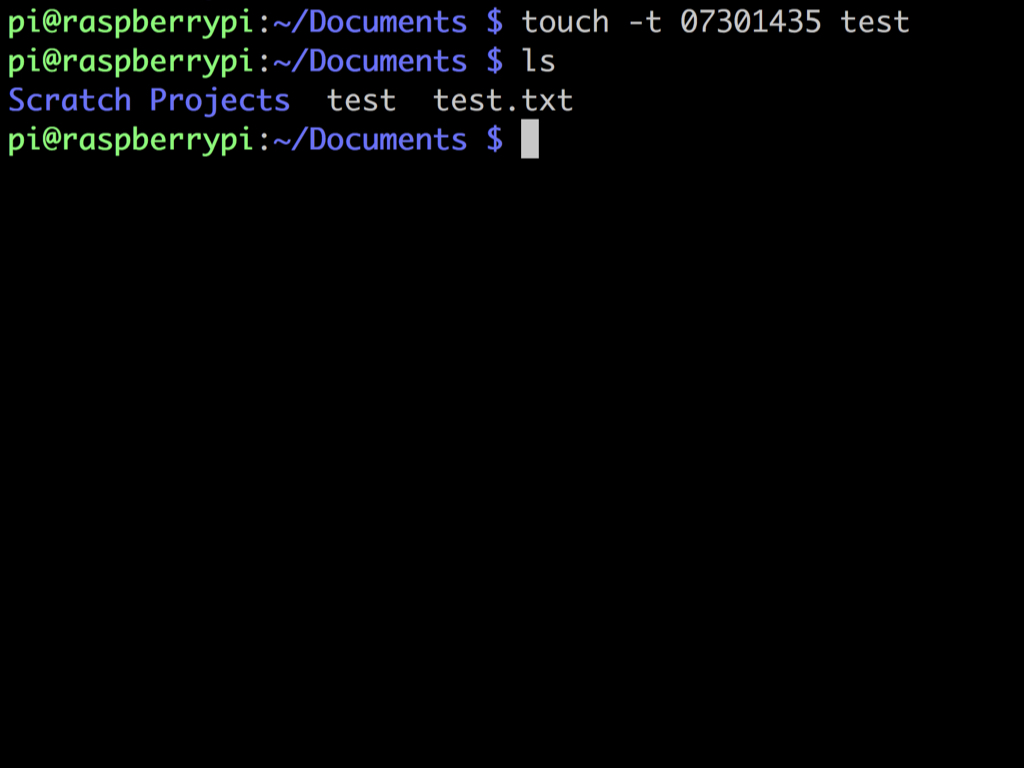
Try it yourself with: touch -t 07301435 test
This will create a file named 'test' with a timestamp bearing July 30 14:35
To change the access time, use the -a option. i.e. touch -a test
To change the modify time, use -m. i.e. touch -a test
If the file already exists touch will change the file last access and modification times to the current time.
Try it yourself with: touch -t 07301435 test
This will create a file named 'test' with a timestamp bearing July 30 14:35
To change the access time, use the -a option. i.e. touch -a test
To change the modify time, use -m. i.e. touch -a test
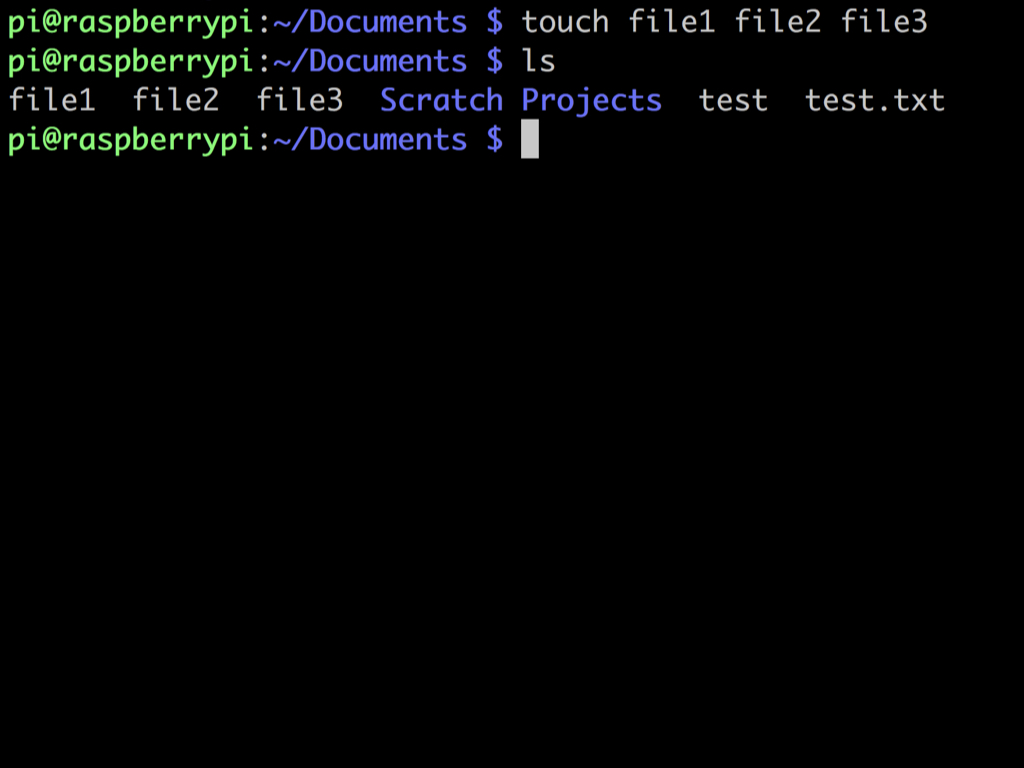
To create multiple files at once, simply specify the file names as arguments: touch file1 file2 file3.
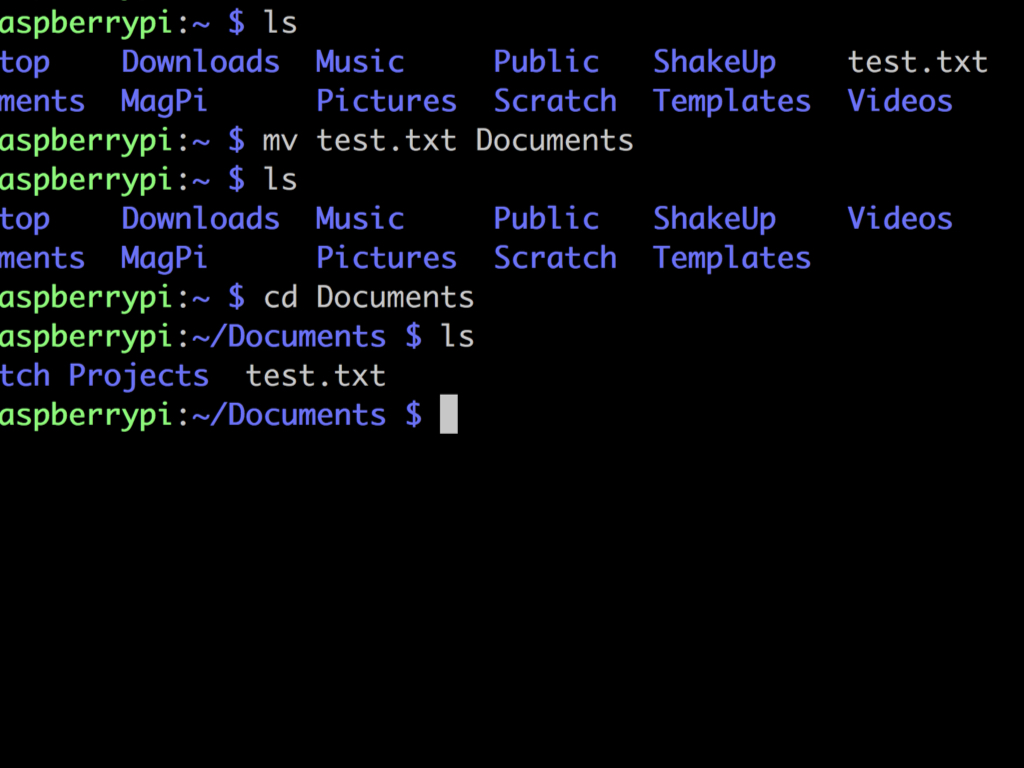
The shell mv command lets you easily move files around the filesystem from the command line. Simply use mv followed by the name of the file to be moved, and the destination. For example: mv test.txt Documents
In this example, we have created a test.txt file in the home directory. The text file named 'test' is moved to the Documents folder.
In this example, we have created a test.txt file in the home directory. The text file named 'test' is moved to the Documents folder.
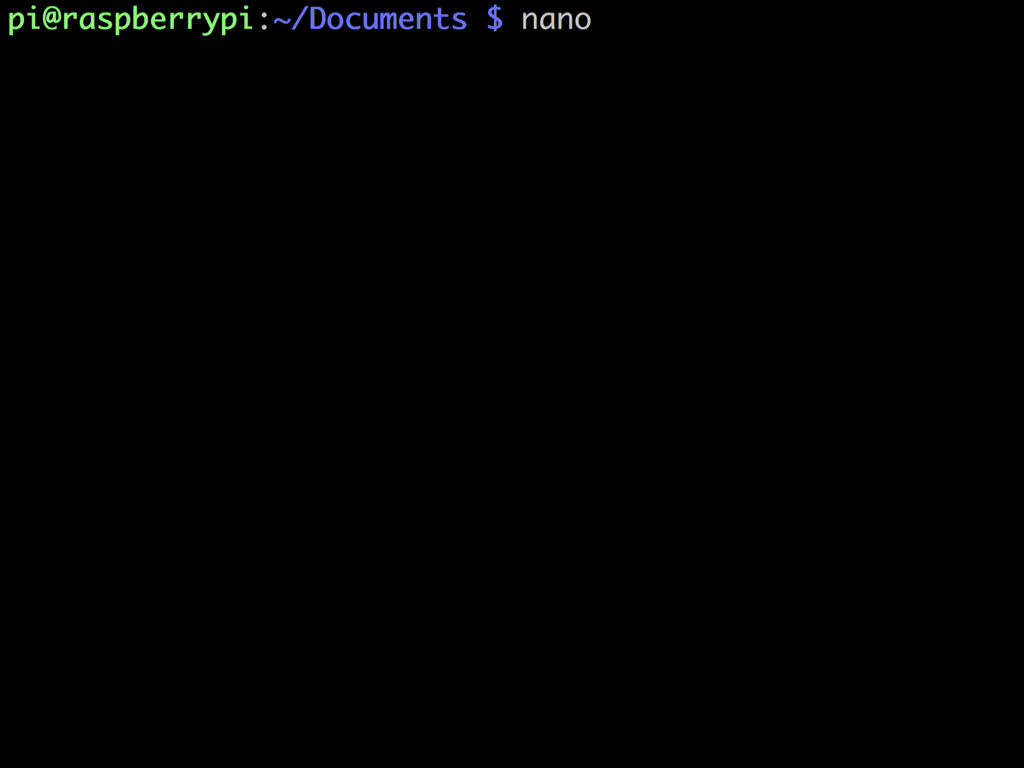

To edit text files in the terminal, use the "Nano" program that will allow you to create and edit text files within the terminal. Use the nano command. This will open up the Nano text editor.
Check out our previous guide for more information about editing text files on Raspberry Pi.
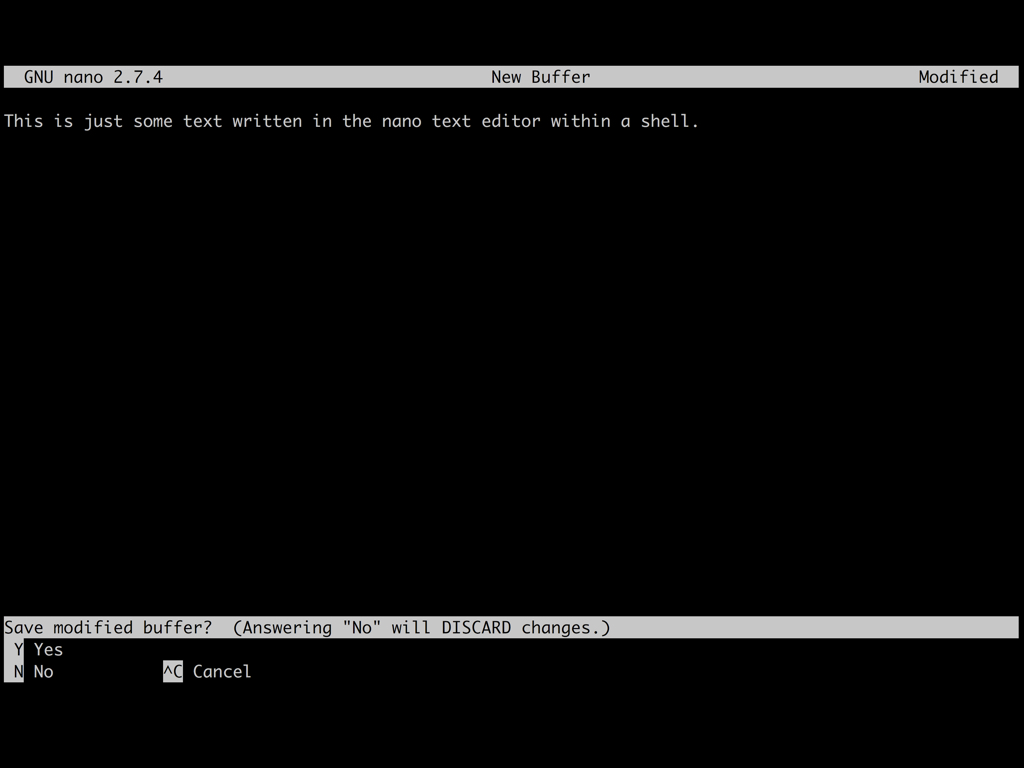
Up the top, you will notice a title bar that displays the version number. In this case, it is GNU nano 2.7.4
It will also state 'New Buffer' up the top, until the file is named.
There is also a shortcut list down the bottom.
It will also state 'New Buffer' up the top, until the file is named.
There is also a shortcut list down the bottom.
To save, press CTRL+O. Then enter Y. You will then be prompted to enter a file name.
Hit the return key to write the file. By default, it will be written to the home directory.
Hit the return key to write the file. By default, it will be written to the home directory.
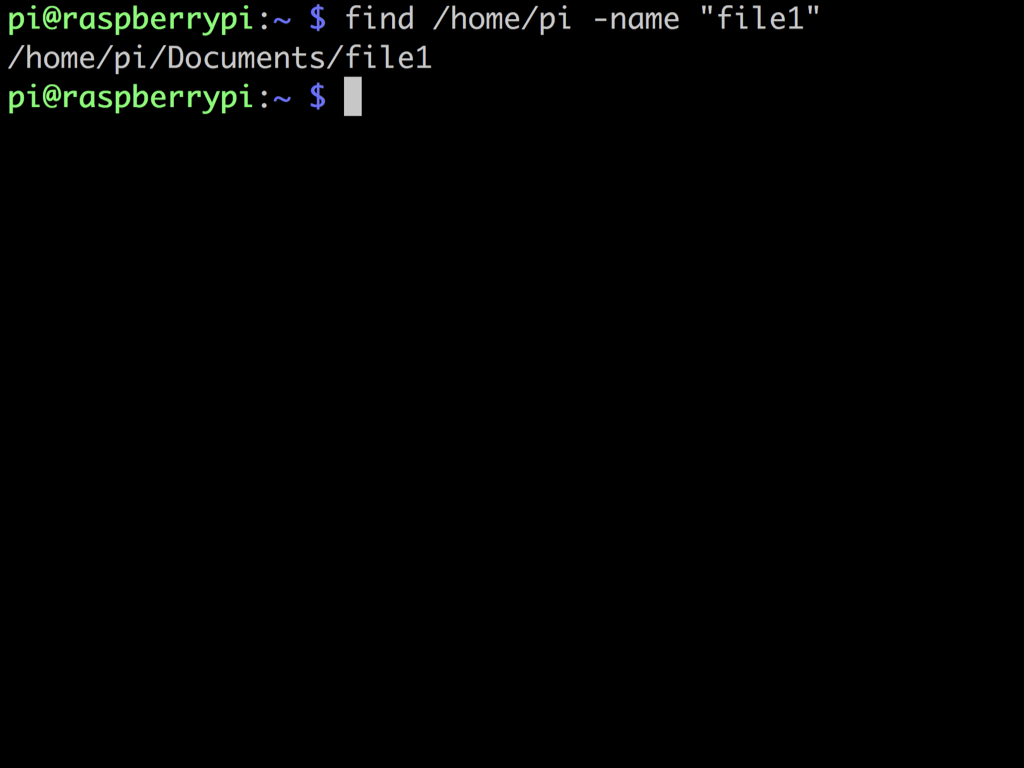
Can't remember where a particular file is located? Use the find command. For example: find /home/pi -name "file1"
Let's break it down further:
find is the command
/home/pi is the directory to run the search
-name searches for a file name
"file1" is the file we are searching for.
find is the command
/home/pi is the directory to run the search
-name searches for a file name
"file1" is the file we are searching for.
If you are used to the Windows operating system, then you may be familiar with how each software has its own installer. For the Linux operating system, this is not the case! Instead, it utilises a package manager that is responsible for getting and managing the software you need. The Raspberry Pi uses a package manager called apt-get.
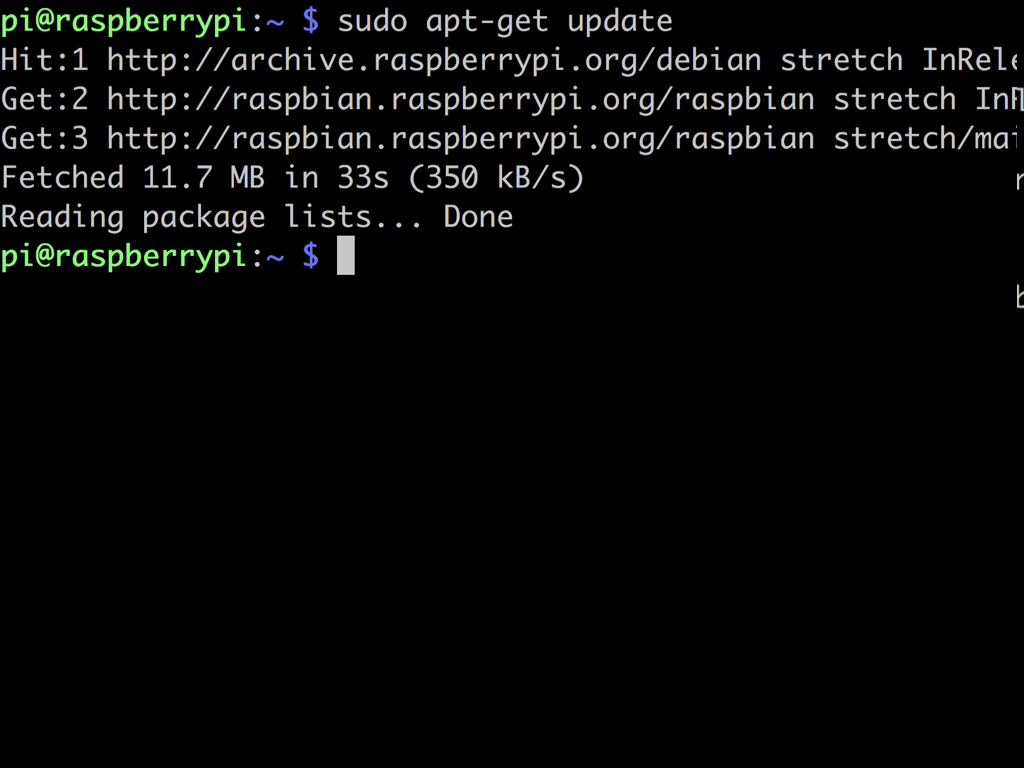
Plenty of software packages for Linux are updated frequently, and while not all updates are enhancements, some are related to security which is why it is advisable to check for software updates every month or so. To update the list of available software, this can be done with the apt-get update command. However, if you are logged in as the Pi user and tried that command by itself, you will just get error messages like so. This makes sense, as changing system software on the system is restricted to those with administrative permissions such as the superuser, given the username root.
Use the sudo command here, which lets you run commands as the root user.
Instead, use sudo apt-get update
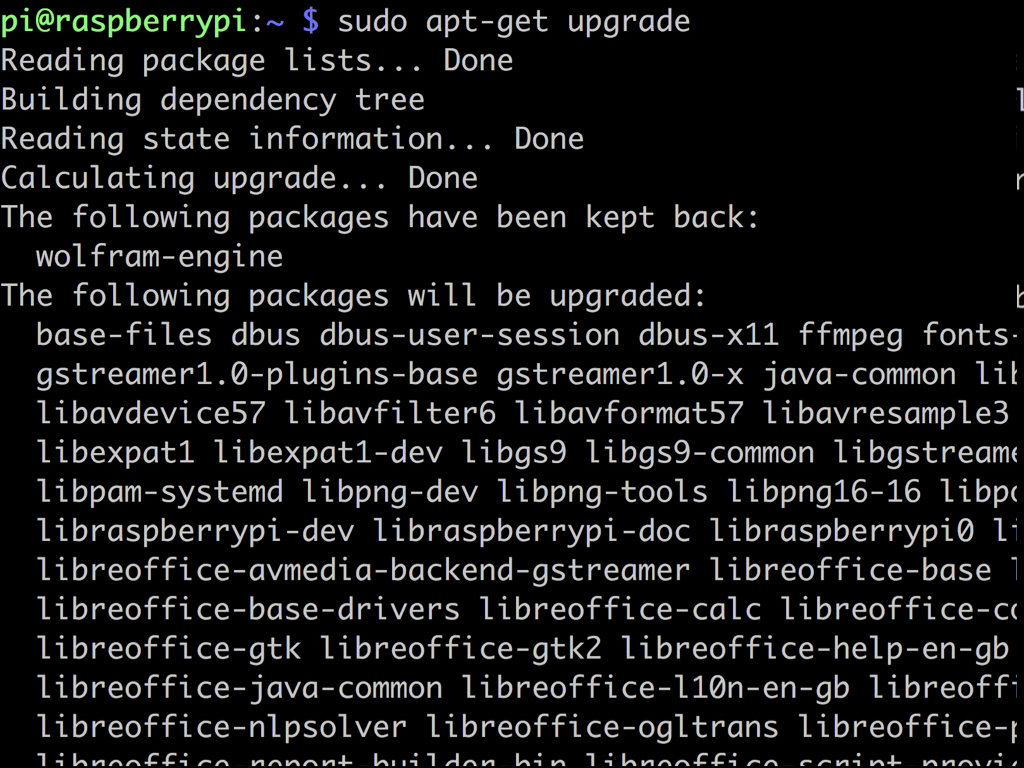
The previous command updates the software database. To actually upgrade the software itself, use the sudo apt-get upgrade command
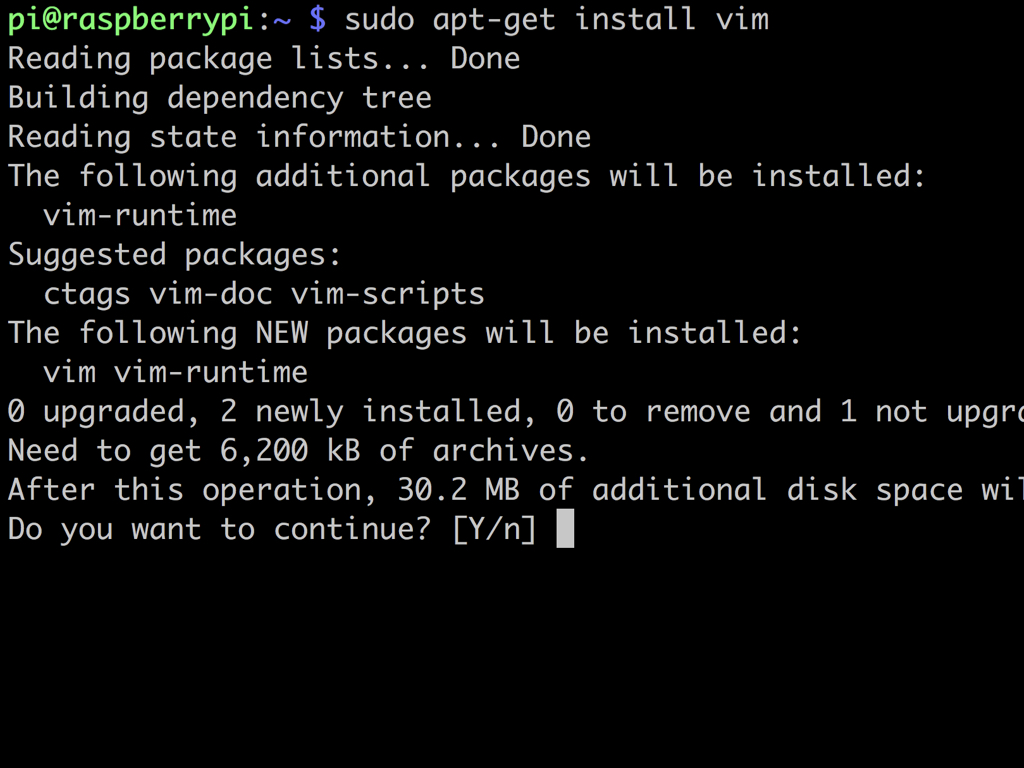
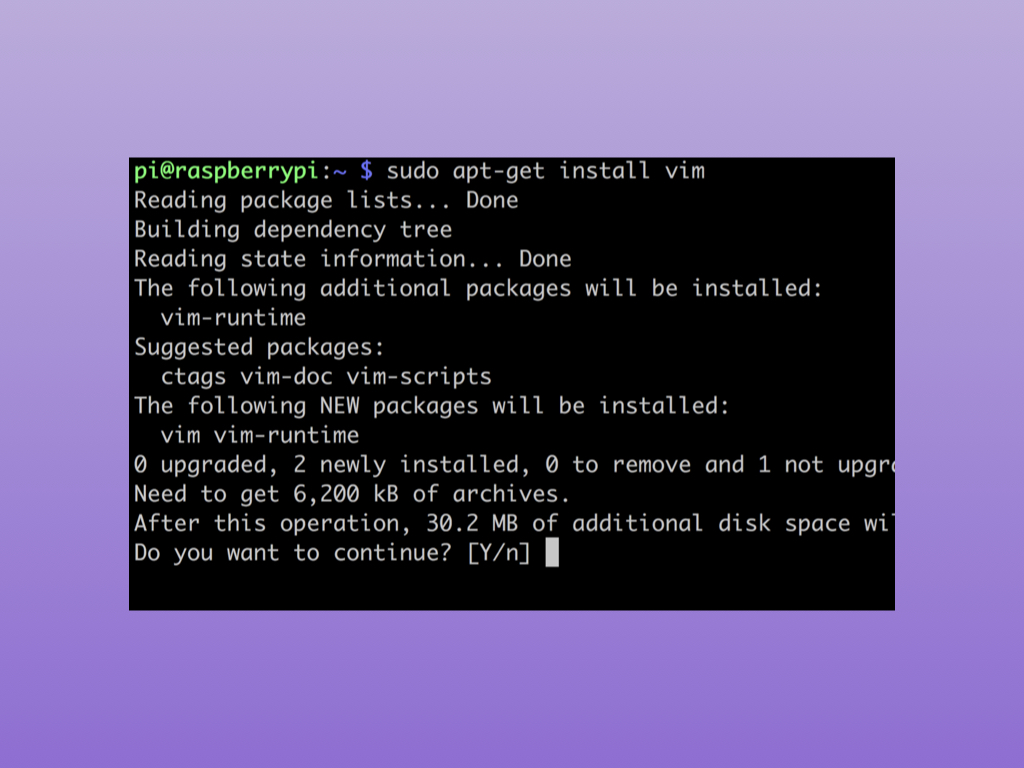
Next, to install new software, use sudo apt-get install packagename
In this example, we ran a command to install the software package for vim, a powerful text editor.
In this example, we ran a command to install the software package for vim, a powerful text editor.
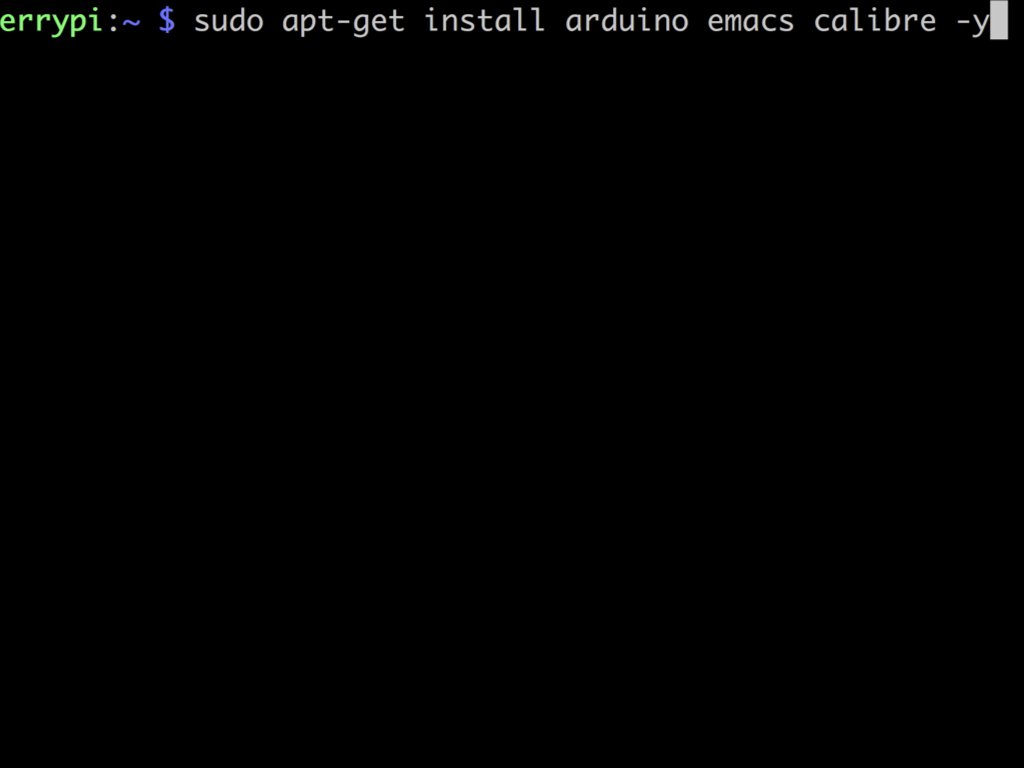
To install multiple packages, use: sudo apt-get install packagename1 packagename2 packagename3
Omit being prompted to answer yes or no during the installation by using -y
Be careful, as it may also automatically remove what you may not want removed.
Be careful, as it may also automatically remove what you may not want removed.
We've ran a command to install the software packages for ...
Arduino IDE - Program your Arduino board directly from the Raspberry Pi via USB!
Emacs text editor - a GNU command-line text editor; it's powerful, extensible, and customisable.
Calibre - Read e-books on your Raspberry Pi!
Arduino IDE - Program your Arduino board directly from the Raspberry Pi via USB!
Emacs text editor - a GNU command-line text editor; it's powerful, extensible, and customisable.
Calibre - Read e-books on your Raspberry Pi!
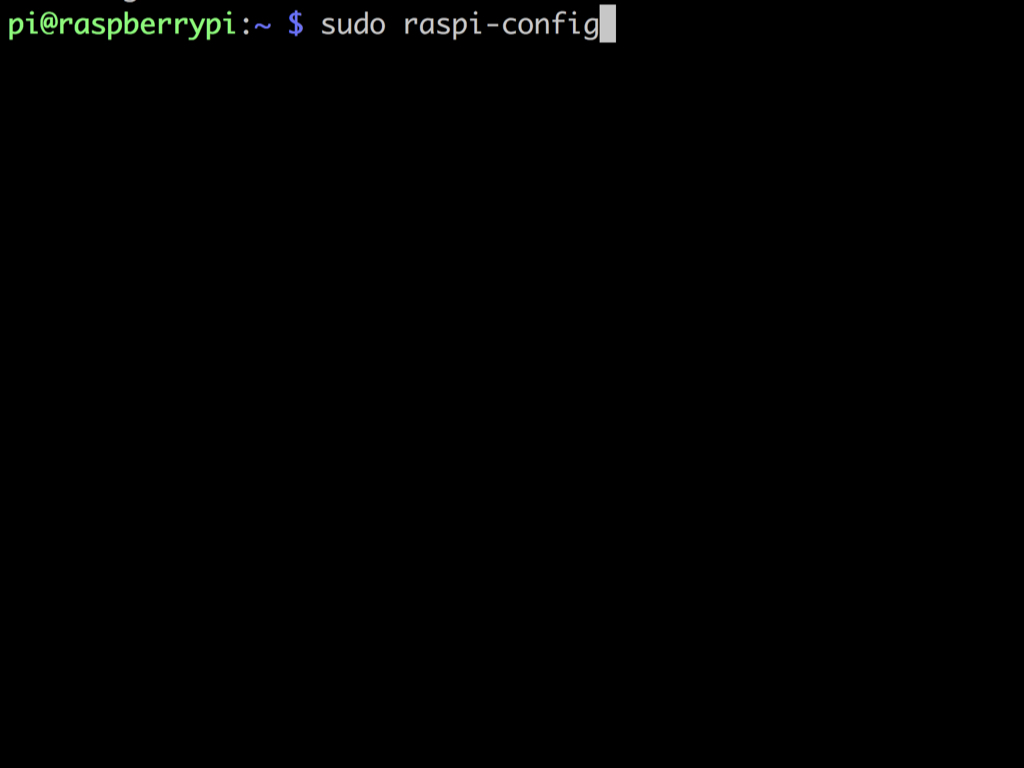
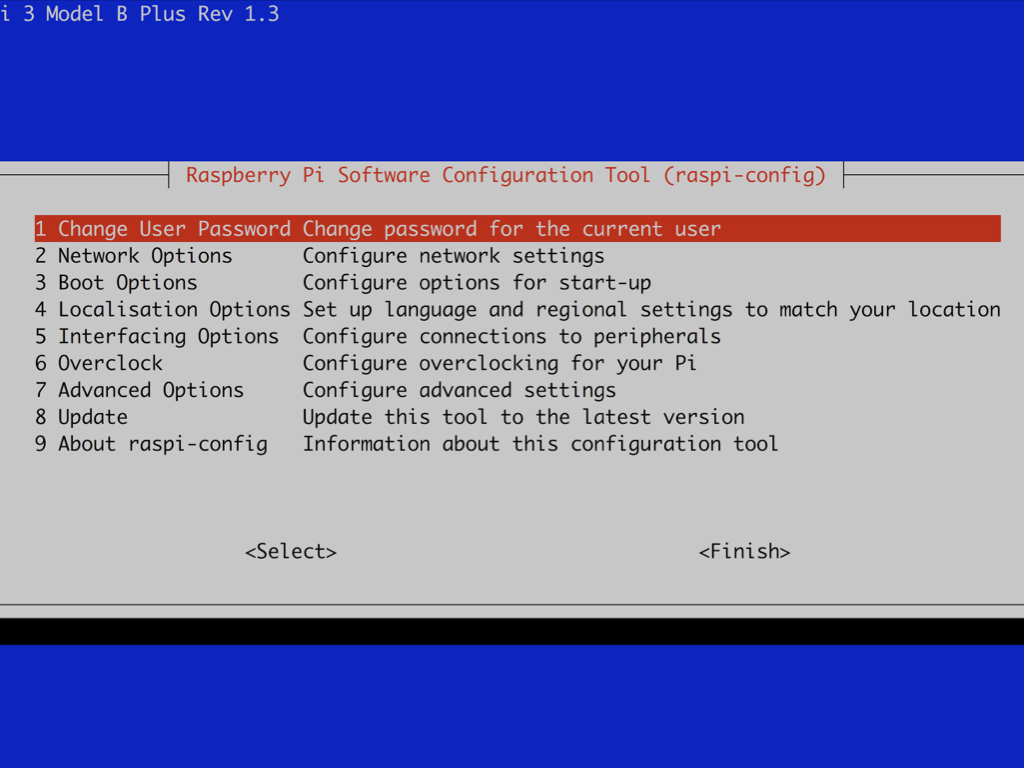
The configuration tool lets you easily access the 'settings'. This is where you can set the system language, time and date, username and password, enable SSH, camera, VNC, and much more. Access it with sudo raspi-config command.

Sometimes, you want to refresh libraries after they have been installed or configured, this is an instance where you may want to reboot the Pi.
To restart the Raspberry Pi, use the sudo reboot command. This is shorthand for sudo shutdown -r now which restarts the Pi.
To restart the Raspberry Pi, use the sudo reboot command. This is shorthand for sudo shutdown -r now which restarts the Pi.
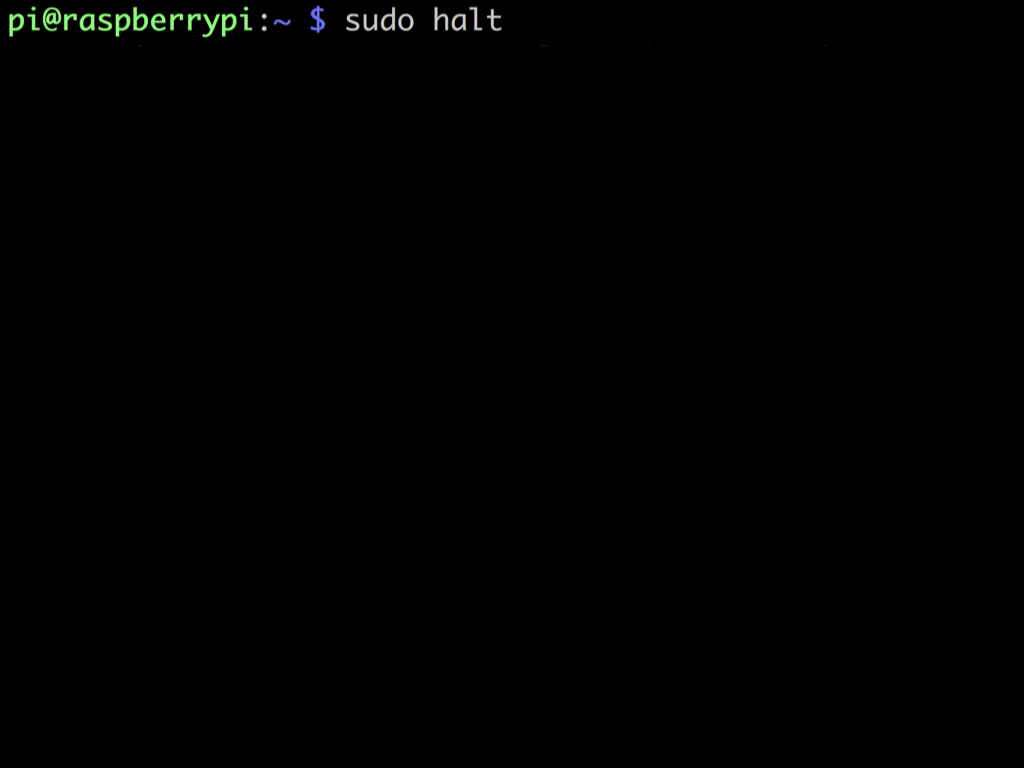
To shut down the Raspberry Pi, just disconnecting the power supply from the Pi may corrupt the SD card and damage it. To properly shut down the Raspberry Pi, use the sudo halt command.
The sudo halt command is shorthand for sudo shutdown -h now
The sudo halt command is shorthand for sudo shutdown -h now
Remember to wait for the green LED on the Raspberry Pi to stop blinking, this indicates that the shutdown process has finished. The red LED may still be on, but you can safely unplug the power supply by then.