Beginning with the LÖVE Framework on Raspberry Pi 4
Install LÖVE on the Raspberry Pi 4, learn about callback functions, the coordinate system and tables!
Written By: Cherie Tan
Difficulty
Easy
Steps
14
Lua is a small and powerful programming language that can be used for everything from system maintenance to graphics and games. It's a popular scripting language in the video game and visual effects industry. LÖVE is a framework for Lua that you can use to make games.
In this guide, learn how to install LÖVE on the Raspberry Pi 4, learn about callback functions, the coordinate system involved as well as the table data structure.
Complete this guide to gain familiarity with the fundamentals which will get you up and running with game development on LÖVE!
In this guide, learn how to install LÖVE on the Raspberry Pi 4, learn about callback functions, the coordinate system involved as well as the table data structure.
Complete this guide to gain familiarity with the fundamentals which will get you up and running with game development on LÖVE!
The Lua programming language was designed in 1993 at the Pontifical Catholic University of Rio de Janeiro, in Brazil.
It features a small number of types and operators, a means to define functions and one data structuring mechanism, tables.
Although Lua is small, it's not lacking in power. Lua is a powerful, lightweight and embeddable programming language. It is used in many frameworks, games and other applications. You can even use it to access GPIO pins on the Raspberry Pi. But perhaps its greatest following is in game development.
LÖVE is a framework written for Lua. So, it isn't an application you can launch to run code, but you can use the LÖVE functions in your code. While it's commonly used for making games, that's not all we can do with it.
In this guide, we'll show you how to get started with the LÖVE framework by installing it on the Raspberry Pi, learning about callback functions, creating a player sprite and controlling it to move across the screen.
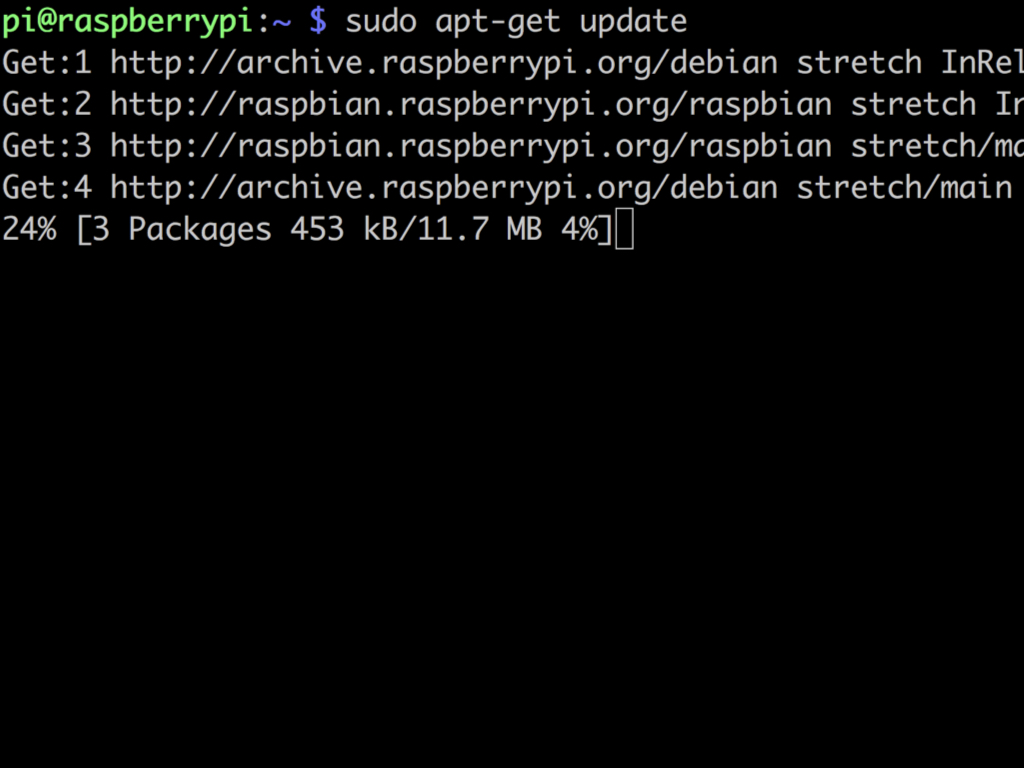
First, open a terminal window and enter: sudo apt-get update
Then enter: sudo apt-get upgrade
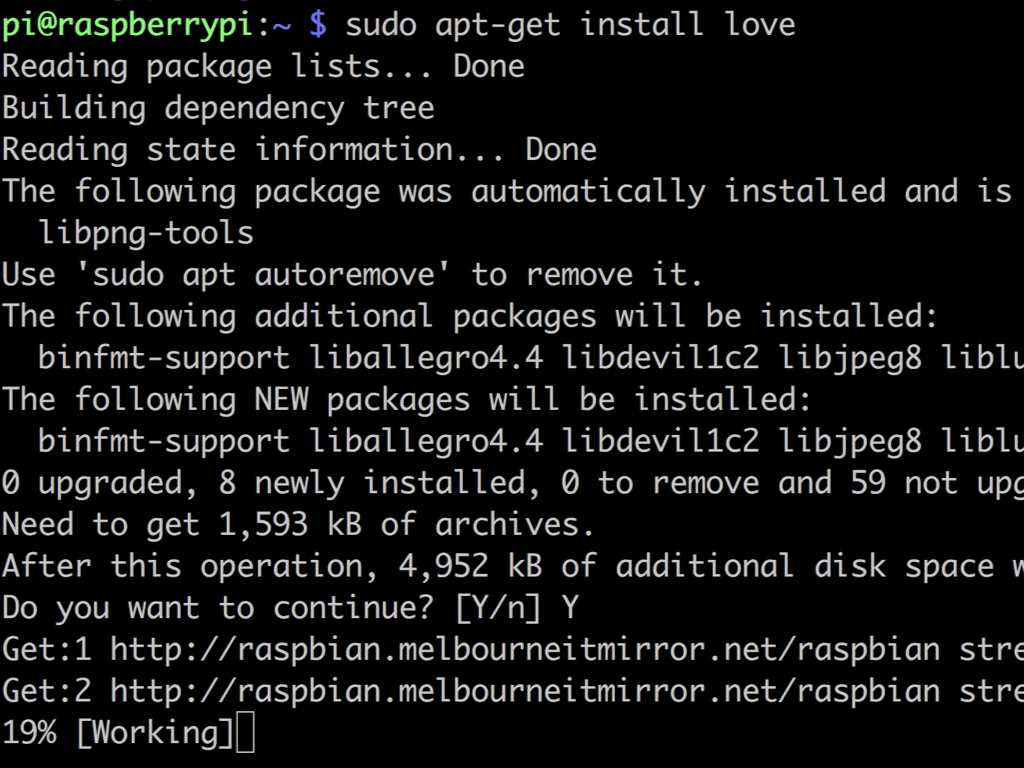
Finally, enter the following: sudo apt-get install love
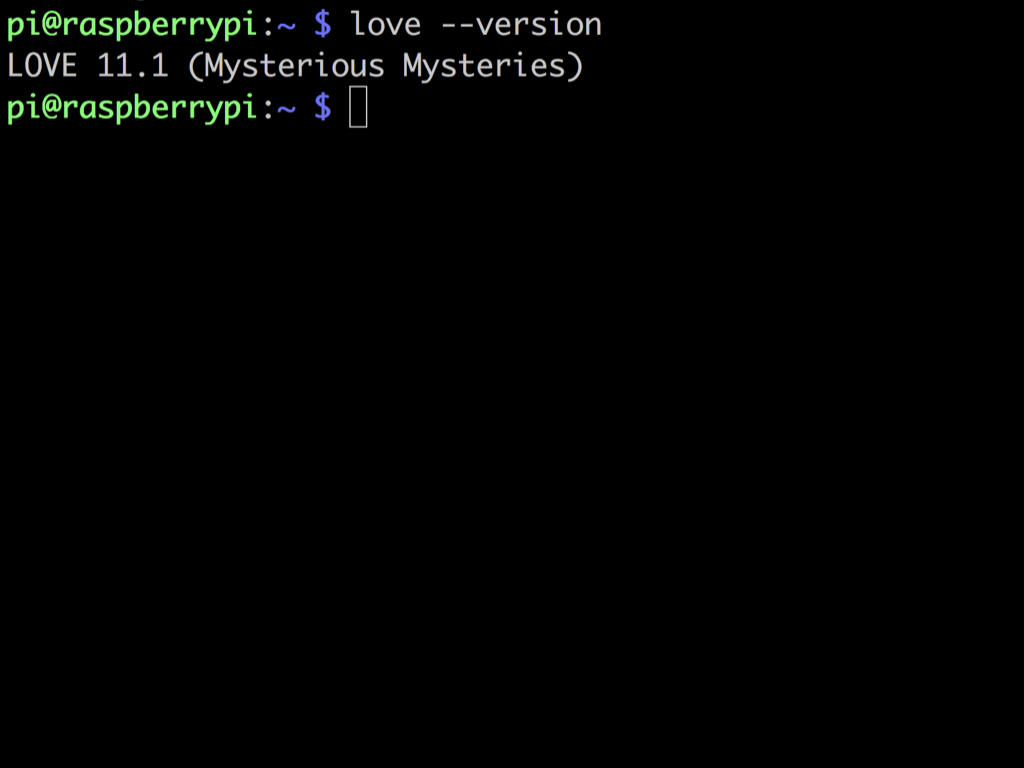
To check that LÖVE has successfully been installed and its version, enter: love --version
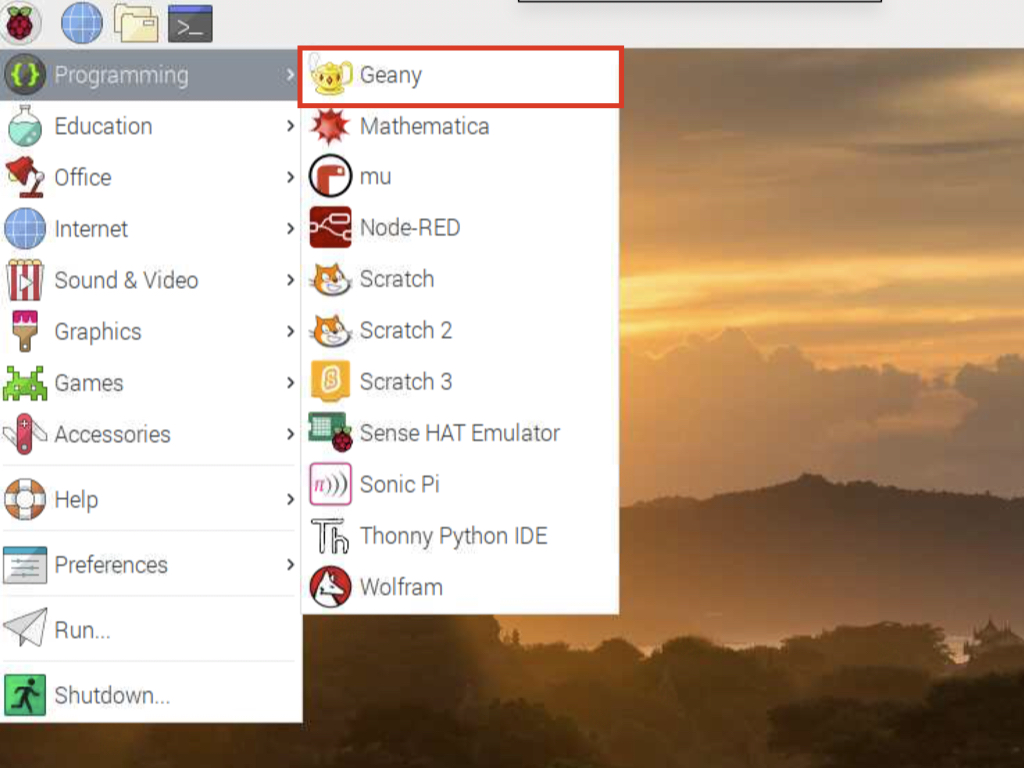
Now click on the main menu button (Raspberry Pi icon) up the top left hand corner.
Then hover over Programming and click on Geany.
-- My First LÖVE program --

function love.keypressed(key)
  print(key)
  if key == "x" then
    print( "Quitting ... ")
    love.event.quit()
  end
end

function love.draw()
-- draw some text in white
  love.graphics.setColor(255,255,255) -- RGB values, Use white
  love.graphics.setFont(love.graphics.newFont(72))
  love.graphics.print("Press x to exit", 200, 200)
end
Double-click on the intro.love file and the game window will now launch. Press x to exit the game.
In this first example, a window will be launched to display some text in white. Pressing the 'x' key exits the program.
Click on File > Save as ...
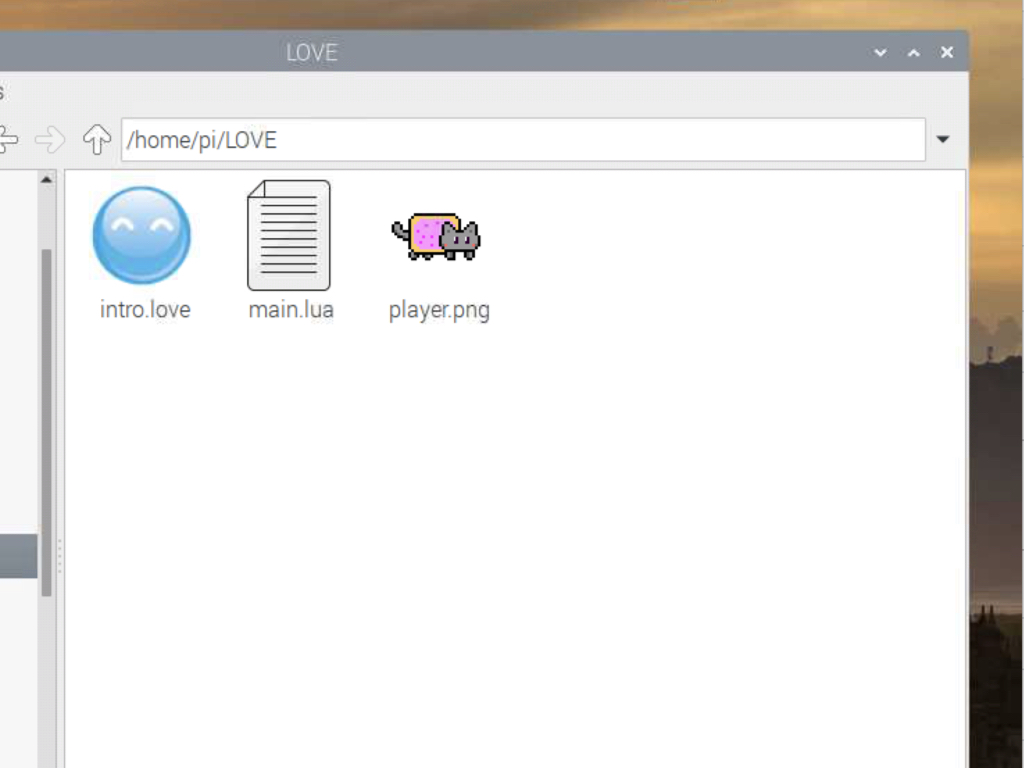
Create a new folder in /home/pi
In this guide, we have created a new folder named LOVE. Here, we will save the program as main.lua
In this guide, we have created a new folder named LOVE. Here, we will save the program as main.lua
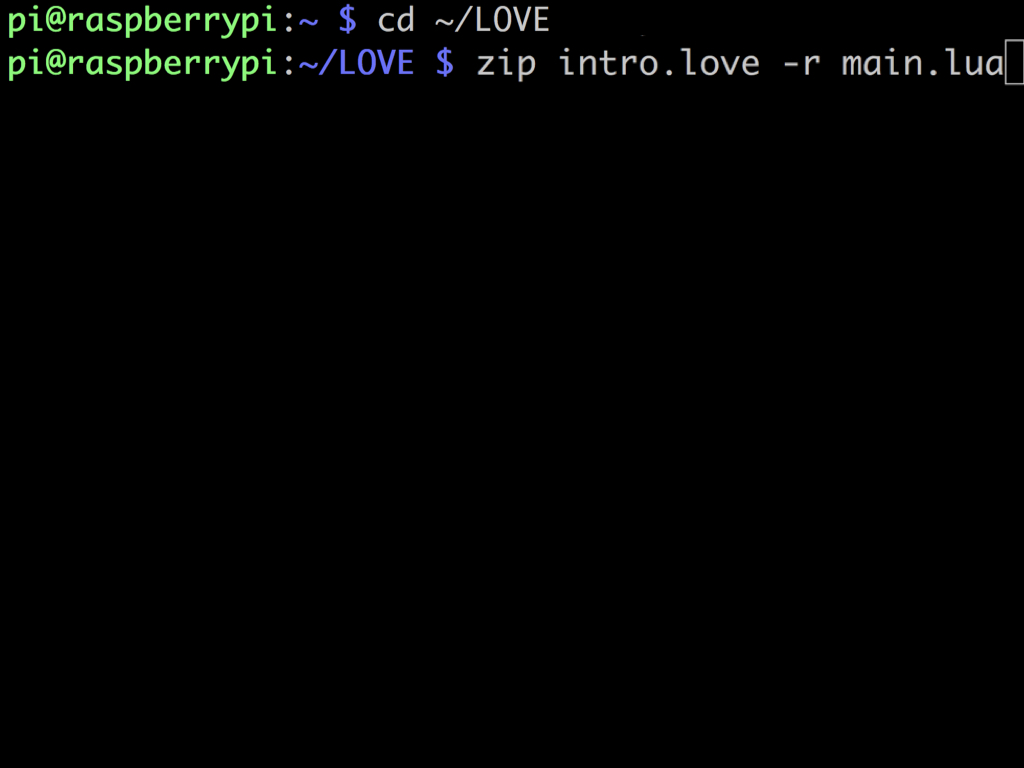
So how do we go about with running the program? LÖVE files are nothing more than ZIP files with a special suffix. So we'll use the zip command in the terminal to bundle the files within the LOVE folder into a game file called intro.love
But first, change directory to the folder with the command: cd ~/LOVE
Then enter the following command: zip intro.love -r main.lua
function love.load()
  playerSprite = love.graphics.newImage("player.png")
end
When beginning to create your first game with the LÖVE game engine, one of the most important parts are the callback functions. These callback functions include love.load, love.update and love.draw
Let's start with the love.load function. This function is only called once when the game is started. This is where you'd usually load resources, initialise variables and set your settings.
Let's start with the love.load function. This function is only called once when the game is started. This is where you'd usually load resources, initialise variables and set your settings.
For example, let's say we wanted to create a player sprite. To start off with, create a new variable named playerSprite in love.load
Next, we need to load the player image and store it in the image variable. To do so, use the love.graphics.newImage function. Pass the name of the player image file as the first argument.
Don't worry if you haven't got a player sprite image just yet, we will get to that in the next few steps!
function love.load()
  player = {
    sprite = love.graphics.newImage("player.png"),
    x = 0,
    y = 250
  }
end
The player will have many attributes by the time we're done, so remove the previous code and let's make a table inside of love.load instead.
As mentioned before, tables are the only main data structuring mechanism in Lua.
In fact, according to lua.org: "Tables in Lua are not a data structure; they are the data structure. All structures that other languages offer---arrays, records, lists, queues, sets---are represented with tables in Lua. More to the point, tables implement all these structures efficiently."
Tables can be used as a list, an array, or a dictionary in which we can store values. You create a table with curly brackets like so: player = { }
function love.load()
player = { }
end
We have just created an empty table named player.
These can later be referred to in other parts of the program as player.sprite, player.x, and player.y
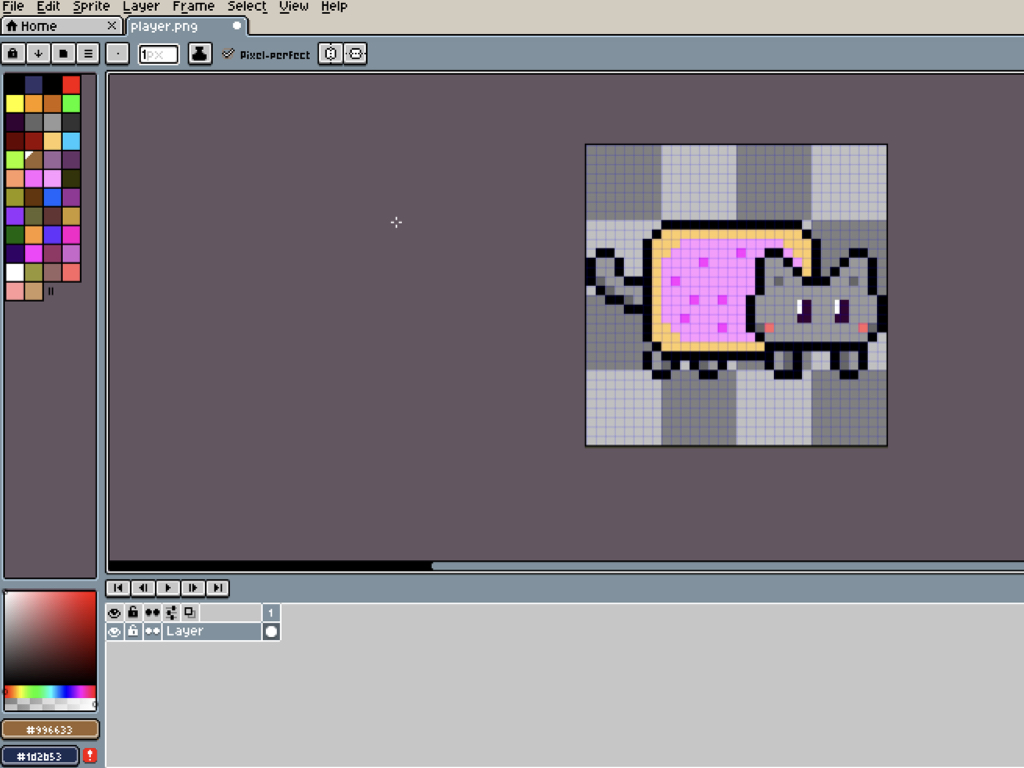
Then we saved it as a PNG file within the same directory as main.lua
In this guide, we've created a sprite in Aseprite.
Alternatively, you can grab some free graphic assets over at OpenClipArt.org, a website full of Creative Commons artwork.
function love.load()
  player = {
    sprite = love.graphics.newImage("player.png"),
    x = 0,
    y = 250
  }
end

function love.update()
  if love.keyboard.isDown("up") then
    player.y = player.y - 2
end
If we were to run the previous zip command which will create a .love file, and ran the game nothing would be seen on screen. This is because we haven't yet written anything in love.update and love.draw
love.update is a callback function that is called continuously until the game ends. For example, we could create player controls here. Using the love.keyboard.isDown function, this code makes it so that the player sprite moves upwards when the up key is pressed.
love.update is a callback function that is called continuously until the game ends. For example, we could create player controls here. Using the love.keyboard.isDown function, this code makes it so that the player sprite moves upwards when the up key is pressed.
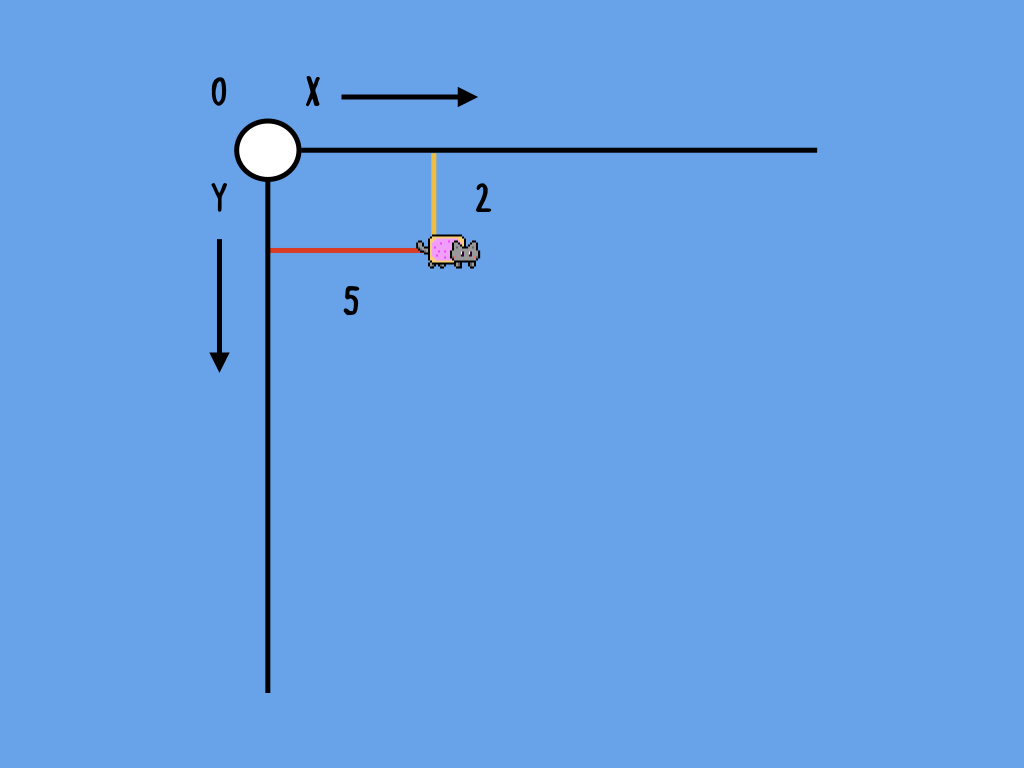
Why did we decrease the value of player.y by 2?
Take a look at the diagram as shown. The LÖVE coordinate system is rooted in the upper left-corner of the screen which is at location (0,0). So to move the player sprite upwards, we need to decrease the value of player.y by 2. Similarly, to move the player sprite downwards, increase the value of player.y by 2.
The logic is the same to move the player sprite along the x-axis. To move rightwards, we need to increase the player.x value.
function love.load()
  player = {
    sprite = love.graphics.newImage("player.png"),
    x = 0,
    y = 250
  }
end

function love.update()
  if love.keyboard.isDown("up") then
    player.y = player.y - 2
  elseif love.keyboard.isDown("down") then
          player.y = player.y + 2
  elseif love.keyboard.isDown("right") then
          player.x = player.x + 2
  elseif love.keyboard.isDown("left") then
          player.x = player.x - 2
  end
end

function love.draw()
  love.graphics.draw(player.sprite,player.x,player.y)
end
While love.update runs the logic code in the background, the love.draw function draws to the screen. So to draw the player sprite to the screen, use the love.graphics.draw function!
This function draws a drawable object such as an image, mesh, or ParticleSystem. It accepts 10 arguments. But for this guide, we will just focus on the first three arguments.
Go ahead and type love.graphics.draw(player.sprite,player.x,player.y) into the love.draw function
This function draws a drawable object such as an image, mesh, or ParticleSystem. It accepts 10 arguments. But for this guide, we will just focus on the first three arguments.
Go ahead and type love.graphics.draw(player.sprite,player.x,player.y) into the love.draw function
In this guide, we've learned to install LÖVE on the Raspberry Pi 4, then delved into the callback functions as well as the LÖVE coordinate system. We also briefly talked about tables. In the next guide, we'll show you how to create a full-fledged game by using tables and for-loops.
Check out the guides over at https://www.littlebird.com.au/a/how-to/#raspberrypi to learn even more. Have fun creating!
Check out the guides over at https://www.littlebird.com.au/a/how-to/#raspberrypi to learn even more. Have fun creating!