5-Inch Touch Screen Display with Raspberry Pi
How to set up the 5-inch touch screen with the Raspberry Pi
Written By: Cherie Tan
Difficulty
Easy
Steps
13
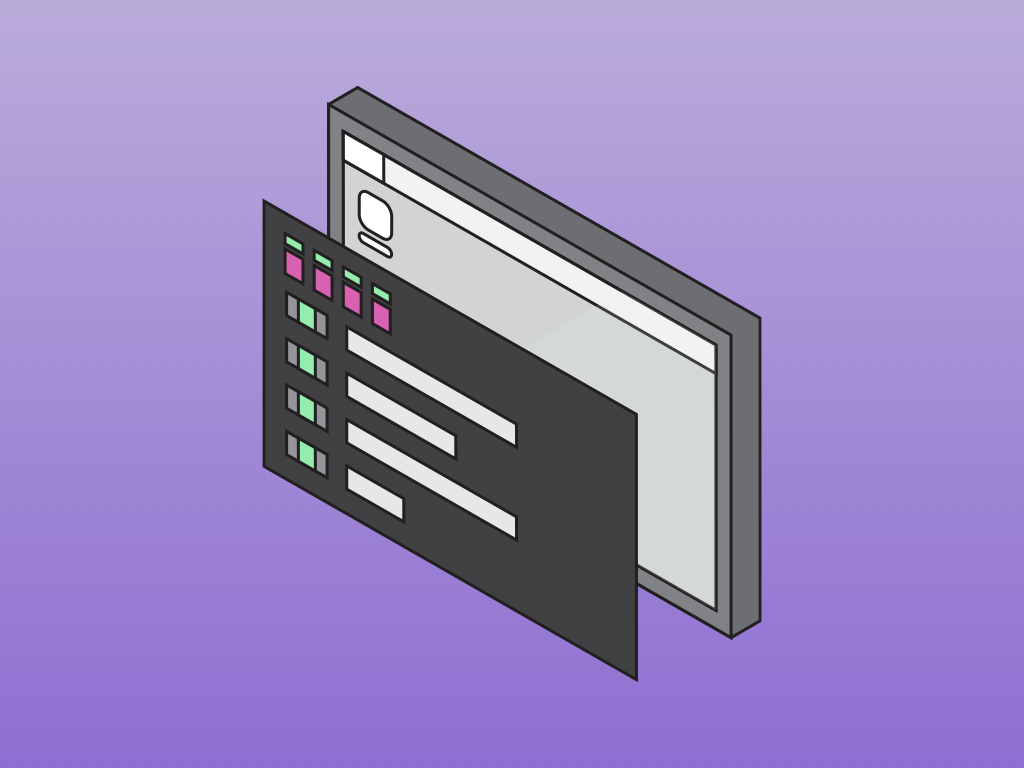
The 5 inch LCD HDMI Display for Raspberry Pi 3 supports 800x480 resolution and has touch screen control capabilities. But it requires a few modifications before it can be used.
In this guide, we will show you how to attach it to the Pi, then get it up and running quickly!
Some examples of what you could build with it includes a Raspberry Pi tablet, handheld game console or a digital photo frame.

There are four parts to the kit, including the 5-inch LCD touch screen.
A HDMI connector
Stylus pen
Screws and stand-offs
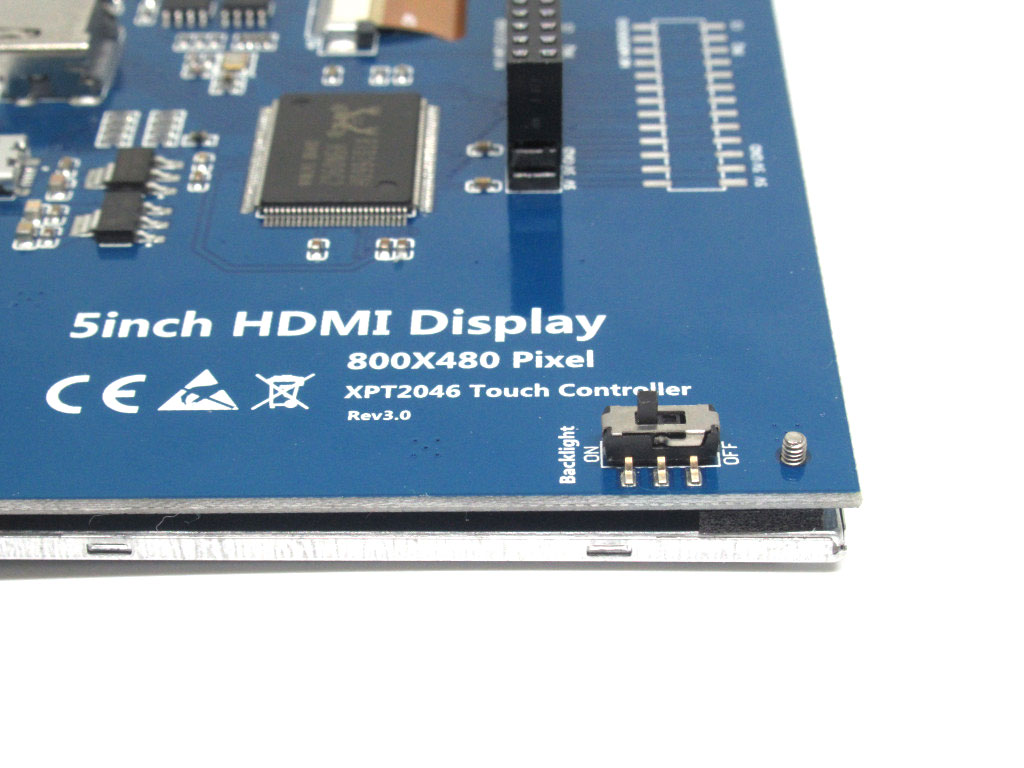
We will turn the backlight on by flicking the switch.
This is located on the back side of the LCD screen.
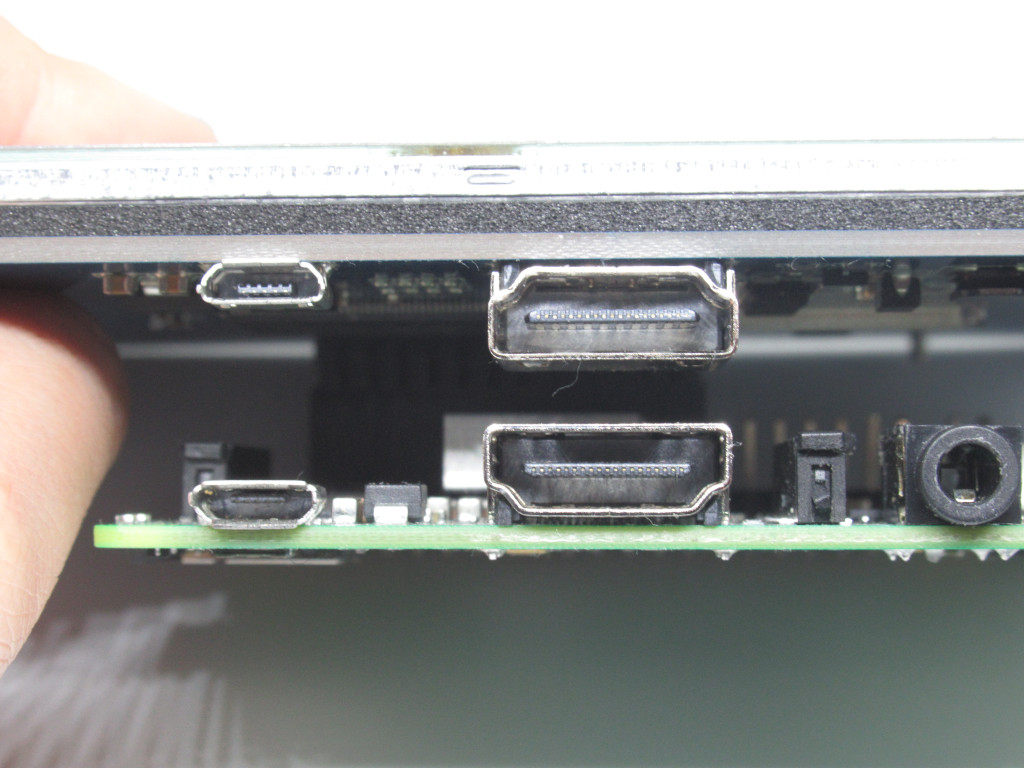
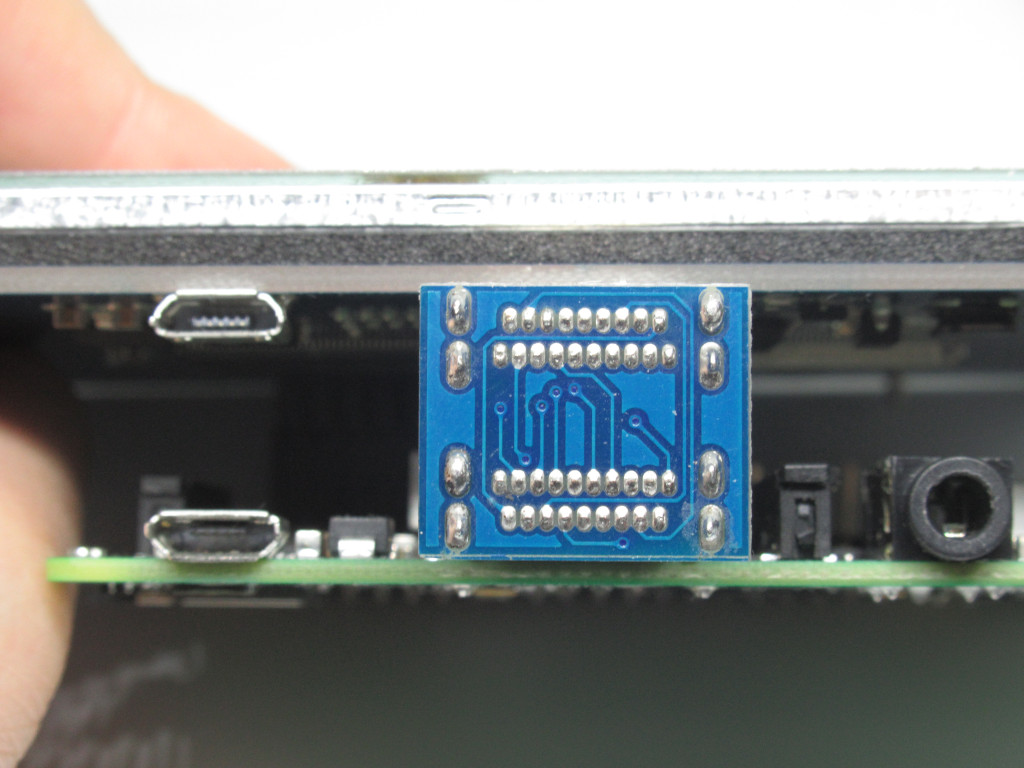
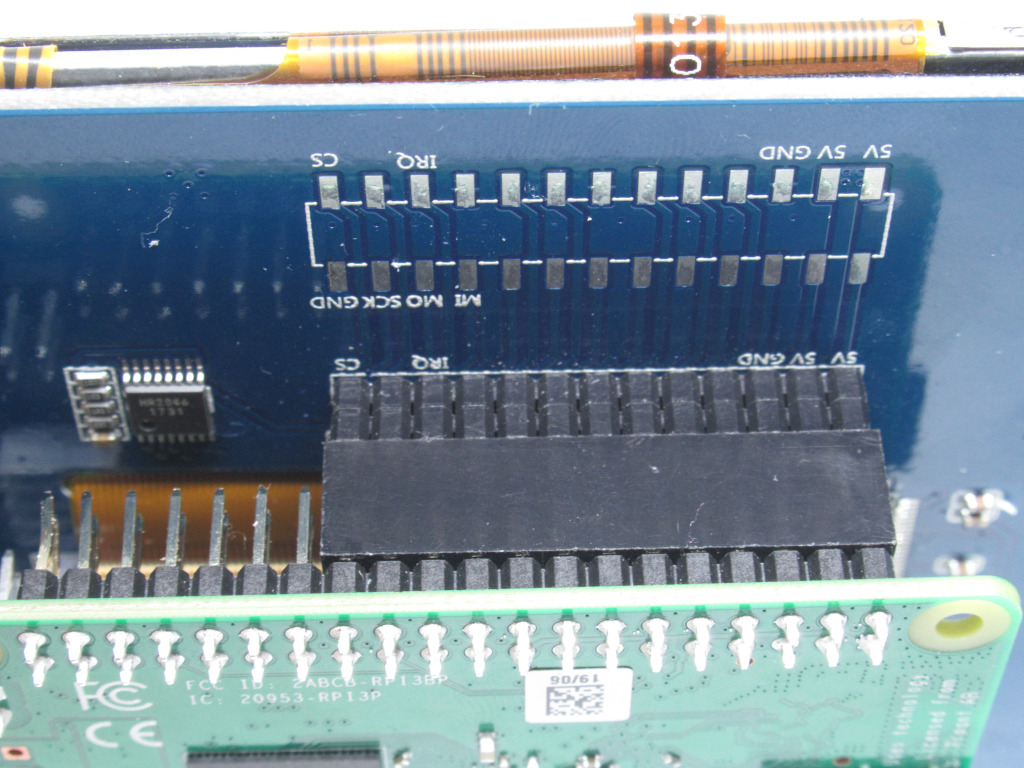
Plug the LCD into the Raspberry Pi
Connect the HDMI connector to the HDMI interface on the LCD and the Pi.
- Note: You should connect the LCD to the Raspberry Pi Model B or Raspberry Pi Zero with an HDMI cable rather than the HDMI connector.
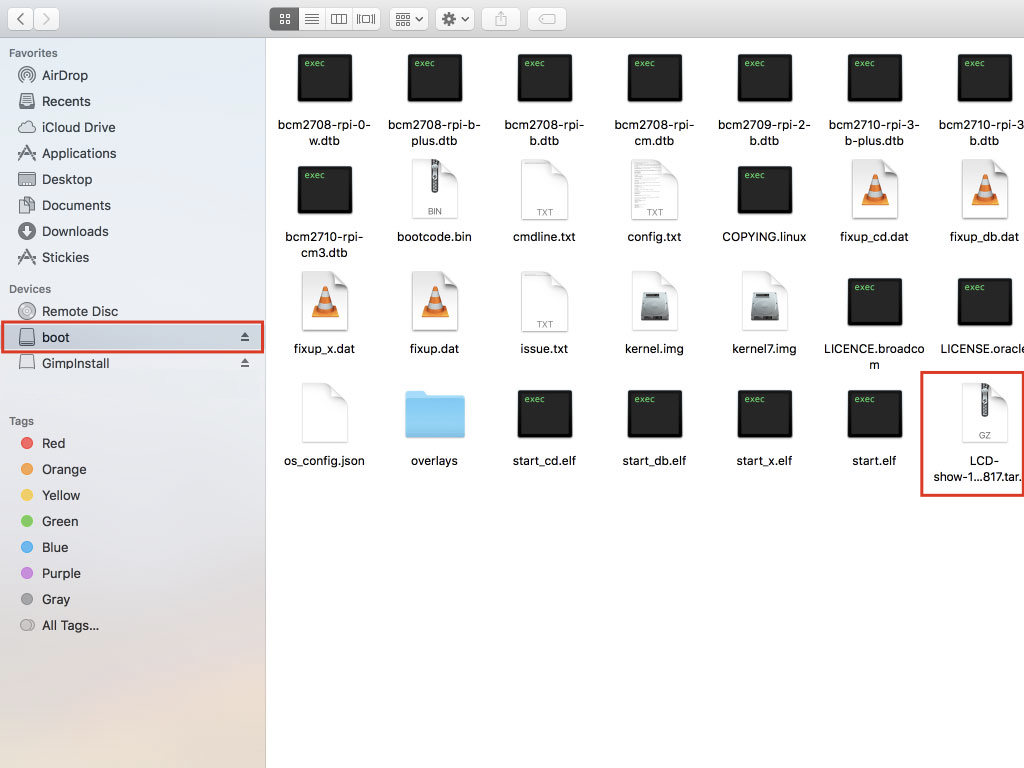
This driver is for Raspbian after 180303 version.
- You can download the driver here: LCD-show-180817.tar.gz (http://cdn.littlebird.com.au/drivers/LCD-show-180817.tar.gz)
The second thing you will need later is the xinput calibrator: Xinput-calibrator_0.7.5-1_armhf.zip
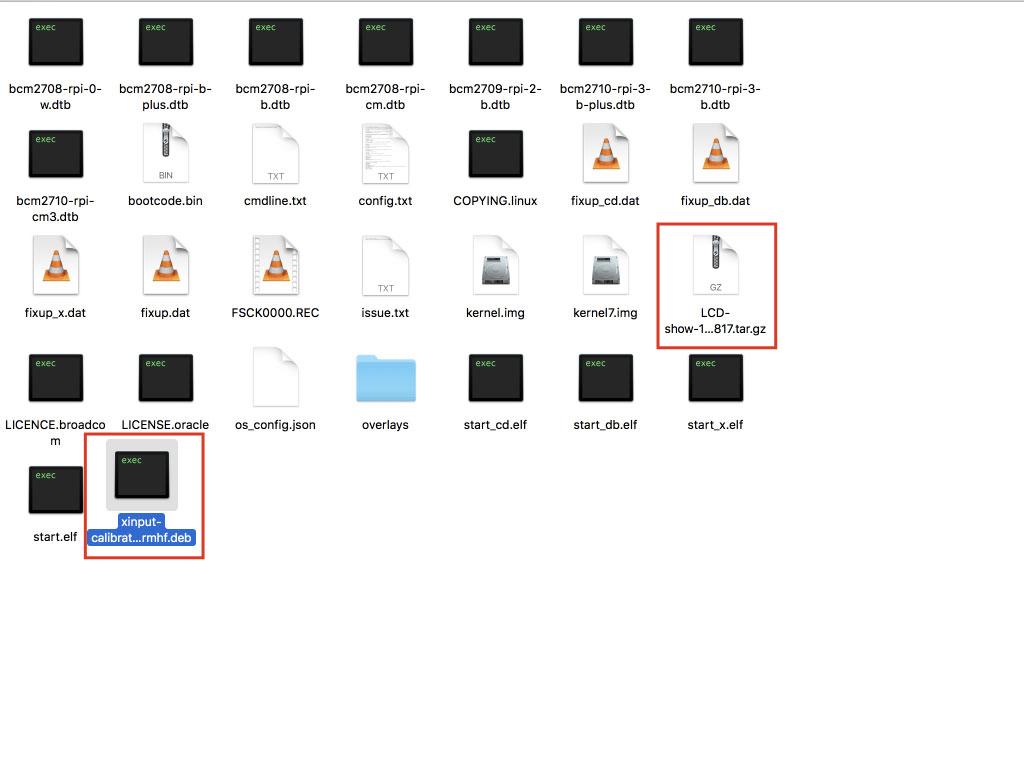
- Open up the .zip folder. The file you will need to copy over is: xinput-calibrator_0.7.5-1_armhf.deb
Copy both of them into the microSD card's "boot" folder. You can do so using a microSD card reader connected to your computer.

If you have a NOOBS microSD card with Raspbian, please insert it into the Raspberry Pi now.
Then connect the power supply to start up Raspbian.
Don't have a NOOBS microSD card? Not to worry, please follow our guide on how to create a NOOBS MicroSD card.
Connect a keyboard as well as mouse to the Raspberry Pi and then power it on.
If you have previously configured the Raspberry Pi with a different display i.e. our 7-inch display, please start with a fresh copy of Raspbian, or else the calibration will be off.
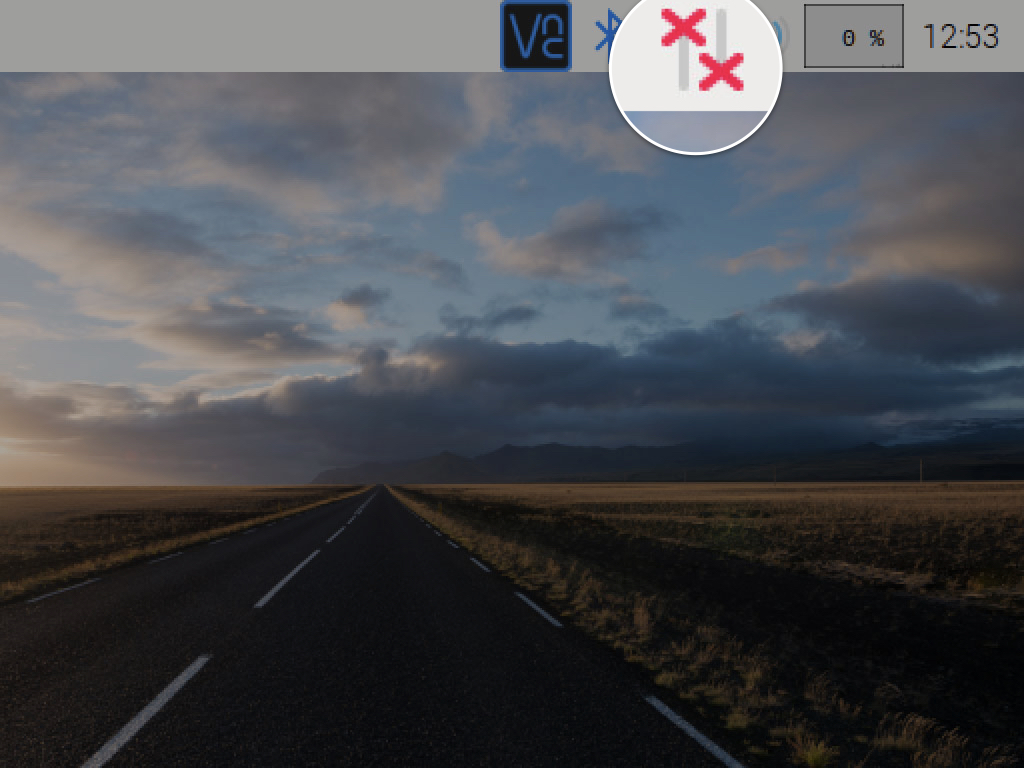
To download the driver for the touch driver, you will need a network connection.
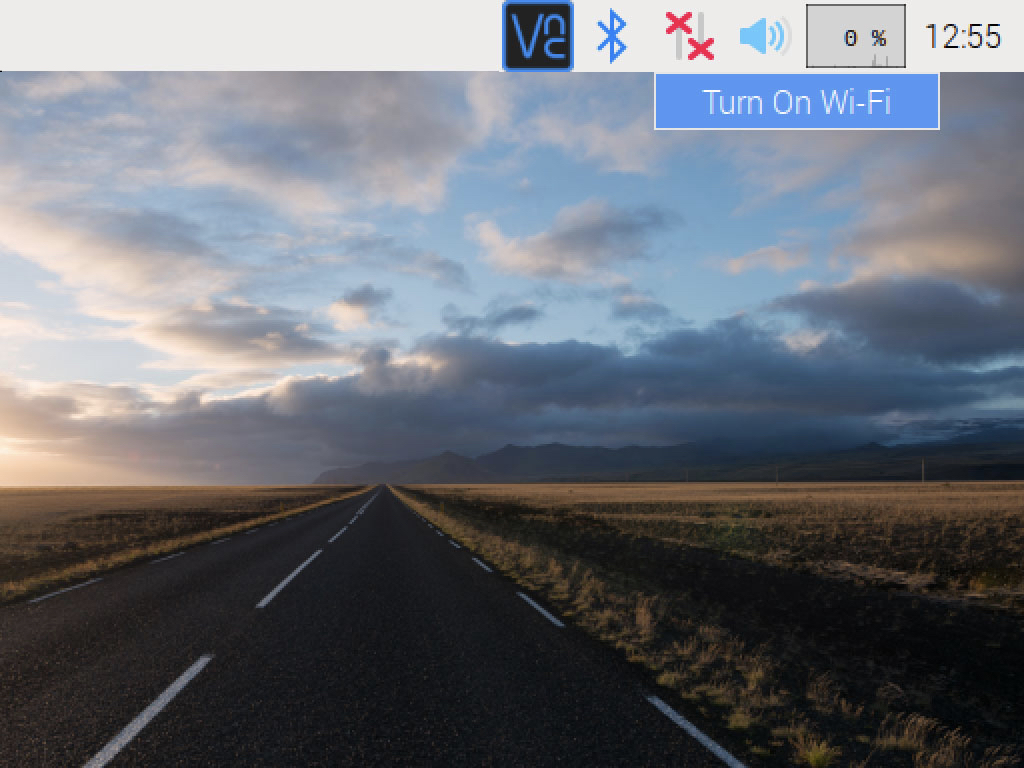
So connect to your network by first clicking on the WIFI icon on the top right-hand corner of the desktop.
Click on 'Turn On Wi-Fi'
Then choose your network connection.
Enter credentials and save.
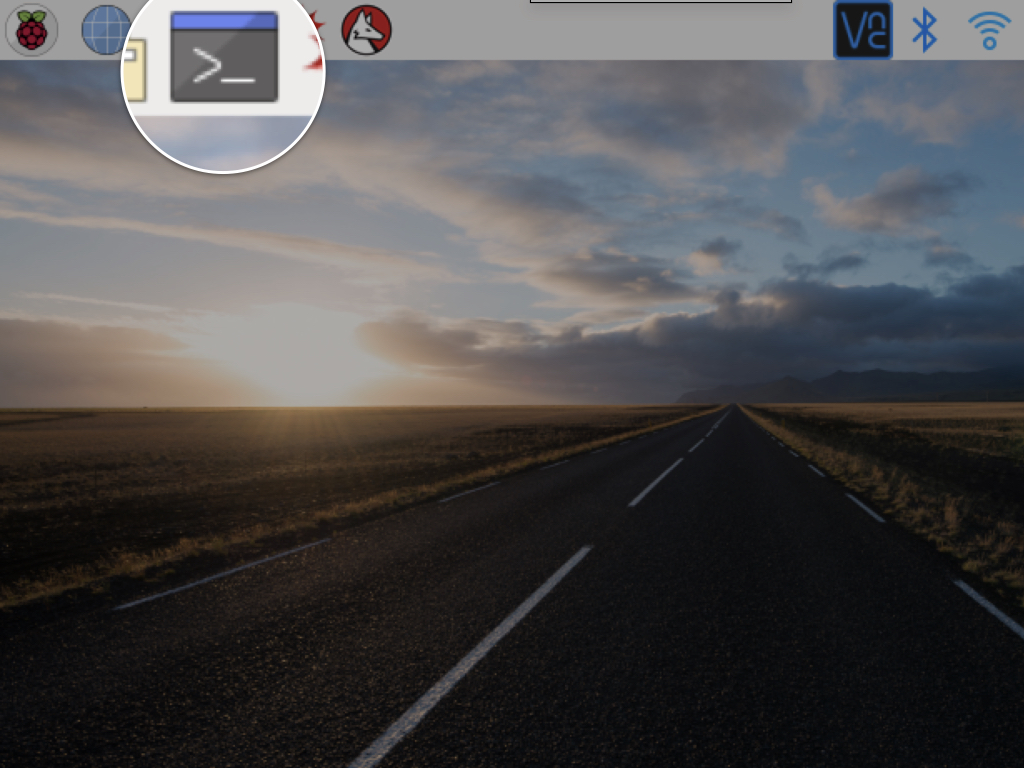
Right now, you might notice some black borders. We will change some settings so that the screen will be fully used. Click on the terminal window icon on the top left hand corner of the desktop.
With a terminal window open, run the following command: sudo nano /boot/config.txt
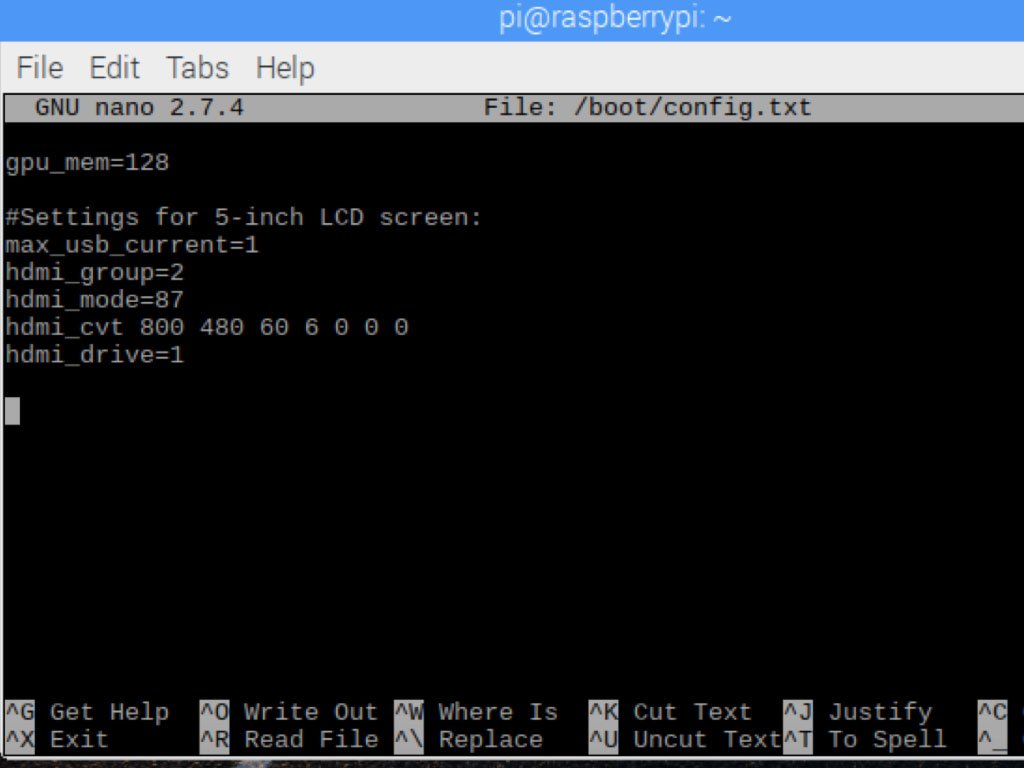
For the screen to display in landscape mode, add the following lines to the end of the config.txt file:
max_usb_current=1
hdmi_group=2
hdmi_mode=87
hdmi_cvt 800 480 60 6 0 0 0
hdmi_drive=1
Press CTRL+X , then press 'Y' and finally hit the 'Enter' key to save.
Type sudo reboot in the terminal to restart the Pi. Once booted up again, you will notice that the black borders are now gone!
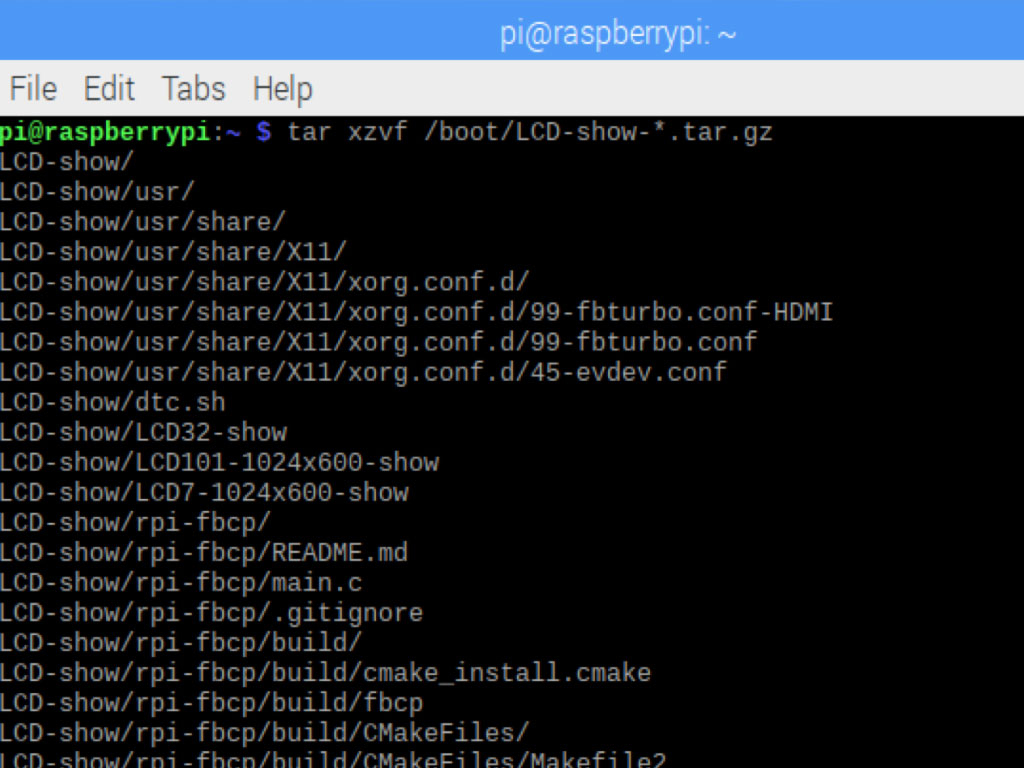

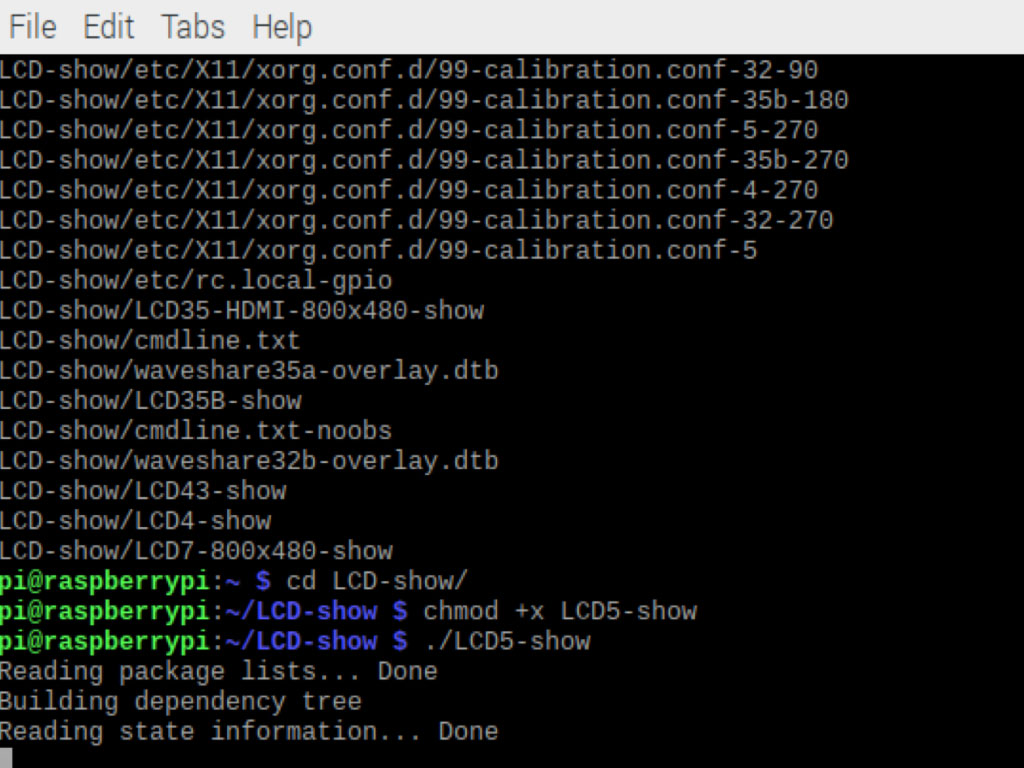
Enter the following commands in a terminal window to install the touch driver:
tar xzvf /boot/LCD-show-*.tar.gz
cd LCD-show/
chmod +x LCD5-show
./LCD5-show
The screen orientation can be set using these commands:
0 degree rotation:
cd LCD-show/
./LCD5-show 0
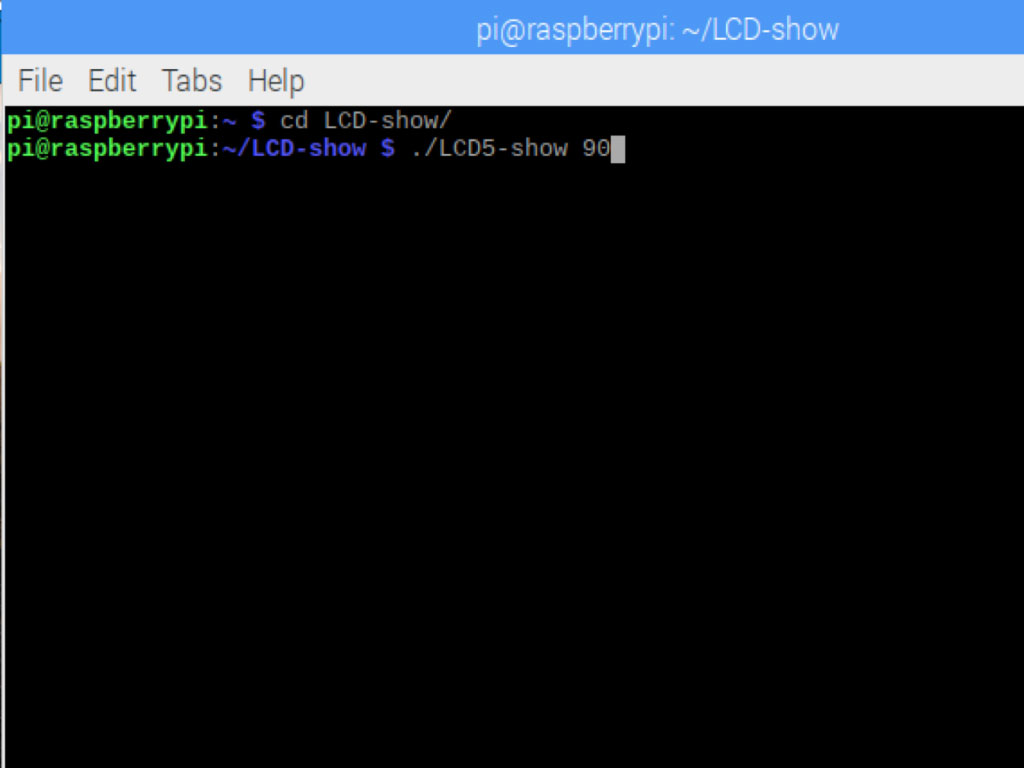
90 degree rotation:
cd LCD-show/
./LCD5-show 90
180 degree rotation:
cd LCD-show/
./LCD5-show 180
270 degree rotation:
cd LCD-show/
./LCD5-show 270
For this guide, we will rotate it 90 degrees so that it can be viewed in a portrait orientation.

Finally, we will calibrate the touch screen. Enter the following command to install xserver-xorg-input-evdev:
sudo apt-get install xserver-xorg-input-evdev
sudo apt-get install xserver-xorg-input-evdev
Make sure that evdev.conf has a higher number than 40-libinput.conf. To do so, rename it with the following command:
sudo cp -rf /usr/share/X11/xorg.conf.d/10-evdev.conf /usr/share/X11/xorg.conf.d/45-evdev.conf
sudo cp -rf /usr/share/X11/xorg.conf.d/10-evdev.conf /usr/share/X11/xorg.conf.d/45-evdev.conf
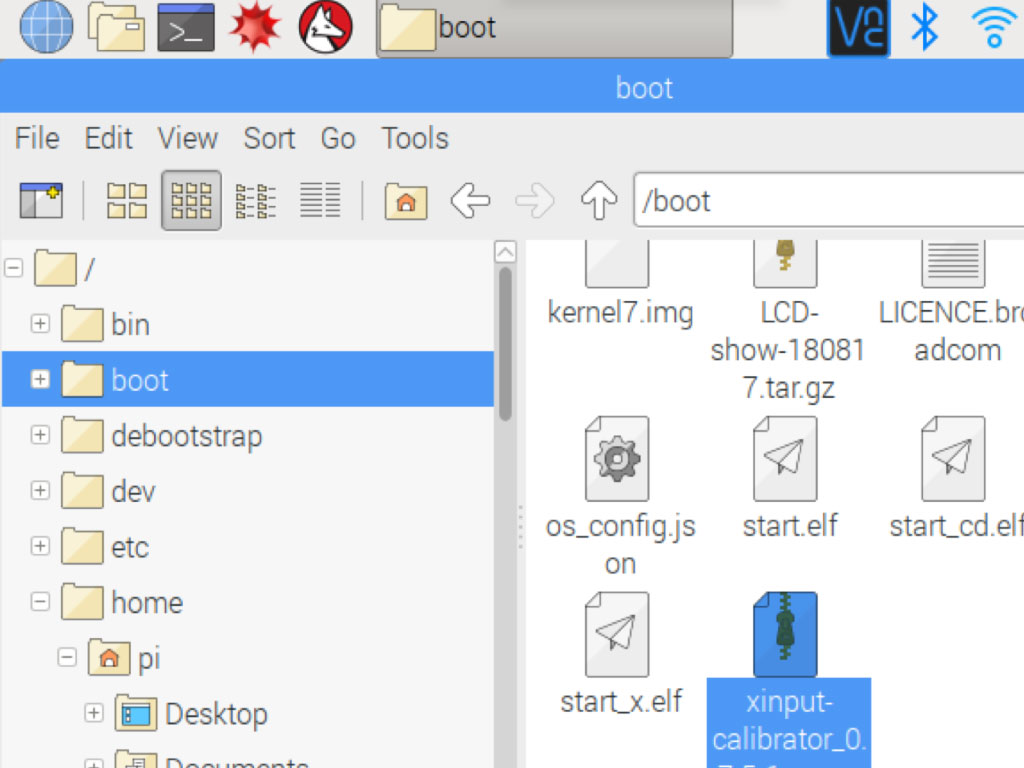
Now we will download a program called xinput_calibrator, the software you had added to your Pi in Step 4. So open up the boot folder and double-click on the file, 'xinput-calibrator_0.7.5-1_armhf.deb'
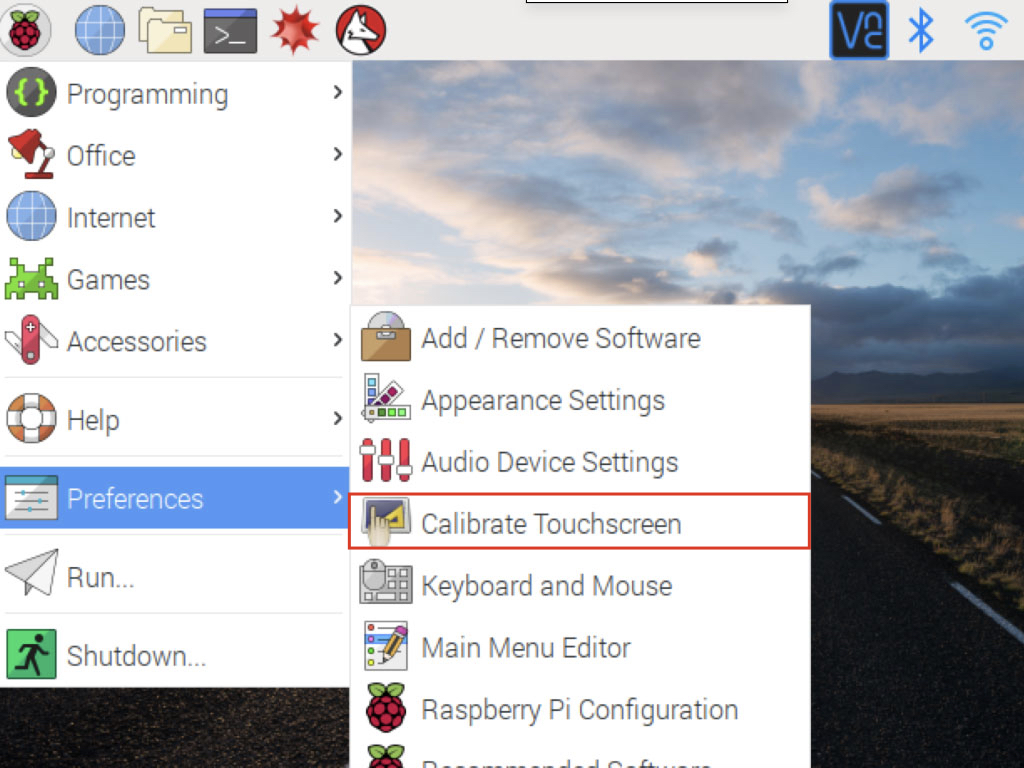
To calibrate the touchscreen, click on Menu > Preference > Calibrate Touchscreen. Follow the prompts.
Section "InputClass"
        Identifier      "calibration"
        MatchProduct    "ADS7846 Touchscreen"
        Option  "Calibration"   "270 3992 3899 144"
EndSection
Navigate to the '/etc/X11' directory: cd /etc/X11
Make a folder called 'xorg.conf.d' with the command: sudo mkdir xorg.conf.d
Create a file '99.calibration.conf' using the command: sudo nano /etc/X11/xorg.conf.d/99-calibration.conf
Enter the touch parameters you obtained in the previous step.
Save file with CTRL+O
Reboot the Pi with: sudo reboot
