Thermistor Sensor Module with micro:bit
Learn to use a thermistor module with micro:bit
Written By: Cherie Tan
Difficulty
Easy
Steps
11
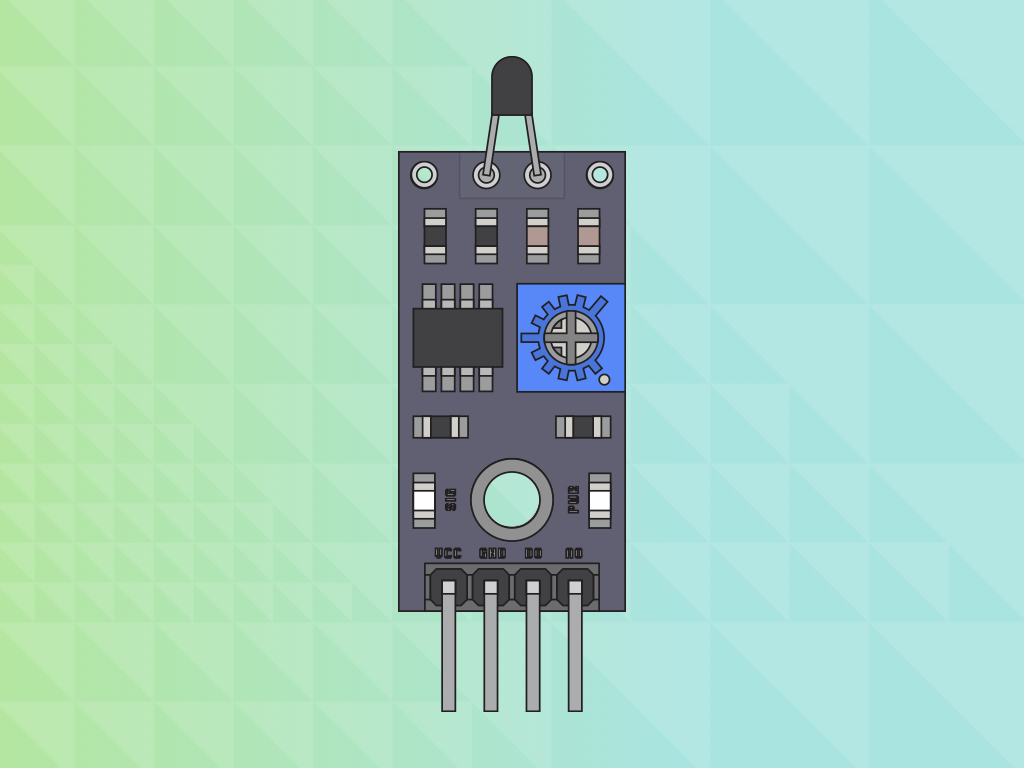
A thermistor changes its resistance with temperature.
In this guide, learn to use a thermistor module with the micro:bit and program it in the MakeCode editor.
In this guide, learn to use a thermistor module with the micro:bit and program it in the MakeCode editor.
Completing this guide will teach you about thermistors and its relationship between resistance and temperature.
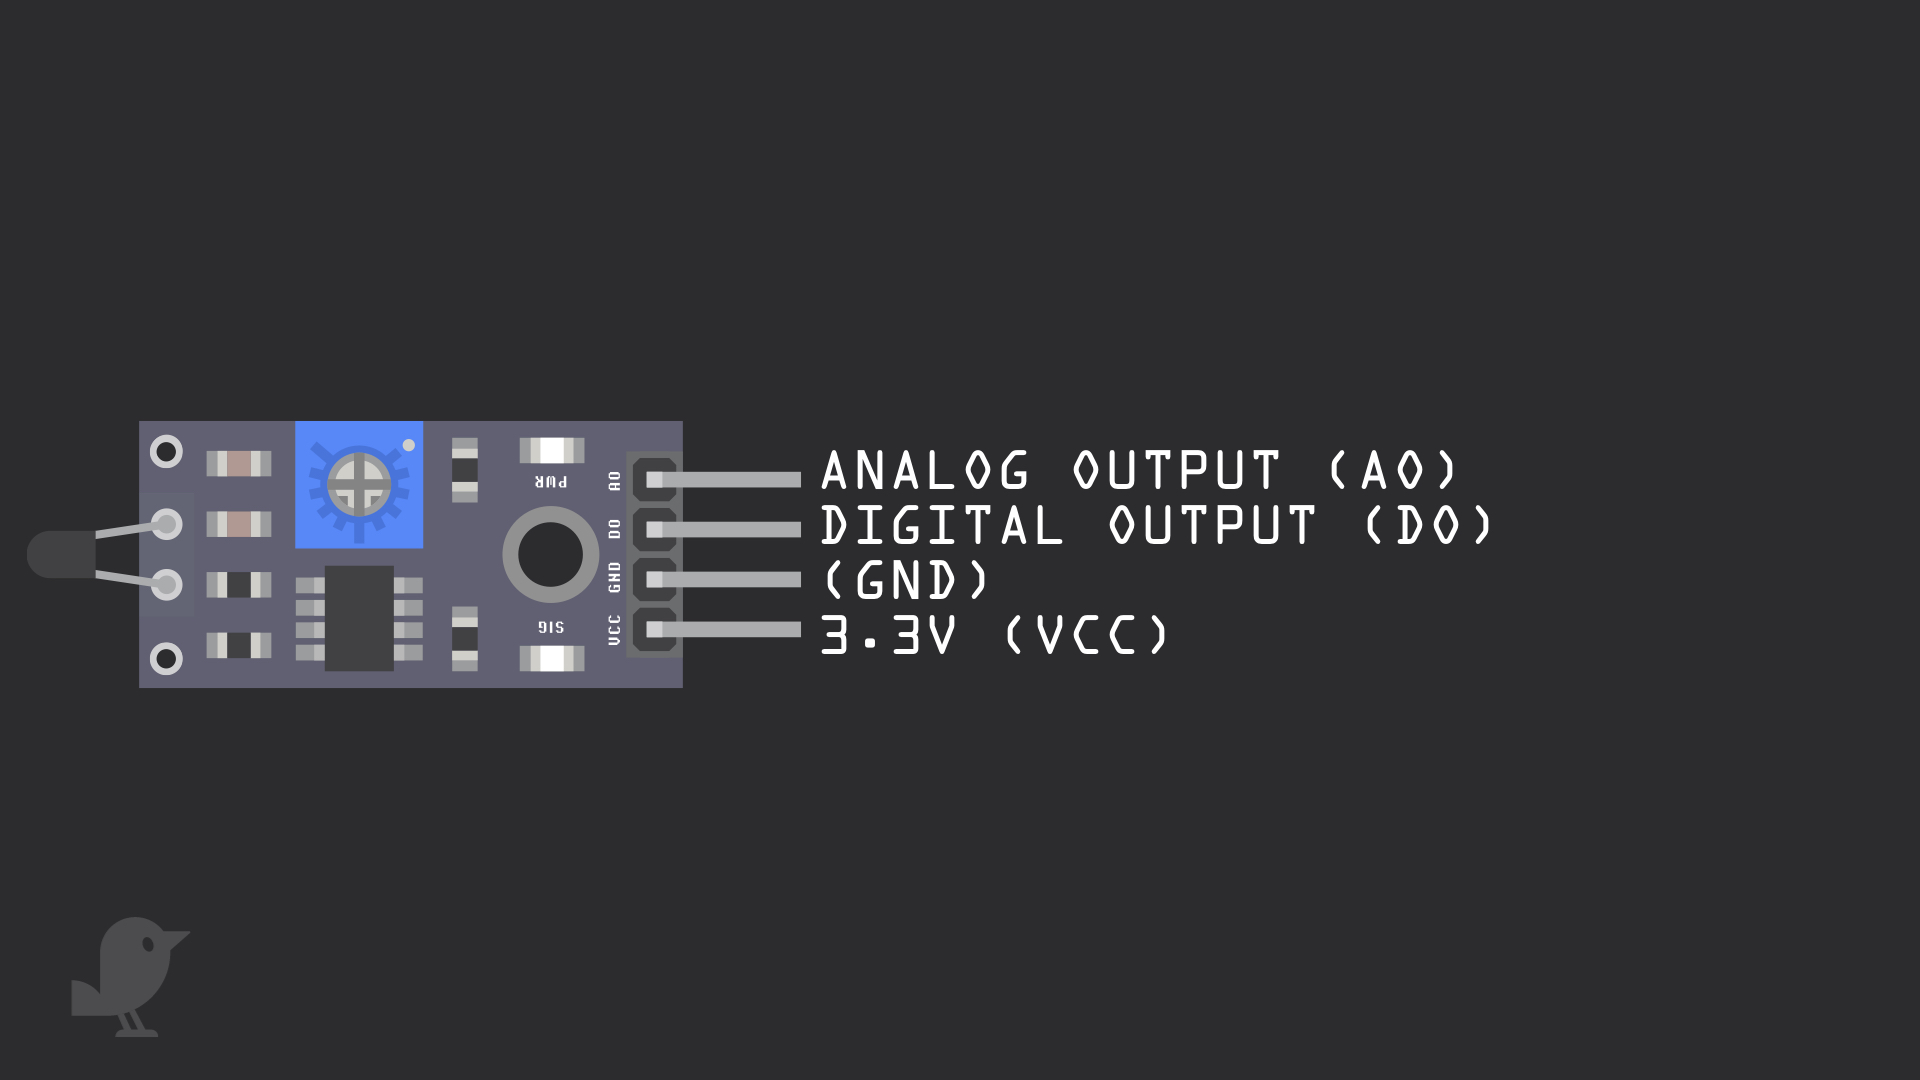
A thermistor is a type of variable resistor whose resistance changes with temperature. Let's take a closer look at the thermistor module.
3.3V : 'VCC' stands for Voltage Common Collector. We'll connect the VCC pin to 3.3V on the micro:bit
GND: In electronics, we define a point in a circuit to be a kind of zero volts or 0V reference point, on which to base all other voltage measurements. This point is called ground or GND.
DO: Digital Output
AO: Analog Output
Voltage is the difference in potential between two points. As it is difficult to talk about voltage without a reference point, we need another point to compare it to.
let AO = 0
basic.forever(function () {
    AO = pins.analogReadPin(AnalogPin.P1)
    basic.showNumber(AO)
    basic.pause(1000)
})
Open up MakeCode editor and start a new project
Add the following code to the Javascript interface.
let AO = 0
basic.forever(function () {
    AO = pins.analogReadPin(AnalogPin.P1)
    basic.showNumber(AO)
    basic.showNumber(input.temperature())
    basic.pause(1000)
})
Let's use the micro:bit to get a temperature reading. What the micro:bit actually measures is the temperature of a silicon die on its CPU, which gives a rough estimate of the ambient temperature.
let AO = 0
basic.forever(function () {
    AO = pins.analogReadPin(AnalogPin.P1)
    basic.showNumber(AO)
    basic.showNumber(input.temperature())
    basic.pause(1000)
    if (AO > 900) {
        basic.showIcon(IconNames.No)
    }
})
We are going to set a threshold value so that depending on the temperature, it may show a cross icon.
let AO = 0
basic.forever(function () {
    AO = pins.analogReadPin(AnalogPin.P1)
    basic.showNumber(AO)
    basic.showNumber(input.temperature())
    basic.pause(1000)
    if (AO > 900) {
        basic.showIcon(IconNames.No)
    } else {
        basic.showIcon(IconNames.Yes)
    }
})
We are going to set another condition now, so that depending on the temperature, it may show a tick or a cross icon.
This is a simple way to monitor temperature using a thermistor module. Displaying a tick or cross icon is just one of many ways to go about it. Thermistors can be found in refrigerators and air conditioners as well as many other systems.
Can you think of other ways you could use a thermistor module?
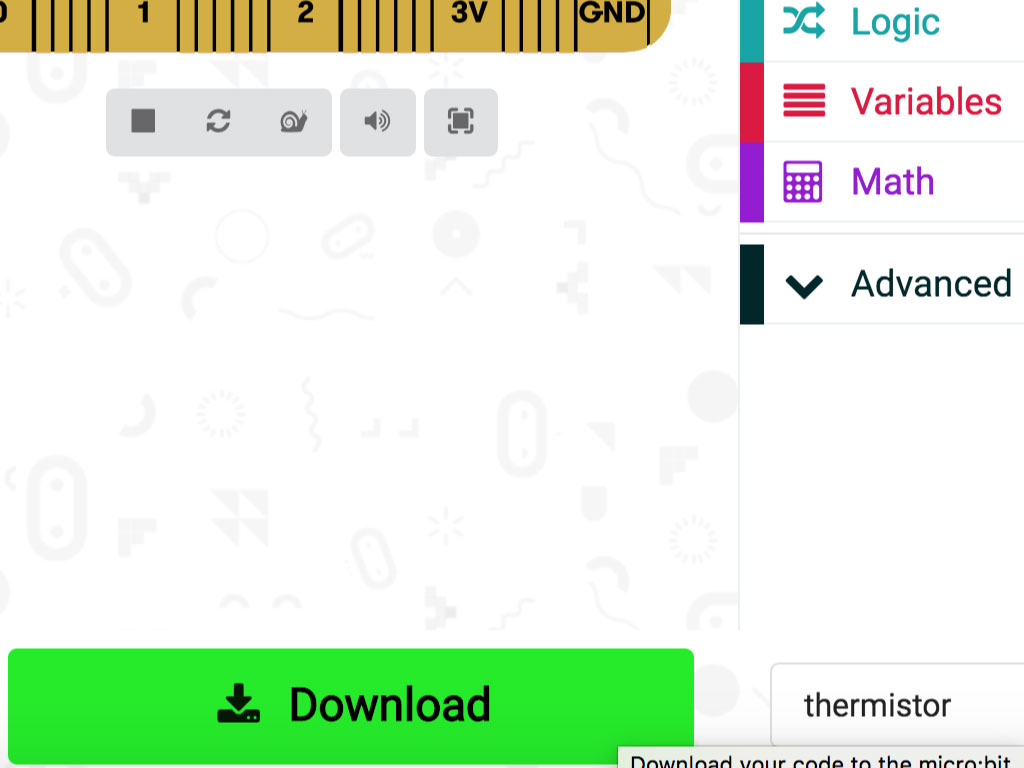
It's time to upload the code to the micro:bit. Connect the micro:bit to your computer using a microUSB cable
Click on the Download button
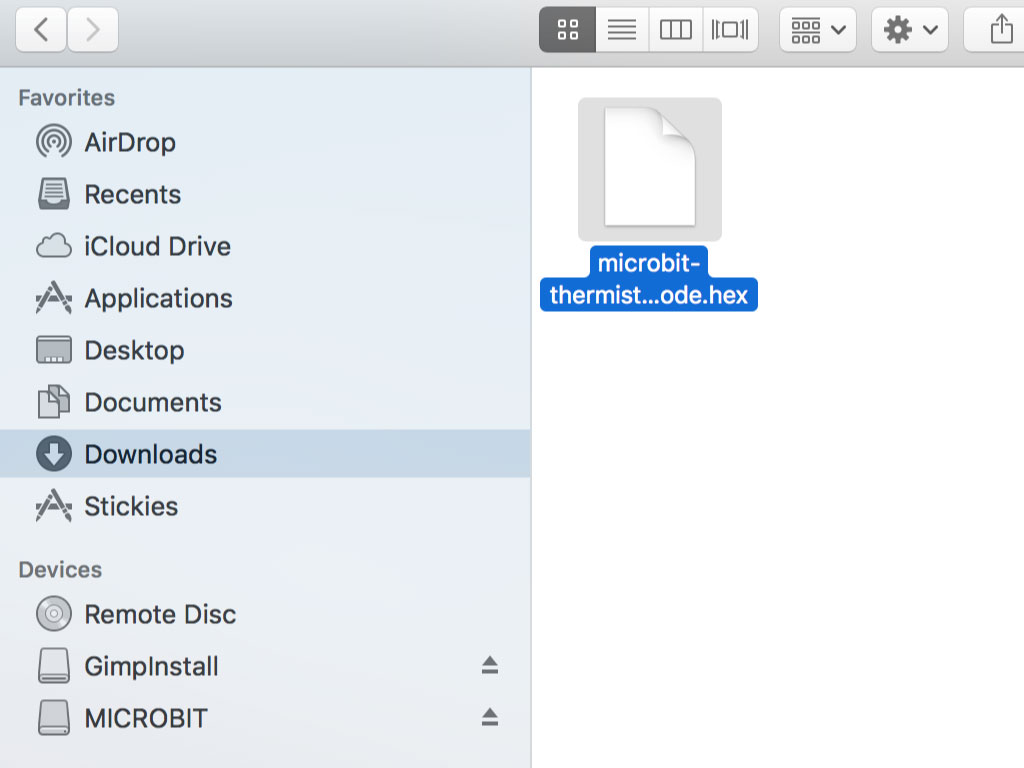
Find the hex file in your computer's Downloads folder.
Open up Finder on the MacOS or Explorer on Windows, and drag the hex file into MICROBIT under 'Devices' on the macOS.