Infrared Obstacle Avoidance Sensor with micro:bit
Get started with an infrared obstacle avoidance sensor with the micro:bit
Written By: Cherie Tan
Difficulty
Easy
Steps
13
An infrared obstacle avoidance sensor receives a signal when there is an object blocking its path.
In this guide, you will learn to connect an infrared obstacle avoidance sensor with the micro:bit, and get it to turn an LED off when an obstacle such as your hand or a piece of white paper is in its path.
Complete this guide to learn the basics and use it in your own projects. Some examples of what it can be used for include security alarm systems or an obstacle avoidance robot.
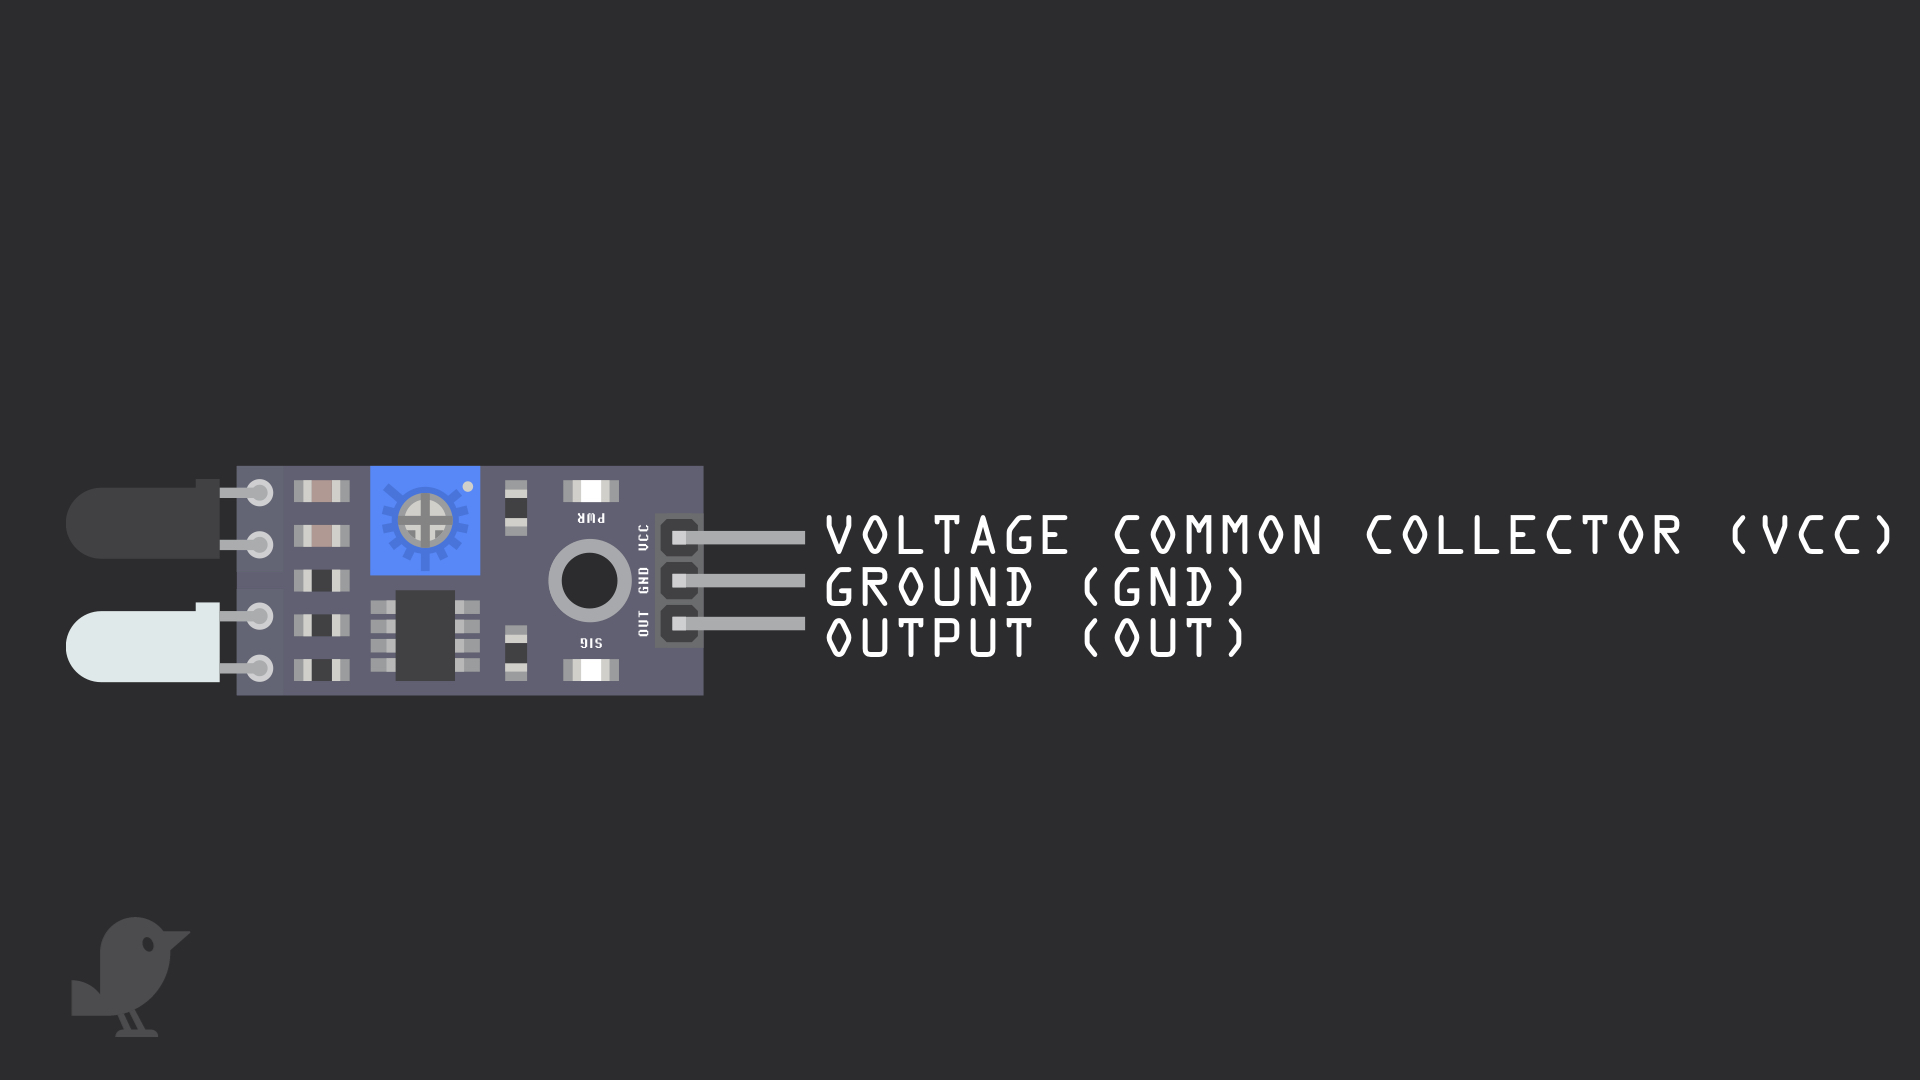
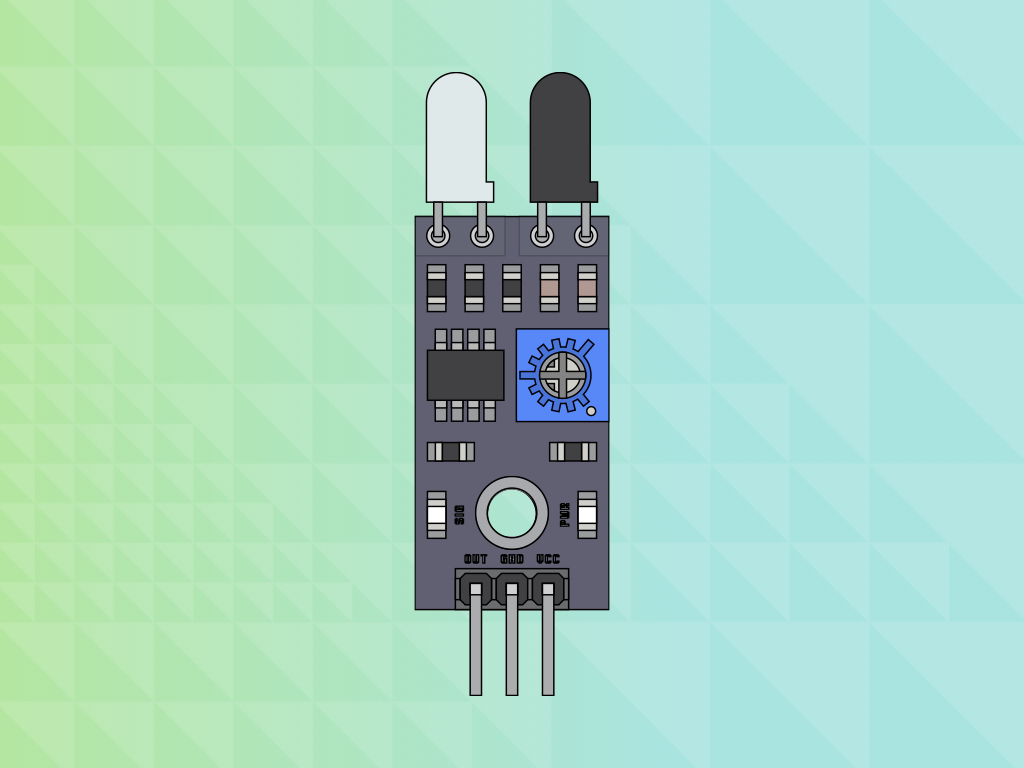
Let's take a closer look at the infrared obstacle avoidance sensor. It has three pins:
OUT: This is the signal output pin which will be connected to a GPIO pin on the micro:bit. The output signal will be '0' when there is an obstacle in its way, else it will be '1'.
GND: In electronics, we define a point in a circuit to be a kind of zero volts or 0V reference point, on which to base all other voltage measurements. This point is called ground or GND.
3.3V : While 'VCC' stands for Voltage Common Collector. We'll connect the VCC pin to 3.3V on the micro:bit
Voltage is the difference in potential between two points. As it is difficult to talk about voltage without a reference point, we need another point to compare it to.
pins.setPull(DigitalPin.P0, PinPullMode.PullUp)
Open up MakeCode editor
Click on the 'New Project' button
let avoidPin = 0
pins.setPull(DigitalPin.P0, PinPullMode.PullUp)
basic.forever(function () {
    avoidPin = pins.digitalReadPin(DigitalPin.P0)
})
Replace the existing code with the following code to the Javascript interface
let avoidPin = 0
pins.setPull(DigitalPin.P0, PinPullMode.PullUp)
basic.forever(function () {
    avoidPin = pins.digitalReadPin(DigitalPin.P0)
    if (avoidPin == 1) {
        pins.digitalWritePin(DigitalPin.P1, 1)
    } else {
        pins.digitalWritePin(DigitalPin.P1, 0)
    }
})
We've added an 'if... else' conditional statement here. Copy and paste this code into the Javascript interface.
let avoidPin = 0
pins.setPull(DigitalPin.P0, PinPullMode.PullUp)
basic.forever(function () {
    avoidPin = pins.digitalReadPin(DigitalPin.P0)
    if (avoidPin == 1) {
        pins.digitalWritePin(DigitalPin.P1, 1)
    } else {
        pins.digitalWritePin(DigitalPin.P1, 0)
    }
    basic.showNumber(avoidPin)
})
After you have tested out the previous code, replace it with the following in the Javascript interface.
It's time to upload the code and test it out. Connect your micro:bit to the computer using a microUSB cable
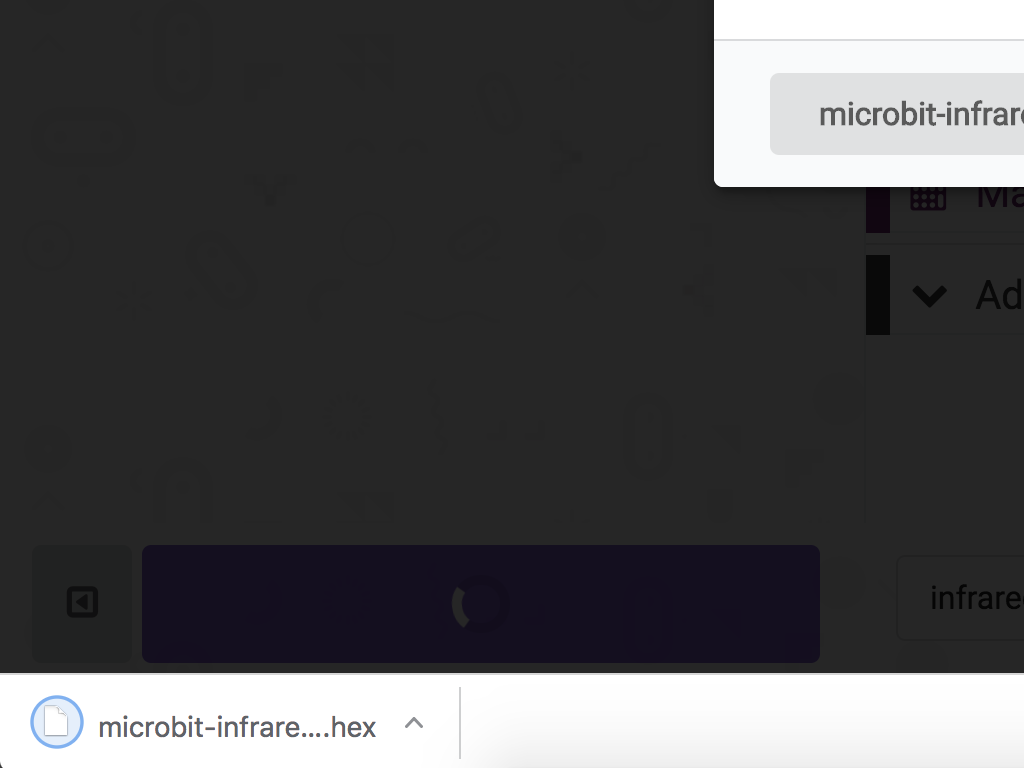
Click on 'Download' button in MakeCode editor.
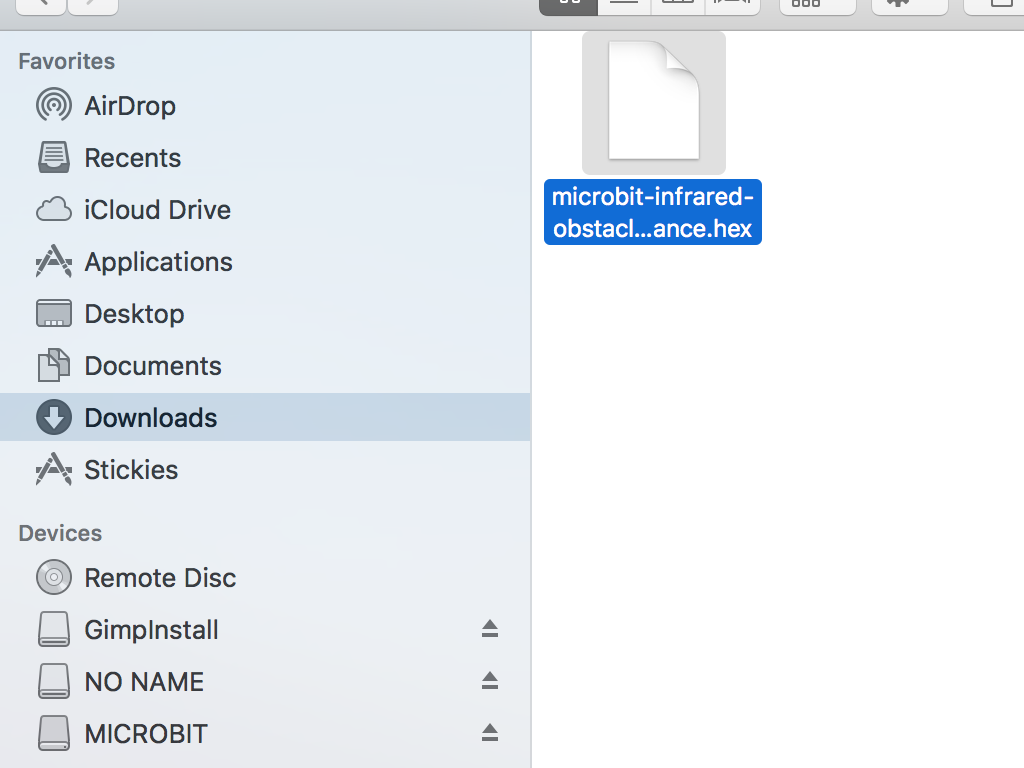
The downloaded .hex file will be in your 'Downloads' folder
Drag and drop the .hex file to the MICROBIT drive
With the micro:bit powered up and with the code on it, the LED should now light up and the screen should show '1'. Move a hand over the IR obstacle avoidance sensor and the screen should change to '0'. The LED will also not be light up.