Use the Sense HAT Emulator in Raspbian
Test out sensor code without a physical sense HAT!
Written By: Cherie Tan
Difficulty
Easy
Steps
10
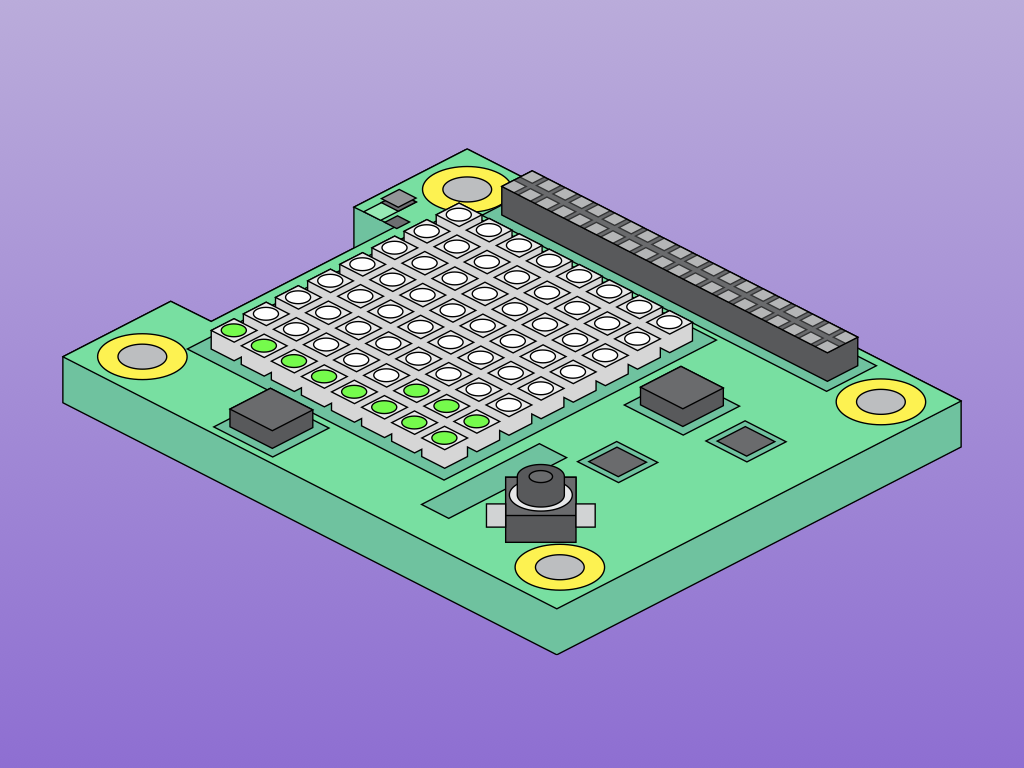
The Sense HAT is a very useful piece of Raspberry Pi hardware. It adds a variety of sensors such as a gyroscope, accelerometer, magnetometer, temperature sensor, barometric pressure sensor, and humidity sensor. If you've ever wanted to try your hands on coding with one, you don't actually need the Sense HAT itself!
In this guide, you will learn how to program the Sense HAT and run it in the Sense HAT emulator on Raspbian. We will use a Raspberry Pi 3 Model B+, although it will work for the other Raspberry Pi boards too.

Believe it or not, the Sense HAT was first developed to be used by astronauts in the International Space Station.
That's right, and it was also then made available to be purchased. School children around the world have used it to develop code, and some of that code was then run in space as part of a series of competitions.
With the Sense HAT emulator, you don't need the actual Sense HAT hardware and can develop a program for the Astro Pi mission, too!
If you do not have a microSD card preloaded with NOOBS and have not yet installed Raspbian on your microSD card, please follow our previous guide on creating a NOOBS microSD card.

Connect your Raspberry Pi to a keyboard, mouse and monitor display. Insert the NOOBS microSD card into the SD card slot and then power up the board with the official power supply for the Raspberry Pi 3 Model B+. Raspbian will boot up.
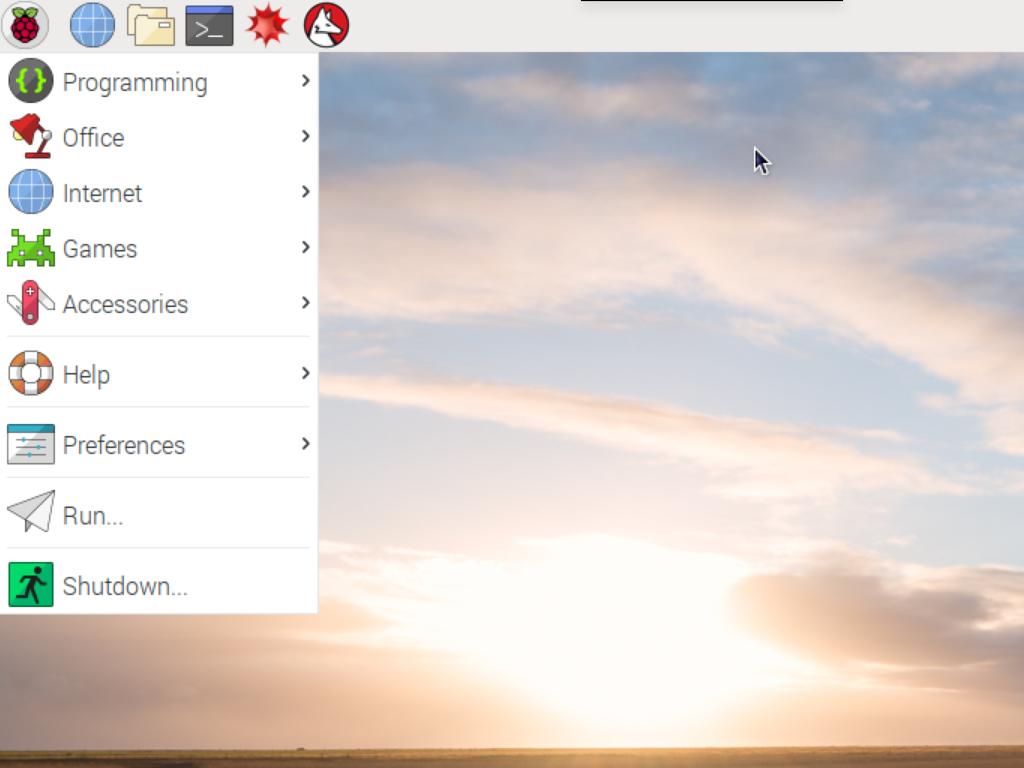
Firstly, we will open up the Sense HAT emulator. It can be found from the desktop menu.
Click on the Raspberry Pi icon on the top left hand corner of the desktop.
Click on the Raspberry Pi icon on the top left hand corner of the desktop.
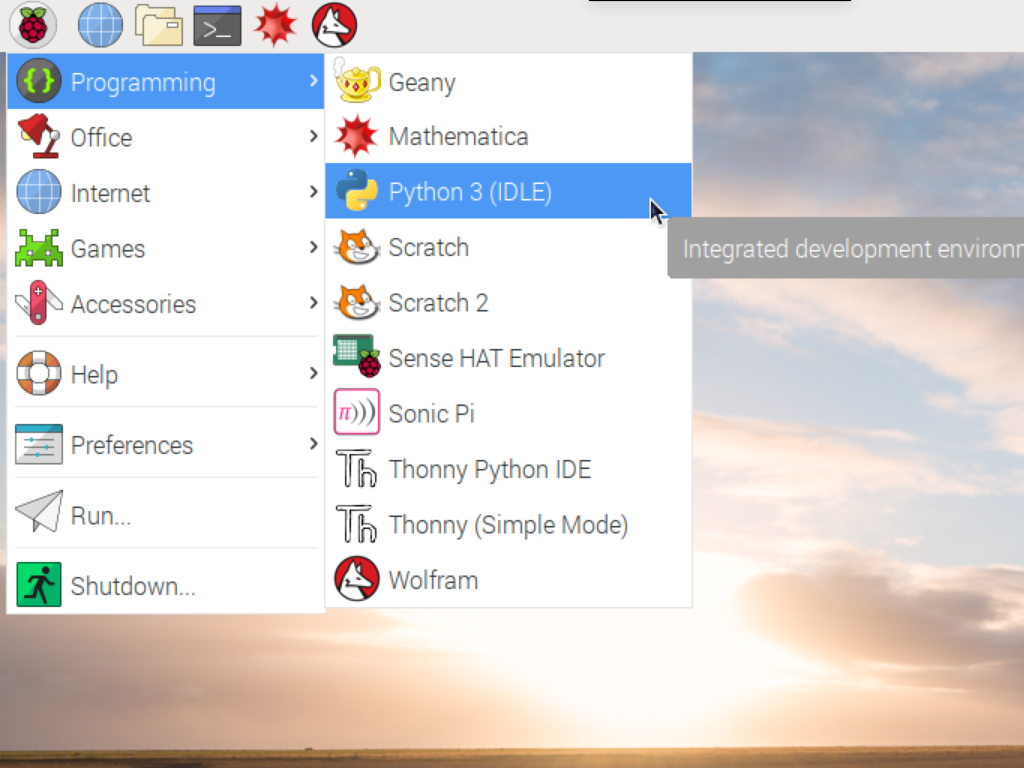
Hover your mouse over programming.
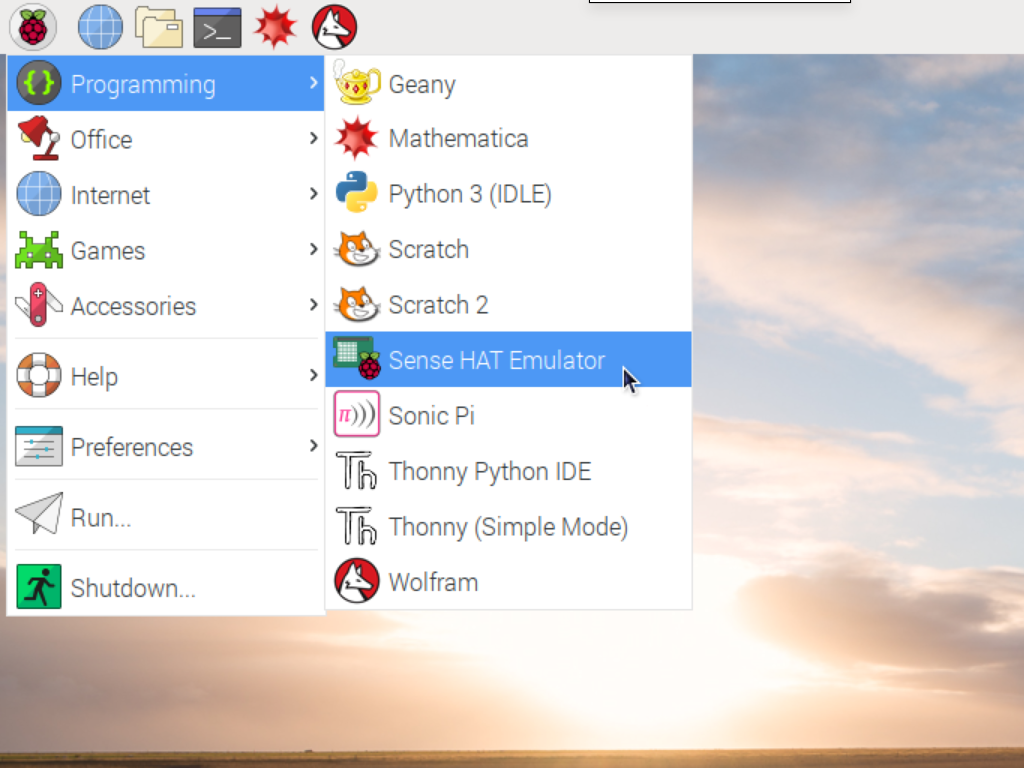
Select Sense HAT emulator.

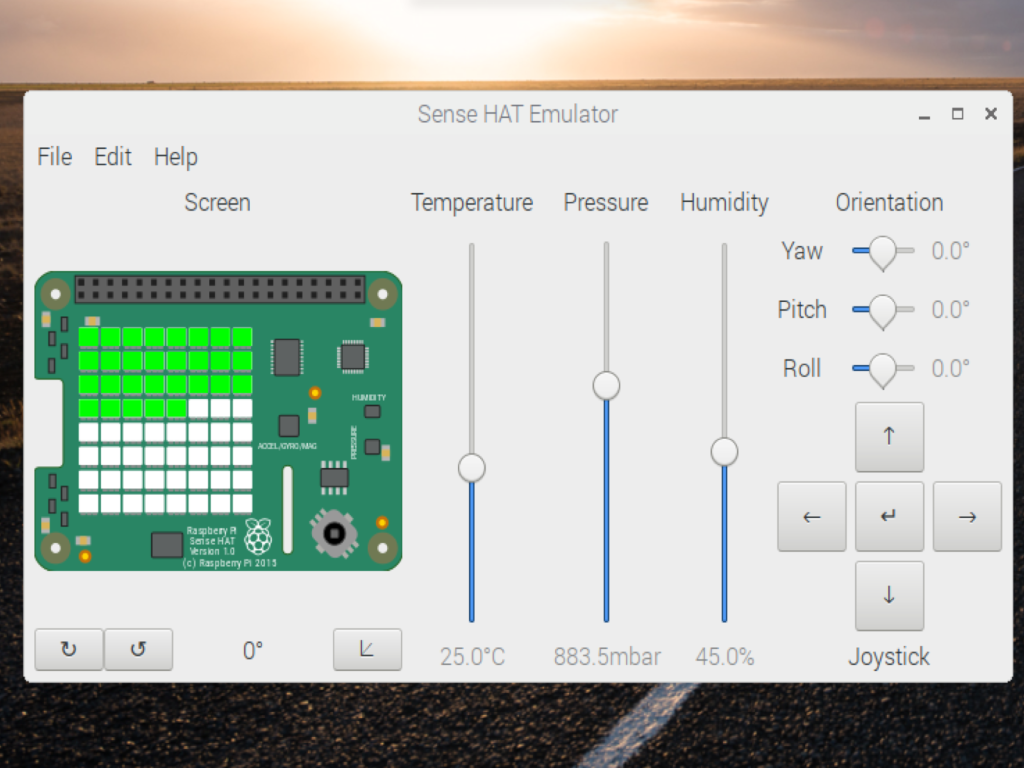
You should now see a range of buttons and sliders. This is a visual representation of the Sense HAT hardware, where you can simulate its features.
With the Sense HAT emulator, you can simulate the experience of connecting the Raspberry Pi to the Sense HAT.

Click on the Raspberry Pi logo on the top left hand corner of the desktop.
Navigate to Programming > Python 3 (IDLE)
Choose File > New
Using a Raspberry Pi 4B+? Navigate to Programming > Thonny IDE instead!
from sense_emu import SenseHat

sense = SenseHat()

green = (0,255,0)
white = (255,255,255)

while True:
    humidity = sense.humidity
    humidity_value = 64 * humidity / 100
    pixels = [green if i < humidity_value
                                else white for i in range(64)]
    sense.set_pixels(pixels)
Now to program it! The program detects the humidity level and adjusts the number of green and white pixels on the LED accordingly.
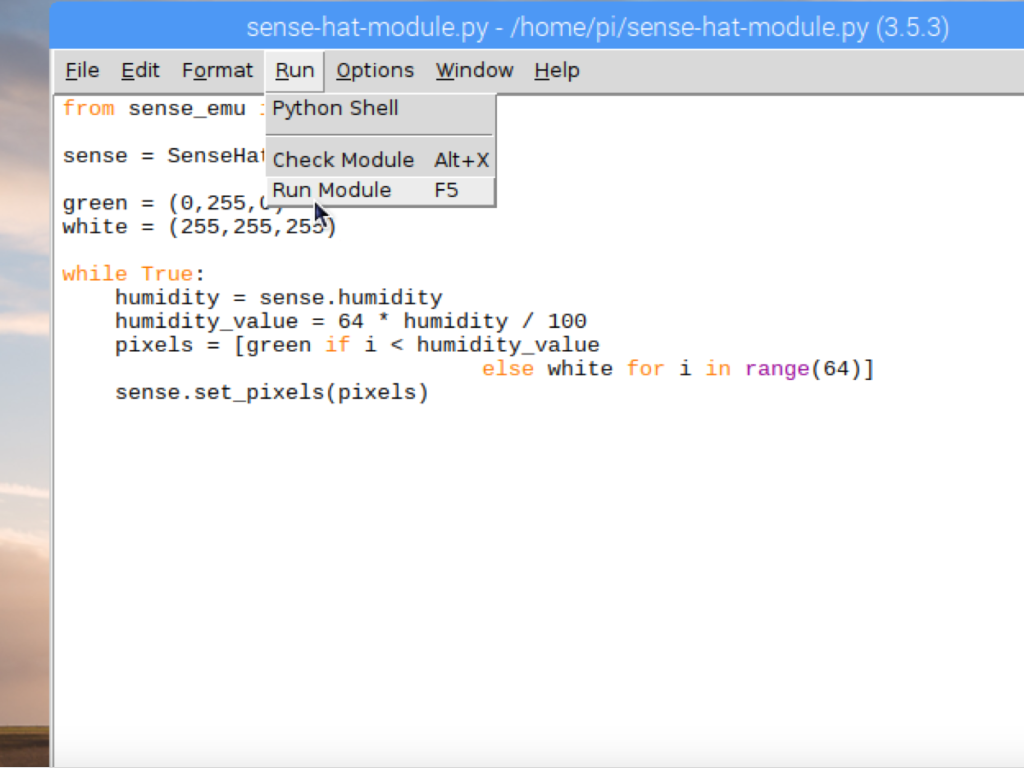
In IDLE, click on Run > Run Module
It will prompt you to save the file, give it a name and save to run.
The Sense HAT image will update and display some green LEDs. Try to adjust the humidity slider and watch the changes!
from sense_hat import SenseHat

sense = SenseHat()

green = (0,255,0)
white = (255,255,255)

while True:
    humidity = sense.humidity
    humidity_value = 64 * humidity / 100
    pixels = [green if i < humidity_value
                                else white for i in range(64)]
    sense.set_pixels(pixels)
It's easy to port your code over to an actual Sense HAT. Just change sense_emu to sense_hat
If you want to reverse that process and port code from an actual Sense HAT to the emulator, simply change:
sense_hat to sense_emu
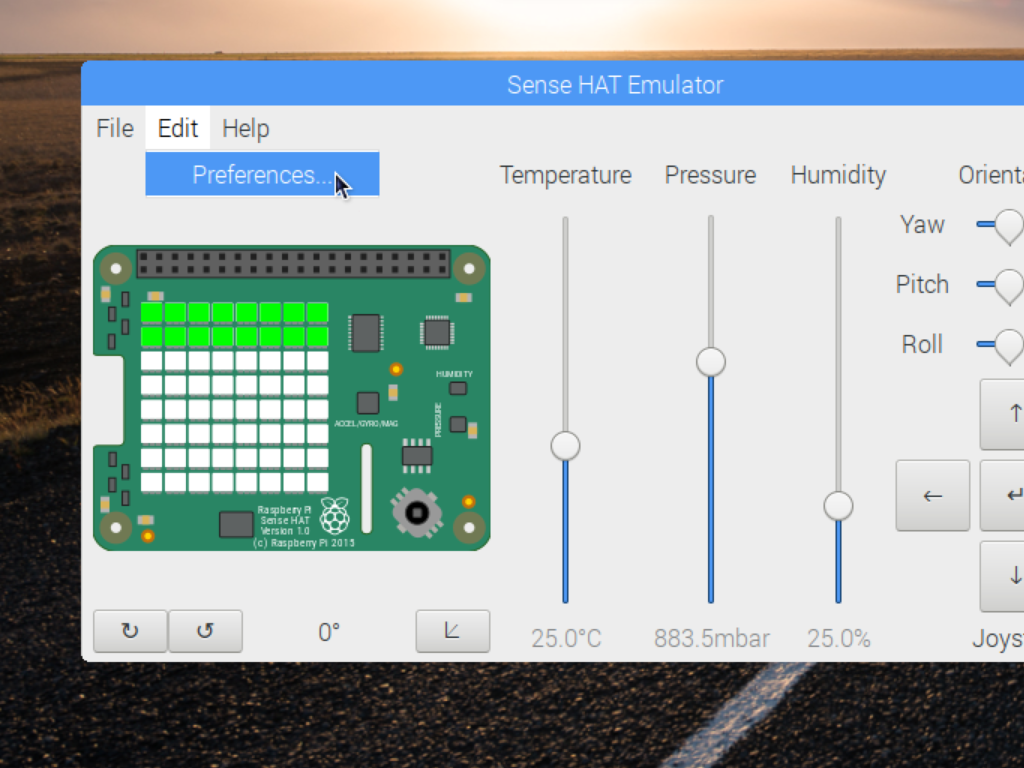

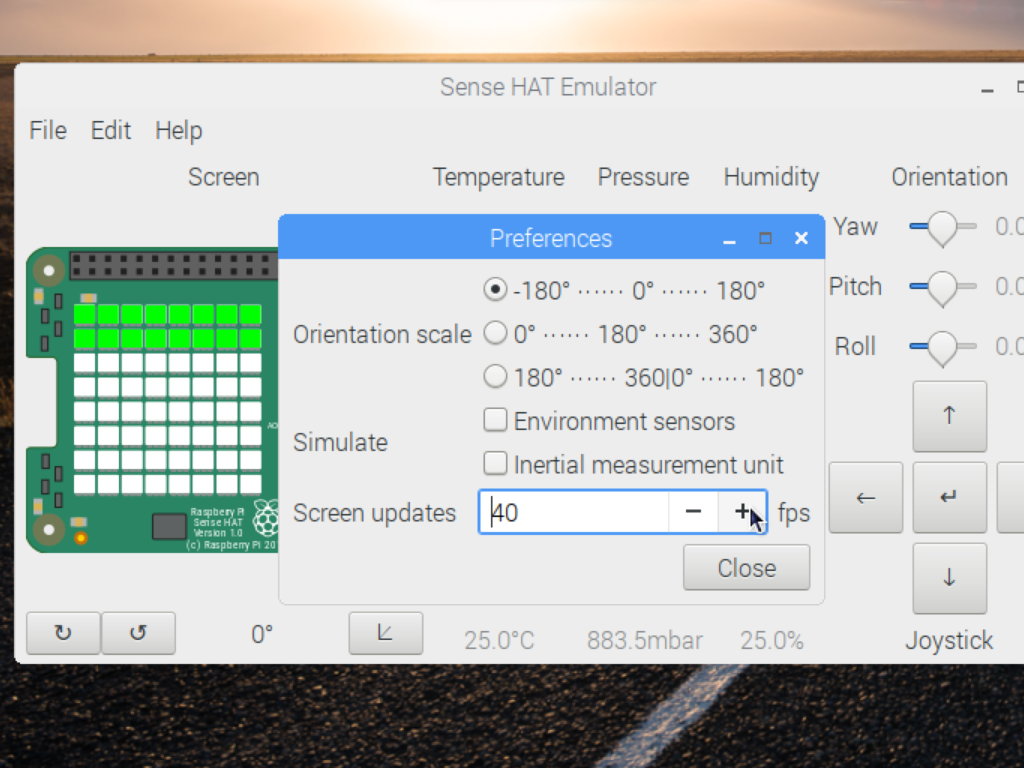
That's not all. You can make adjustments over in the preferences menu. For instance, you can adjust the behaviour of the emulator to represent the behaviour in the actual hardware sensors more accurately.
Choose Edit > Preferences
Increase the 'Screen updates' value
The values will now update according to the known error tolerances of the actual physical sensors in the Sense HAT.
The values will now update according to the known error tolerances of the actual physical sensors in the Sense HAT.
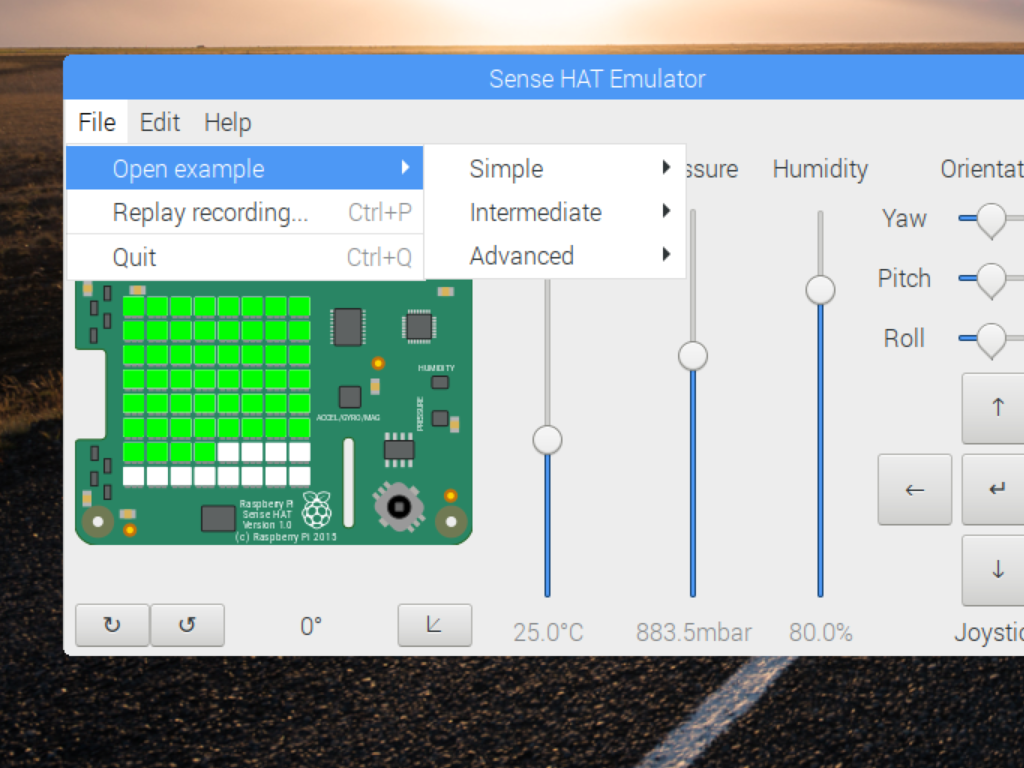
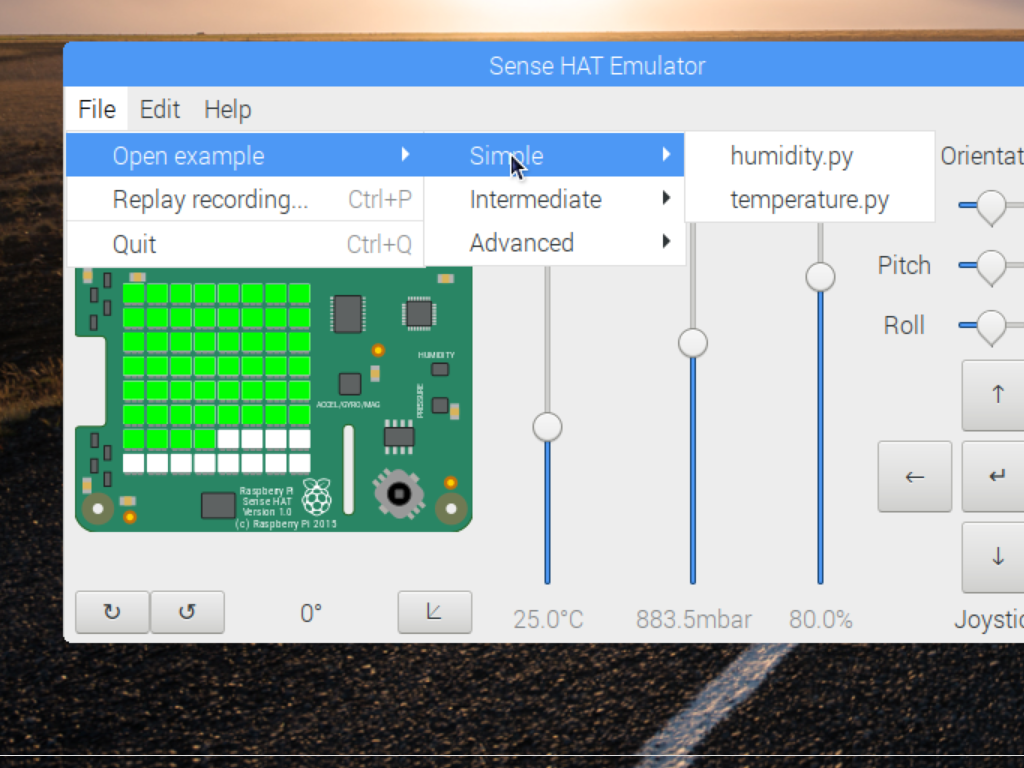
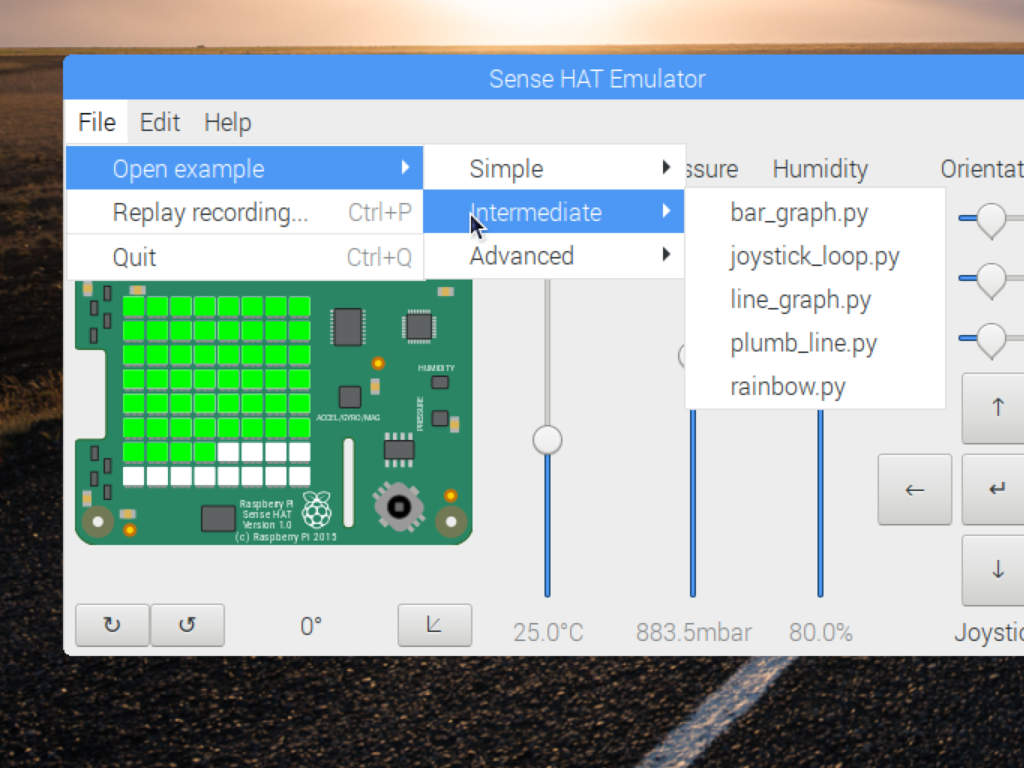
If you would like to get more familiar with programming the Sense HAT, there are code examples available for your use!
Click on File > Open example
Choose 'Simple', 'Intermediate' or 'Advanced' for a variety of programming examples
You may also wish to check out the Getting Started with the Sense HAT guide and random number program, freely available from the Raspberry pi educational resource page.