Set up Barrier for Raspberry Pi 4
Share your keyboard and mouse with Barrier
Written By: Cherie Tan
Difficulty
Easy
Steps
9
Switch between different operating systems but use just one keyboard and mouse!
In this guide, we will show you how to set up Barrier for the Raspberry Pi and another computer.
Complete this guide to declutter your desk by sharing one single mouse and keyboard across multiple computers. Compatible with Windows, Mac and Linux.
In this guide, we will show you how to set up Barrier for the Raspberry Pi and another computer.
Complete this guide to declutter your desk by sharing one single mouse and keyboard across multiple computers. Compatible with Windows, Mac and Linux.
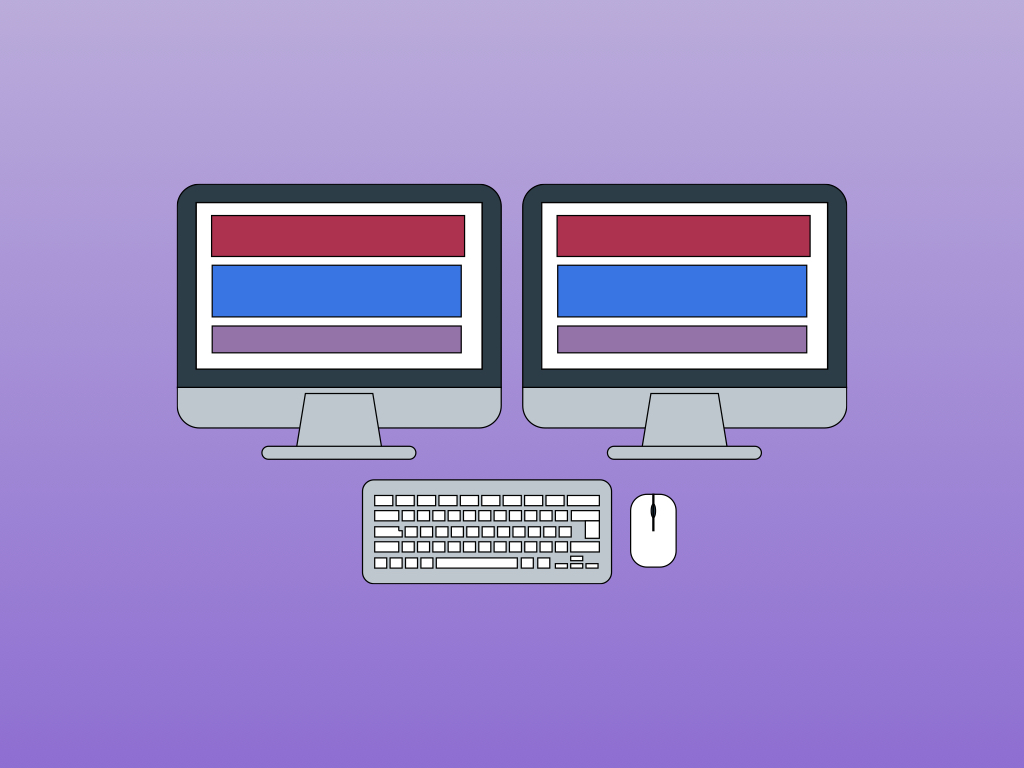
Have multiple computers running and wish you could share a single keyboard/mouse between them all? With Barrier, it's now possible to do just that between your Raspberry Pi and other devices. It allows you to share peripherals between multiple computers. You can simply drag your cursor from screen to screen, from device to device, as if by magic! Barrier is free to use, and simple to set up. In this guide, we'll show you how to set it up.


If you don't already have the latest version of the Raspberry Pi OS, go to the Downloads page on the Raspberry Pi Foundation website. Otherwise, skip to step 4. To download the Raspberry Pi OS, previously known as Raspbian, choose the Raspberry Pi Imager for your operating system.
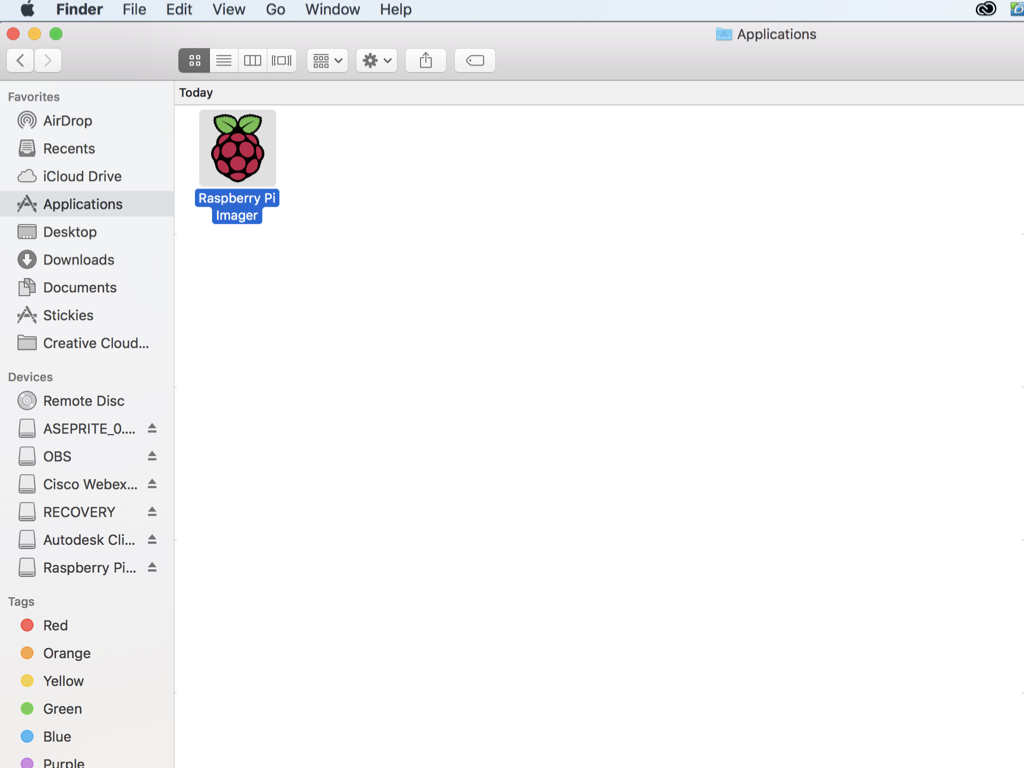
Once it has been downloaded, double-click on the Raspberry Pi Imager to run the program.
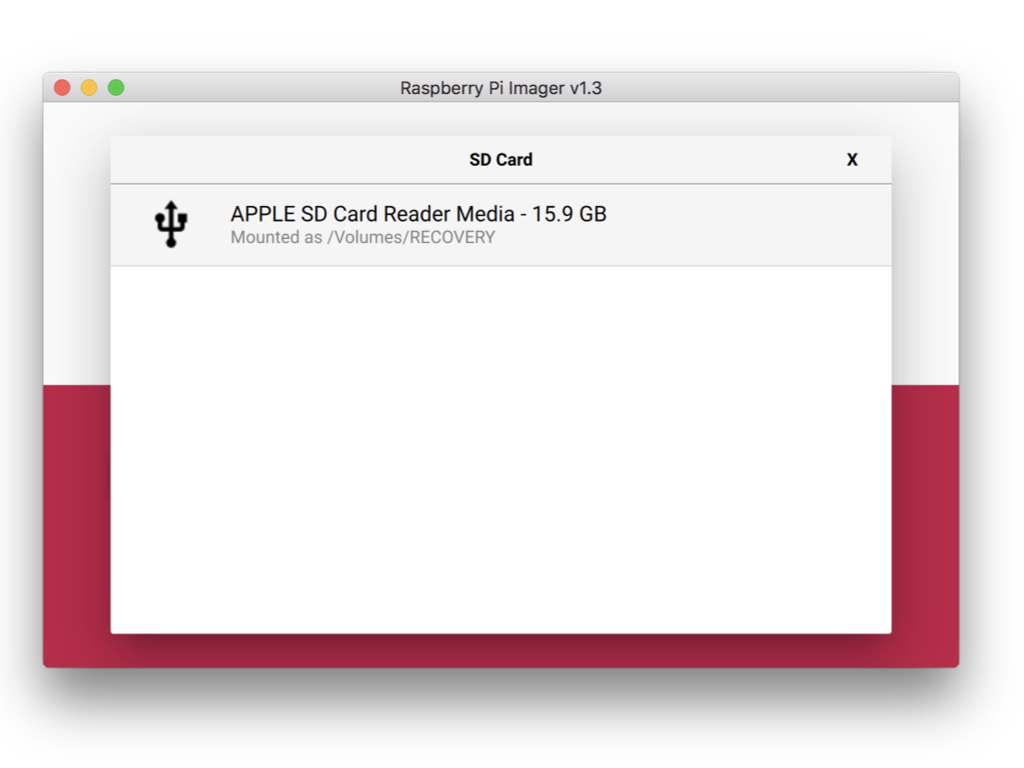
Insert the microSD card into the SD card reader, and connect it to your computer.
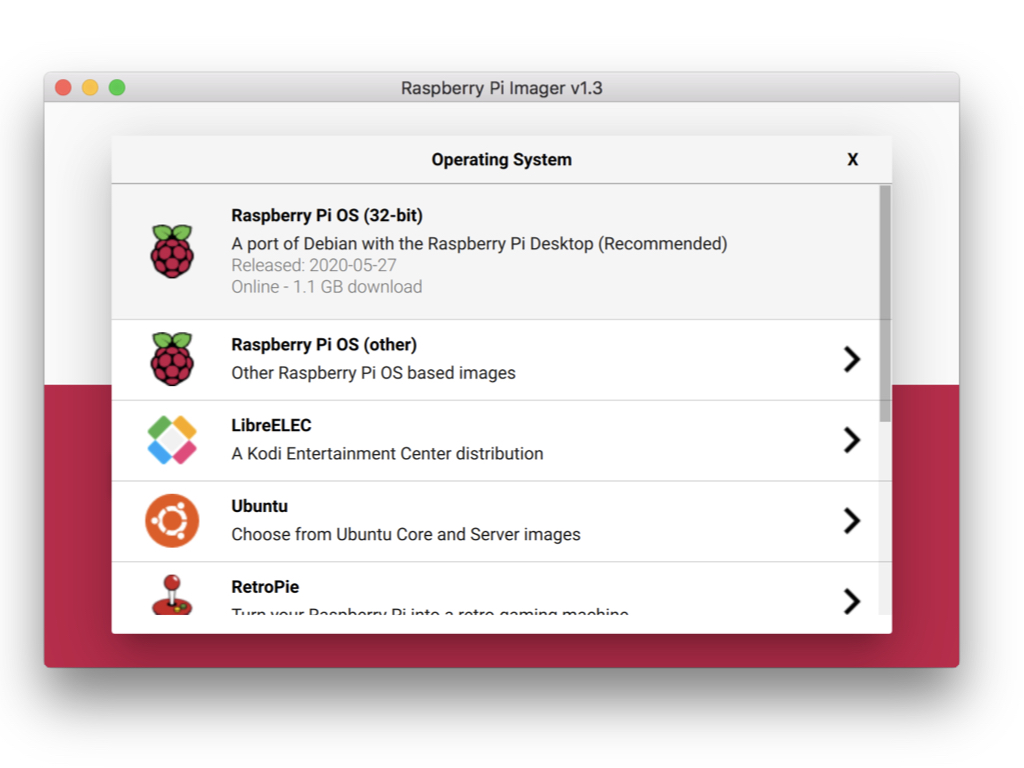
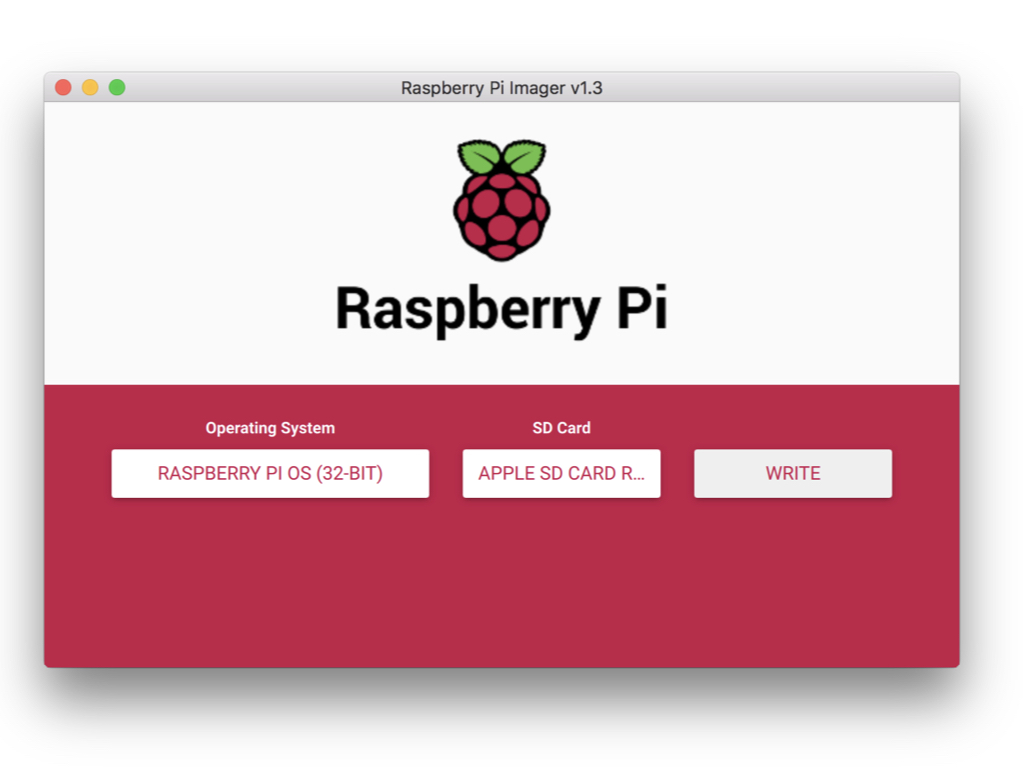
Click on RASPBERRY PI OS (32-BIT) button.
Choose the operating system of your choice. In this guide we will be leaving it selected as Raspberry Pi OS (32-bit).
Next, make sure the right SD Card is selected.
Click on the WRITE button.
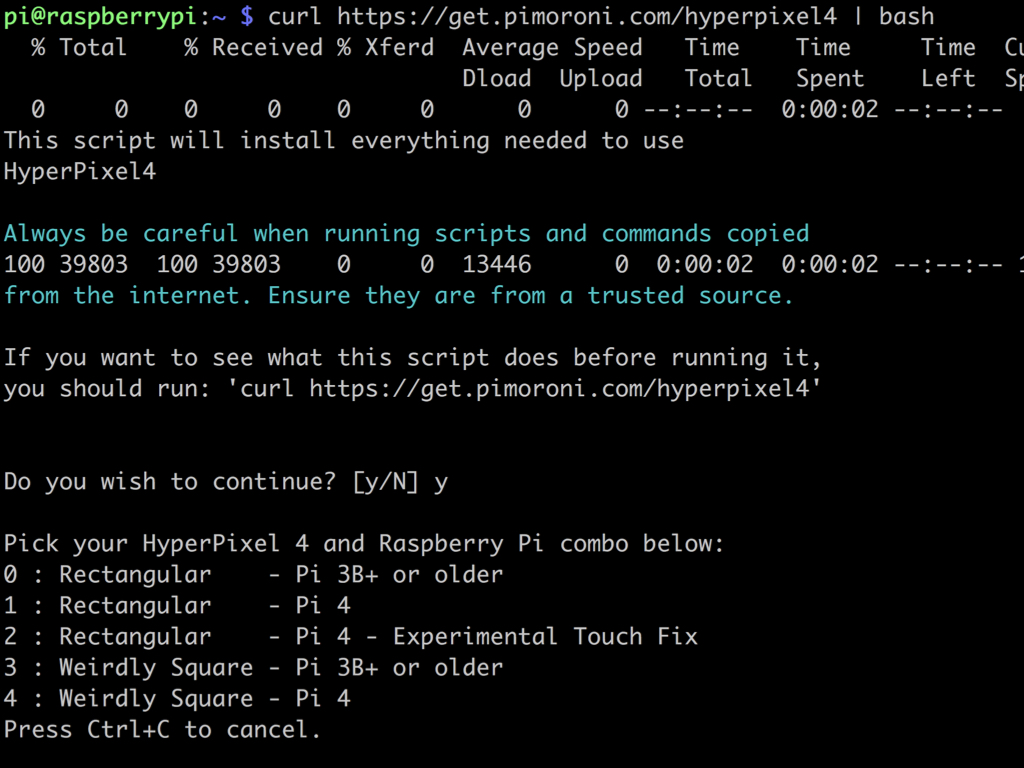
Please note that at this time of writing, there are some issues with the touchscreen when using the HyperPixel 4.0 with the Raspberry Pi 4 as outlined here.
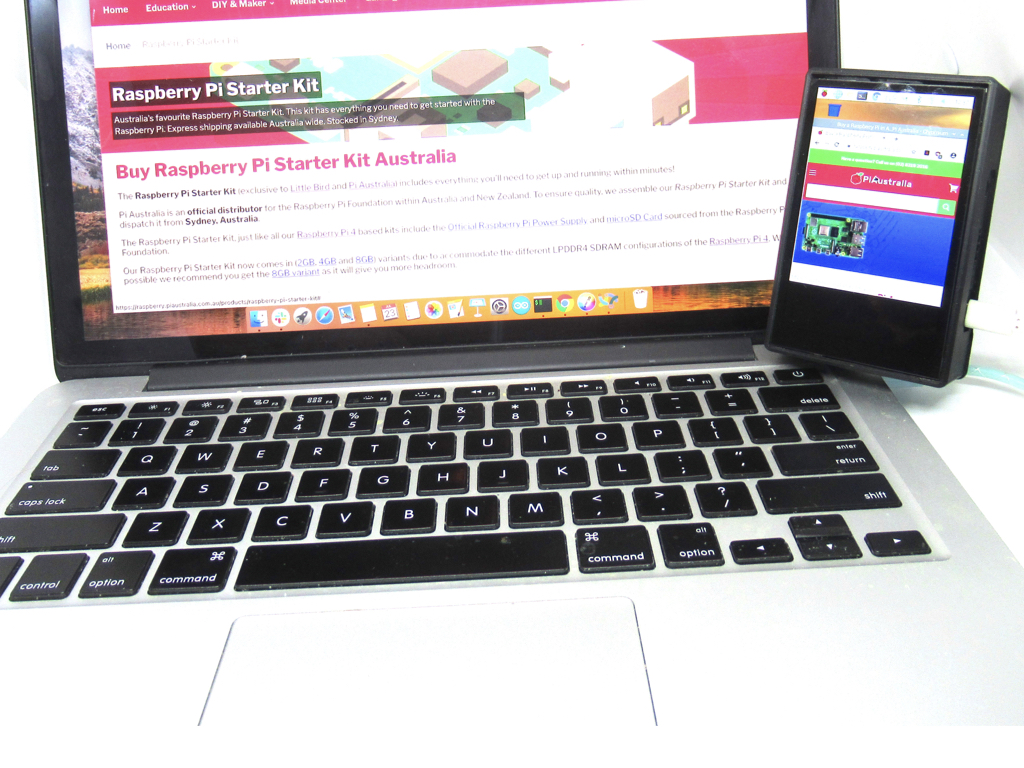
In this guide, we're using a Hyperpixel 4.0 with the Raspberry Pi! If you are using a different display for the Pi, make sure that screen configuration has been properly set. New to the Raspberry Pi? You can follow our Getting Started with Raspberry Pi 4 guide here, or this guide for the Raspberry Pi 3.
For the Hyperpixel 4.0, open a terminal window and run the one-line installer by using this command: curl https://get.pimoroni.com/hyperpixel4 | bash
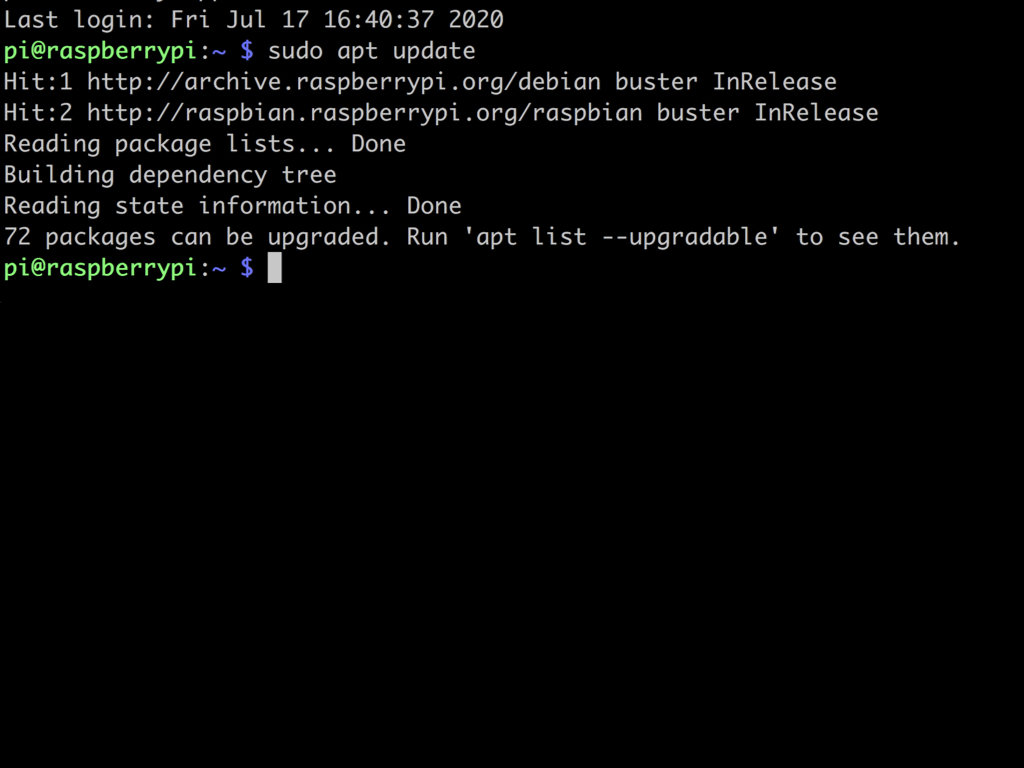

First, to refresh the list of available packages, run the command: sudo apt update
Next, we're ready to install barrier with the following: sudo apt install barrier -y
Run the .exe or .dmg file to start barrier.
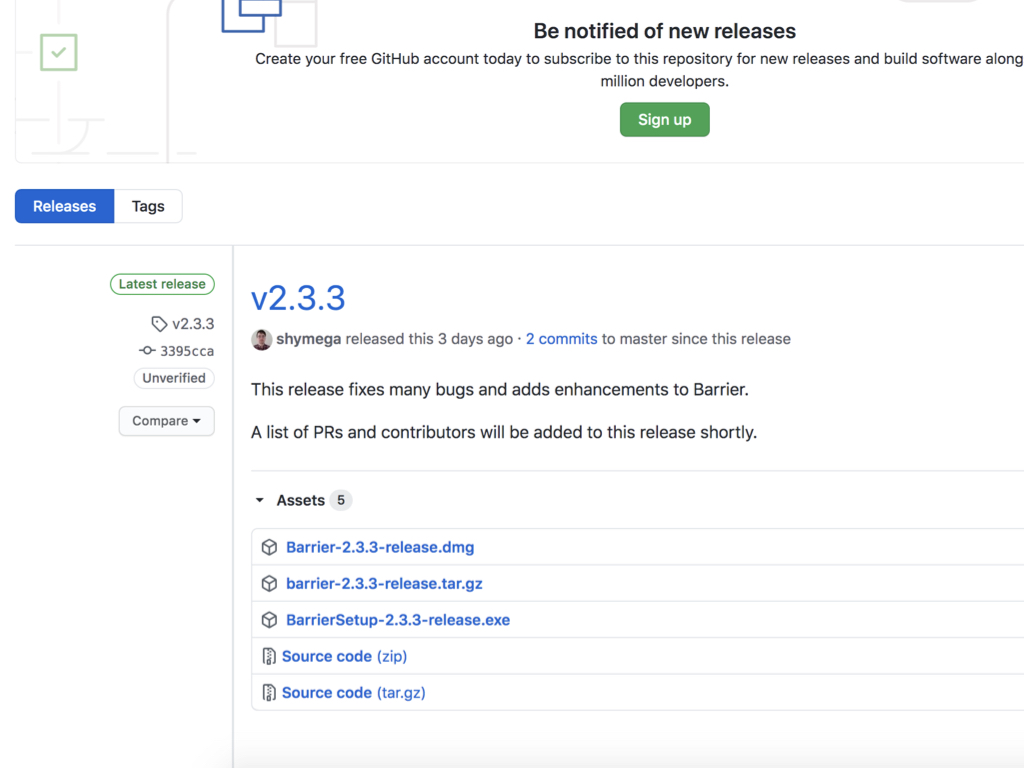
Open up a browser window and navigate to the Barrier GitHub page.
If you are using Windows, open the BarrierSetup-2.3.2.exe program. For MacOS, use the DMG file. Finally if you are using Linux, use APT.
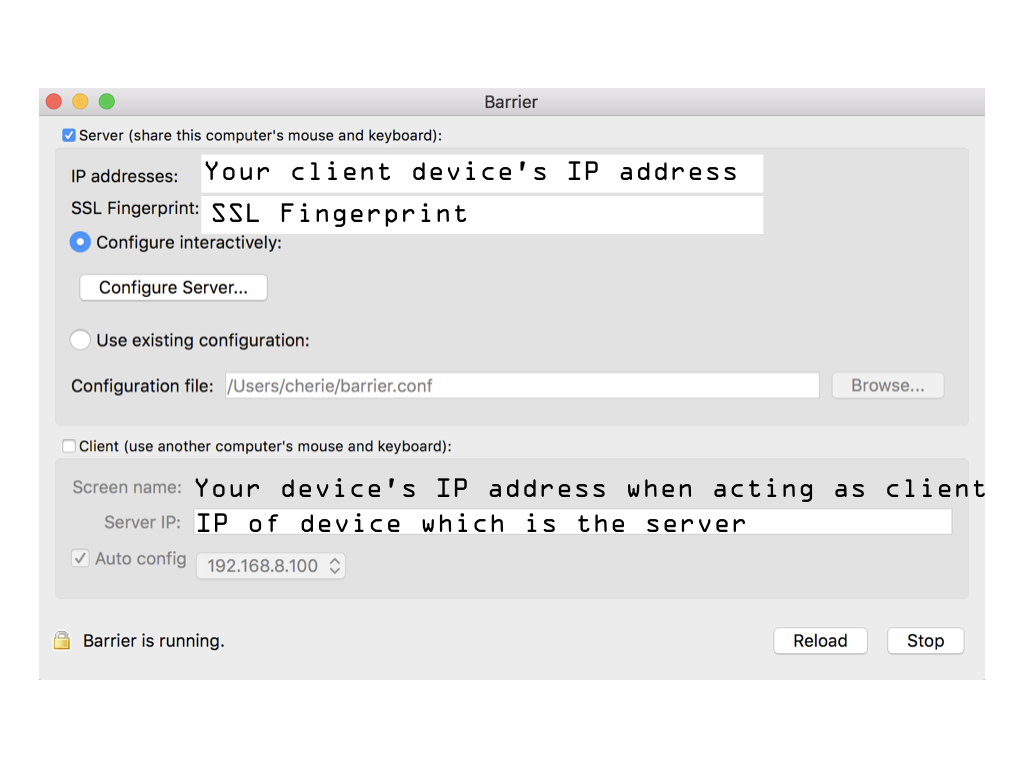
After installing barrier on both devices, the next time is to decide which one will be in control. That is, the device whose keyboard and mouse will be shared with the other device. This device is the ‘server’ and the other will be the ‘client’.
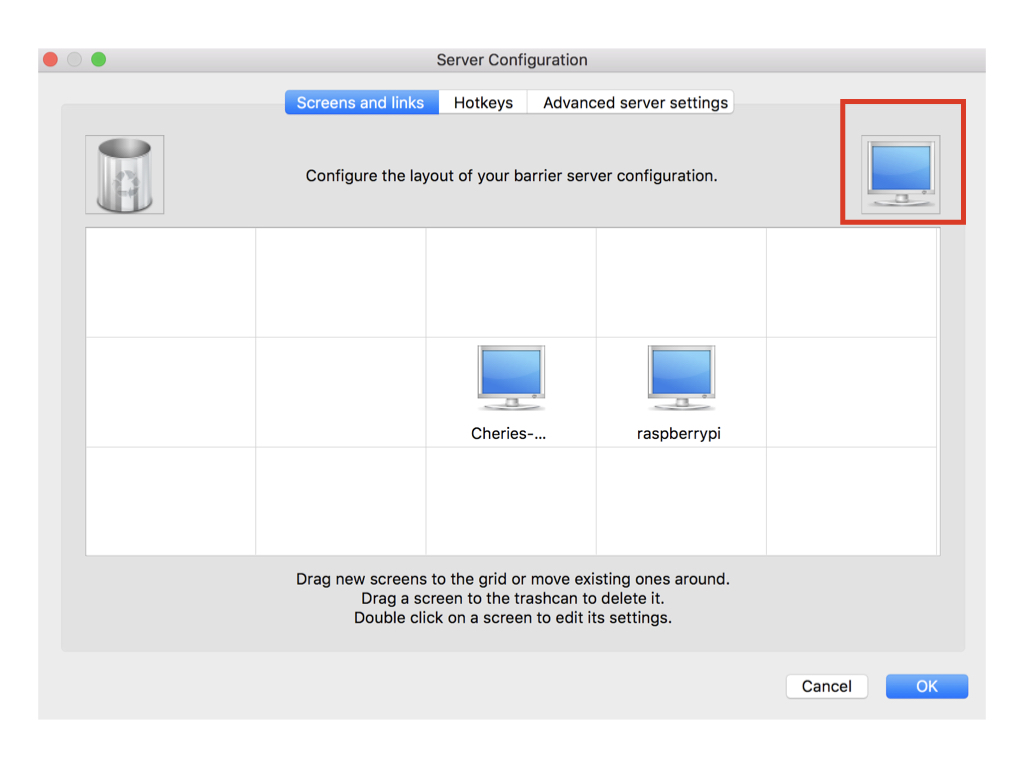
Click on the Configure Server button on the 'server' device. Then hover your mouse over the computer icon found on the top right hand corner in the Server Configuration window. It will display: 'Drag this button to the grid to add a new screen'. So go ahead and drag it onto the grid.
Next, name it the same as the screen name of your 'Client' device. In our example, the 'Client' device's screen name is raspberrypi.
Then, click on the 'Start' button in Barrier on the 'Server' device. Wait until the lock icon is displayed, found on the bottom left of the Barrier window.
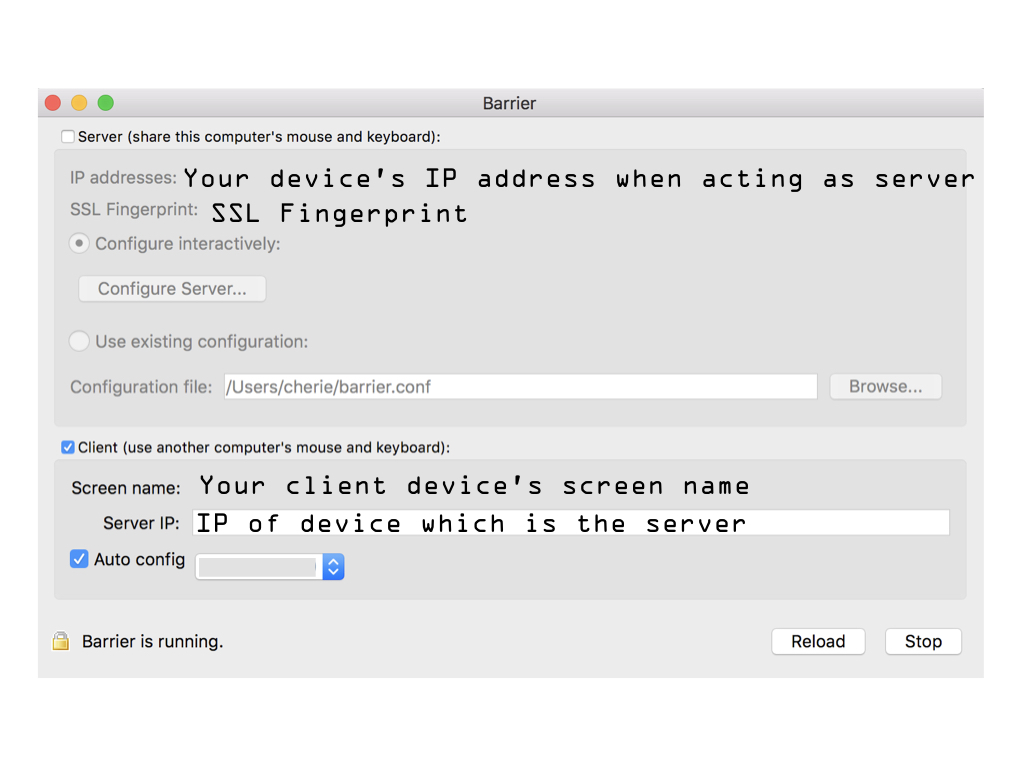
Finally, click on the 'Start' button on the 'Client' device (our Raspberry Pi). Wait for the 'Barrier is running' message and you're done!
Now on the 'Client' device, enter the IP address of the 'Server' device. This can be found in the Barrier window on the 'Server' device. In our case, this is our MacOS device.