Pi-hole for Raspberry Pi 4
Set up Pi-hole to get rid of those pesky ads!
Written By: Cherie Tan

Difficulty
Easy
Steps
18
Pi-hole is a Linux network-level advertisement blocking application that acts as a DNS sinkhole, also known as a 'blackhole for internet advertisements'. While there are ad-blocker extensions that can be added to web browsers, Pi-Hole takes it all a step further by blocking them across all devices on your network. It can be used to increase network performance, blacklist risky sites, and protect your privacy!
In this guide, learn how to install and set up Pi-Hole on the Raspberry Pi 4.
Complete this guide to get rid of those pesky advertisements and protect your privacy.
In this guide, learn how to install and set up Pi-Hole on the Raspberry Pi 4.
Complete this guide to get rid of those pesky advertisements and protect your privacy.
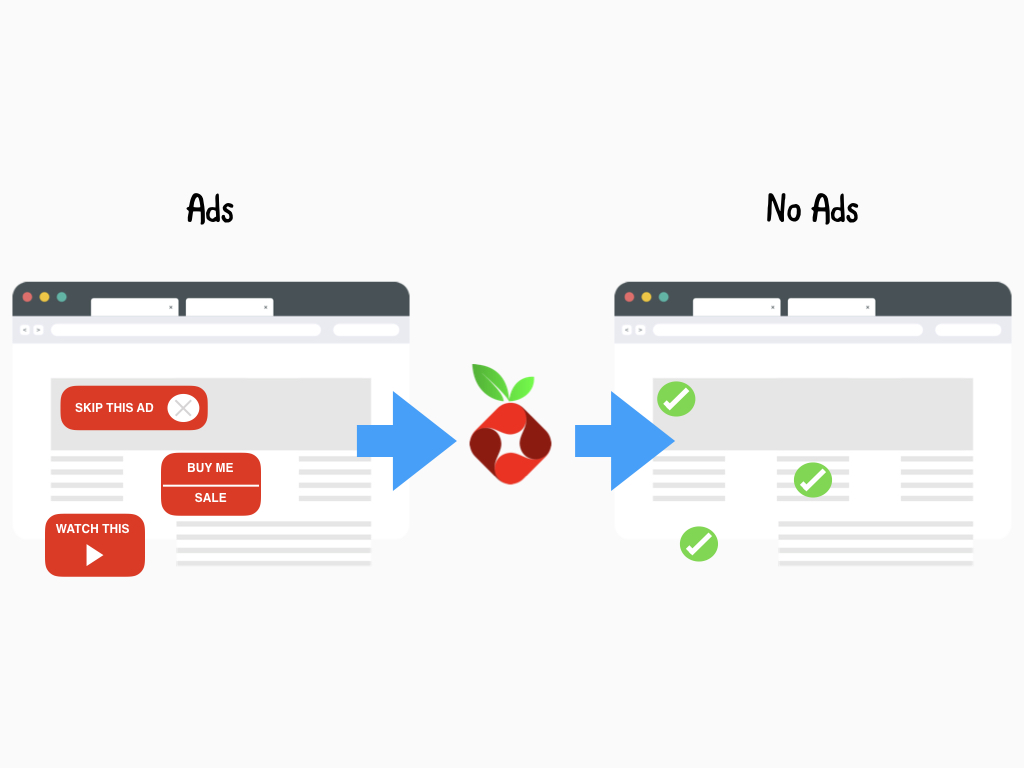
You may have heard of ad blocker extensions that can be added to your web browser. As its name suggests, these extensions can block pesky advertisements. Now imagine that functionality on your entire network! With Pi-Hole, you can do just that.
Pi-hole is a Linux network-level advertisement blocking application that acts as a DNS sinkhole, also known as a 'blackhole for internet advertisements'; It functions as an internal, private DNS (Domain Name Service) server for your network and it intercepts queries for ad-serving domains and does not give them access. What this means is that advertisements won't be downloaded or shown. Yup, it does not just block ads, the ads literally won't even be loaded. Since these advertisements are never downloaded, sites will load faster, bringing you a better browsing experience. However, that's not all the benefits it brings.
A DNS server is an internet address registry that helps locate the server using the domain name. You can think of it as the phonebook of the internet. While a human accesses information online through domain names like littlebird.com.au or hackaday.io, the web browser interacts through Internet Protocol (IP) addresses.
DNS translates the domain names to IP addresses and remembers all of the IP addresses so that you do not need to. Visit any website and a query is made to the DNS server to locate the IP address of the server to connect to.
By setting your router to use Pi-Hole as its designated DNS, it can block out requests to known pesky ads and blacklisted sites, eliminating them on your network.
Pi-Hole can be used to increase network performance, blacklist risky sites, and protect your privacy.
It also has the ability to block traditional website adverts found in unsuspecting places. For example, when we watch television, there might be tracking done on smart TVs and mobile apps. Yup, with Pi-Hole, unwanted content and tracking is blocked in these non-browser locations.
Pi-Hole works on many devices and on a number of different operating systems including Raspbian, Fedora, Debian and Ubuntu. Older and lower-power models of the Raspberry Pi can be used with Pi-Hole, in this guide we will show you how to set it up with the Raspberry Pi 4.
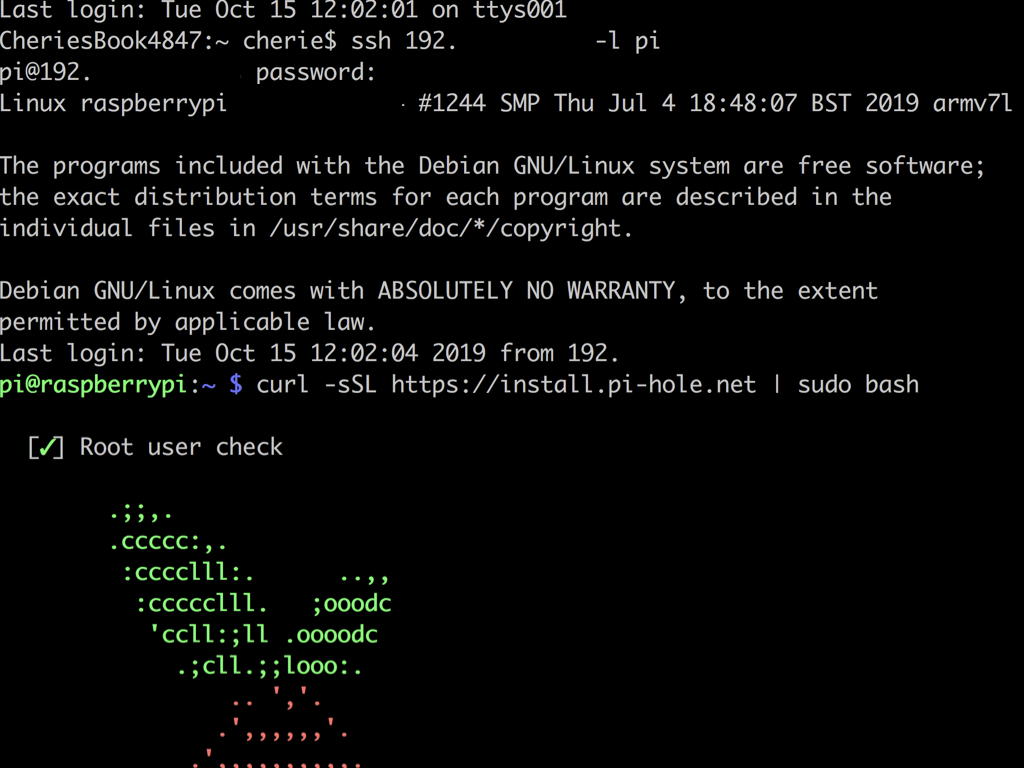
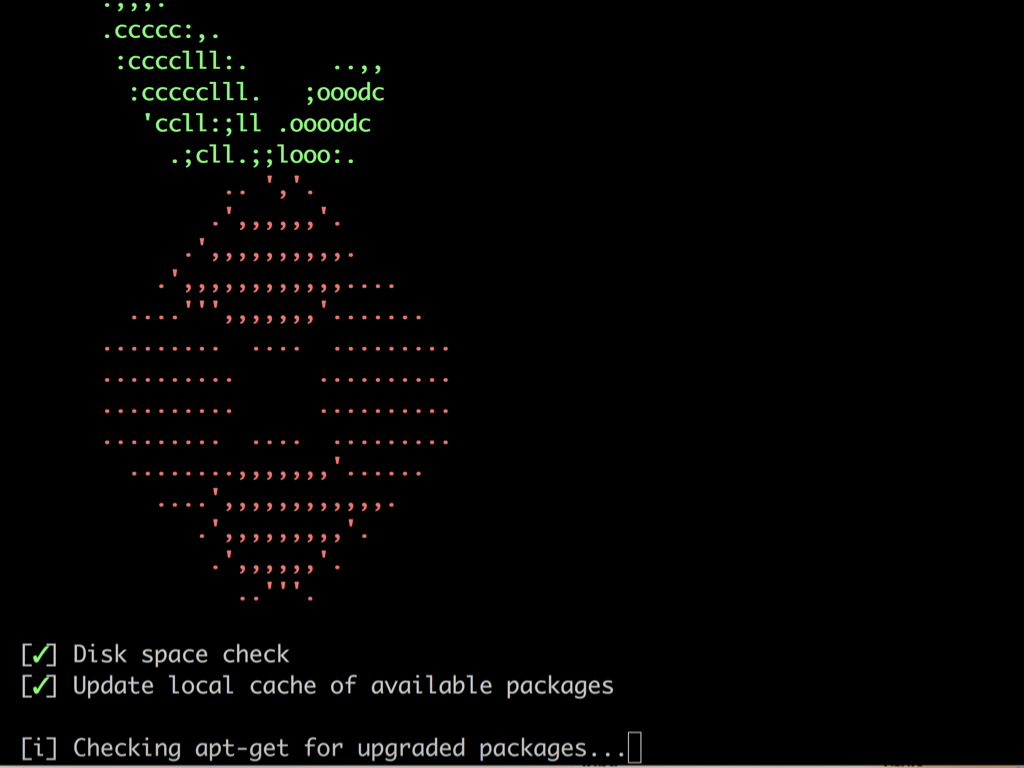
After powering up your Raspberry Pi 4, enter the following command into the terminal:
curl -sSL https://install.pi-hole.net | sudo bash
curl -sSL https://install.pi-hole.net | sudo bash
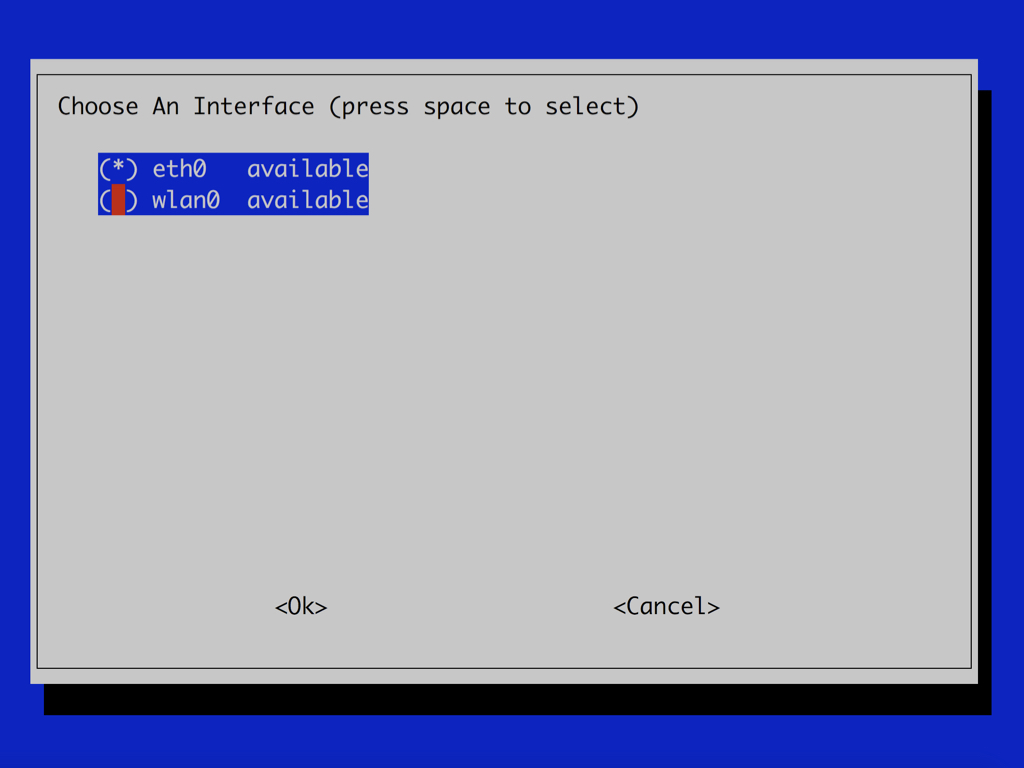

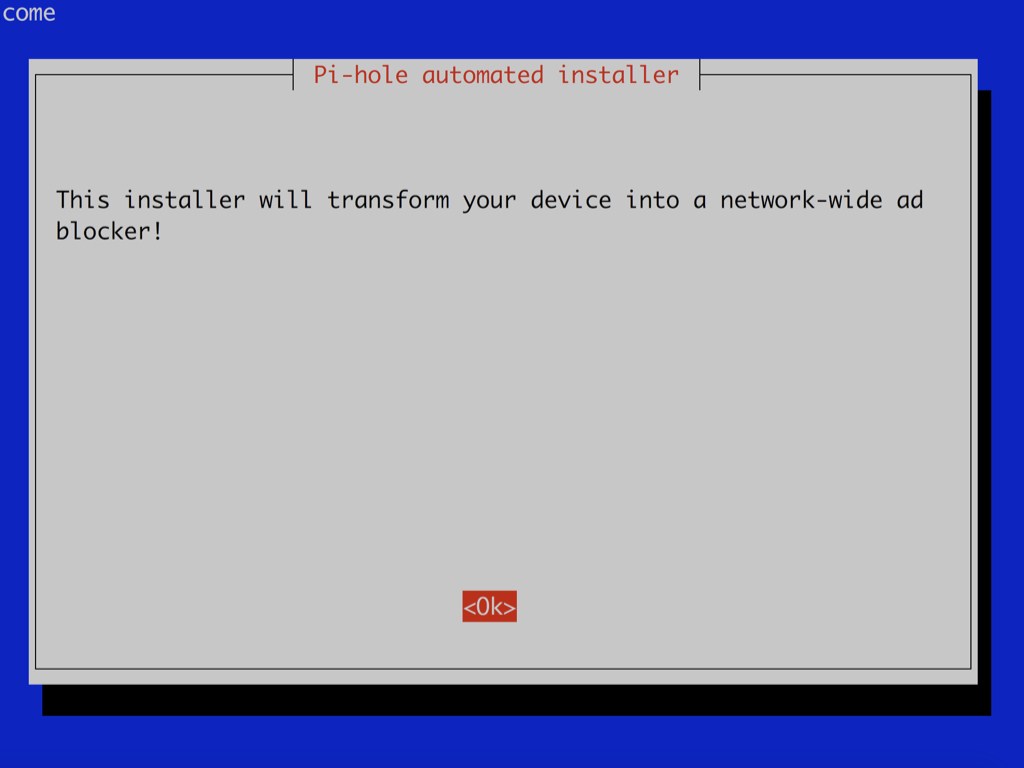
Select OK until you are asked whether to choose eth0 or wlan0. If your Raspberry Pi is connected through a wired interface via ethernet cable, choose eth0. Otherwise, if it is connected via wireless connection, choose wlan0. Press space to select your option, then hit the enter key.
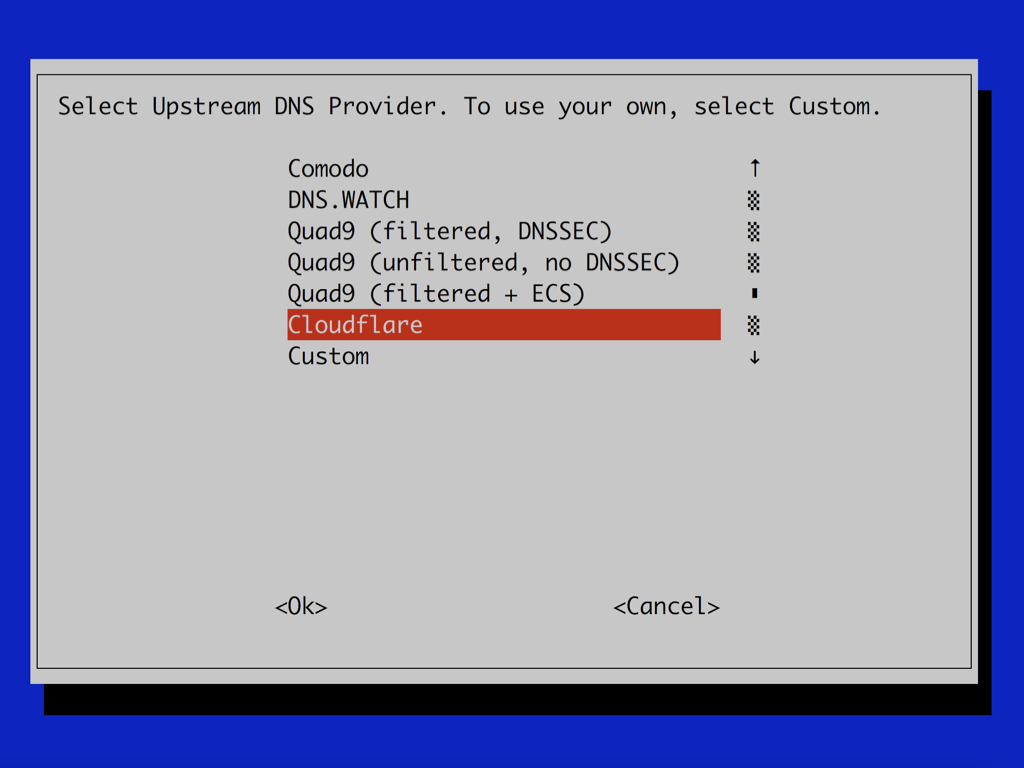
The Pi-Hole setup provides 8 different options for an upstream DNS provider. Navigate to your choice with the up and down arrow keys, then select it with enter key. In this guide, we will choose CloudFlare DNS.
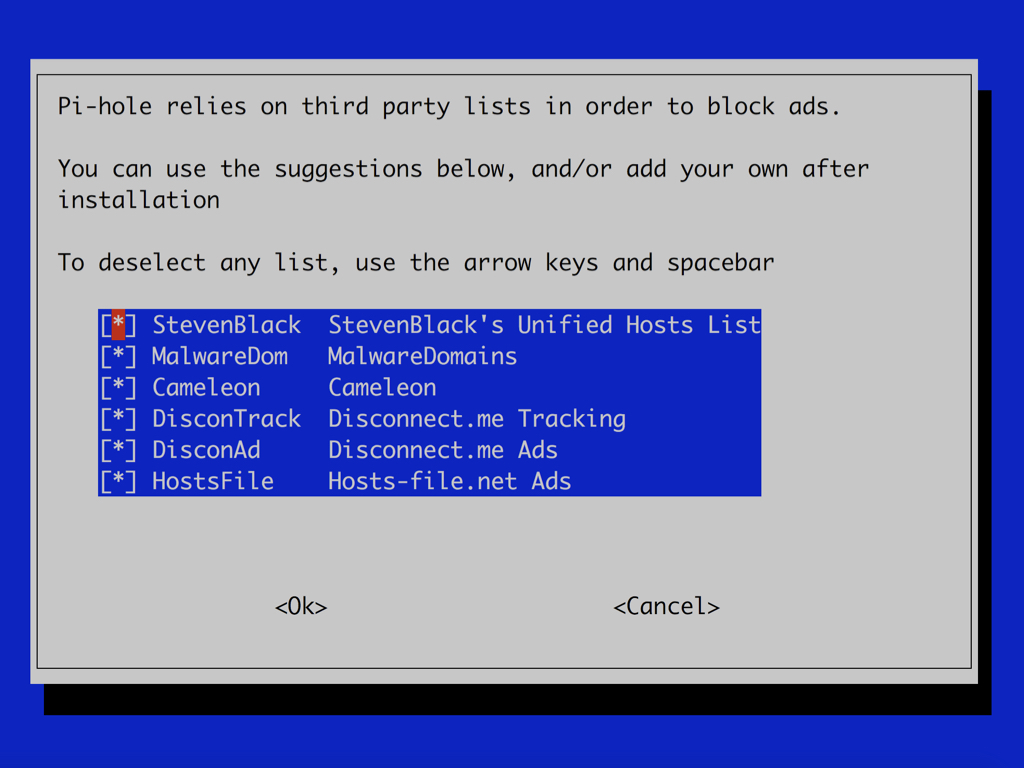
Go ahead and select the block lists you'd like to use by highlighting the option(s) and hitting the spacebar. In this guide, we have all the lists selected. Then hit enter key.
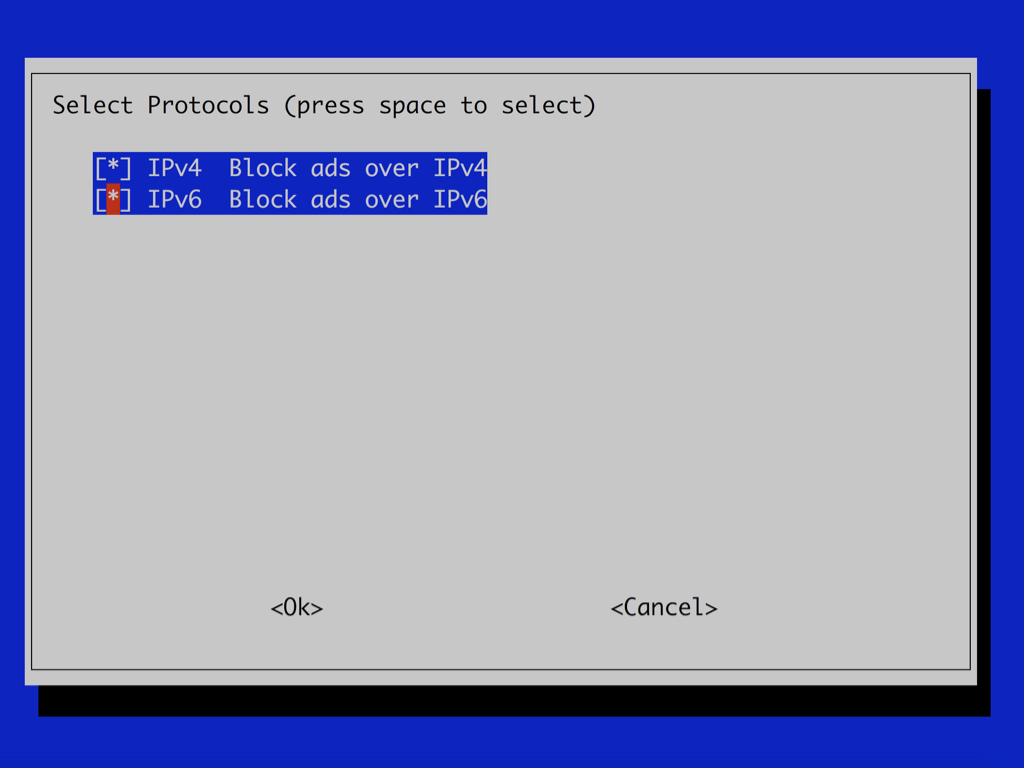

In this next step, you can choose both options or either. As some advertisers send ads via IPv6, in this guide we will select both options with the space bar. Click OK once you are done with your selection.

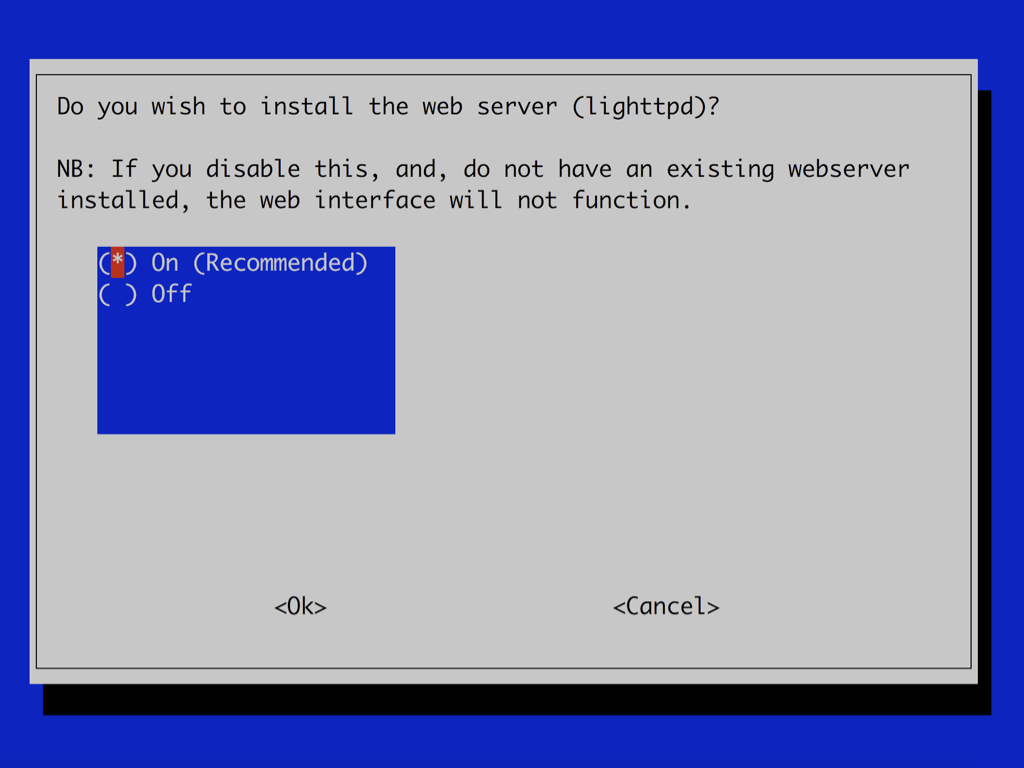
It will then ask you if you wish to install the web server (lighttpd). It is recommended to select on.
Next, you will be asked whether or not you want to install the web admin interface. It is recommended to turn it on as the Pi-Hole web interface allows you to remotely manage Pi-Hole. In this guide, we have selected on.
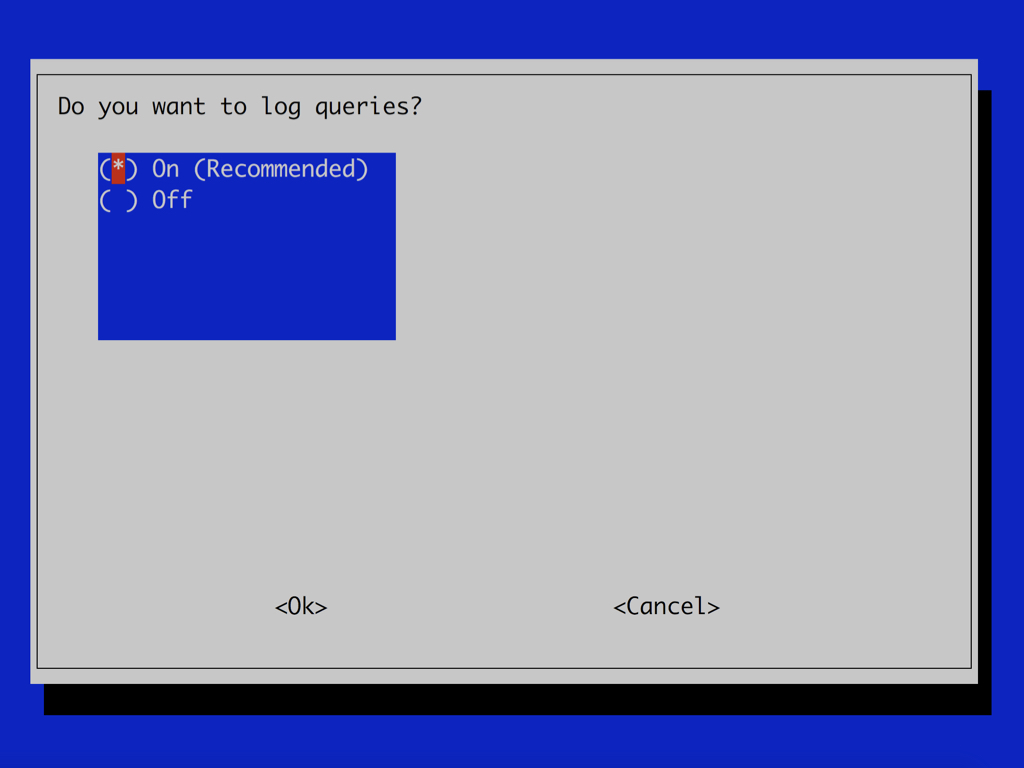
Then in the next step, you will be asked whether or not you would like to log queries. It is also recommended to turn this on. After choosing your selection, press the enter key.
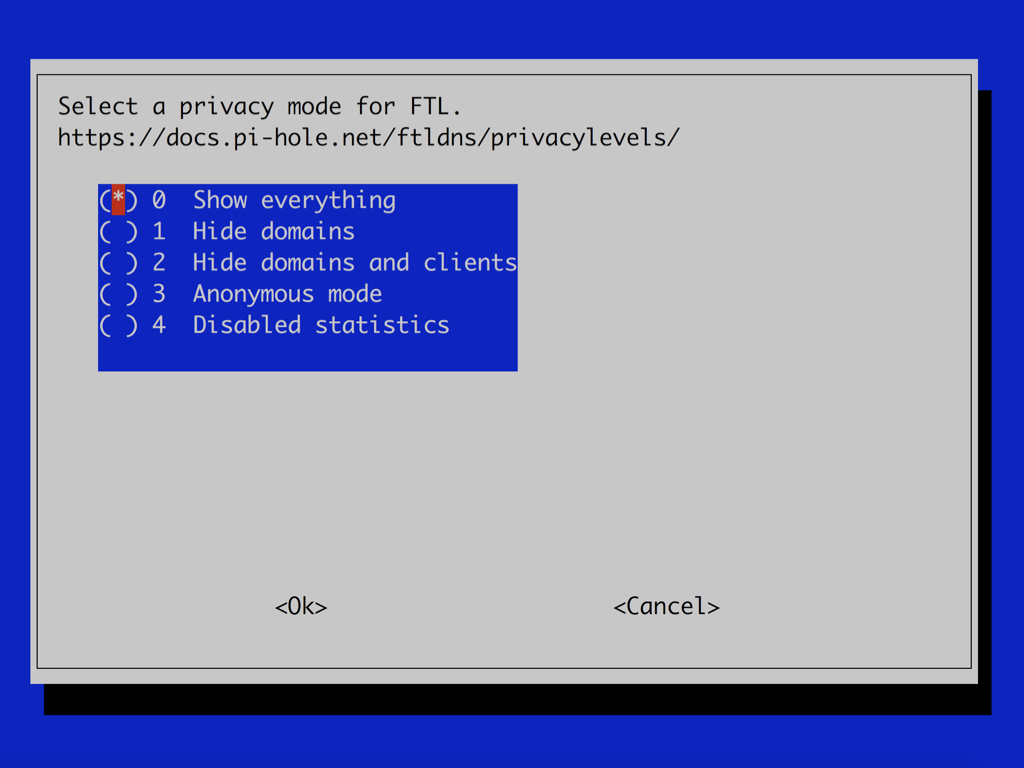
For more information on privacy levels, check out the Pi-hole Privacy levels documentation.
Next, you will be asked to select a privacy mode. In this guide, we have chosen option 0 show everything.
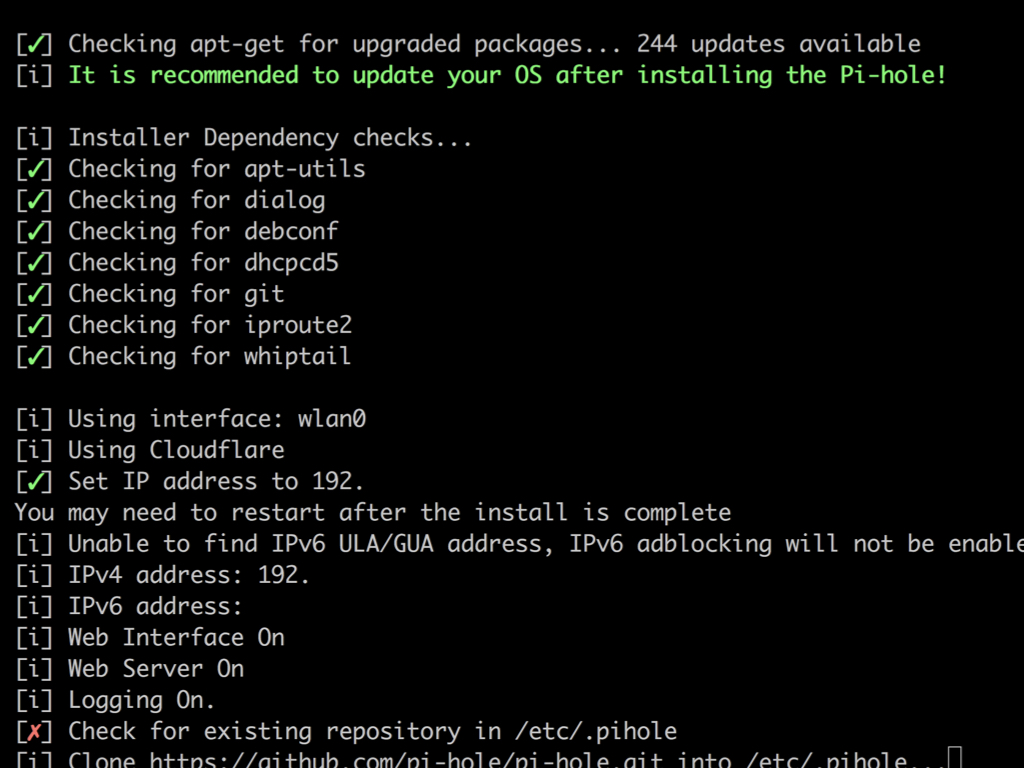
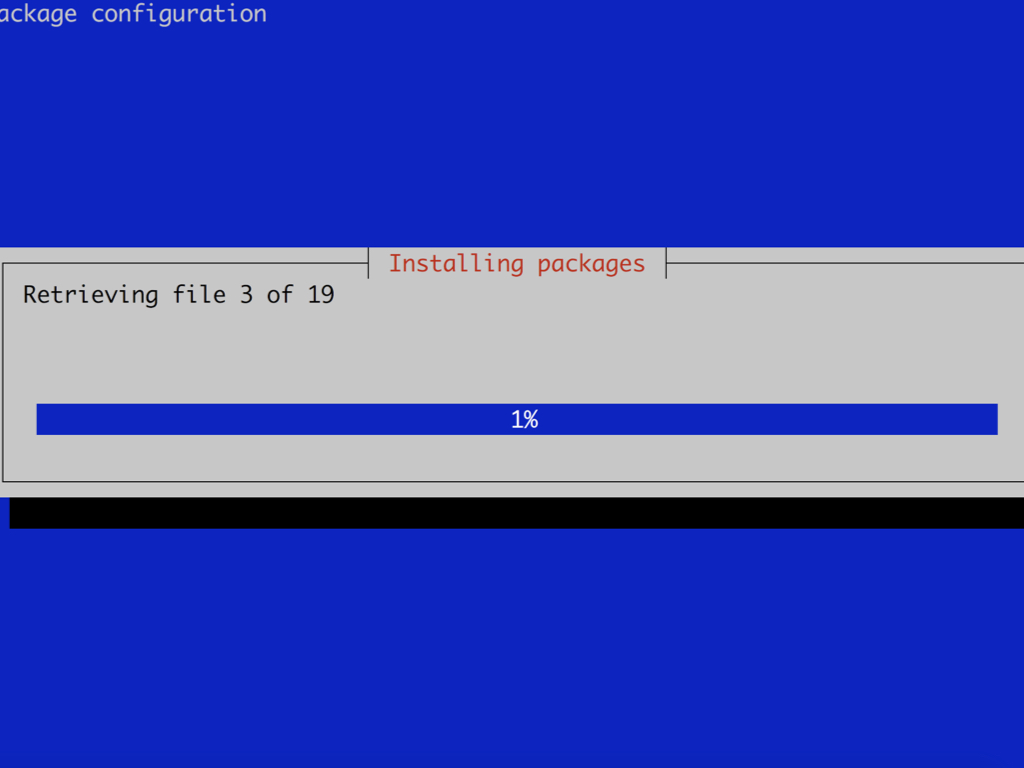
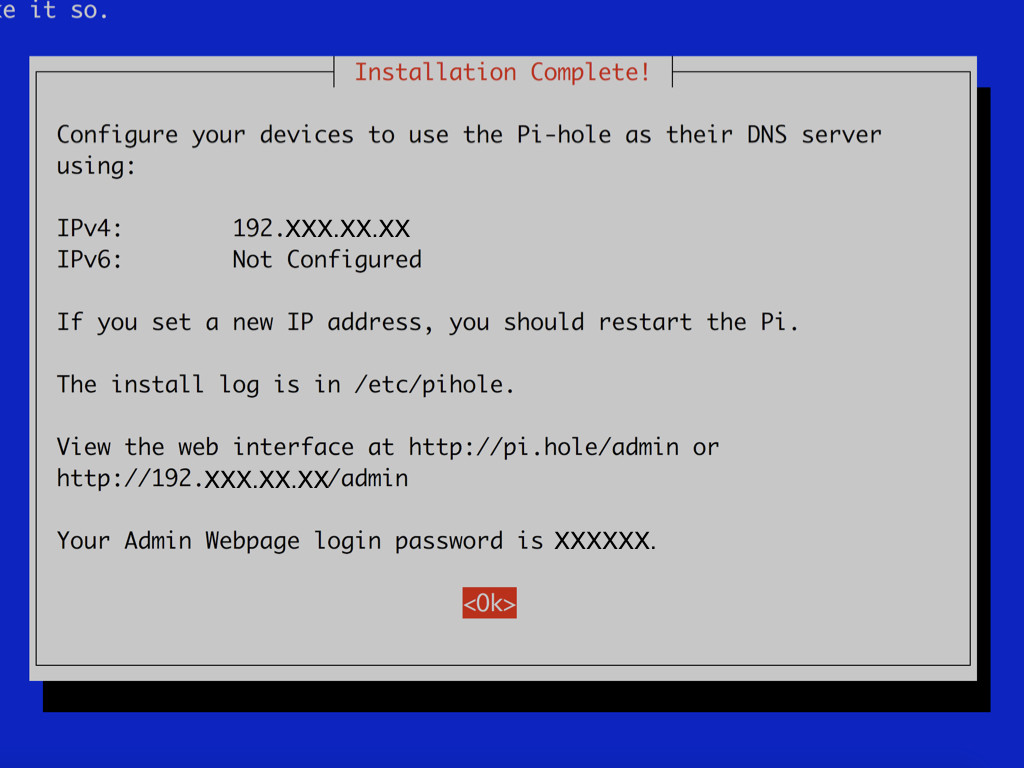
Once that is done, let the installer run to completion. You will then see a message that the installation is complete as well as the URL to access the web interface: http://pi.hole/hadmin or [your Raspberry Pi Pi-Hole installation IP]/admin. The password to log into the web interface will also be displayed.
Finally, to get Pi-Hole working across devices on your network, there are three options. The first option is to manually set the DNS address in your router settings to the IP address displayed by your Pi-Hole, and then you're set!
The second option, if you are unable to change the DNS settings via your router, is to go to every device connected to your network, and then manually set the device to use the Pi-Hole for DNS resolution. Jump to Step 16 for instructions on how to do so.
This option is ideal if you only want certain devices to use Pi-Hole, and certain devices to not use Pi-Hole.
This option is ideal if you only want certain devices to use Pi-Hole, and certain devices to not use Pi-Hole.
The third option is to use Pi-Hole's built-in DHCP server. Jump to the next step to find out how.
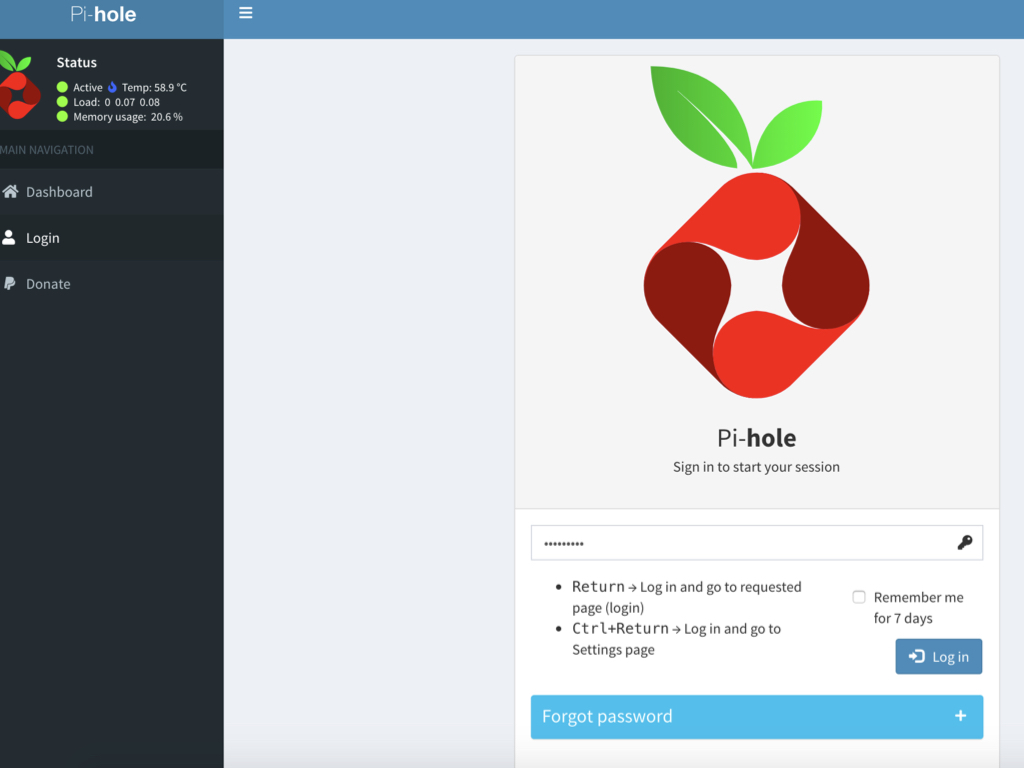
Click on the Log in button
To Use Pi-hole’s DHCP Server, first make sure the DHCP server on your router is disabled.
Next, click on Login in the Pi-Hole web interface.
Enter the password that was provided upon completion of the installation.
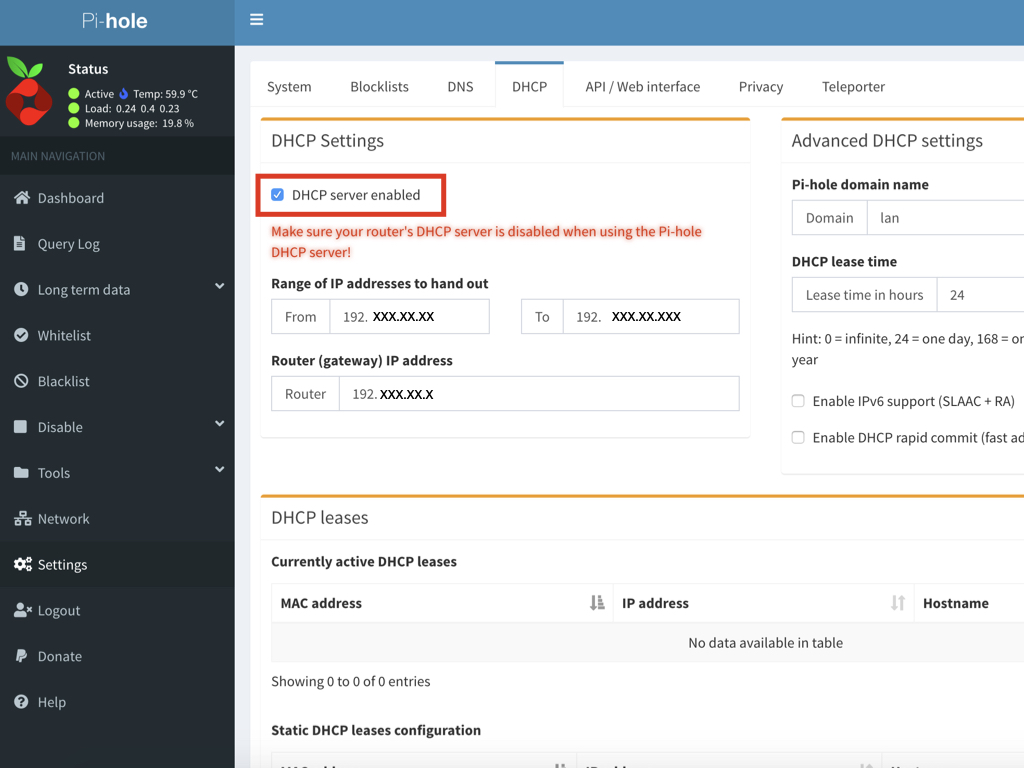
Click on Settings
Click on DHCP
Click on the checkbox next to DHCP server enabled
Click on the Save button
You may also choose to alter the range of IP addresses that will have DHCP server enabled applied to.
Dynamic Host Configuration Protocol or DHCP for short is the protocol used to assign IP addresses to the devices on your network. Usually, a service running on your router does this. So you can disable this service then let Pi-hole take over the DHCP service.
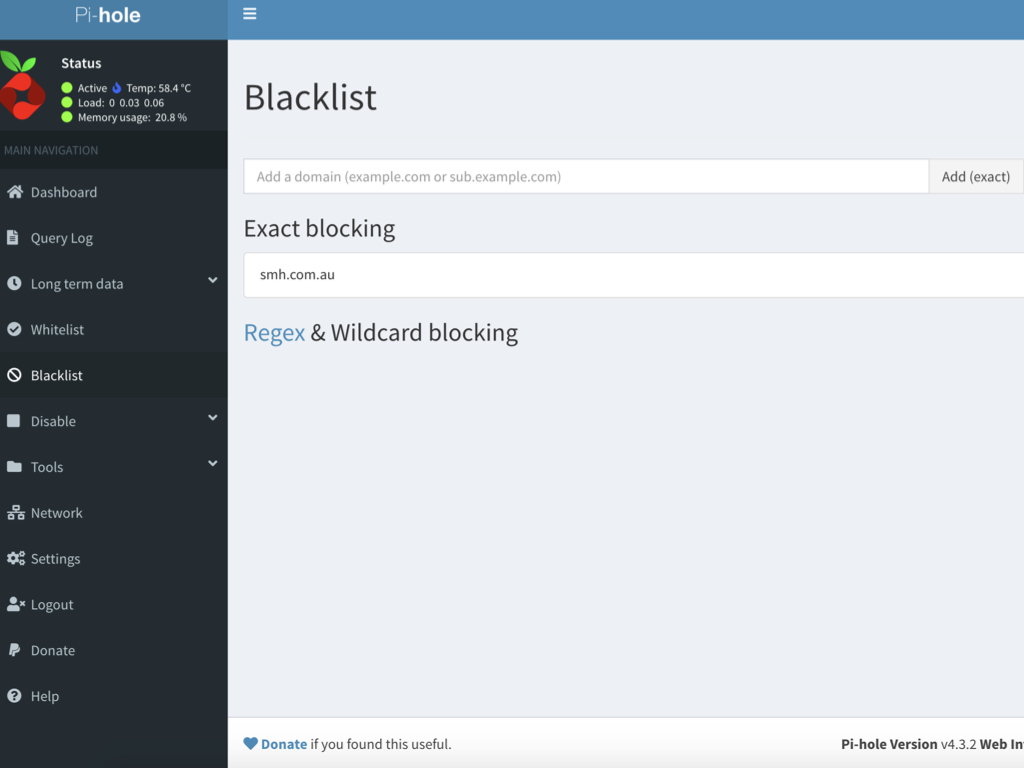
You can easily blacklist a website. To do so, click on Blacklist at the selection panel on the left-hand side of the web interface.
Enter the domain name to be blacklisted. For example, we have entered smh.com.au here. Then hit the enter key.
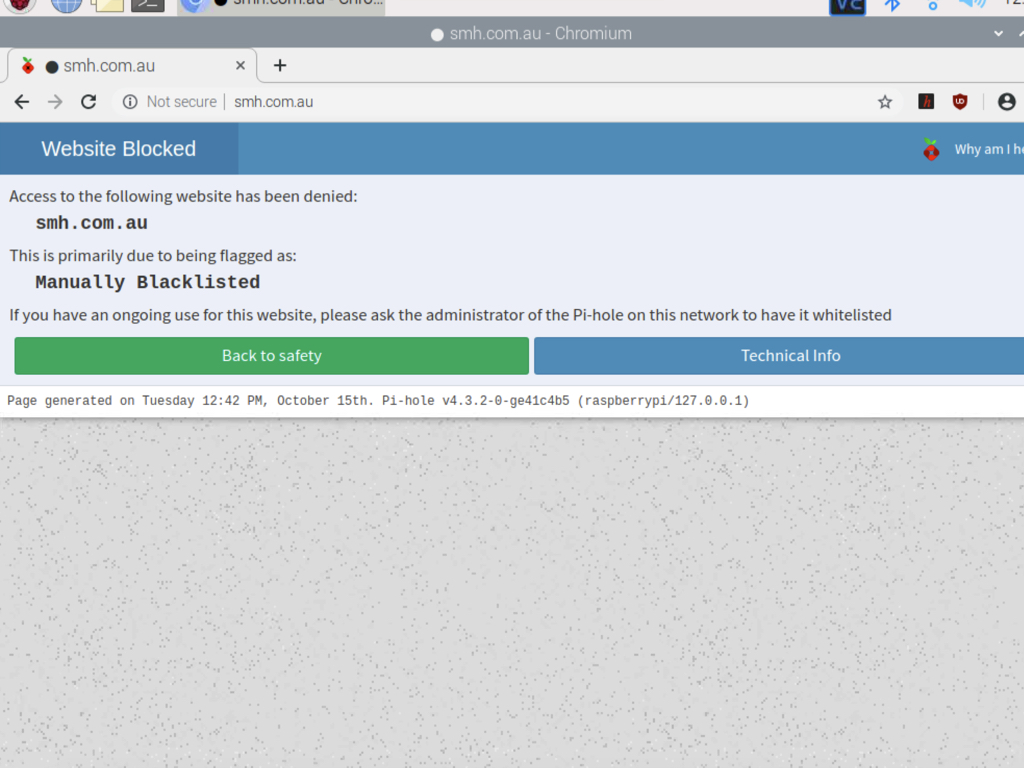
Try to access the blacklisted site now. You will instead see 'Website blocked'.

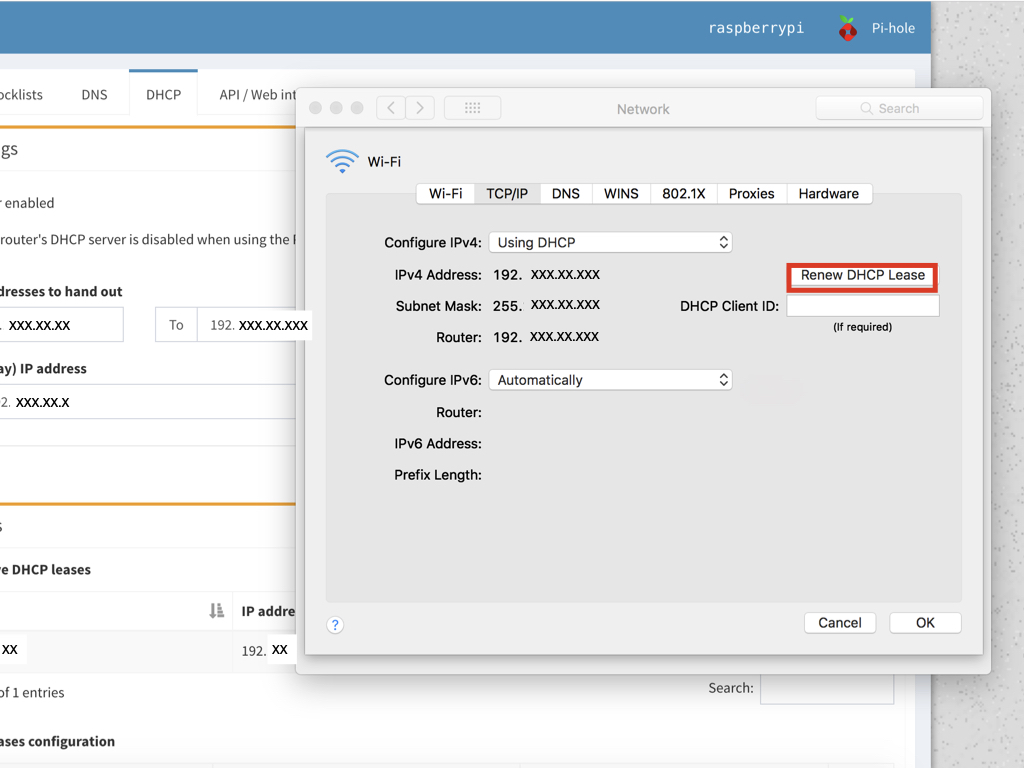
To manually configure a device for Pi-Hole, follow these steps.
For macOS:
For macOS:
- Click Apple > System Preferences > Network
- Highlight the connection for which you want to configure DNS
- Click Advanced
- Select the DNS tab
- Click + to replace any listed addresses with, or add, your Pi’s IP addresses at the top of the list:
- Click Apply > OK
- Repeat the procedure for additional network connections you want to change.
Windows:
DNS settings are specified in the TCP/IP Properties window for the selected network connection.
- Go to the Control Panel
- Click Network and Internet > Network and Sharing Center > Change adapter settings
- Select the connection for which you want to configure
- Right-click Local Area Connection > Properties
- Select the Networking tab
- Select Internet Protocol Version 4 (TCP/IPv4) or Internet Protocol Version 6 (TCP/IPv6)
- Click Properties
- Click Advanced
- Select the DNS tab
- Click OK
- Select Use the following DNS server addresses
- Replace those addresses with the IP addresses of your Pi
- Restart the connection you selected in step 3
- Repeat the procedure for additional network connections you want to change.


Here are before and after pictures on mac OS! The first picture shows The Sydney Morning Herald front page without Pi-Hole, as you can see there's a large ad right there on the top.
In the second picture, with Pi-Hole set up, the ad is gone!
The third picture shows the after picture on the Raspberry Pi. The ad has also been eliminated.
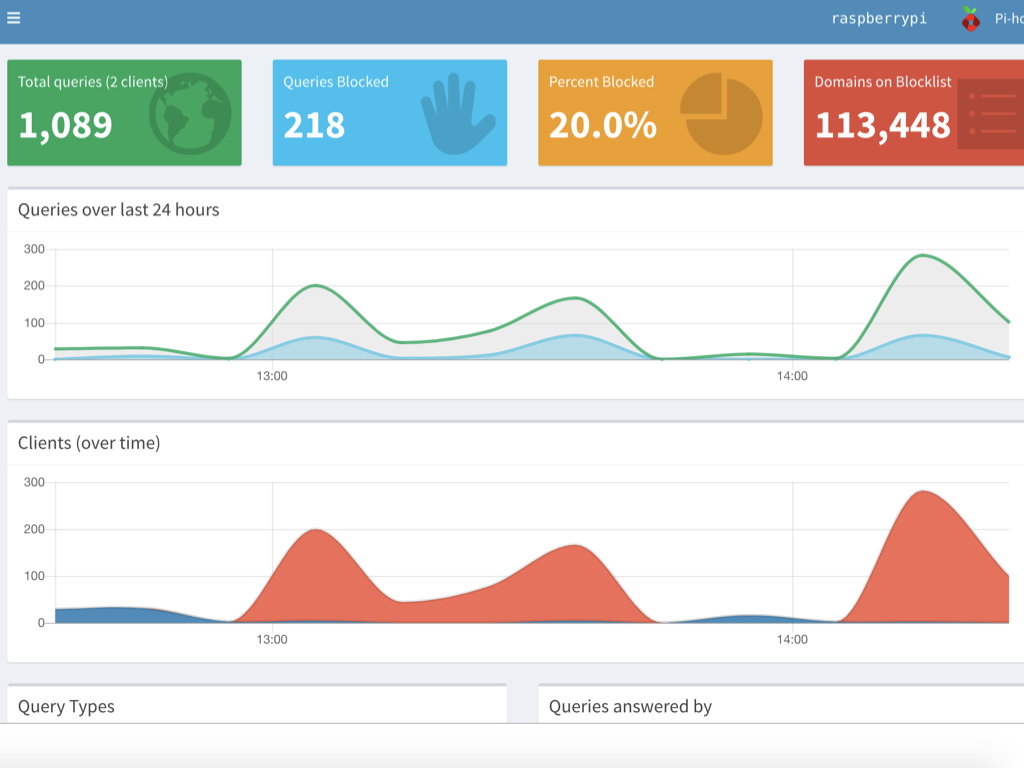
You're done! Pi-Hole is a wonderful piece of software which can help you simplify ad blocking and domain tracking.
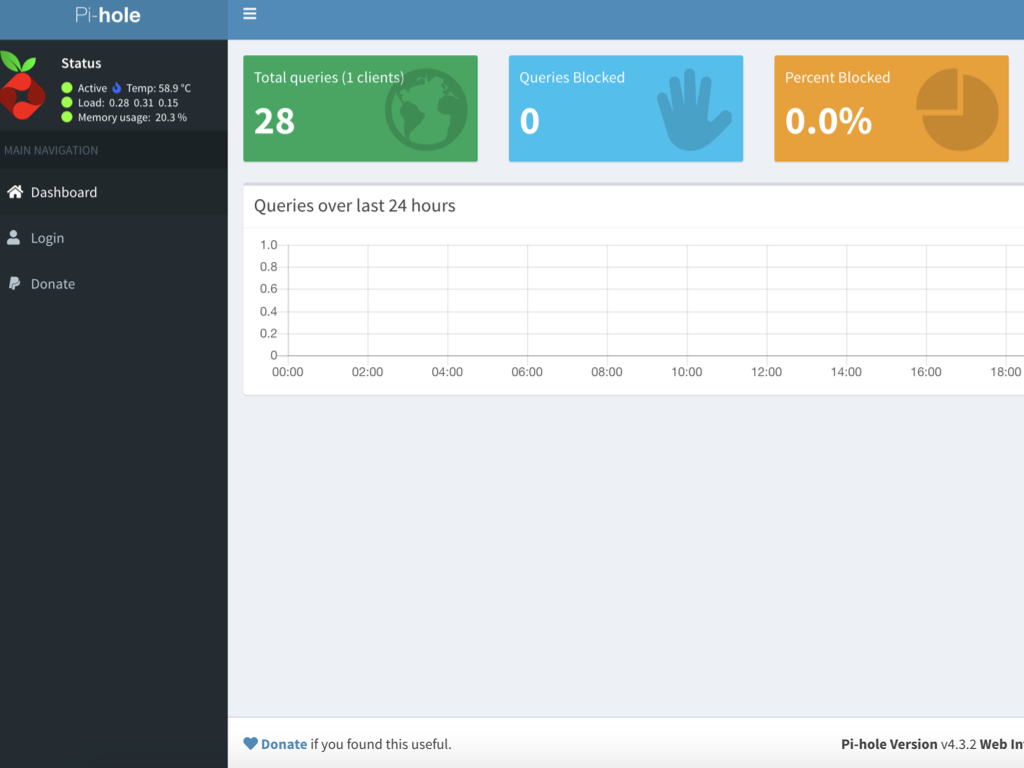
Check out the dashboard and customise Pi-Hole by adding blacklisted or whitelisted sites, and much more.
For more guides, check out https://www.littlebird.com.au/a/how-to/#raspberrypi to learn even more. Happy hacking!