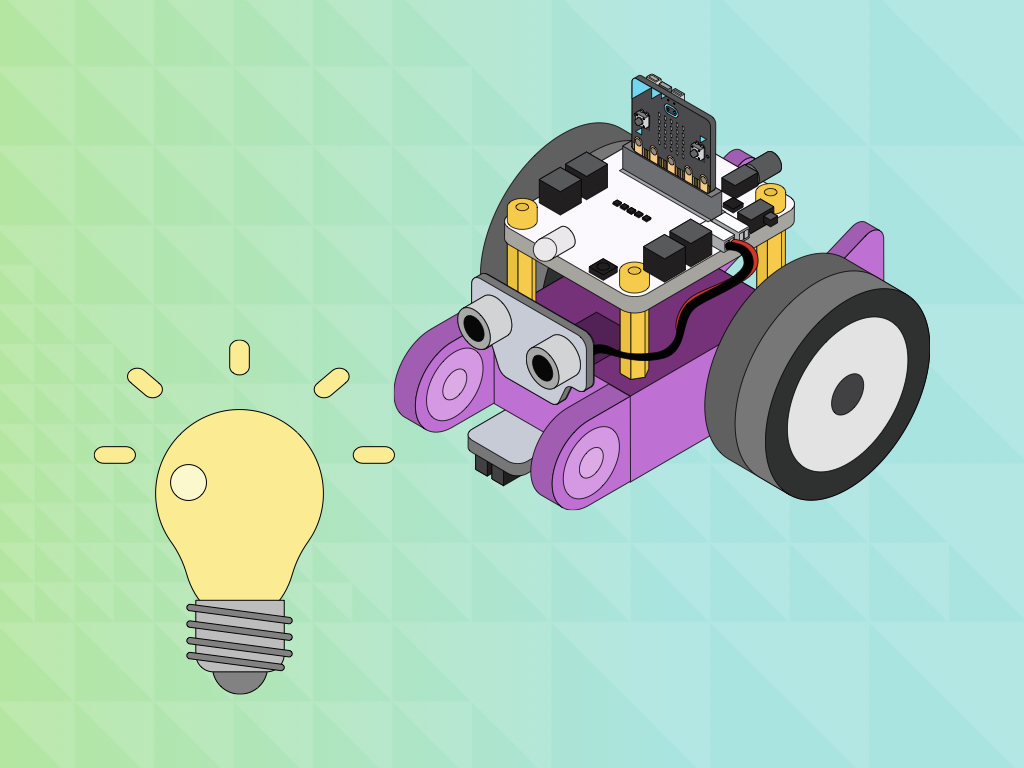
Light-seeking Robit Smart Car
Make the Robit Smart Car seek out light while avoiding obstacles
Written By: Cherie Tan
Difficulty
Medium
Steps
6
You might have already played with your new Robit Smart Car and got it to move, avoid obstacles, and even avoid falling off platforms.
In this guide, you will next learn to use the light sensor on the Robit Smart Car. With the light sensor, the Robit will be transformed into a light-seeking robot! It can also be programmed to turn its LEDs on or off depending on light.
Complete this guide to add more function to your robot car buddy!
Before we can create a light-seeking robot, we'll need to:
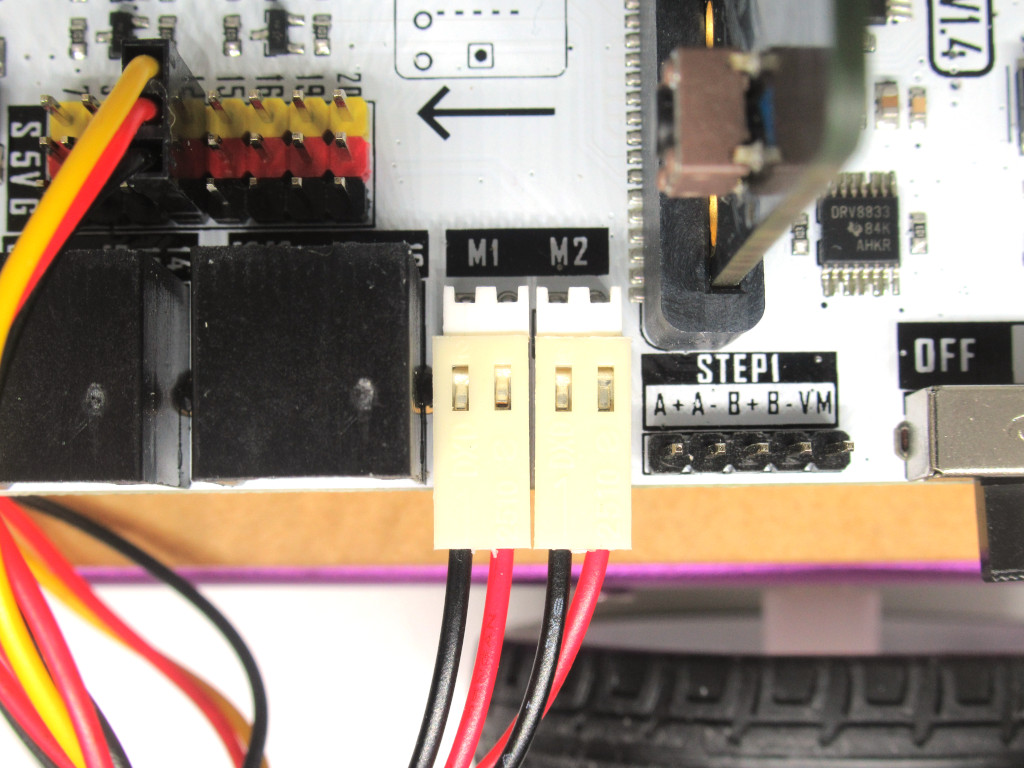
Connect the motors to M1 and M2 on the robit motherboard.
In a later part of this guide, we'll also get the robit smart car to avoid hitting obstacles. So hook up the sonar module to the Pin 14 on the motherboard as well.
Connect the motors to M1 and M2 on the robit motherboard.
In a later part of this guide, we'll also get the robit smart car to avoid hitting obstacles. So hook up the sonar module to the Pin 14 on the motherboard as well.
The line tracking module is not needed in this guide.
First, open MakeCode Editor.
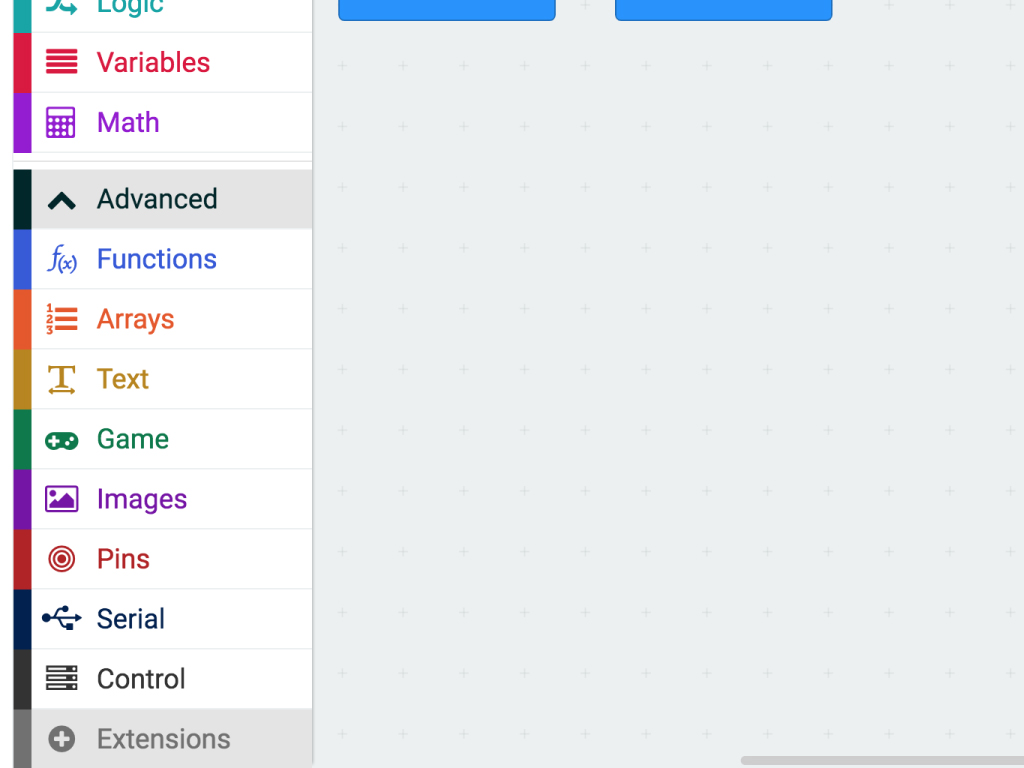
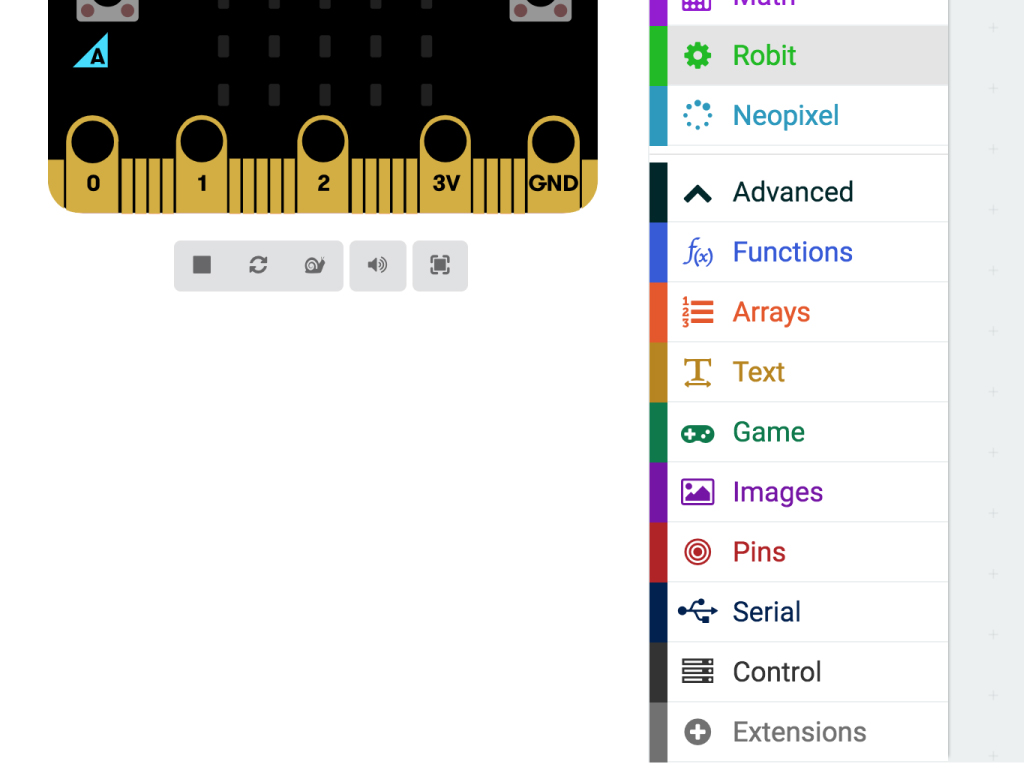
To easily program the Robit Smart Car, we'll use the 'robit' and 'neopixel' MakeCode packages over in the Extensions tab. Click on 'Advanced'.
Click on 'Extensions'
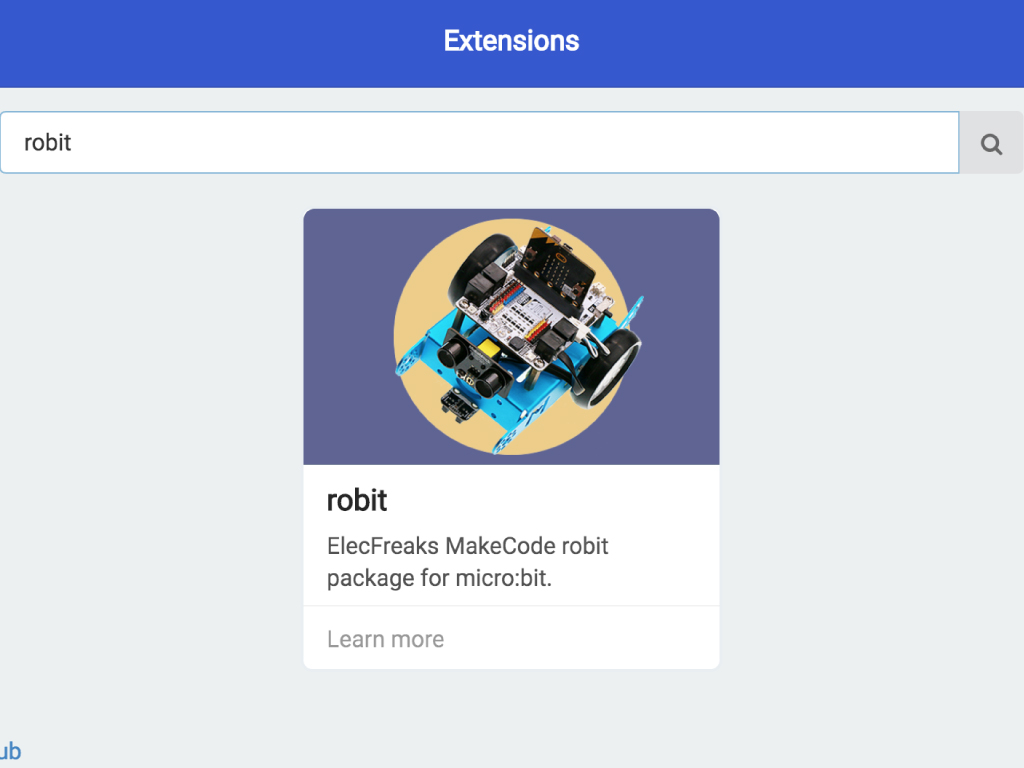
Type 'robit' in the search bar
Click on the robit package and it will be automatically added to the MakeCode editor
Repeat the first two steps but this time, search for 'neopixel'
Click on the neopixel package and it will also automatically be added into the editor
let lightVal = 0
basic.forever(function () {
    lightVal = pins.analogReadPin(AnalogPin.P10)
    if (lightVal < 500) {
        neopixel.create(DigitalPin.P12, 2, NeoPixelMode.RGB).showColor(neopixel.colors(NeoPixelColors.White))
        basic.pause(3000)
    } else {
        neopixel.create(DigitalPin.P12, 2, NeoPixelMode.RGB).showColor(neopixel.colors(NeoPixelColors.Black))
    }
})
Open MakeCode editor and start a new project
Let's start by programming the LEDs to light up when there is no light or in dim light. Add the following code into the Javascript interface. The on-board light sensor on the Robit motherboard is connected to Pin 10 port on the micro:bit. You might also notice two on-board LEDs, labelled LED1 and LED2, these are connected to the Pin 12 port on the micro:bit.
If you are using the Blocks interface and if there is no option for 'P12' when changing 'Neopixel at pin ...' to be 'Neopixel at P12 ...' there is another way:
Click ' { } Javascript ' ,
Look at this line: 'neopixel.create(DigitalPin.P0, 2, NeoPixelMode.RGB).showColor(neopixel.colors(NeoPixelColors.White))'
Change the 'DigitalPin.P0' part to 'DigitalPin.P12'
Click ' { } Javascript ' ,
Look at this line: 'neopixel.create(DigitalPin.P0, 2, NeoPixelMode.RGB).showColor(neopixel.colors(NeoPixelColors.White))'
Change the 'DigitalPin.P0' part to 'DigitalPin.P12'
let threshold = 0
let lightVal = 0
lightVal = 0
robit.MotorRunDual(
robit.Motors.M1,
50,
robit.Motors.M2,
50
)
basic.forever(function () {
    threshold = 800
    lightVal = pins.analogReadPin(AnalogPin.P10)
    if (lightVal < threshold) {
        robit.MotorRunDual(
        robit.Motors.M1,
        50,
        robit.Motors.M2,
        50
        )
    } else {
        robit.MotorStopAll()
        neopixel.create(DigitalPin.P12, 2, NeoPixelMode.RGBW).showColor(neopixel.colors(NeoPixelColors.Red))
    }
})
Replace the previous code with the following in the Javascript interface.
With this MakeCode, the Robit Smart Car will continue to move forward until it finds enough light. How much light? We created a 'threshold' value for the light level.
For the condition: Once this threshold level has been reached and the light sensor detects this, the robot smart car will stop moving and its LED will light up.
let dist = 0
let threshold = 0
let lightVal = 0
lightVal = 0
dist = 0
robit.MotorRunDual(
robit.Motors.M1,
50,
robit.Motors.M2,
50
)
basic.forever(function () {
    threshold = 800
    lightVal = pins.analogReadPin(AnalogPin.P10)
    dist = robit.Ultrasonic(robit.Jpin.J1)
    if (dist > 5 && lightVal < threshold) {
        robit.MotorRunDual(
        robit.Motors.M1,
        50,
        robit.Motors.M2,
        50
        )
    } else if (dist < 5 && lightVal < threshold) {
        robit.MotorRunDual(
        robit.Motors.M1,
        -50,
        robit.Motors.M2,
        -50
        )
        if (Math.randomRange(0, 100) < 50) {
            robit.MotorRun(robit.Motors.M1, -25)
            basic.pause(500)
        } else {
            robit.MotorRun(robit.Motors.M1, -25)
            basic.pause(500)
        }
    } else {
        robit.MotorStopAll()
        neopixel.create(DigitalPin.P12, 2, NeoPixelMode.RGBW).showColor(neopixel.colors(NeoPixelColors.Red))
    }
})
We don't want the robot to hit a wall! So let's program it to avoid obstacles too. If you haven't already, you might want to check out our guide on obstacle avoidance with the robit smart car.
Replace the existing code with the following in the Javascript interface.
Replace the existing code with the following in the Javascript interface.
These are the new conditions:
If the distance from any obstacle is more than 5cm, and the light level is less than the set threshold level, continue moving forward.
Else if the distance from an object is less than 5cm and the level of light is less than the threshold level: reverse and do a turn. Whether it makes a full right turn or left turn depends on a randomly generated number.
Else, if the light threshold level has been reached (it's bright enough), stop moving and light up the LED.
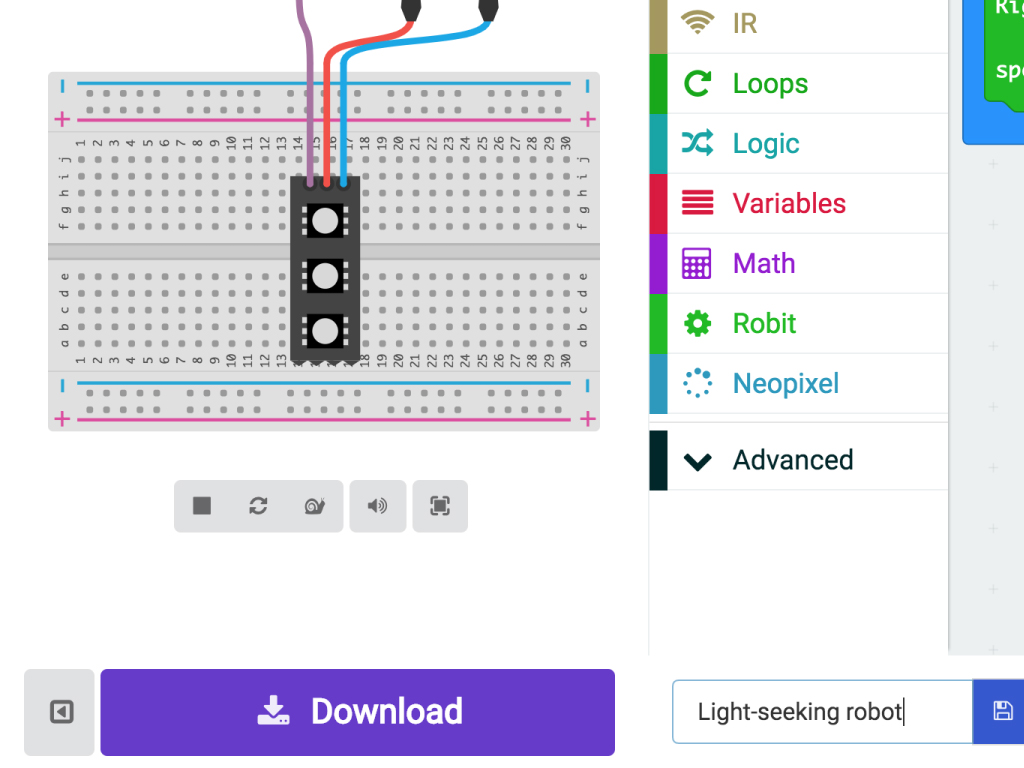
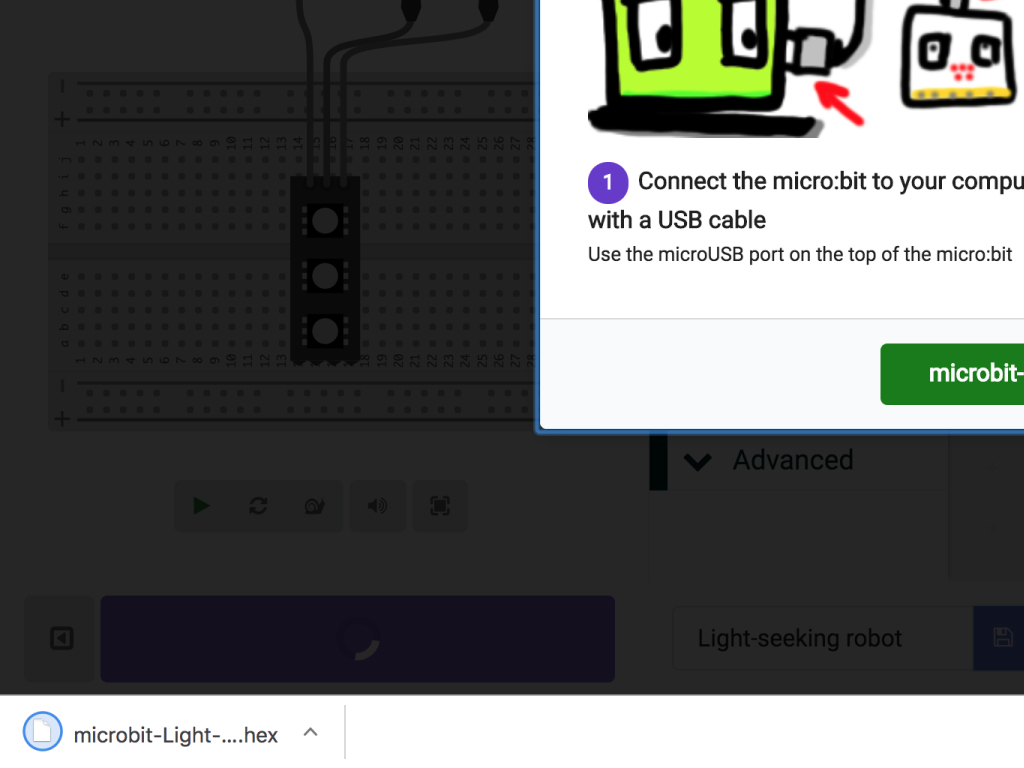
To upload the code to the micro:bit, first connect the micro:bit to the computer via microUSB cable
Click on the 'Download' button and the hex file will be automatically downloaded to your 'Downloads' folder
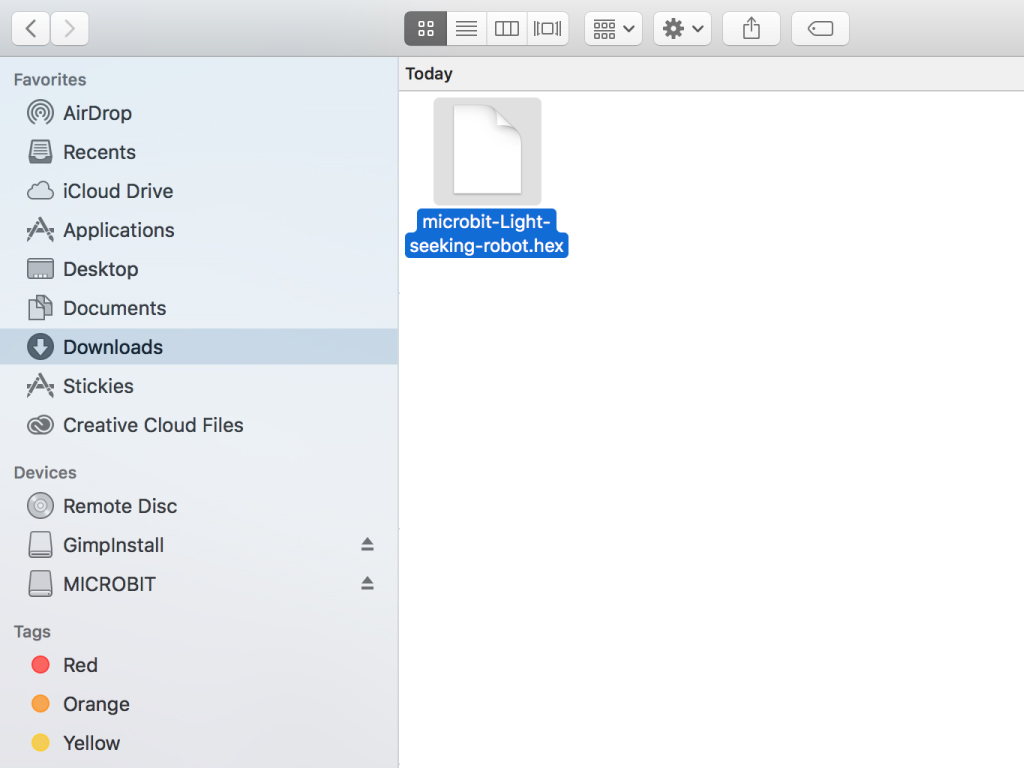
Drag and drop the downloaded .hex file to the MICROBIT drive
Leave the micro:bit alone for a few seconds as it blinks. The code is uploading.