How to Put the Raspberry Pi 3B+ into the Official Red and White Case
Learn how to put the Raspberry Pi 3B+ into its case and how to attach heatsinks to it
Written By: Cherie Tan
Difficulty
Easy
Steps
6
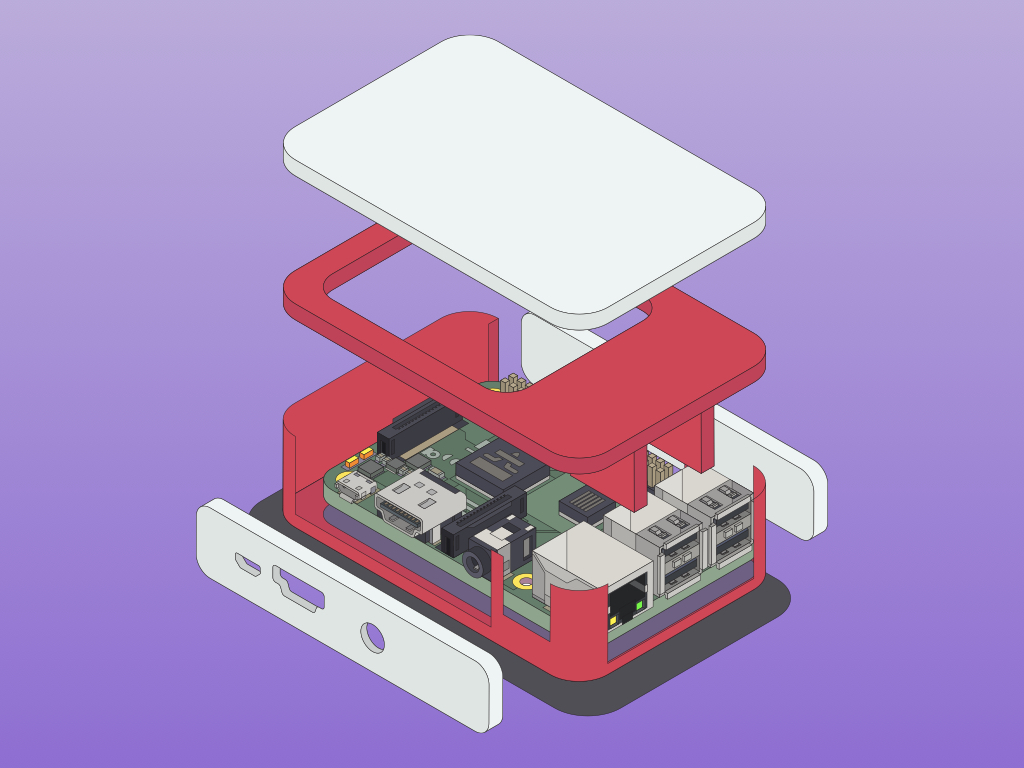
Protect your Raspberry Pi with the official case designed to house the Raspberry Pi B+, Raspberry Pi 2, Raspberry Pi 3, and Raspberry Pi 3B+.
In this guide, you will learn how to insert a microSD card, attach heat sinks and put your Raspberry Pi 3 Model B+ into its case. This is for the Official Red/White Raspberry Pi case.
After completing this guide, your Raspberry Pi will be better protected from static, dust, and any straight forward knocks, bumps, or spills.

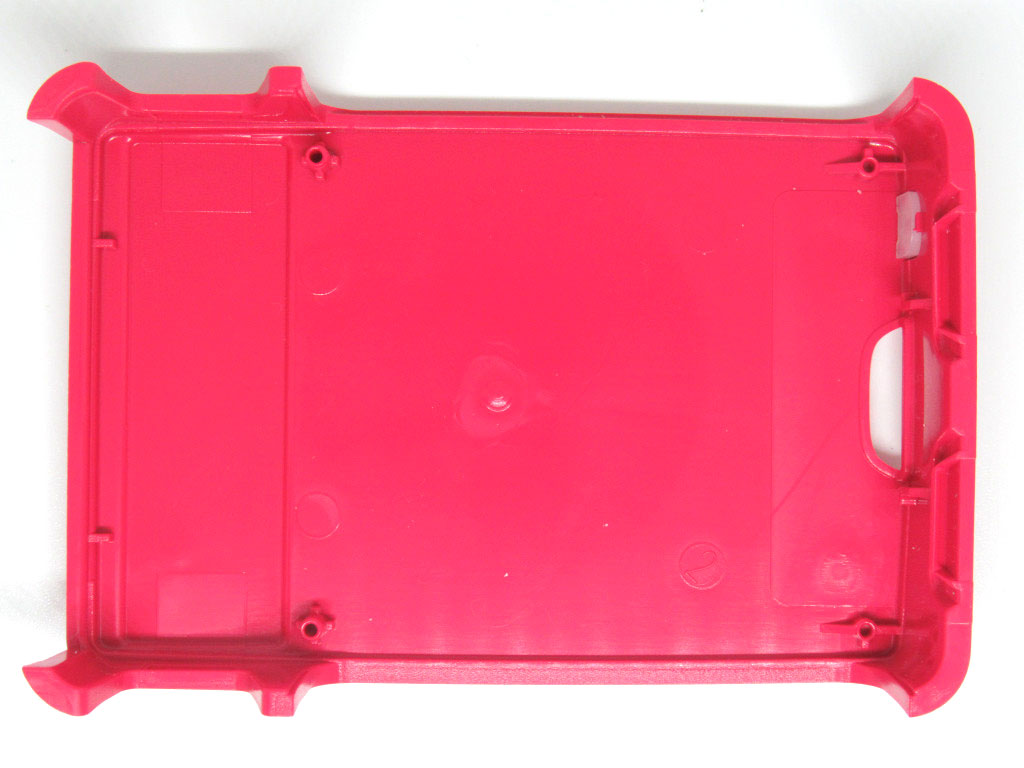
There are five parts to the case. A top part comes as two pieces. When fully assembled, one of the pieces can be removed for easy access to the GPIO pins.
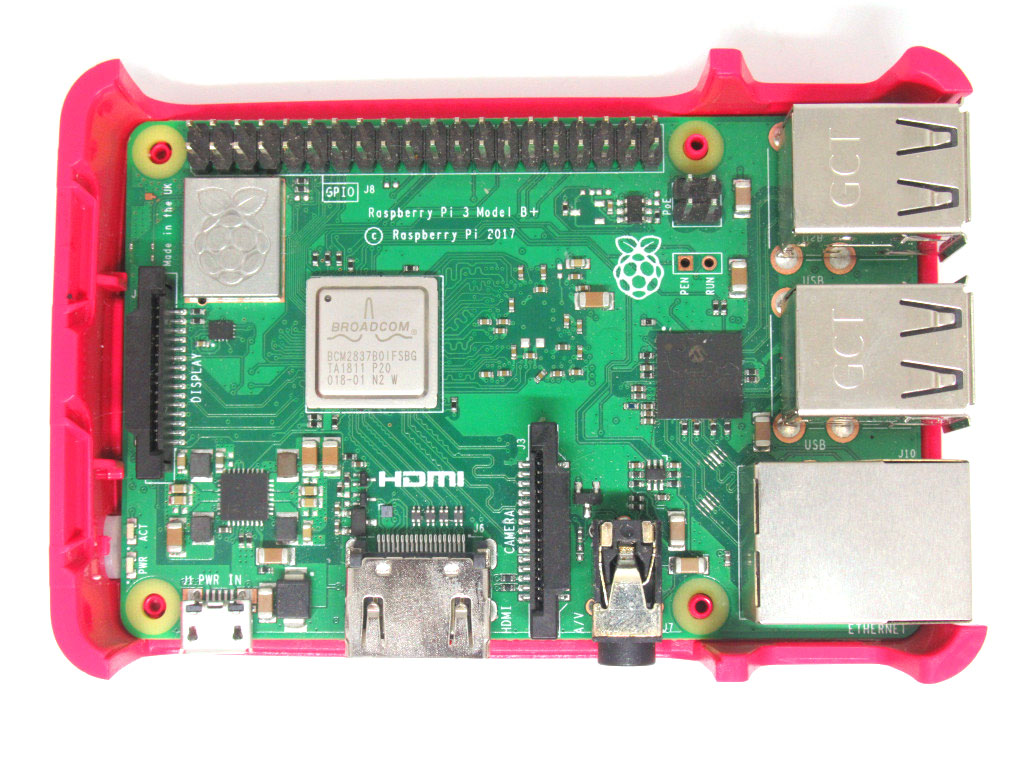
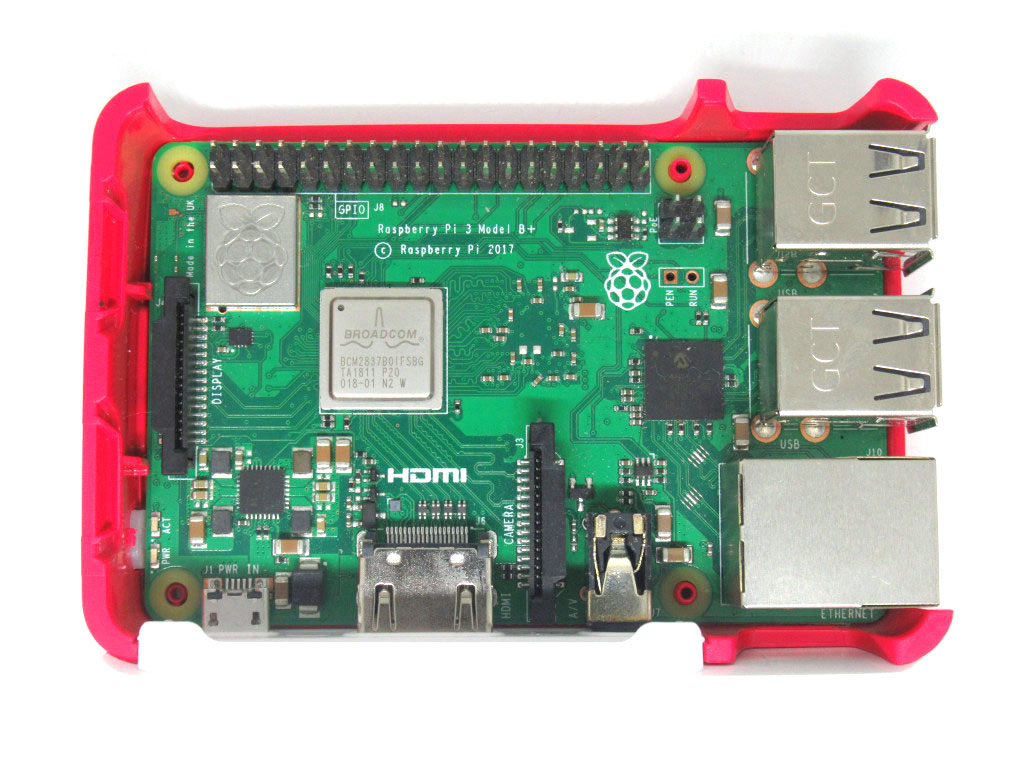
To assemble the case, first place the Raspberry Pi face up on the bottom part.
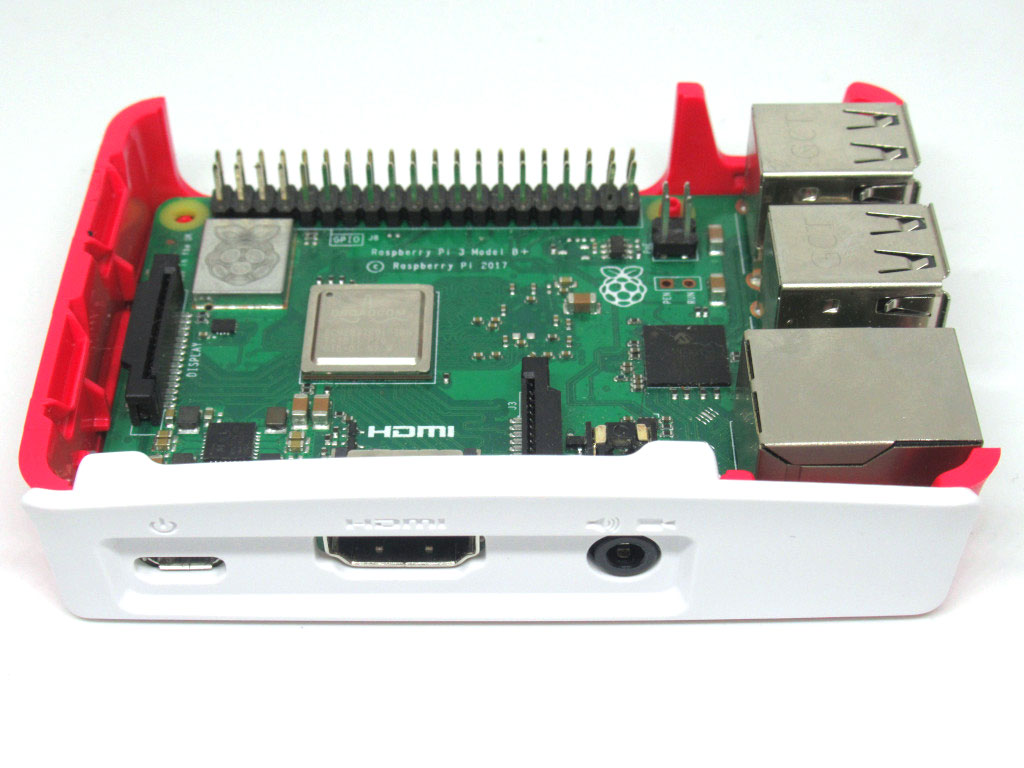
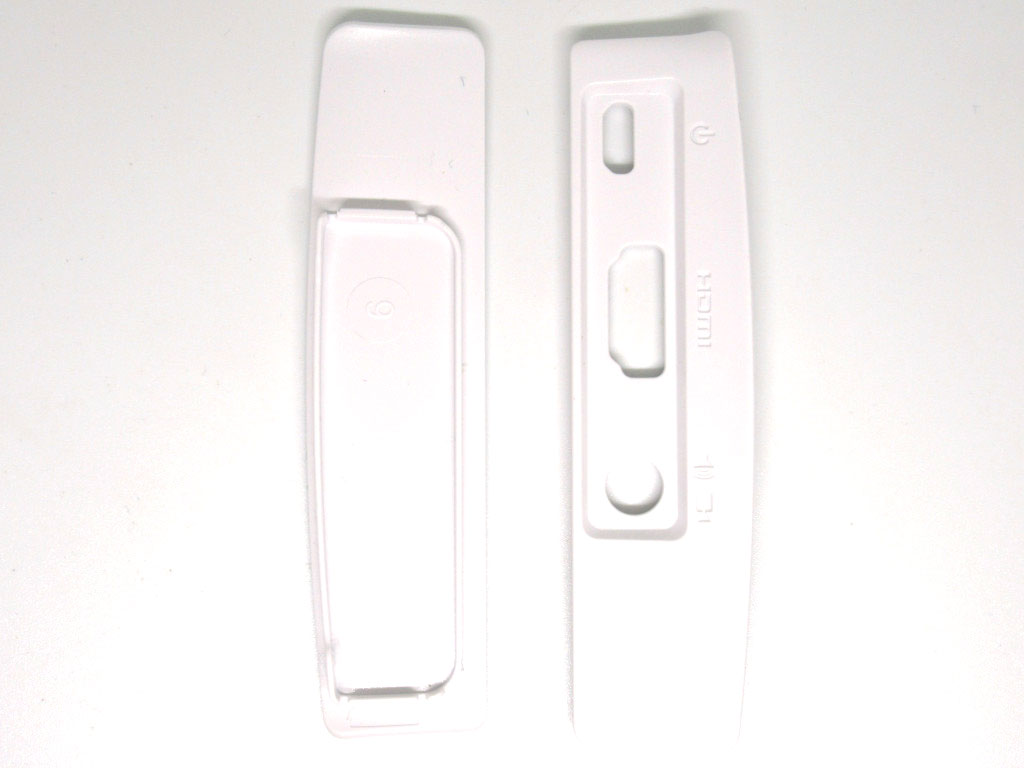
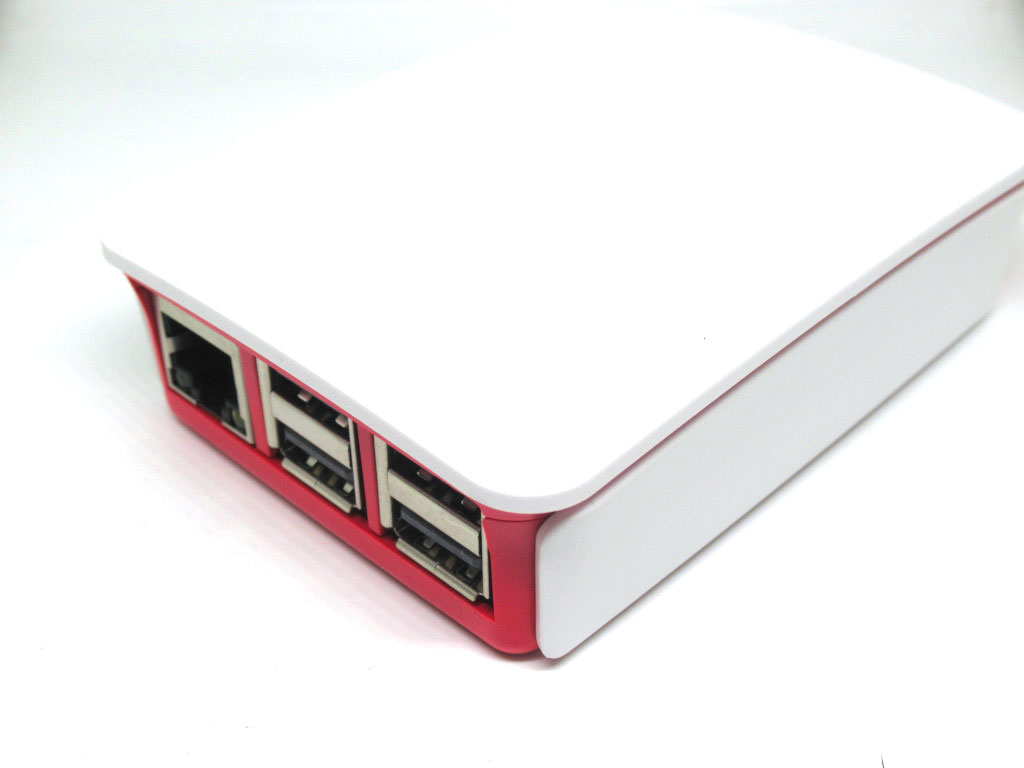
Now place the side part that goes on the side of the Pi with the power input, HDMI port and audio jack.
It should snap on to fit without much pressure.
The power input, HDMI port and audio jack should be accessible via the holes as shown.
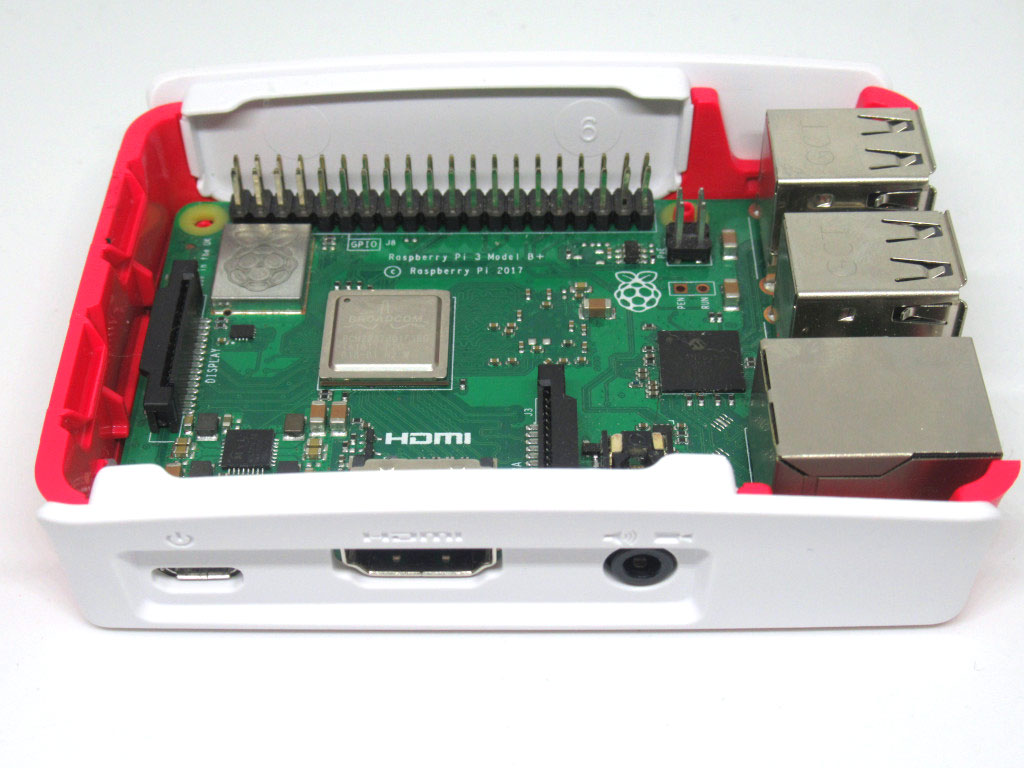
Place the other side part on the side of the Pi where the GPIO pins are located.
This is the side part without any holes
It should also snap on without much pressure required.
Before continuing on, if you would like to add heat sinks to the Raspberry Pi, feel free to add them now. For instructions on how to place heat sinks on the Broadcom chip and Ethernet chip, please follow our previous guide.
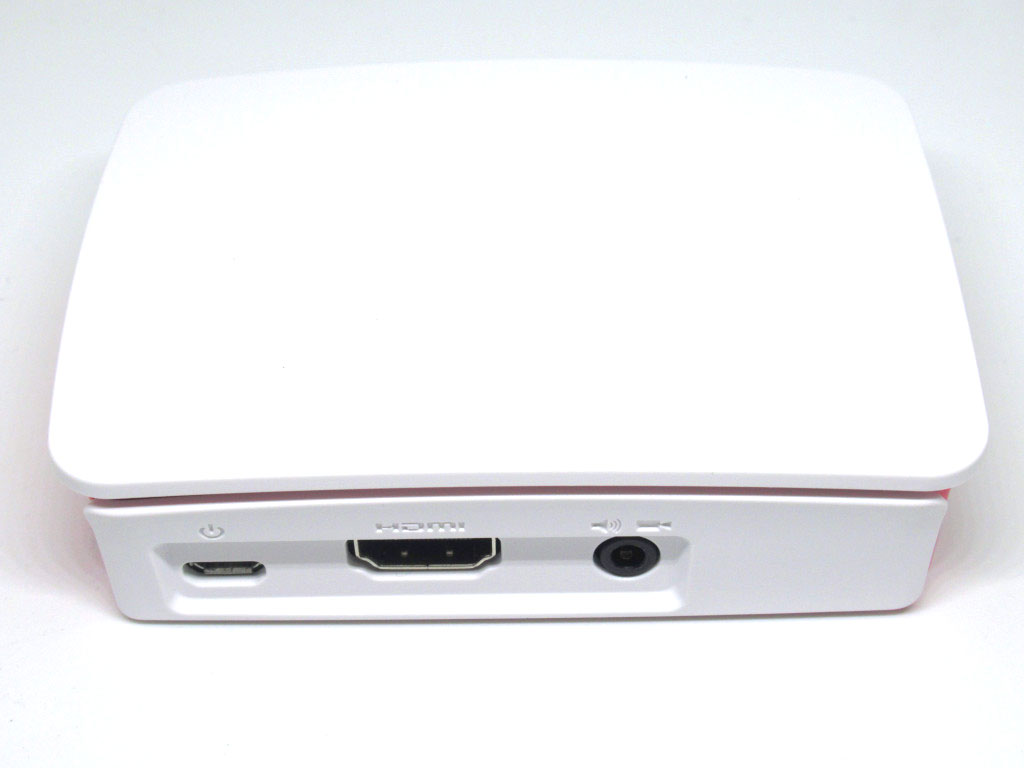
Finally, place the top piece.
It should snap on without much pressure.
The top piece comes in two separate parts that can be snapped together. It is easy to access the GPIO pins this way, simply snap off the white top part. When done, snap the white top part back on, it should fit the rectangular hole on the red top enclosure.
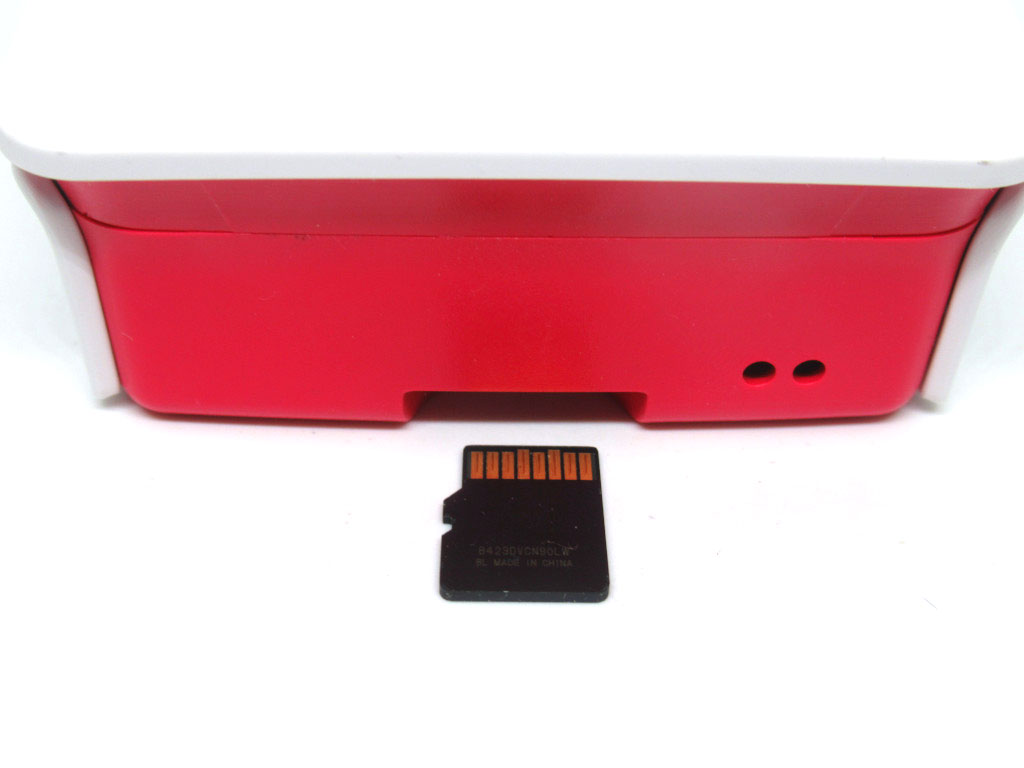
Finally, we will place the microSD card into the Raspberry Pi. Turn the Raspberry Pi over and you will see the microSD card slot.
Gently slide the microSD card into the slot, making sure that the writing on the SD card is face down towards the bottom of the Raspberry Pi.
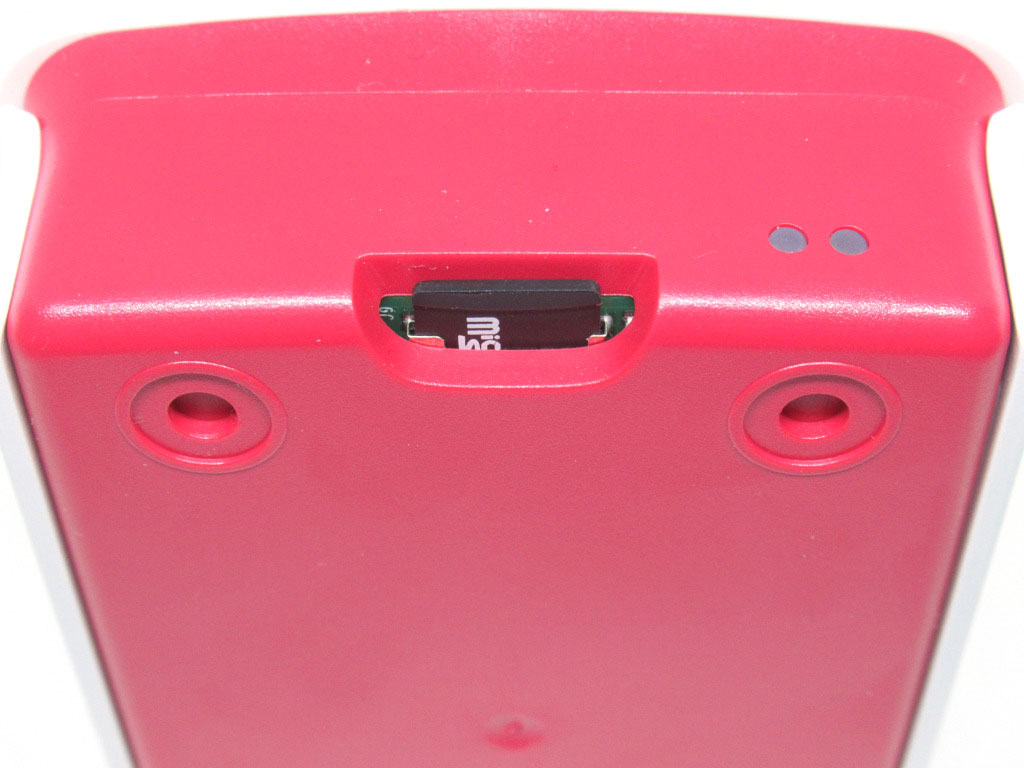
Push the microSD card in.
For the Raspberry Pi 3 and 3B+, the microSD card does not 'click' in. Simply slide it into the slot.