Candy Collecting Game with ShakeUp
Make a simple candy collecting game with ShakeUp
Written By: Cherie Tan
Difficulty
Medium
Steps
10
Game programming may seem challenging, but in ten steps you'll have a game up and running.
In this guide, we'll show you how to build a simple candy collecting game of your own with the Scratch programming language.
Complete this guide to get familiar with nesting conditional control blocks in Scratch, and take your game programming skills to the next level!
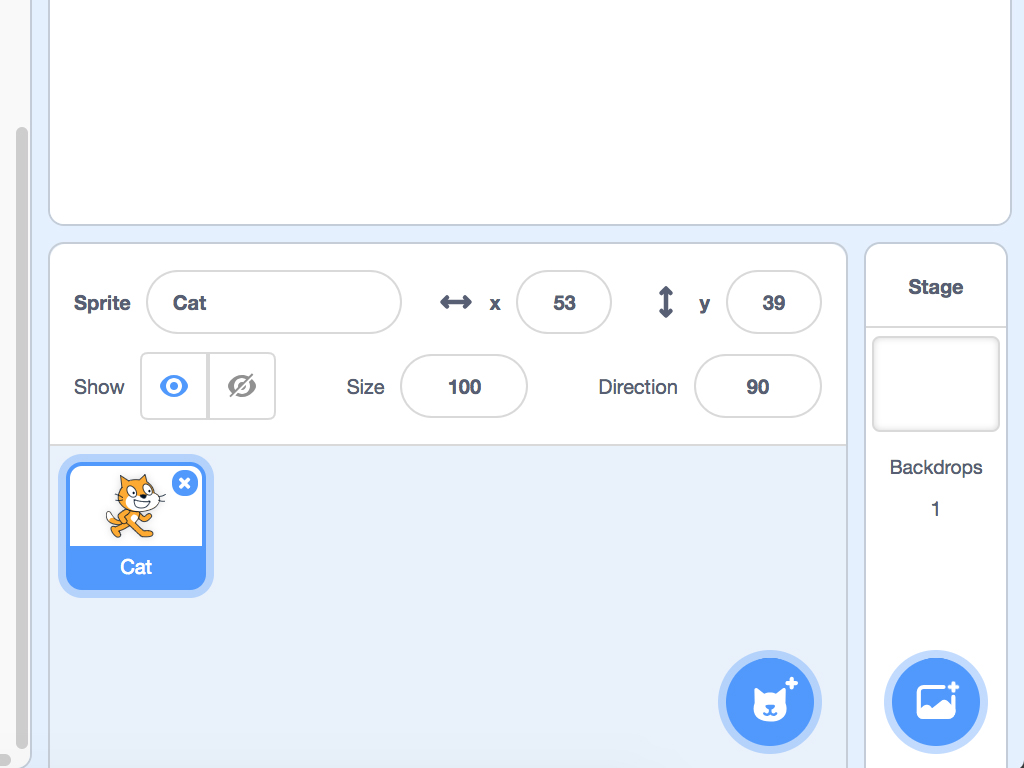
First, open up the Scratch editor and start a new project.
Remove the cat sprite by clicking on the little cross icon on 'Cat'
In this game, enemies and candies will fall from the sky. So we'll need to create a sprite for the player, a sprite for the enemy, and a sprite for the candy.
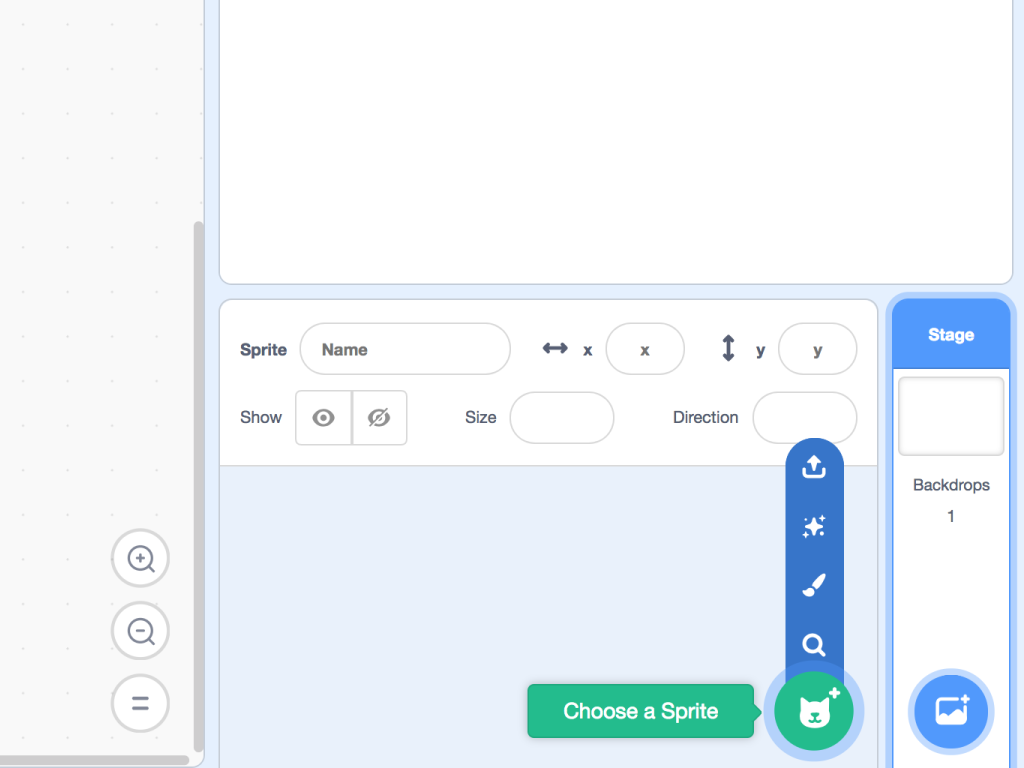
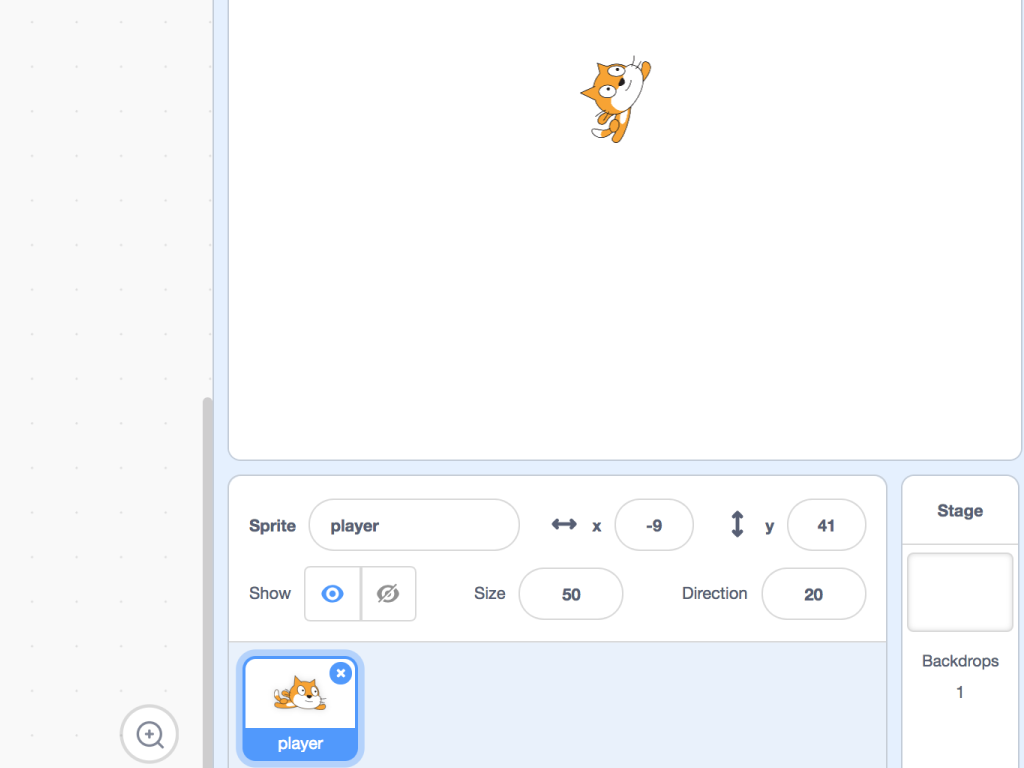
Create a new sprite and call this 'player'.
Hover your mouse over the "Choose a sprite" button and click on it
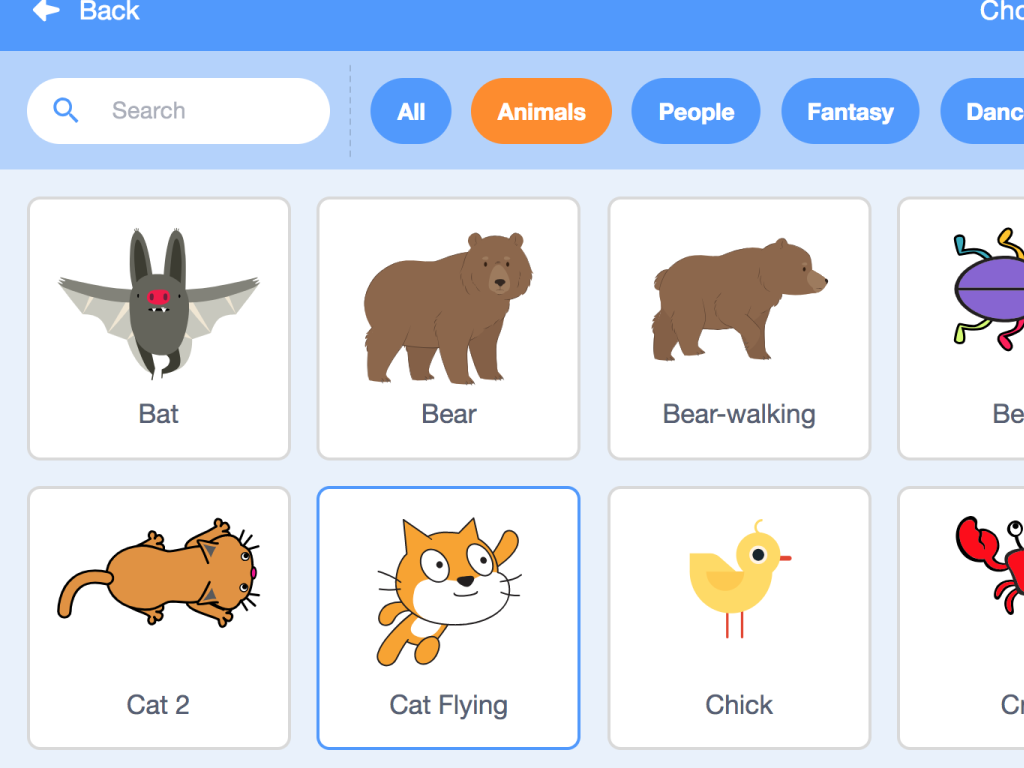
Choose a sprite for the player. Here, we have used one of the Scratch cats.
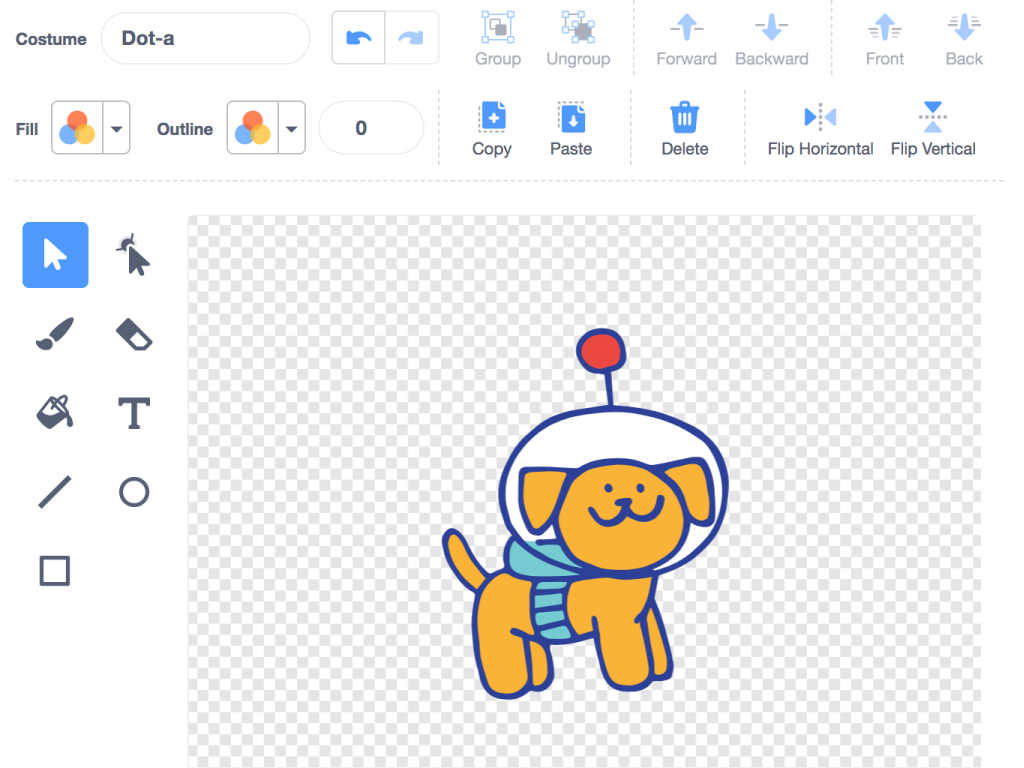
Hover your mouse over the "Choose a sprite" button and click on it
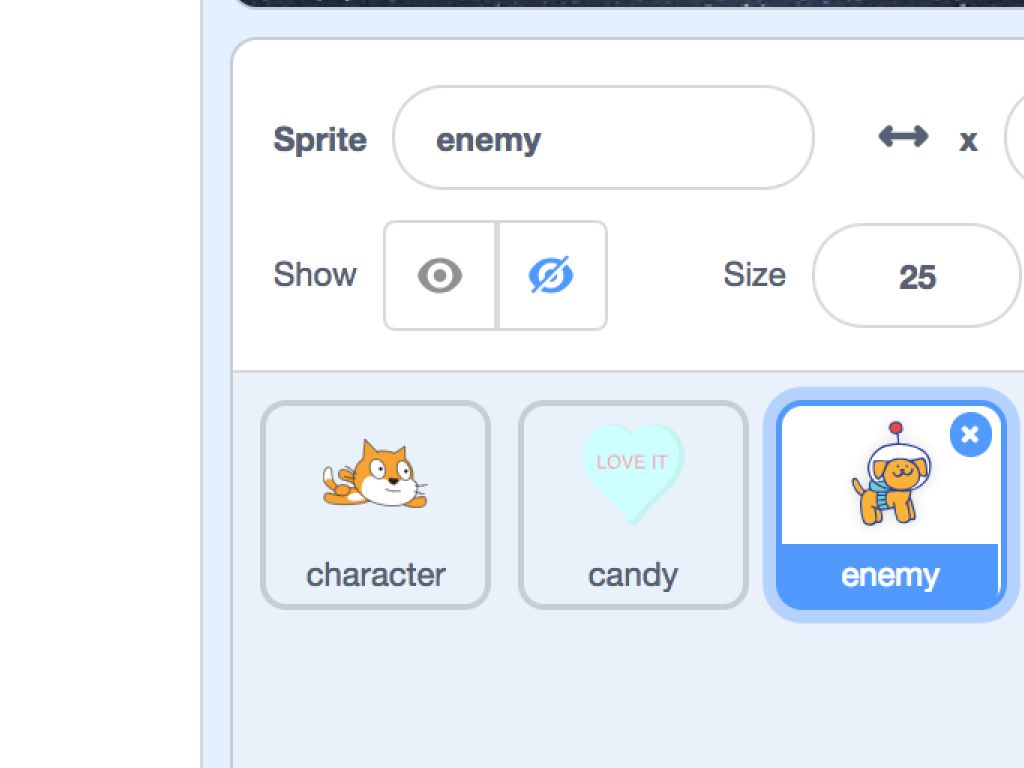
Choose a sprite for the enemy and name it 'enemy'.
Make a sprite for the candy. Name this sprite, 'candy'.
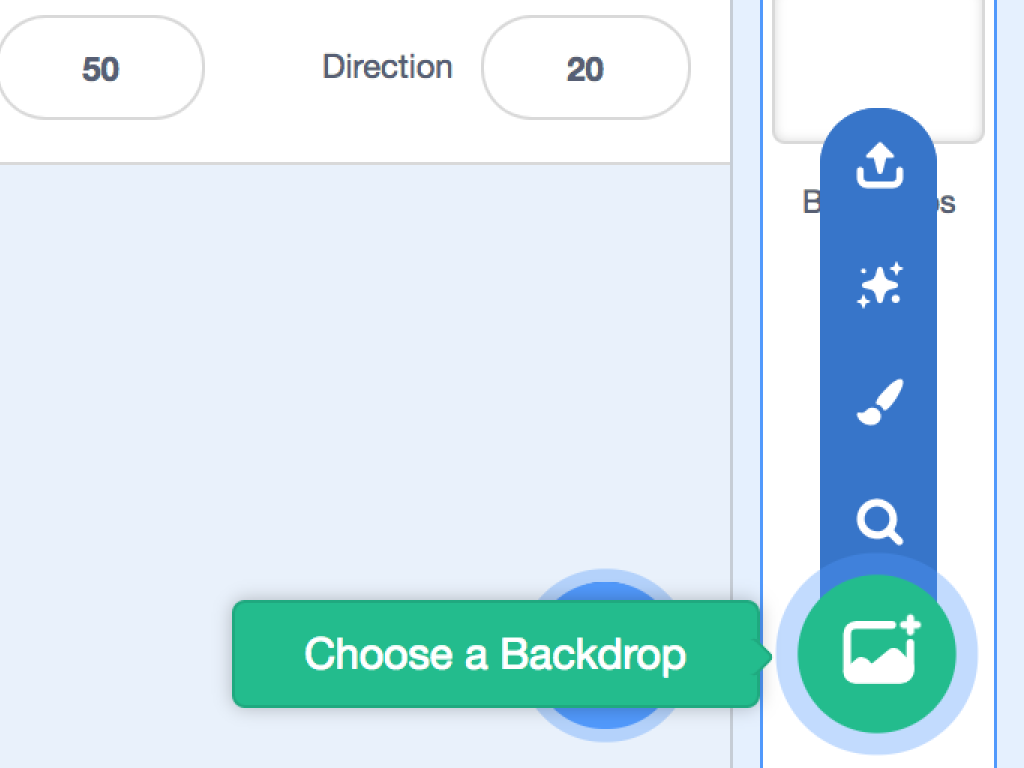
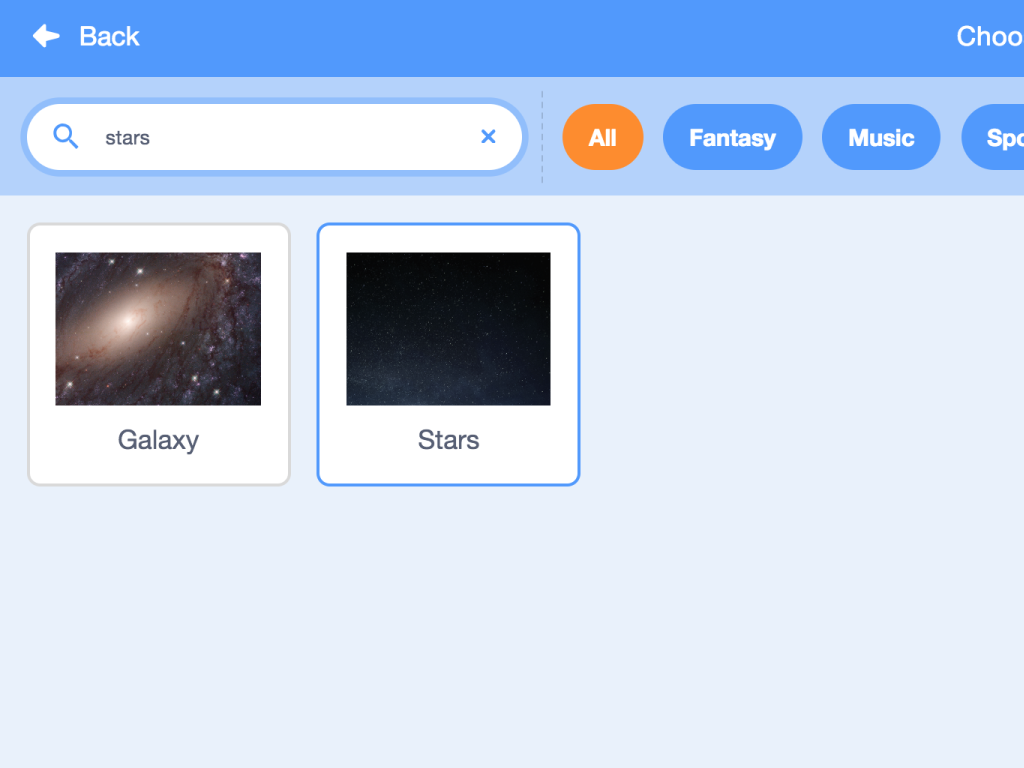
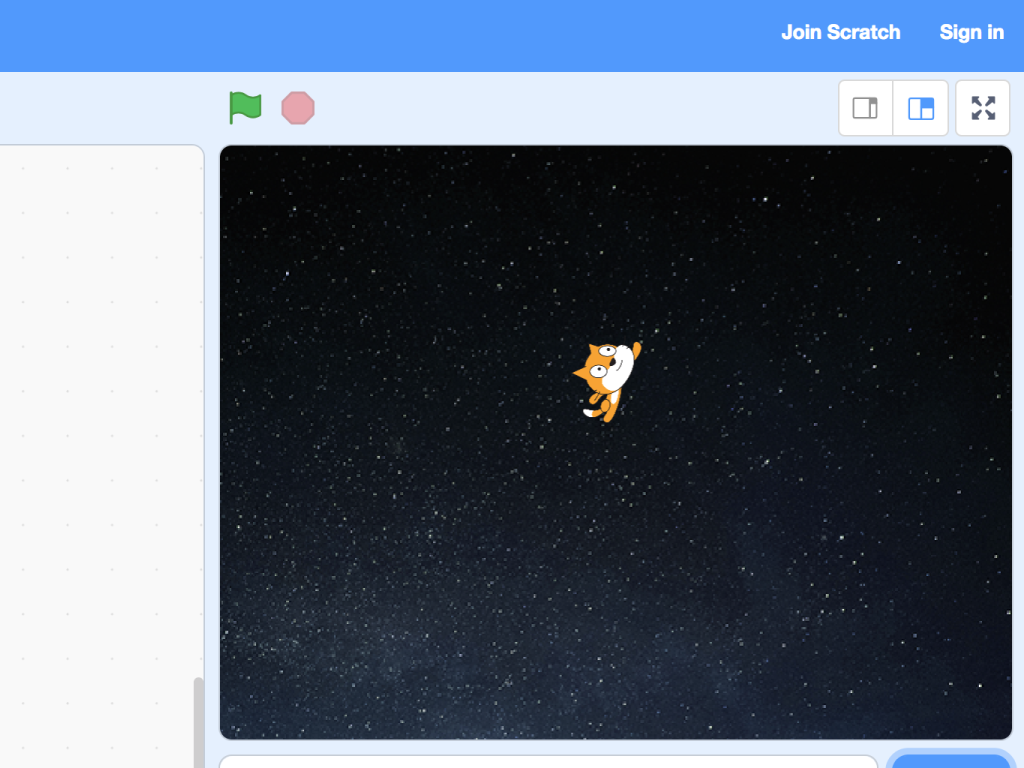
Choose a backdrop for the game. Hover over the 'Choose a Backdrop' icon.
Here, we've chosen 'Stars' but feel free to pick whichever you want.
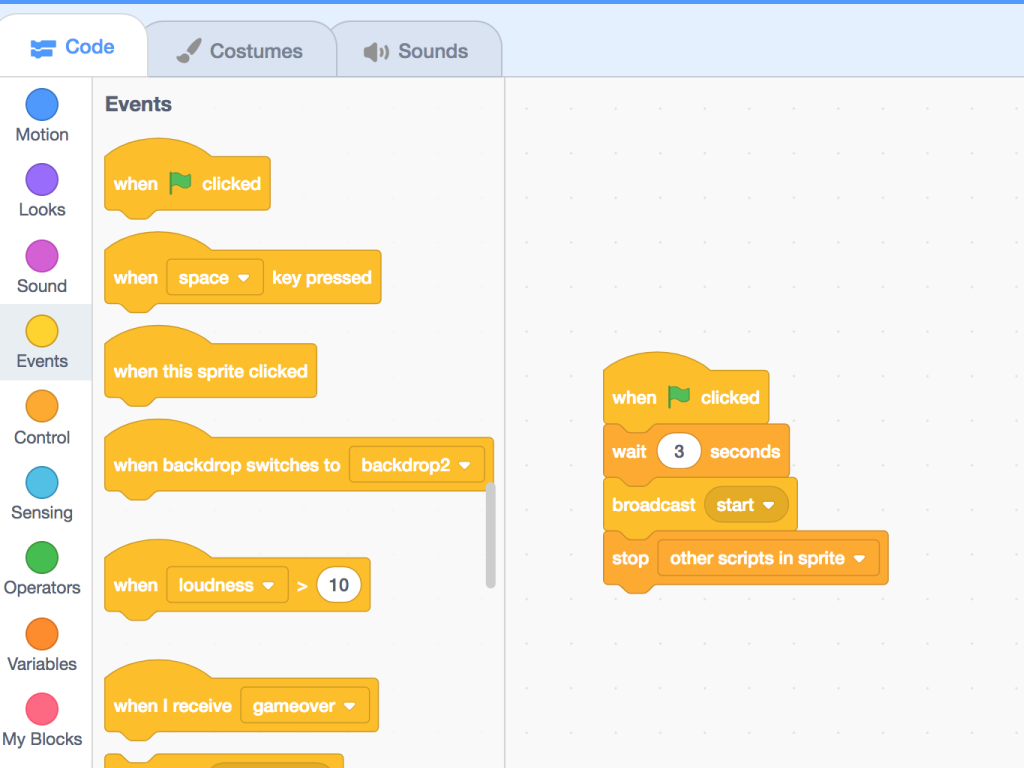
Now, we'll also need a 'start' sprite. So go ahead and create one. Click on the 'start' sprite and then click on 'Code'.
Add the following blocks as shown in the image.
To create a new message for 'broadcast' called 'start':
Click on the value in the 'broadcast ... ' block
Click on 'new message'
Name it 'start'
Click on the value in the 'broadcast ... ' block
Click on 'new message'
Name it 'start'
Click on the backdrop
Click on 'Code' tab
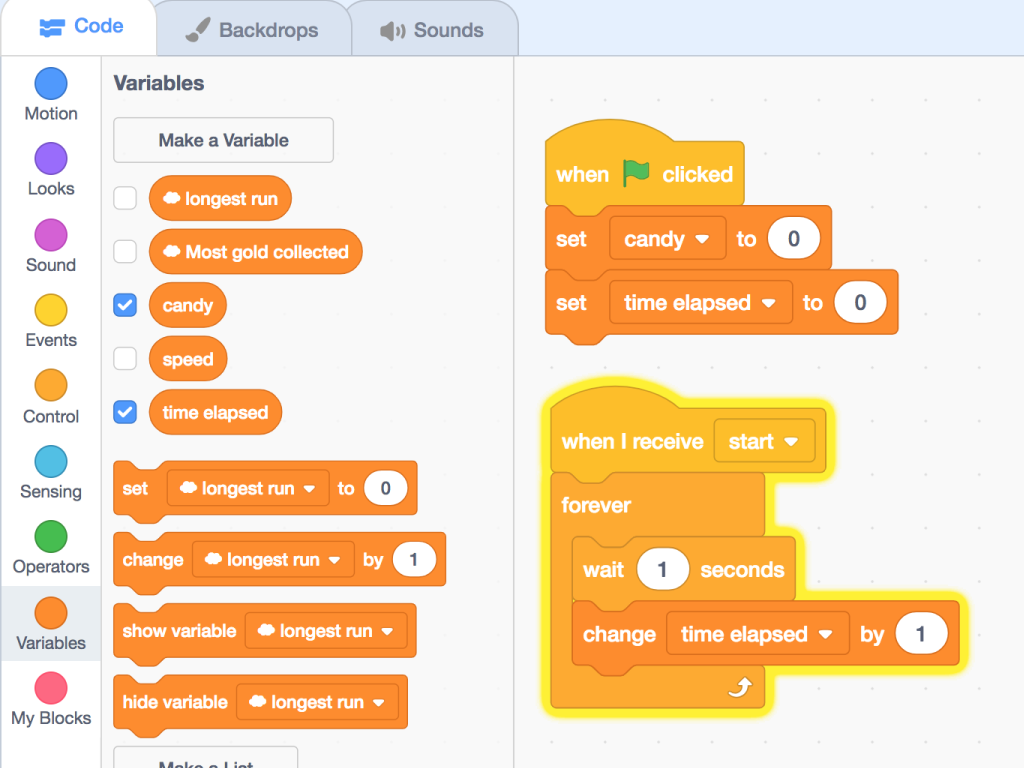
Click on 'Variables' and 'Make a variable'.
Create two new variables, 'time elapsed' and 'candy'.
Add the following blocks to set their values to 0. When the game starts, 'time elapsed' will start counting.
Next, click on the 'player' sprite you created just now.
Click on the 'Code' tab
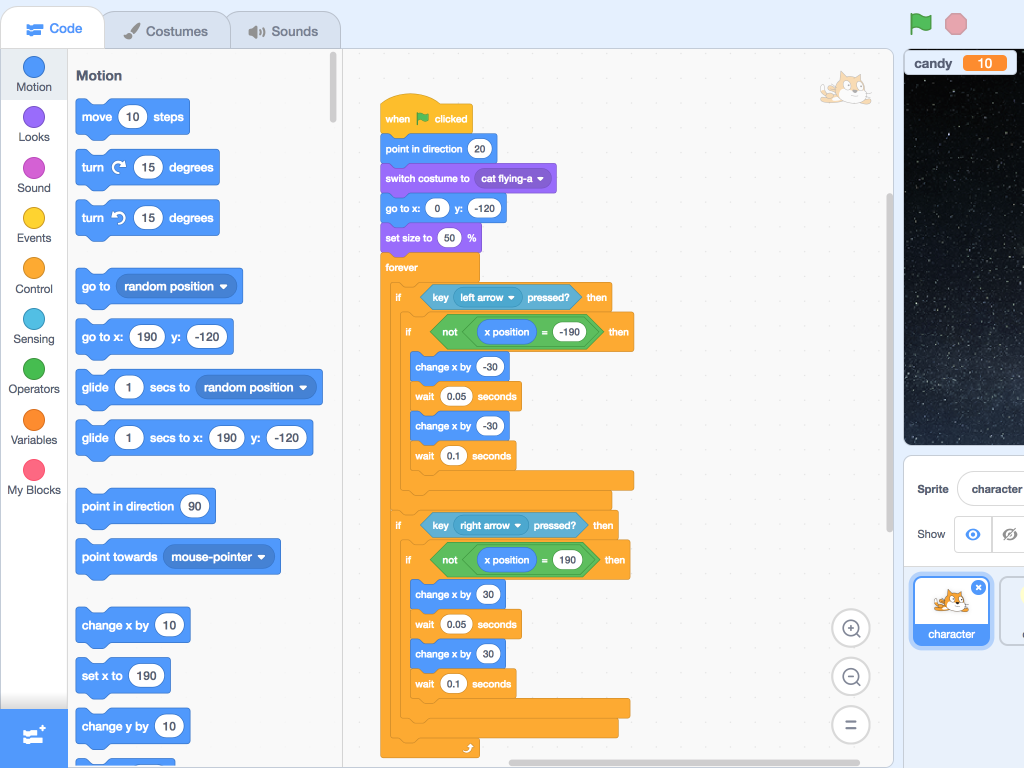
Add the following blocks to get the player sprite moving left or right.
When the left arrow key is pressed, if the x position is not -180, then change the x position by -30
If the right arrow is pressed, and if the x position is not 180, change the player's x position by 30
We've also added a bit of a delay between each move, so we've used a 'wait ... seconds' block in between 'change x by ... ' block.
The cat sprite can move in either direction within the bounds x = -190 and x = 190.
What we've done here: We've nested the conditional control blocks! Since a Scratch control block is limited to single condition at a time, to develop more complex programming logic, you can nest them within another. So if the left arrow key is pressed, and if it is not at x position -190, then change x position by -30. Wait 0.05 seconds, change x by -30 again, then wait another 0.1 seconds. Likewise, if the right arrow key is pressed, and if the x position is not at 190, then the other blocks will execute.
For this endless runner game, the way to score points is to collect as many heart candies as you can. Click on the 'candy' sprite.
Click on 'Code'
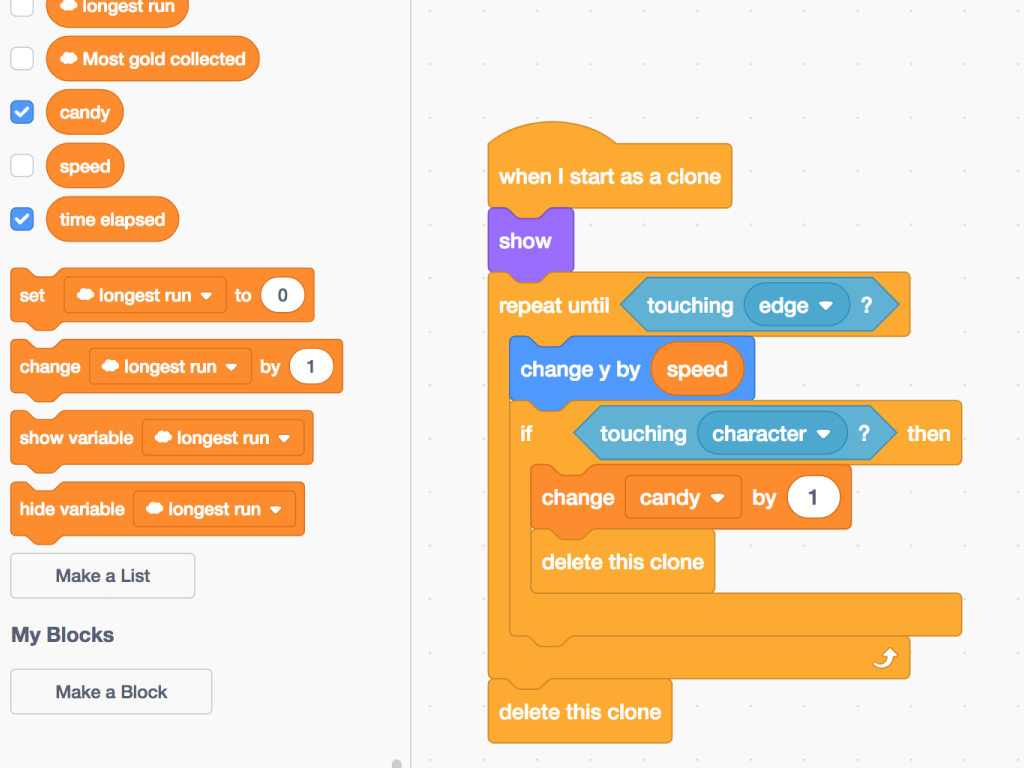
We'll now add the code blocks that will make them fall from the top to the bottom of the screen. If the player touches the candy sprite, it will also increase the score by 1.
Next, to create more than one heart candy sprite on screen, we'll use the 'create clone of myself' block. Add the following blocks as shown in the second image.
Finally, to position where the clones will be and how fast they will appear, add the following blocks in the third image. Feel free to change the values in 'pick random ... to ... ' block to much smaller numbers. For example, you could change it to be 'pick random 0.1 to 0.2' seconds'. You'll find the candy sprites will appear a lot quicker on screen.
Make sure 'candy' and 'time elapsed' variables are checked. They will then show up on screen in-game!
Click on the 'enemy' sprite.
Click on the 'Code' tab for it.
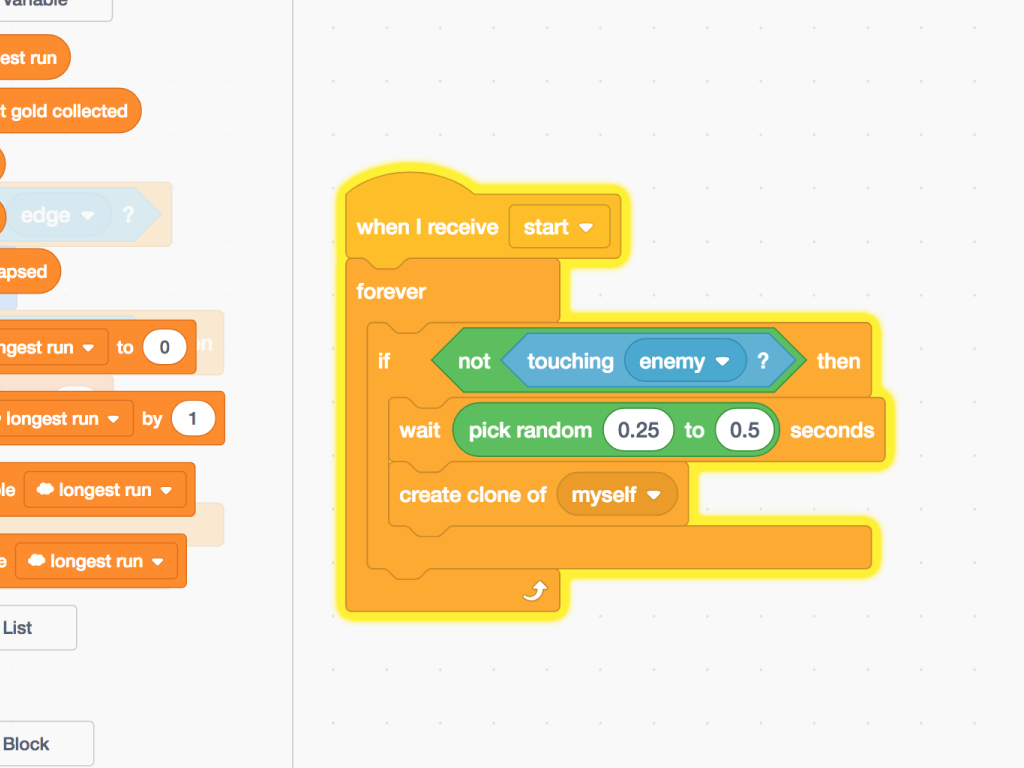
We'll now get enemies falling from the top, but where they will appear will be different to the candies. Add the following three chunks of code blocks as shown in the three images.
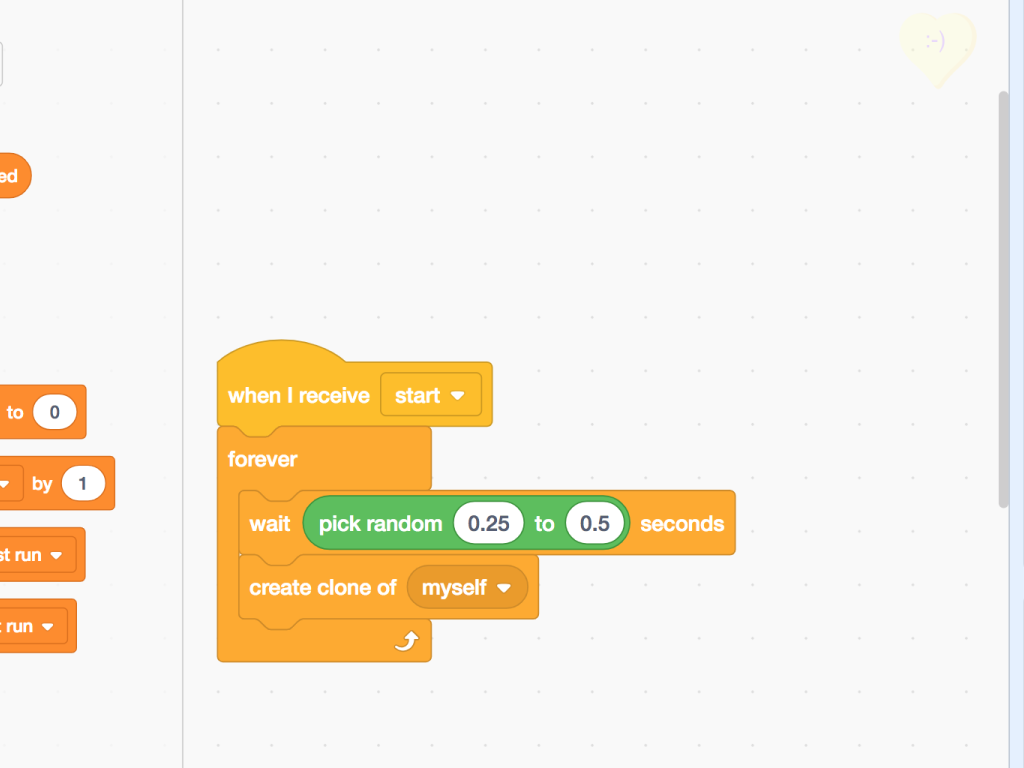
The first chunk will make a clone of the enemy sprite when the message 'start' has been broadcasted. You can change how quickly a clone is made by changing the numbers in 'wait pick random 0.25 to 0.5 seconds'
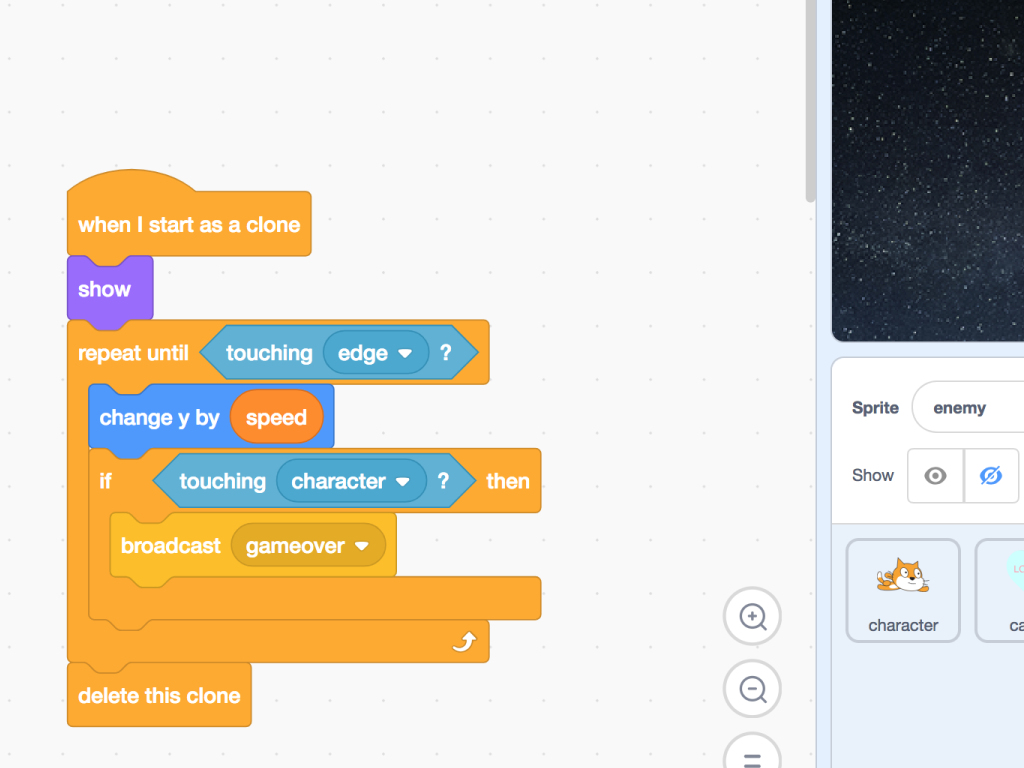
The second chunk gets the enemy sprites falling, like how it was for the candy sprites. Except, this time, if it touches the character sprite, 'gameover' will be broadcasted.
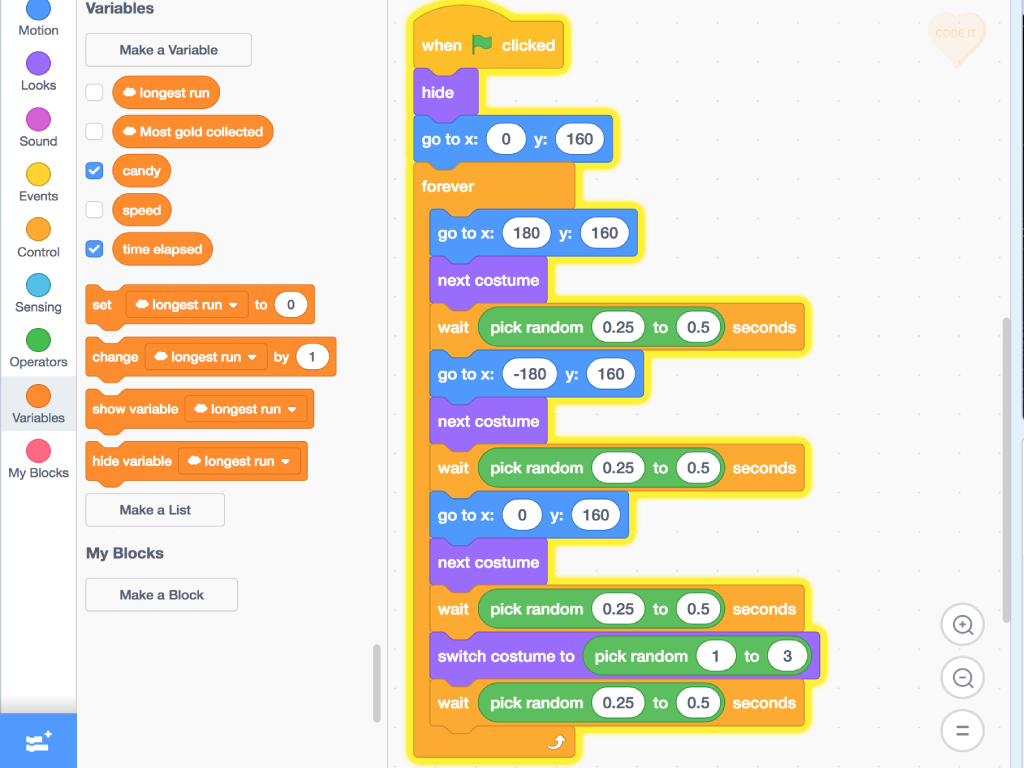
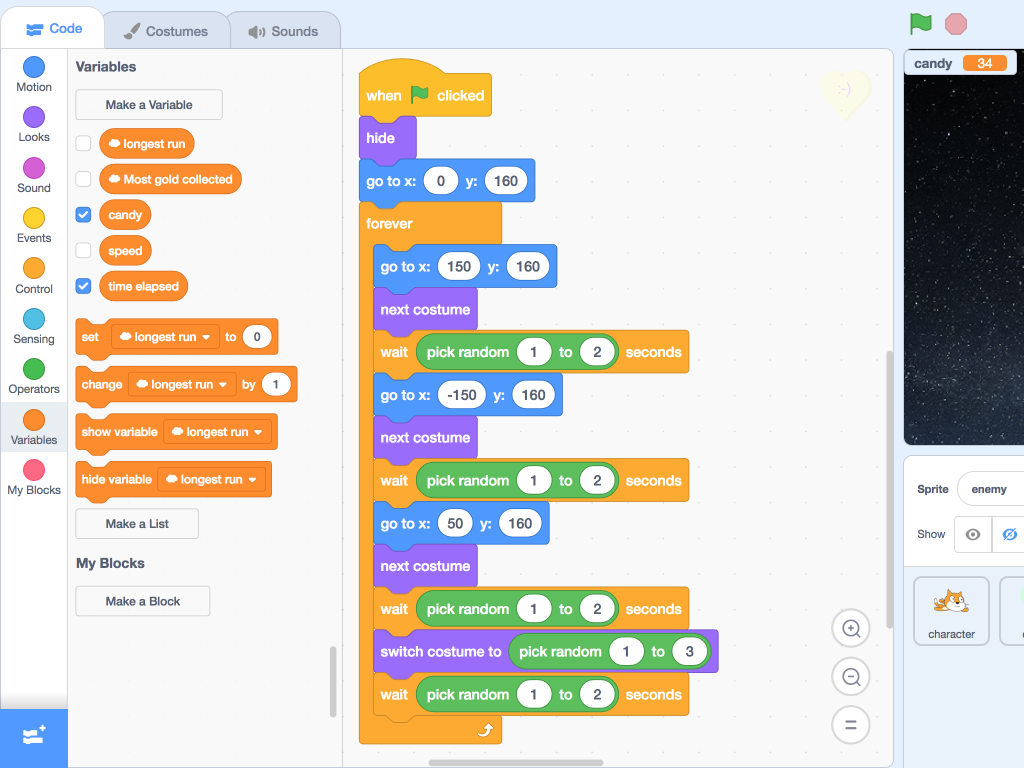
Finally, the last chunk of code blocks determines where the enemy sprites will appear.
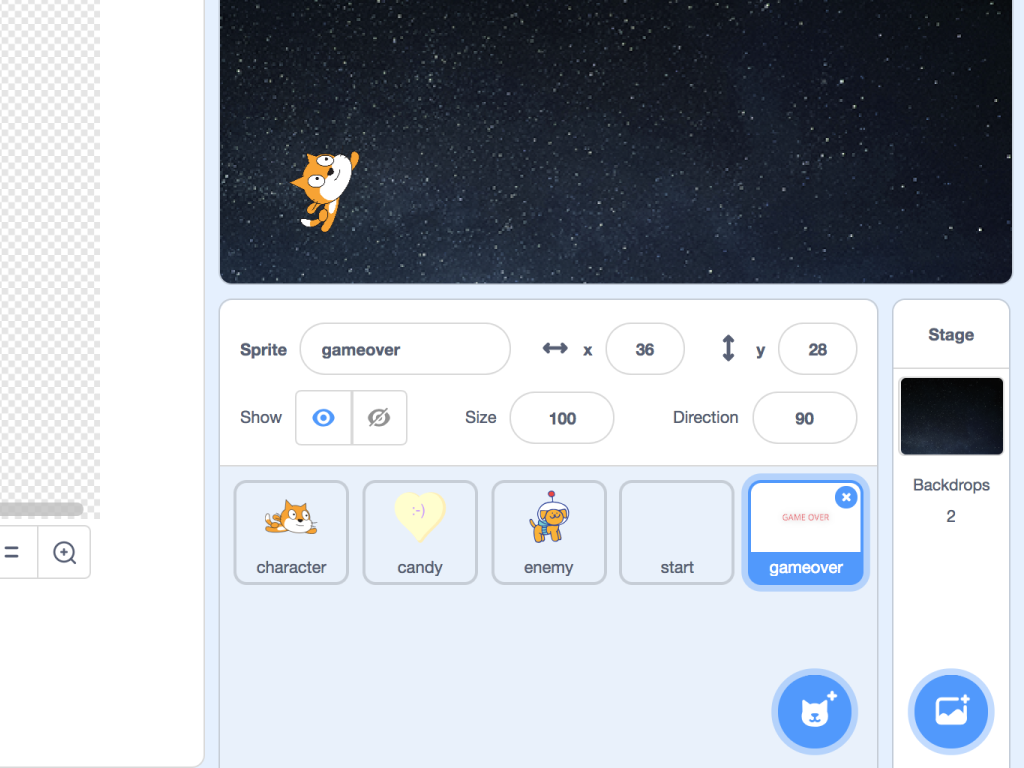
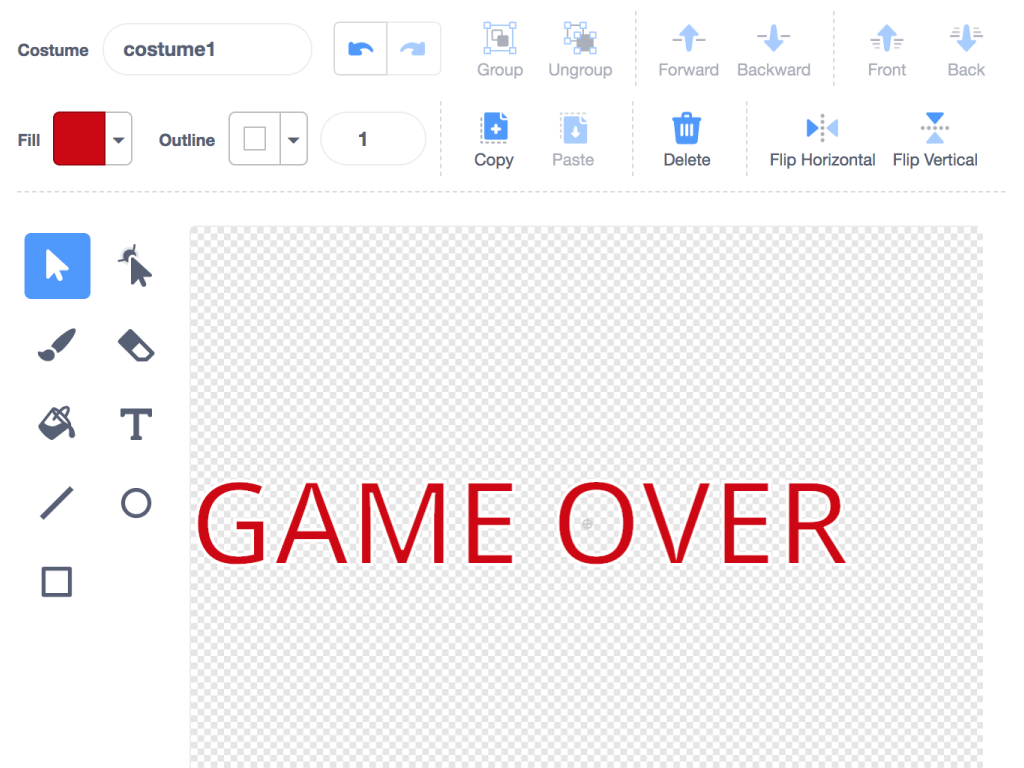
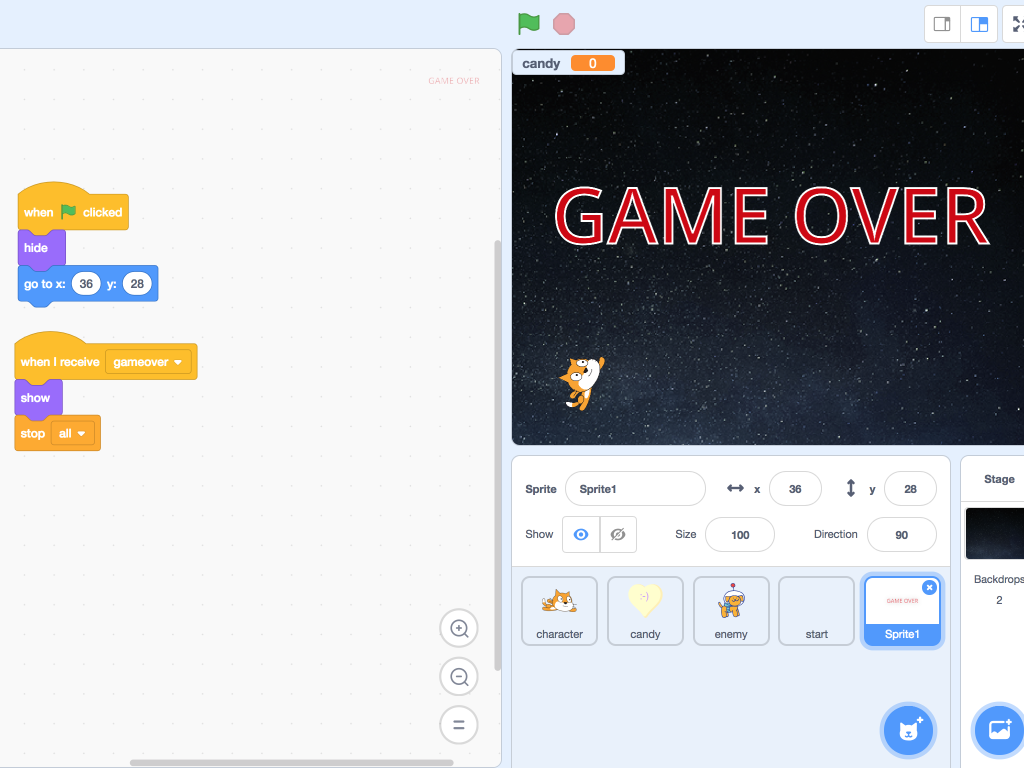
Create a sprite and call it 'gameover'. This sprite will show when the game ends. So add the following code blocks shown in the third image.
You can also download the full Scratch code here! ShaKey-game.sb3
Connect your ShakeUp to your computer and you're good to play.