Bluetooth with micro:bit
Learn about bluetooth and how to use the radio module on the micro:bit
Written By: Cherie Tan
Difficulty
Easy
Steps
7
The micro:bit has a built-in radio module that lets it communicate wirelessly with other devices including another micro:bit or several, and Bluetooth-enabled smartphones as well as tablets.
In this guide, you'll learn about Bluetooth LE as well as how to use the radio module on the micro:bit to communicate with another micro:bit. You'll also learn how to get started with using a smartphone or tablet with the micro:bit.
Complete this guide to start using one of the most powerful features of the micro:bit.
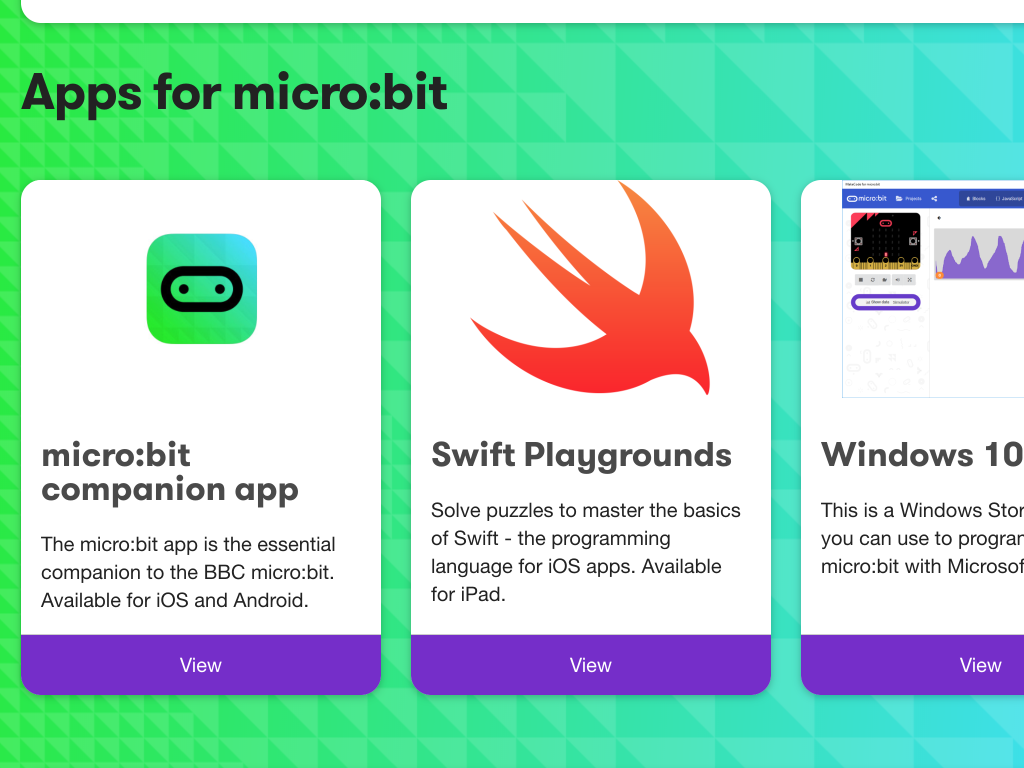
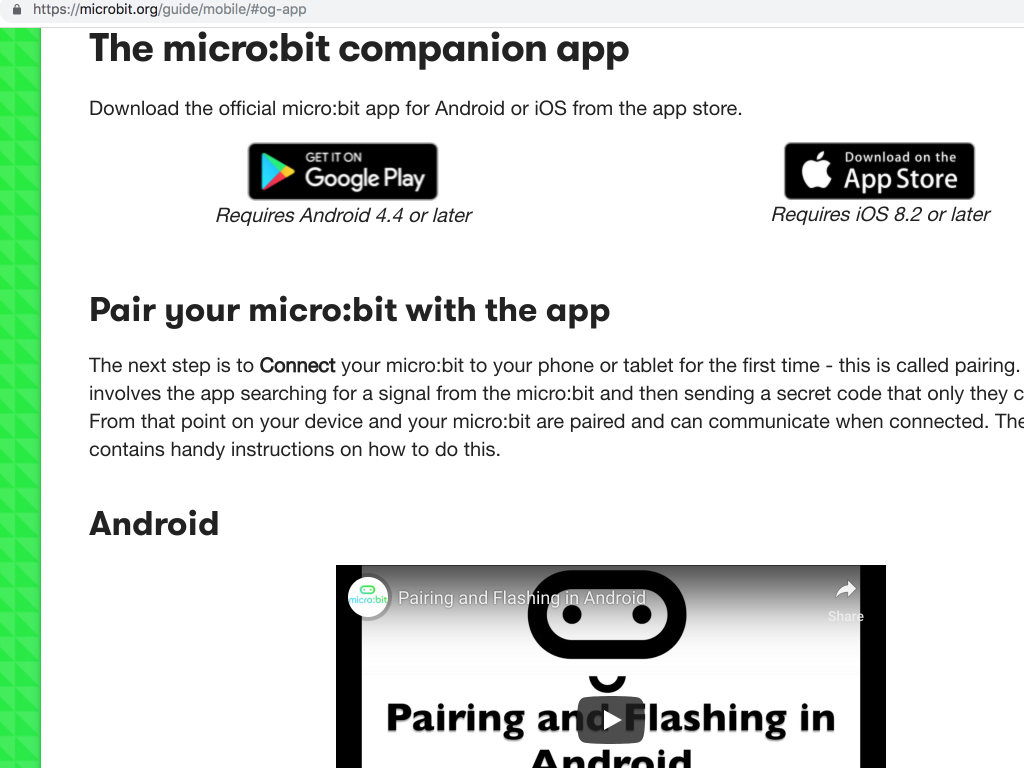
You can also connect your micro:bit to a device such as a smartphone or tablet that uses Bluetooth. So you can send code to the micro:bit with no wires needed, just make sure the micro:bit is powered up and within easy reach of the device. First, visit: https://microbit.org/guide/mobile
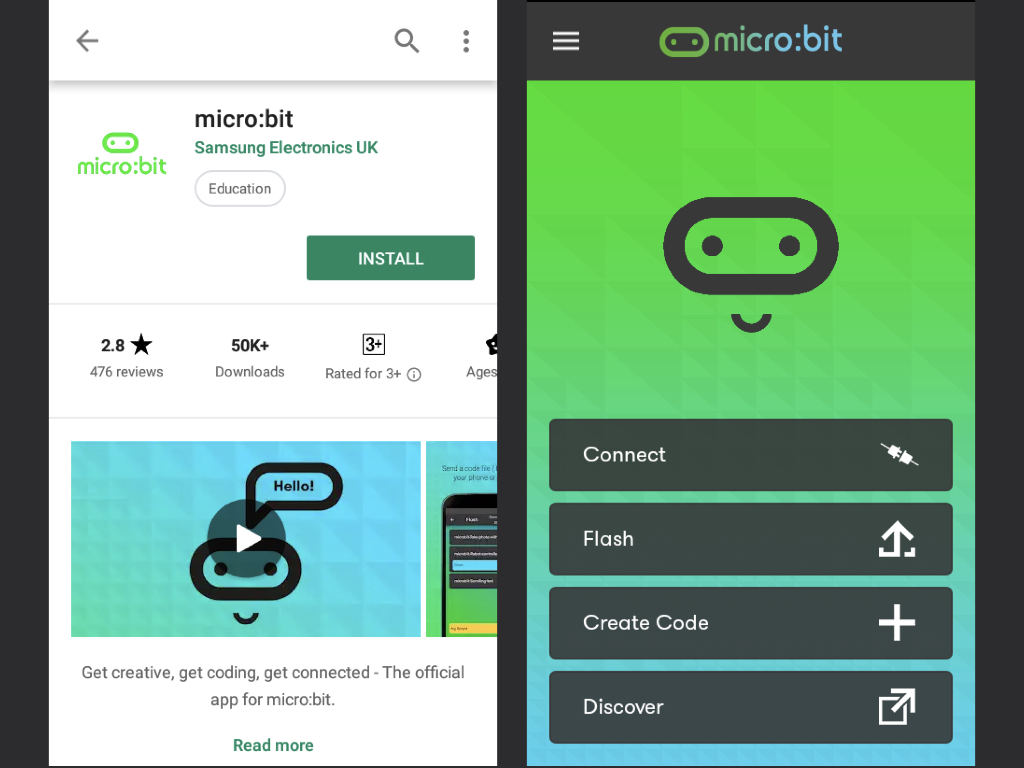
Download the micro:bit companion app from Android or iOS store.
Pair the micro:bit with the app. Once connected, you can create code from the app's homepage.
Similar to using the MakeCode editor on your computer, you'll need to make a .hex file for the micro:bit. So select 'Download' and when the .hex file is ready, open it in the micro:bit app.
Select 'Flash' from the app to send the code to the micro:bit.

We'll start with using peer-to-peer communication on the micro:bit. So go ahead and open up the MakeCode editor.
Click on 'New Project'
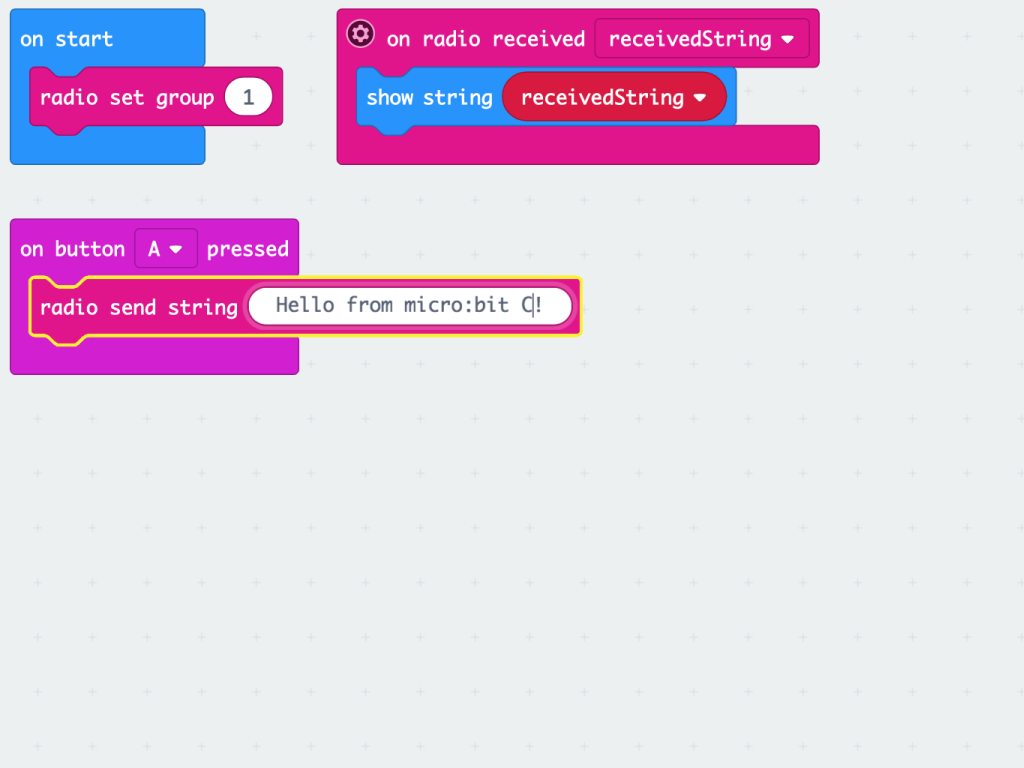
Then get out two micro:bits. It only takes a few blocks of code to get one of the micro:bit boards communicating with another micro:bit board. First, click on the 'Radio' tab to find a 'radio set group ...' block.
The micro:bits must be set to the same radio group to communicate with each other.
Leave the 'radio set group' value to be '1'
Next, we'll create a trigger for an event. We'll use the 'Click on the 'Input' tab and grab a 'on button ... pressed' block.
Then click on the 'Radio' tab again, this time getting out a 'radio send string ...' block. This block activates the radio module and sends a message in the form of a string of text.
Change the value in this block to be "Hello from micro:bit A!" This is the message that will be sent to the other micro:bit
Hold on, what's Bluetooth? You've probably used Bluetooth before as when wirelessly connecting your smartphone to an external device such as headphones. Bluetooth is a wireless technology standard developed by Ericsson Telecommunications back in 1994. It is the standard for short-distance wireless connection between electronic devices from 2.400 to 2.485 GHz.
What's this about 'Hz'? It stands for Hertz which is the measure of the frequency of an electromagnetic radio wave. The 'GHz' stands for Gigahertz. That's exactly what Bluetooth uses, radio waves to allow electronic devices to communicate with each other. But instead of using radio waves for long distances, they use radio waves within a frequency range of 2.4 to 2.485 GHz over a short distance.
The micro:bit uses Bluetooth LE, which is similar to classic Bluetooth in terms of communication range but uses considerably less power and costs less. Many IoT devices use BLE and for good reason, it can go for extended periods of time on just the same small battery!
Please note, according to the official BBC Micro:bit documentation on using the micro:bit wirelessly, "BLE may differ from the Bluetooth transceiver you have on your computer for using wireless keyboards and mice, so don't expect a Mac, Windows or Linux desktop/laptop to discover the micro:bit."
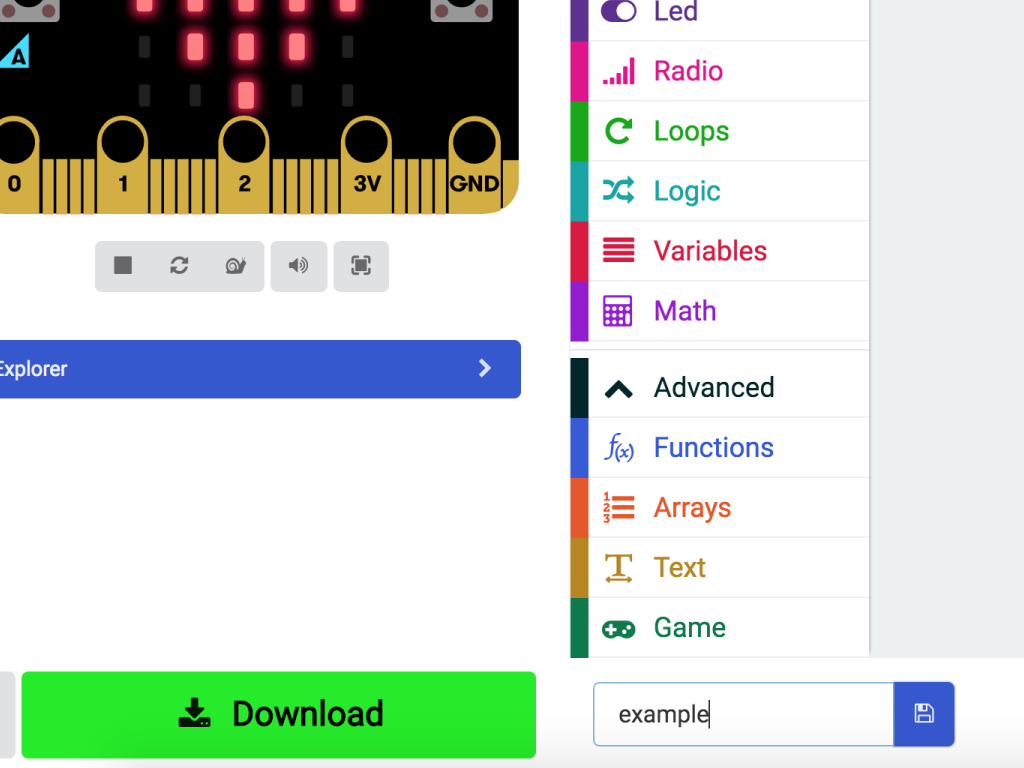
To upload the code to the micro:bit, first click the download button in the bottom left corner of the screen. This will download a hex file (computer program file) which the micro:bit can read.
Next, plug in your micro:bit, this will reveal a USB on your computer.
Copy across the downloaded file to the micro:bit by dragging and dropping it to the MICRO:BIT drive
The micro:bit will flash as the code is being uploaded. Once done, unplug the micro:bit.
It's also possible to get multiple micro:bits communicating with each other. For this example, you'll need three micro:bits in total.
The MakeCode program will be the same, except with just one change. Change the message from "Hello from micro:bit B!" to "Hello from micro:bit C!".
Upload this to the third micro:bit.
Now that you've gained some familiarity with the micro:bit and its features, it's time to take a closer look at one of its most powerful features: its built-in radio module.
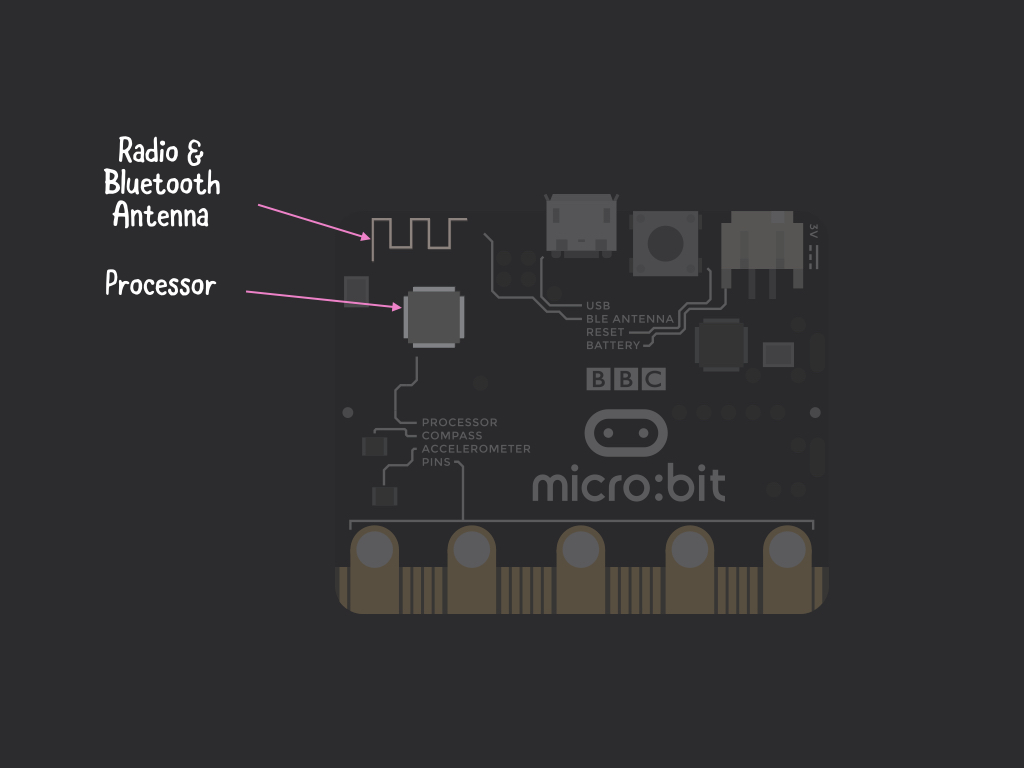
The radio module is built into its processor, that's the little black chip on the back of the board. While it looks tiny, it is extremely powerful. Using the radio module, you can get two micro:bits to communicate, or even a group of micro:bits to share data. You can also get it to communicate with other devices such as a smartphone or tablet.
Where is it on the micro:bit? As the radio itself is part of the micro:bit's processor, you won't find it labelled on the board. However, you'll find the label 'BLE ANTENNA' also known as 'Bluetooth Smart Antenna' as well as circuit board traces. Those circuit board traces are used to receive and send radio signals in the 2.4GHz band.
There are two radio functions: The first is known as peer-to-peer connectivity. The other function uses Bluetooth Low Energy (BLE)
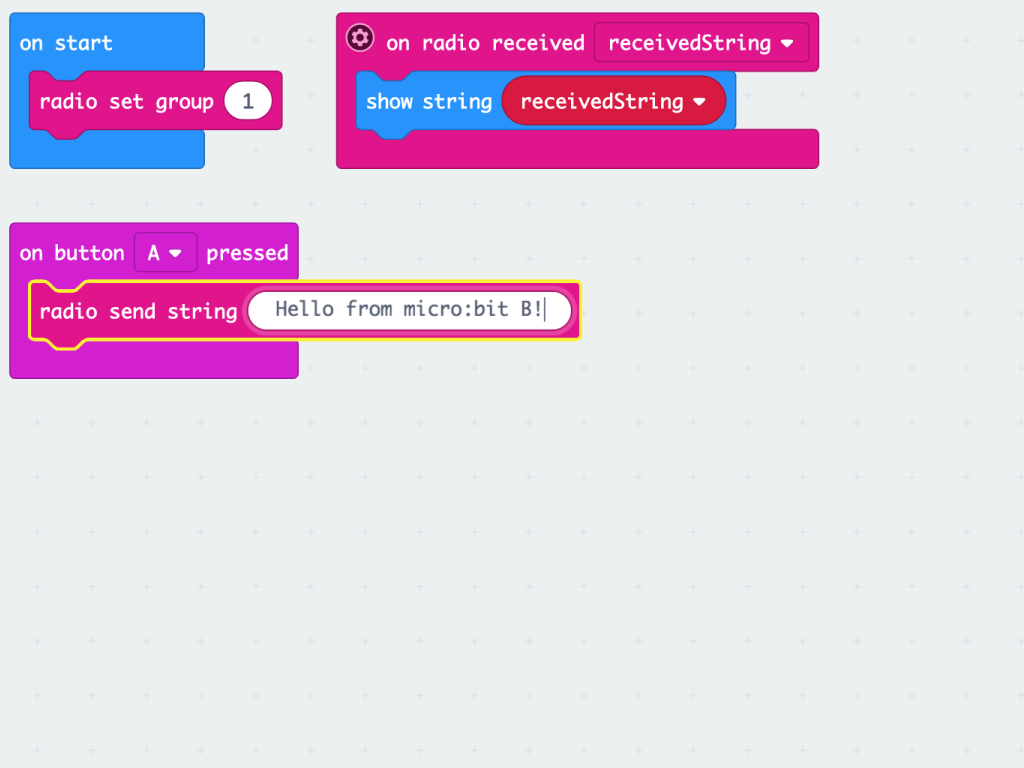
Alright, you've uploaded the previous MakeCode to the micro:bit and pressed Button A. What happened? The radio has transmitted the message, but there's still no way to receive this message. This is because the MakeCode program was written in a way so that it is either sending a message or listening for a message.
Go back to the MakeCode program from before. This time changing the message to say "Hello from micro:bit B!"
Everything else in the program should remain unchanged. Then upload this to the second micro:bit. Now when you press button A on the first micro:bit, it will send the message, "Hello from micro:bit A!" to the second micro:bit. Likewise, pressing button A on the second micro:bit will send the following message, "Hello from micro:bit B!"
While this may seem simple, there's real practicality here! For example, you could create a doorbell with two micro:bits by having one by the door and the other by a table. You can even add additional add-ons to the micro:bit to extend its functionality, which brings about all sorts of fun and use!