Light-sensitive Bookmark with EagLED
Create a portable light that automatically lights up in darkness
Written By: Cherie Tan

Difficulty
Medium
Steps
11
The EagLED includes multiple LEDs and it also comes with a light sensor.
In this guide, we'll combine both and build a light-sensitive bookmark that will automatically light up in darkness. We will also use a coin cell battery holder, a CR2032 coin cell battery and felt fabric.
Complete this guide to build your own felt fabric bookmark with a stitched-in LED light that lights up in low light or in the dark.
In this guide, we'll show you how to create a light-sensitive bookmark by using the EagLED, its light sensor, and LEDs.
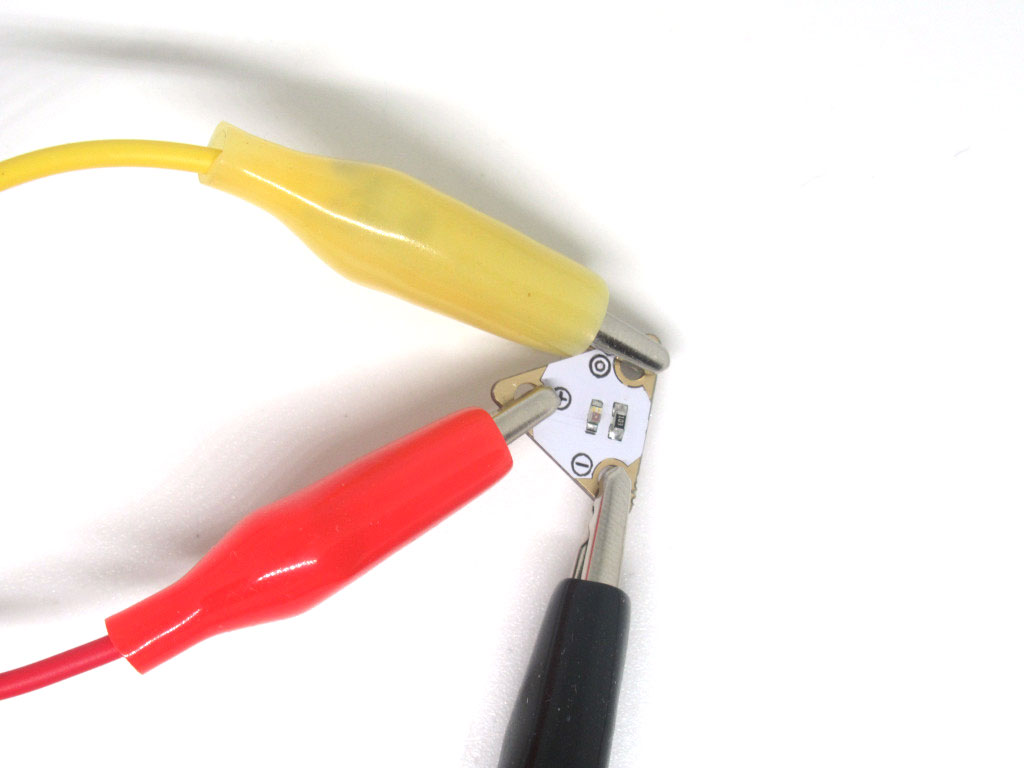
First, let's make the prototype with alligator clips. Connect the light sensor to the EagLED main board. Connect '+' to '3.3V' on EagLED
Connect '-' to 'GND'
Connect 'o' to '#9
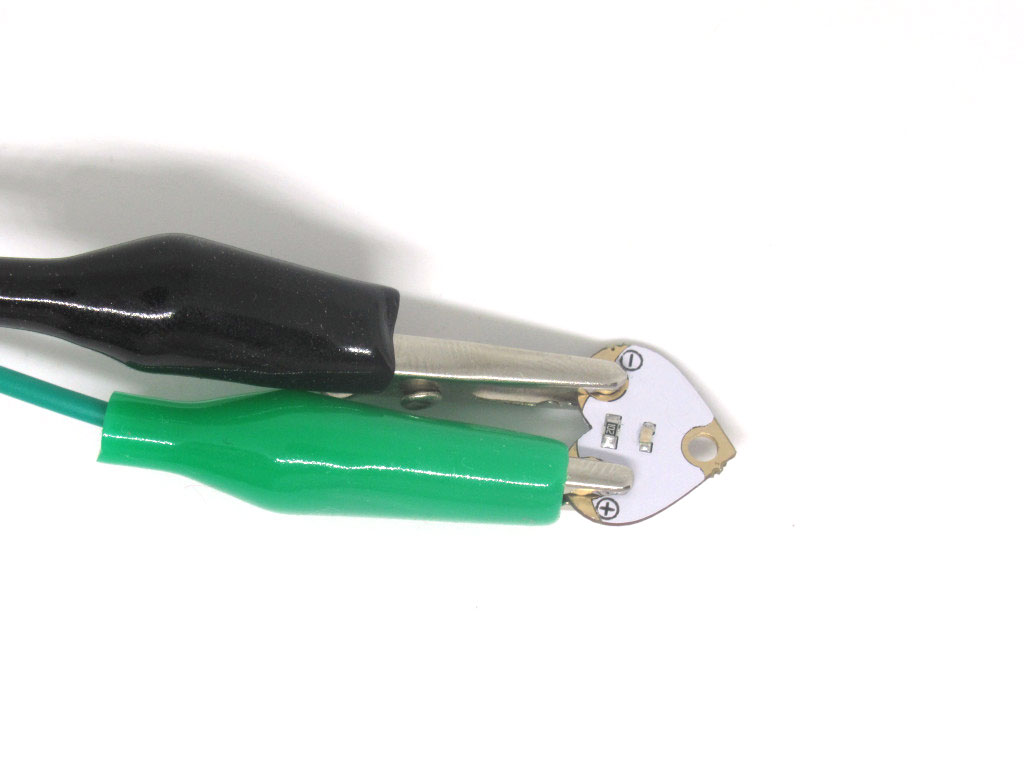
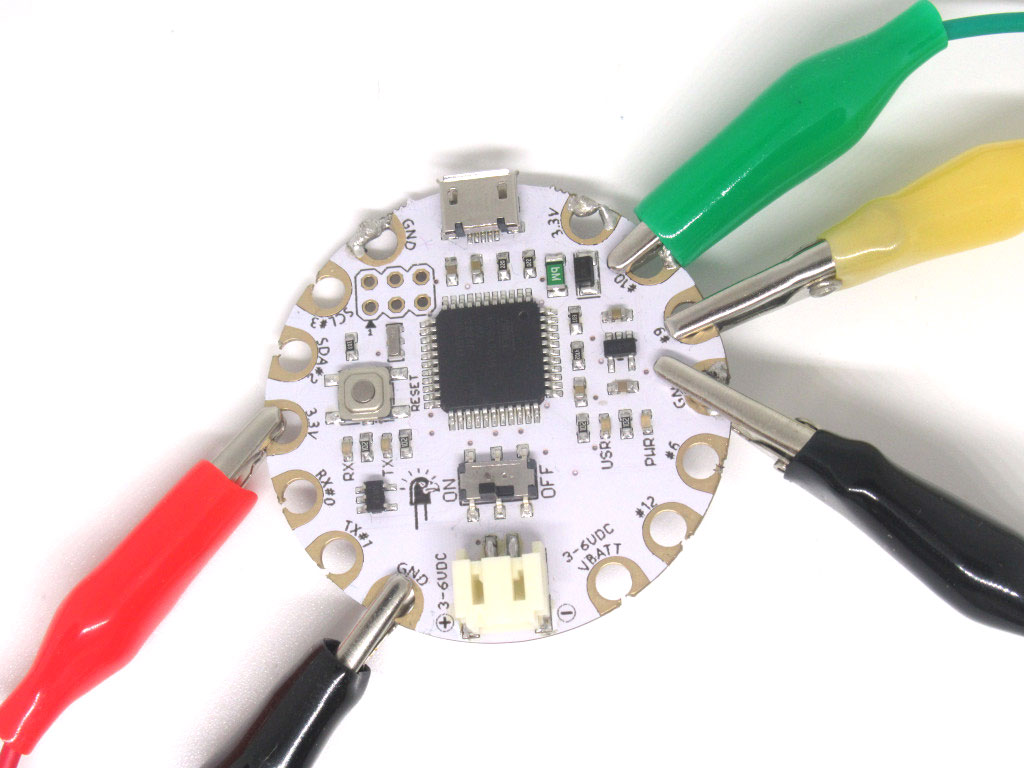
Next, connect one of the LEDs to the EagLED main board. Connect '+' to '#10'
Then attach '-' to 'GND'
int heartPin = 10;
int lightSensor = A9;
int sensorVal = 0;
int threshold = 30;

void setup()
{
  pinMode(heartPin, OUTPUT);
  pinMode(lightSensor, INPUT);
  Serial.begin(9600);                 //initialize the serial port
}

void loop()                         // run over and over again
{
  sensorVal = analogRead(lightSensor);
  if (sensorVal < threshold) {
    digitalWrite(heartPin, HIGH);
  }
  else {
    digitalWrite(heartPin, LOW);
  }
  Serial.println(sensorVal);
}
Connect the EagLED to the computer via a microUSB cable.
Then upload this code to the EagLED.
Click on Tools > Serial Monitor in the Arduino IDE to view the sensor values
Try covering the light sensor with your hands, the LED should light up. You can also adjust the variable, 'threshold' to increase or decrease the light level it takes for the LED to light up.
The brighter it is, the larger the light sensor's analog value will be.
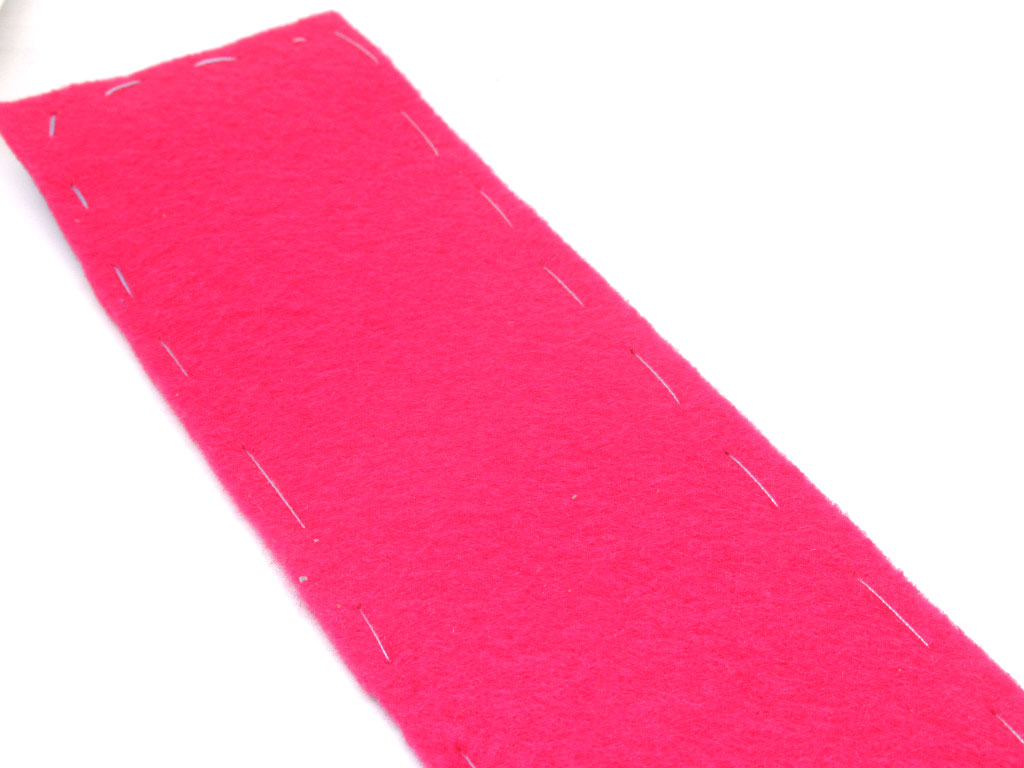
With the prototype finished, it's time to make the bookmark.
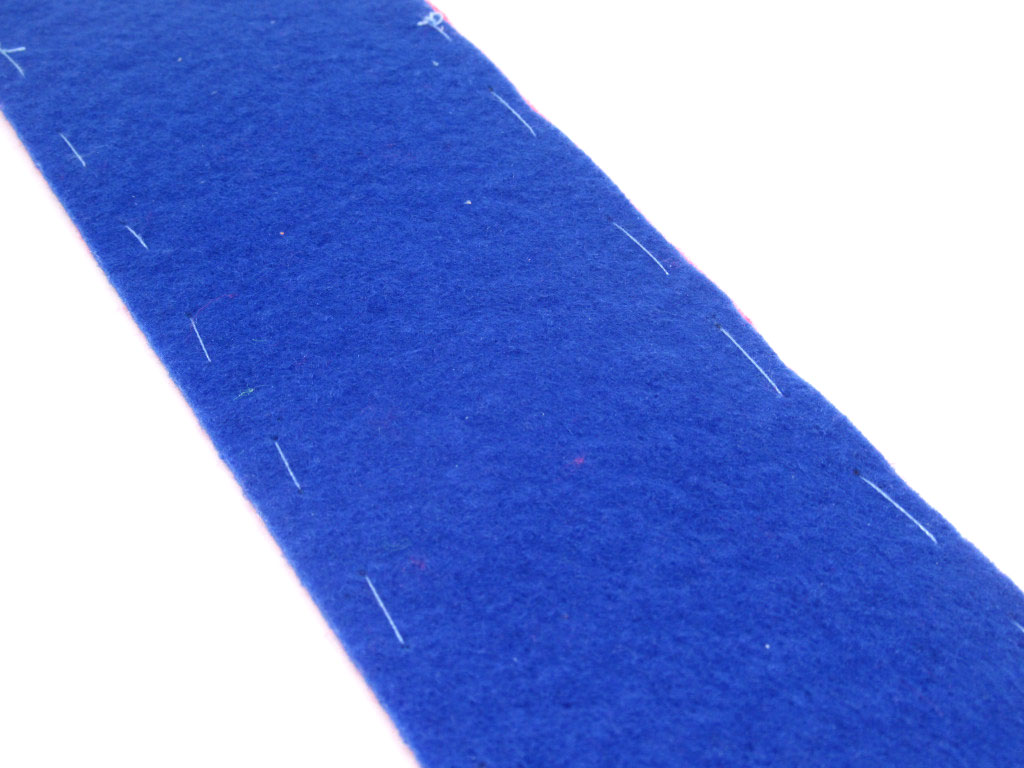
Cut out a rectangular piece of felt fabric, ideally stiff felt fabric. In this example, we've cut out two pieces of felt fabric of different colours and stitched them together. Alternatively, you can use fabric glue instead.
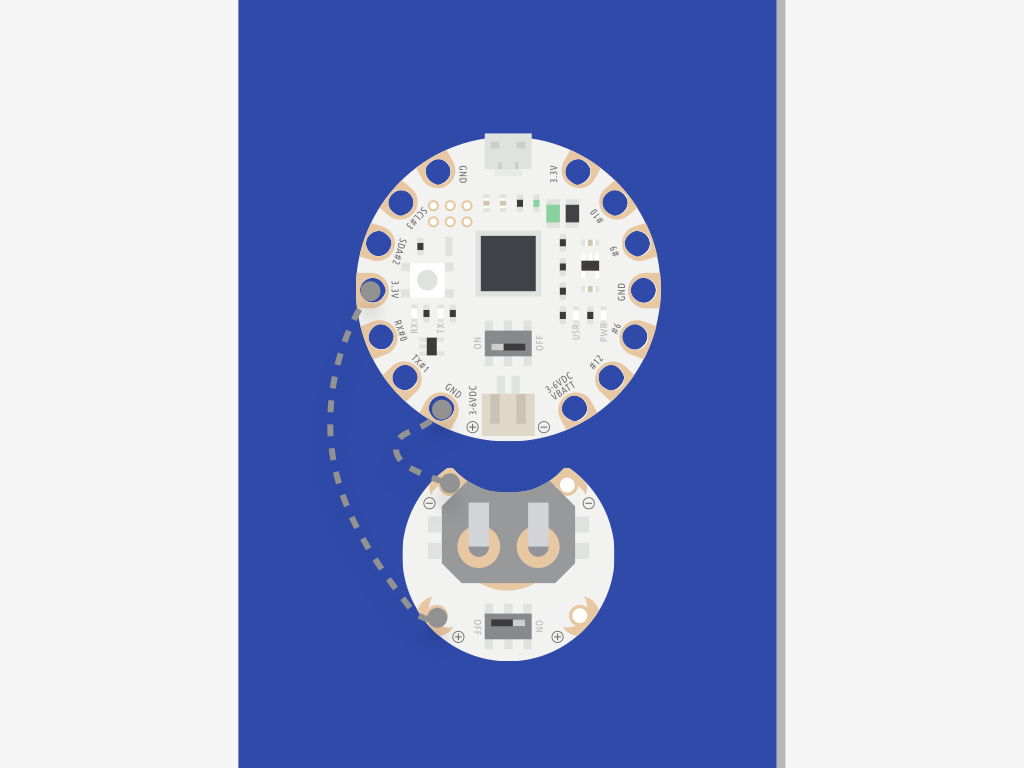
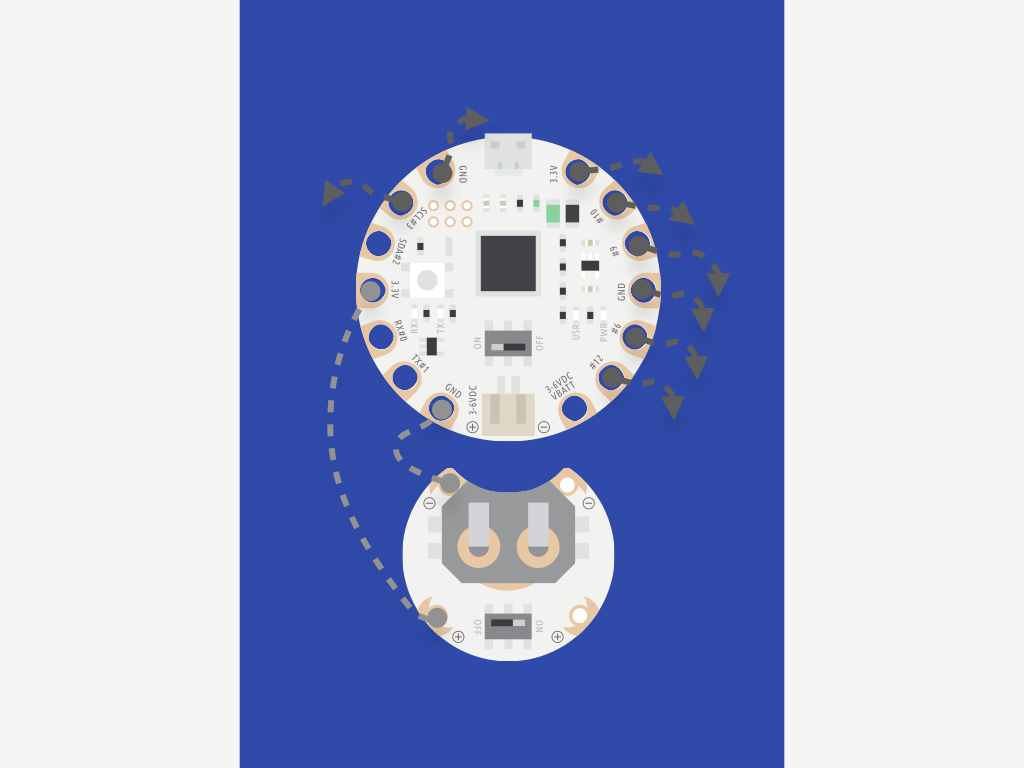
First, connect '-' on the coin cell battery holder to 'GND' on EagLED
Connect '+' on the coin cell battery holder to '3.3V' on EagLED
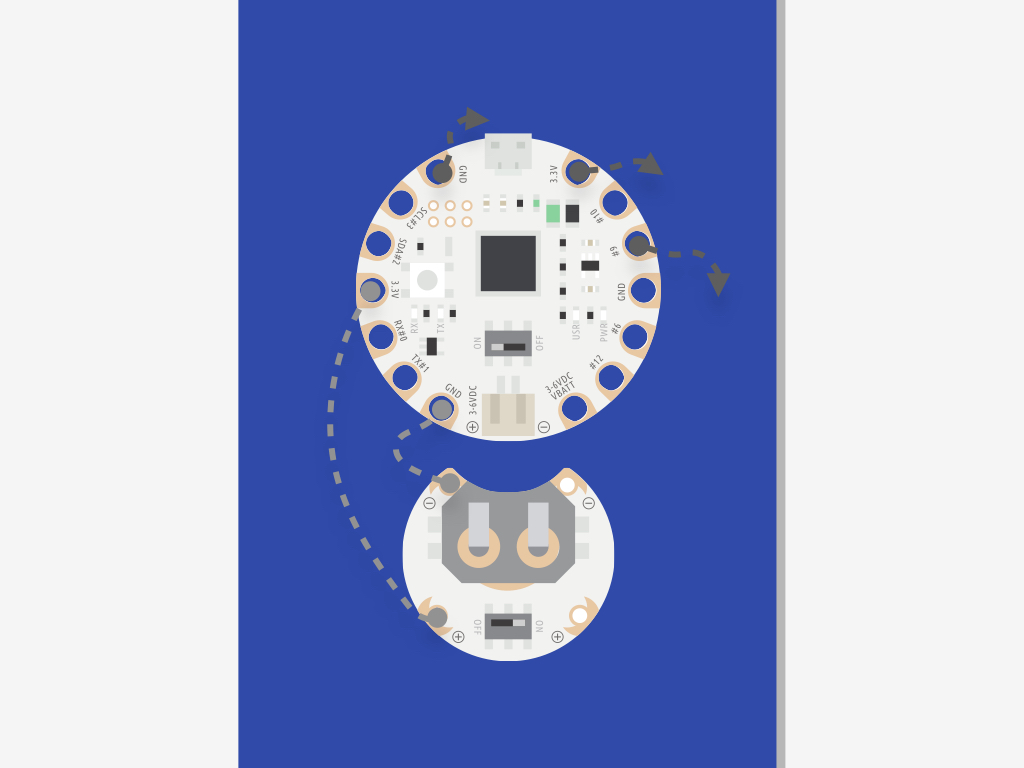

Next, connect the light sensor to the EagLED: '+' to '3.3V'
'-' to 'GND'
'o' to '#9'

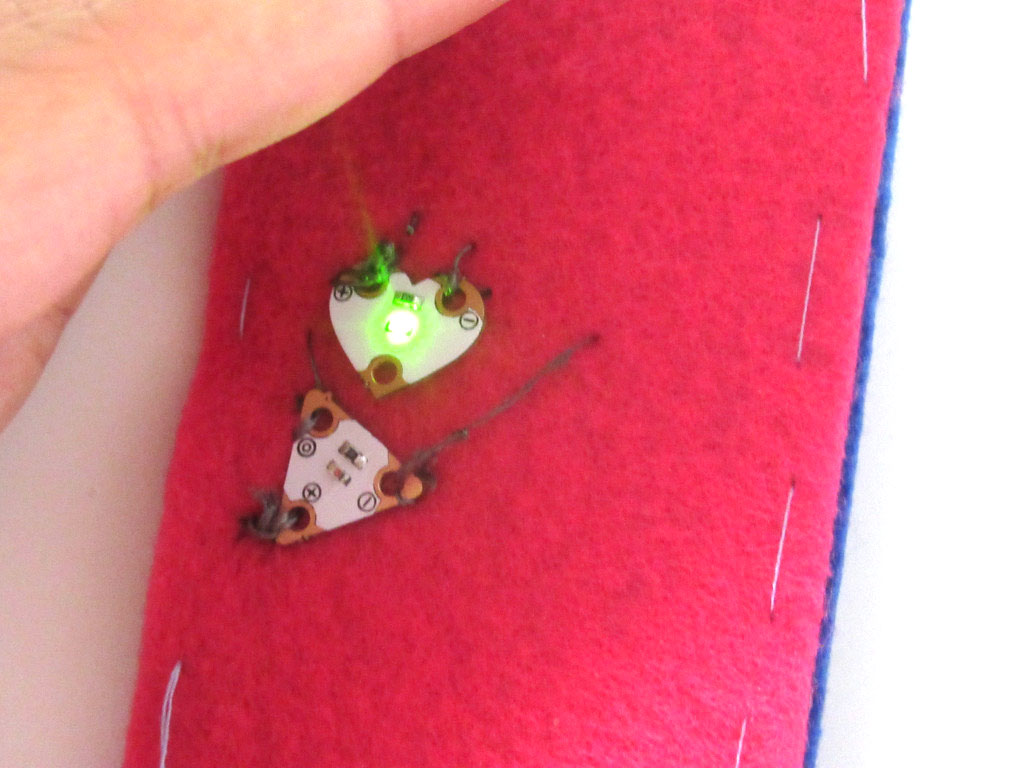
Once complete, insert a CR2032 coin cell battery into the coin cell battery holder.
Then flick the switch on the EagLED and coin cell battery holder to 'ON'.
Now when the light level goes under the threshold level, the LED should light up!

To add more LEDs, follow these steps. There are three 'GND' sew tabs on the EagLED, and four LEDs as well as a light sensor that will be connected to the EagLED. Connect the '-' on the two heart-shaped LEDs together.
Do the same for the star-shaped LEDs.
Connect each pair to 'GND' sew tabs.
Previously, we have used one 'GND' sew tab for the light sensor, so leave it as is.
In the Arduino sketch from before, the pins 3, 6, 10 and 12 were used. So connect the '+' of the remaining three LEDs like this: '+' of one LED to '#3', another to '#6' and another to '#12'.
int ledPins[] = {
  3, 6, 10, 12
};
int lightSensor = A9;
int sensorVal = 0;
int pinCount = 4; //the number of pins used (i.e. the length of the array)

void setup()
{
  for (int thisPin = 0; thisPin < pinCount; thisPin++) {
    pinMode(ledPins[thisPin], OUTPUT);
  }
  pinMode(lightSensor, INPUT);
  Serial.begin(9600);                 //initialize the serial port
}

void loop()                         // run over and over again
{
  sensorVal = analogRead(lightSensor);
  if (sensorVal < 30) {
    for (int thisPin = 0; thisPin < pinCount; thisPin++) {
      digitalWrite(ledPins[thisPin], HIGH);
    }

  }
  else {
    for (int thisPin = 0; thisPin < pinCount; thisPin++) {
      digitalWrite(ledPins[thisPin], LOW);
    }

  }
  Serial.println(sensorVal);
}
If you'd like to add more LEDs to the bookmark, upload this Arduino sketch to the EagLED.